Hello, everyone today we are going to show you “How to Glow Anything in Adobe Photoshop”. In this tutorial, you will learn how to glow anything in your image. Don’t worry if you are new here this is a step by step tutorial also have a screenshot of each step so you can practice it by yourself by downloading the project PSD file.
Resources
Images used:
- Image from Pexels.com
Step 01
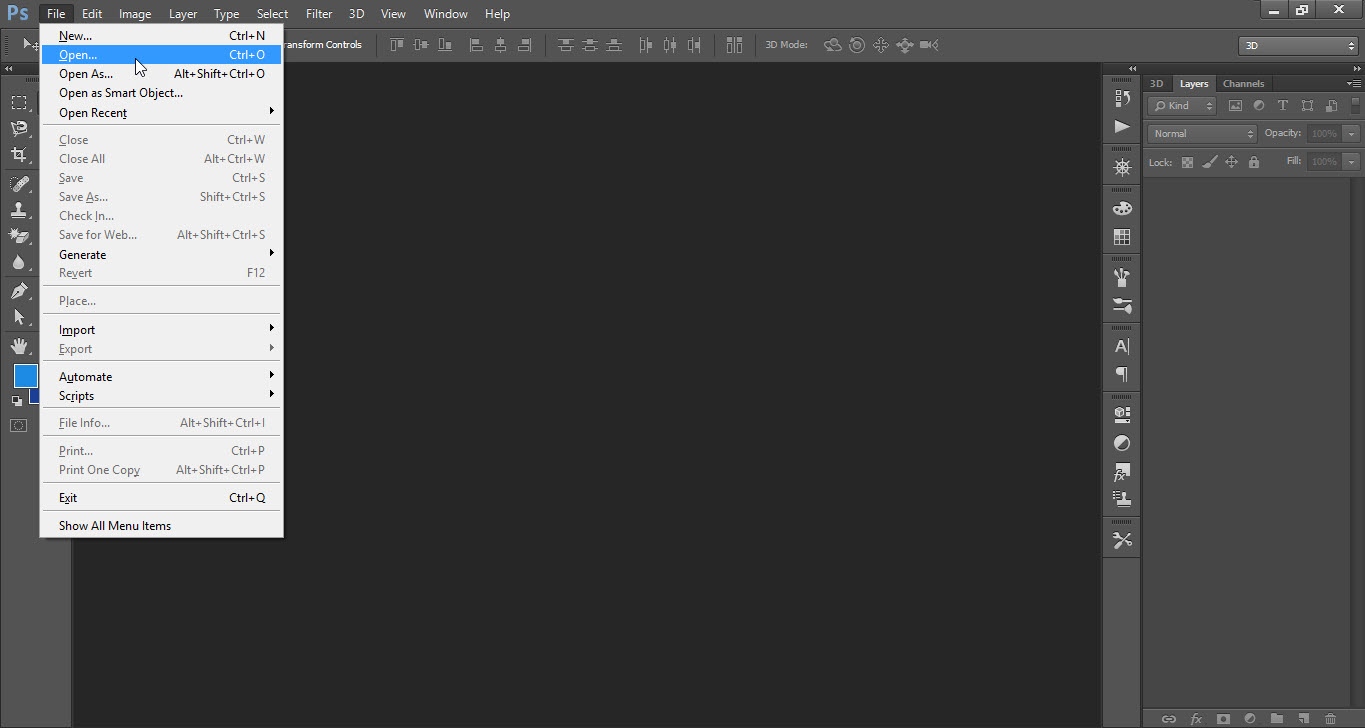
- Open the Adobe Photoshop software.
- Go to the “File” menu and click on the “Open” option.
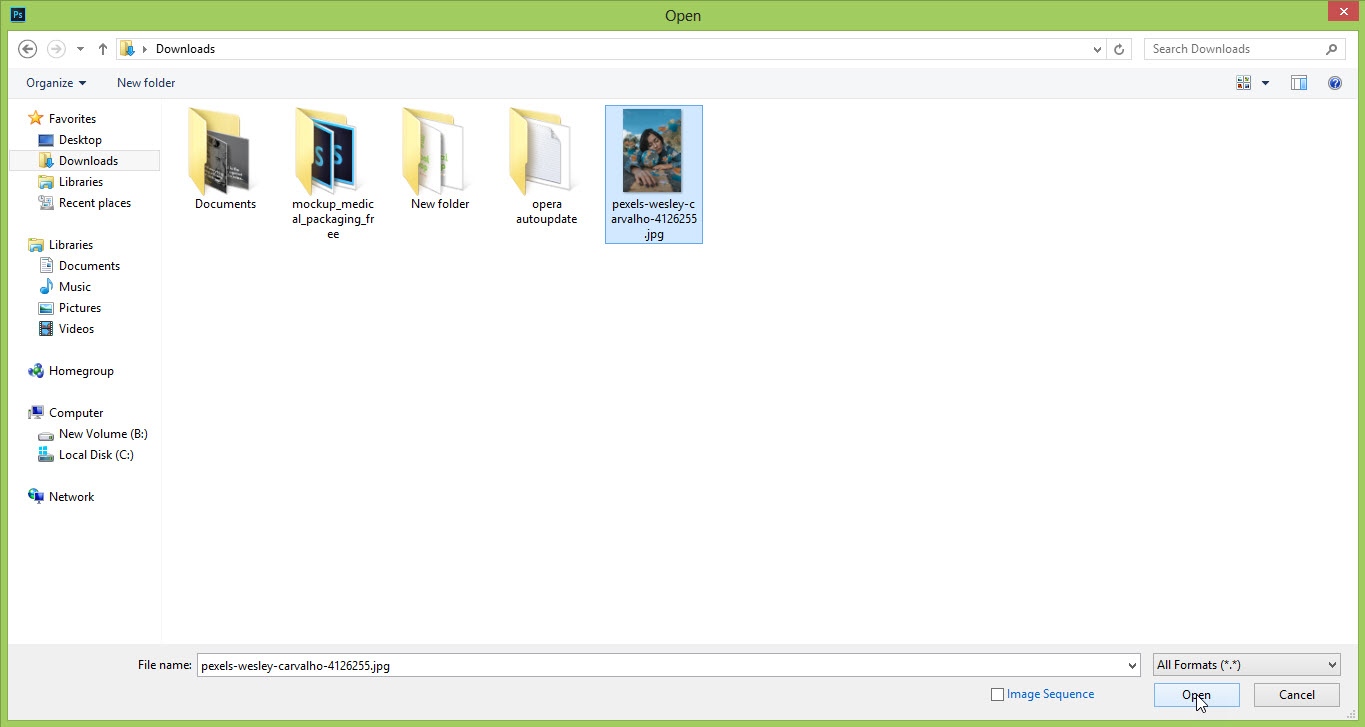
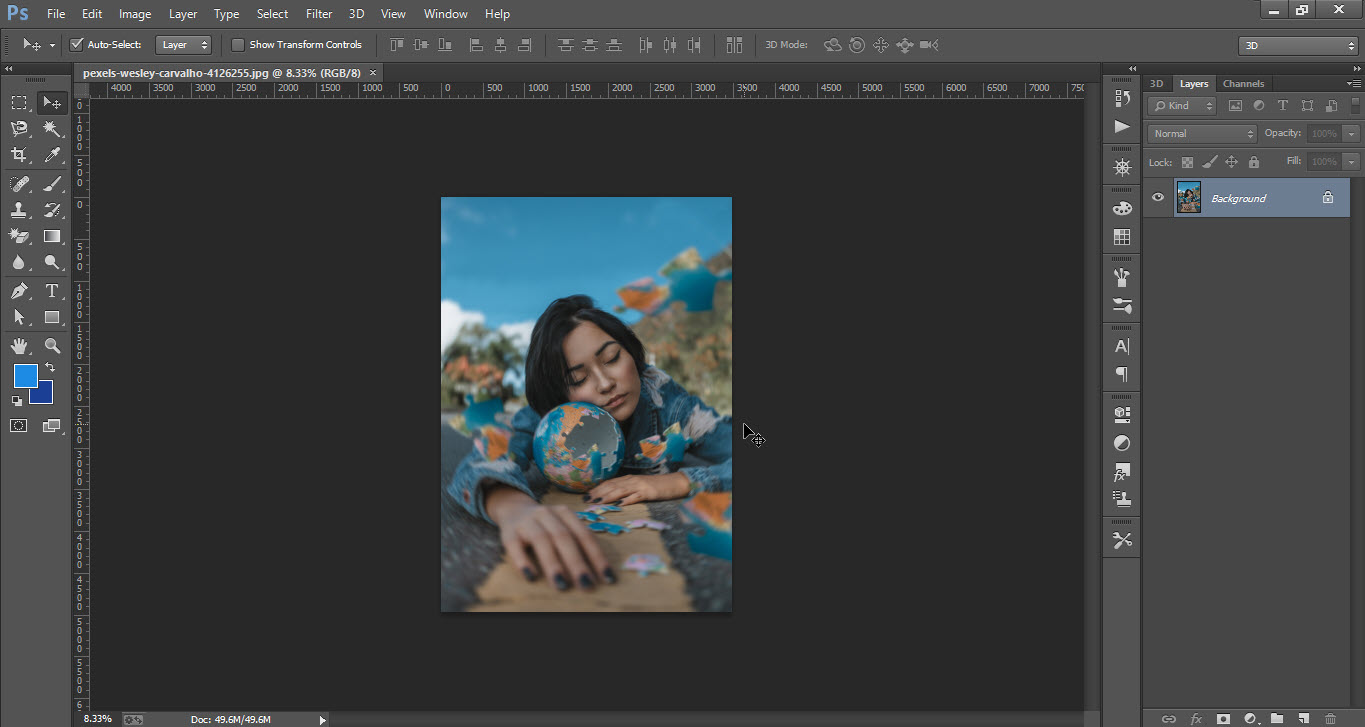
- Select the “Image” which you want to edit and click on the “Open” option.
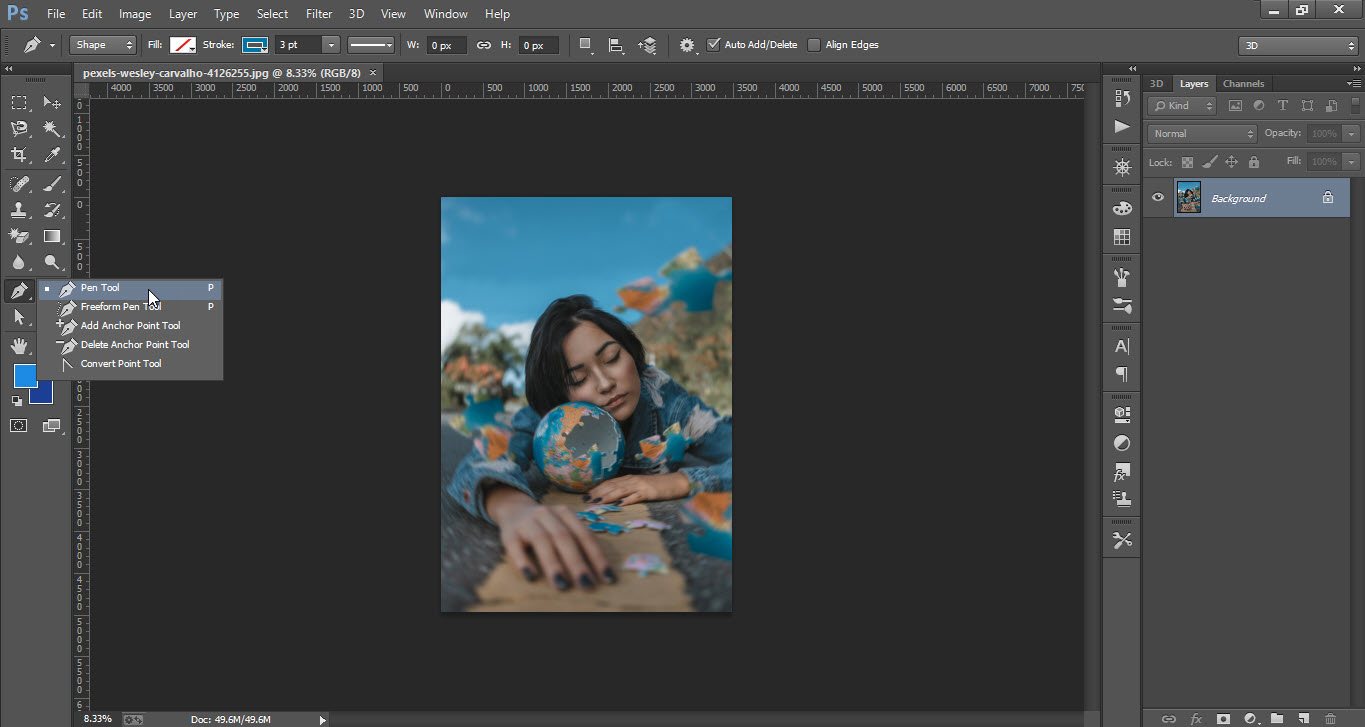
- Select the “Pen Tool” from the “Tools Bar”.
- Make a selection around the “Globe”.
- You can use any “Selection Tool” from the “Tools Bar”.
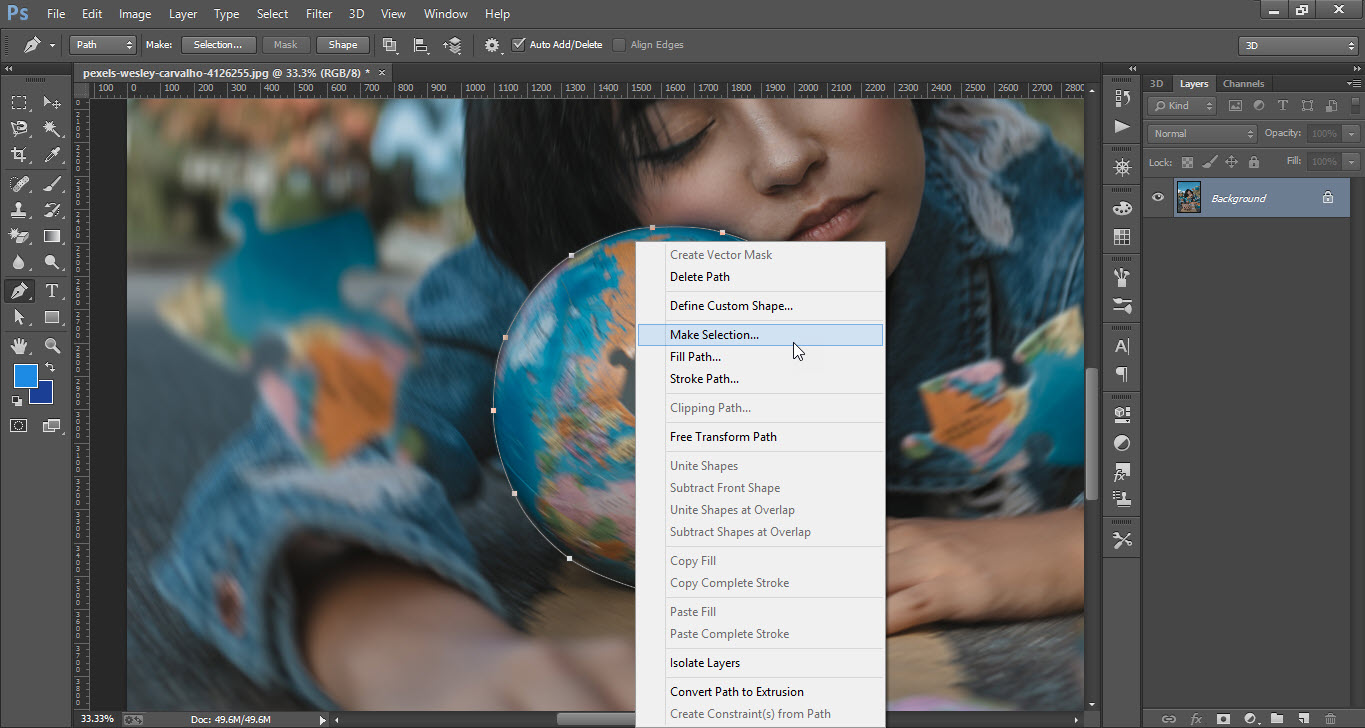
- After the selection “Right Click” at the center of the selection and click on the “Make Selection” option.

Step 02
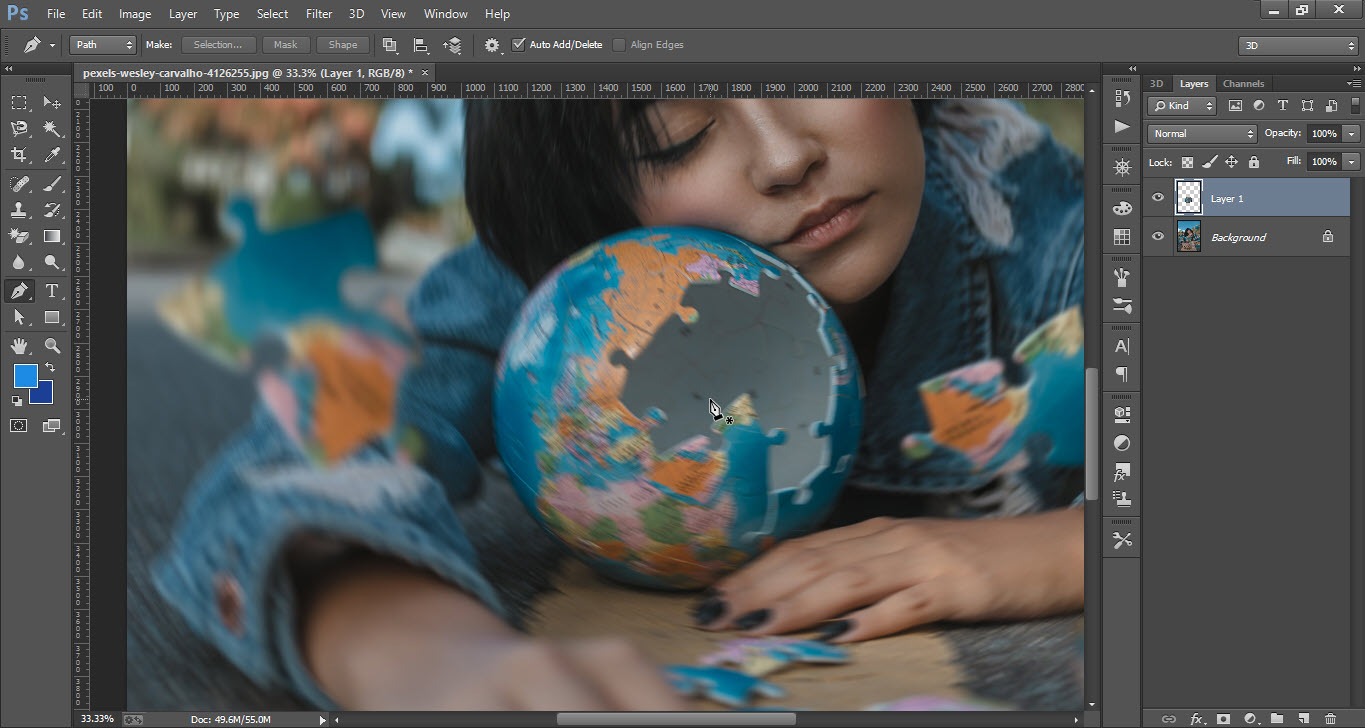
- Then press “Ctrl+J” to make a copy of the selected object.
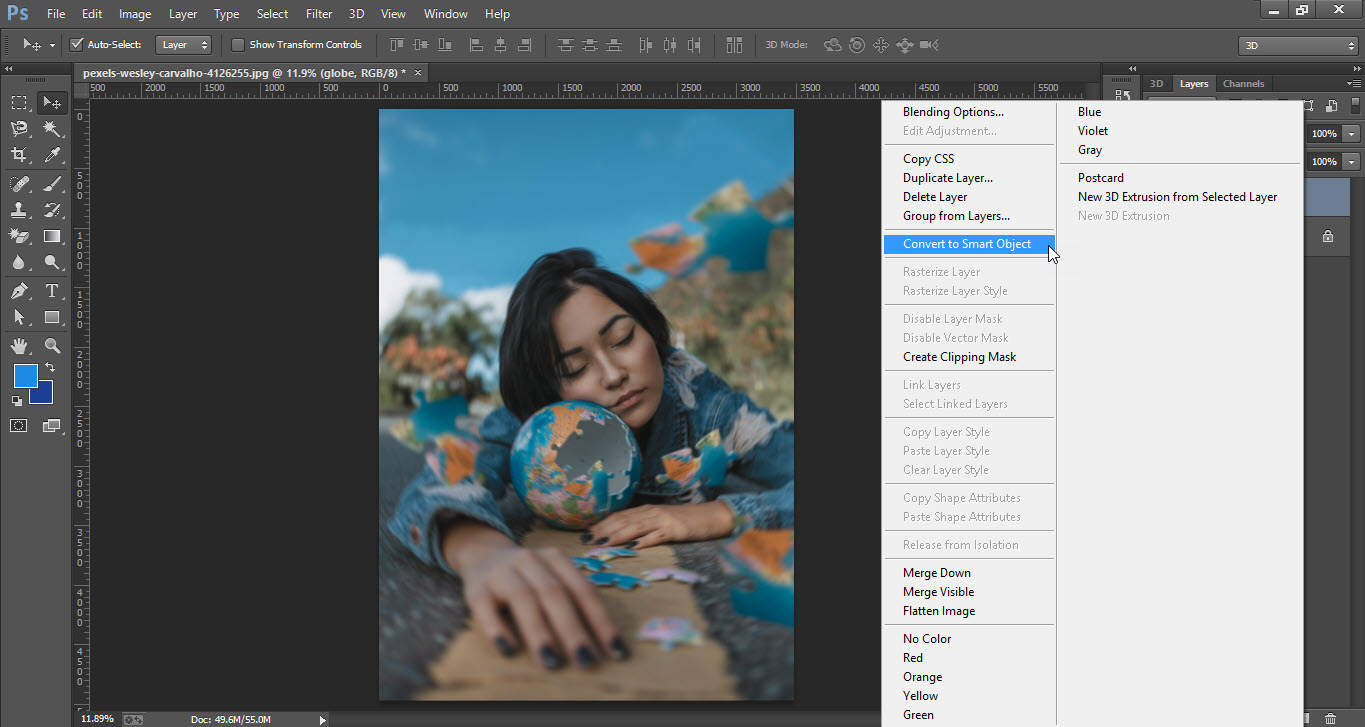
- Now “Right Click” on the “Object” Layer and click on the “Convert to Smart Object”.
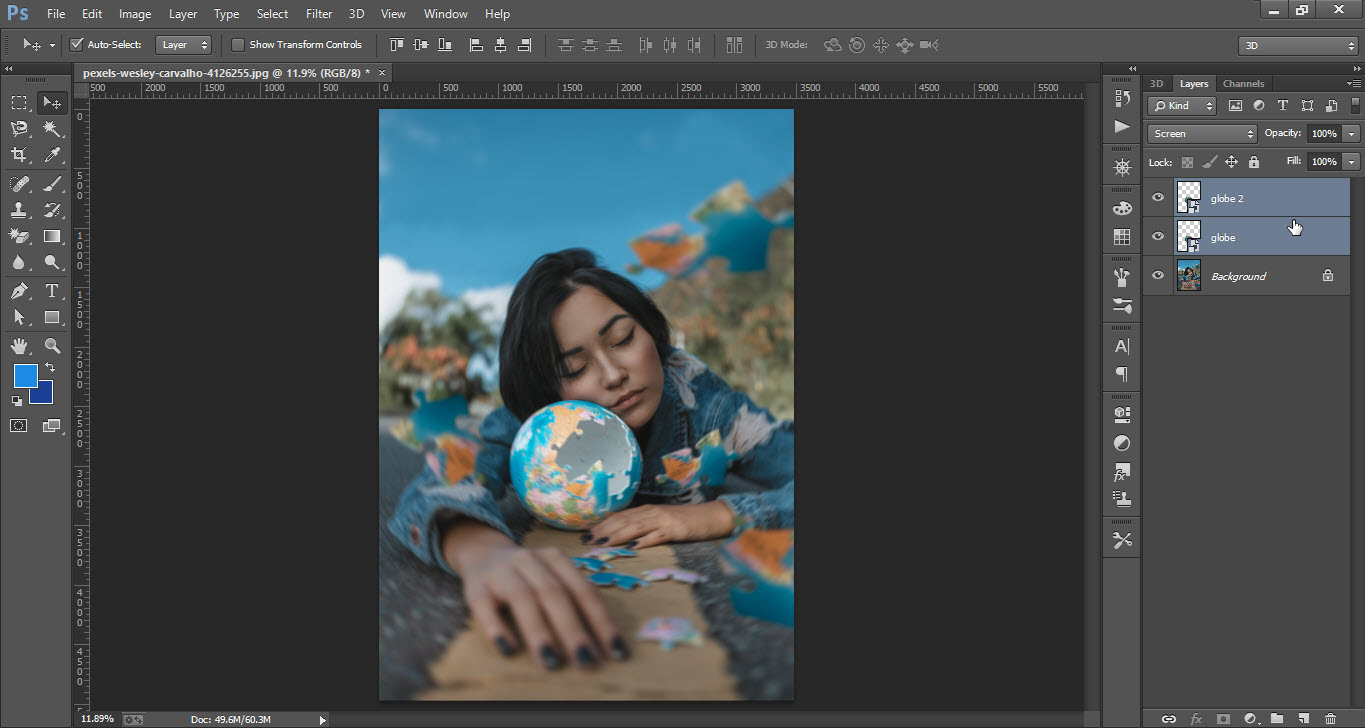
- Again press “Ctrl+J” to make another copy of the “Object Layer”.
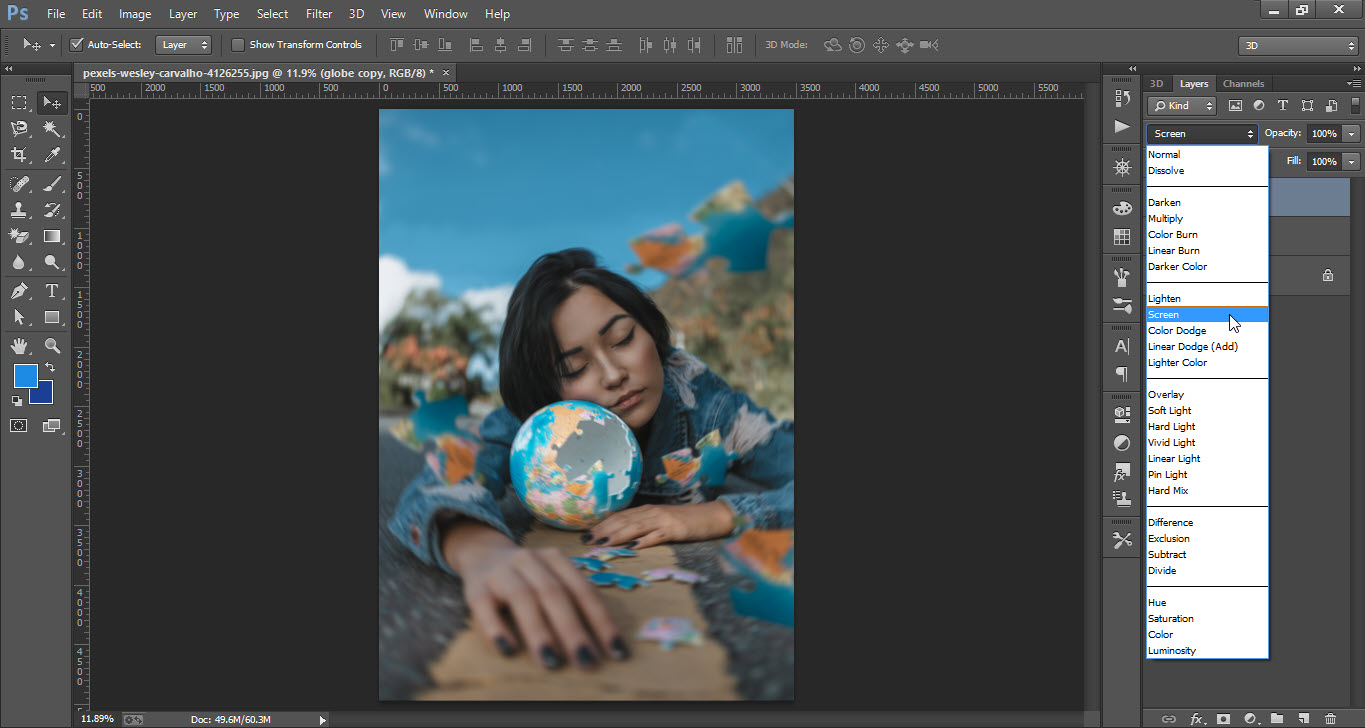
- Change the “Blending Mode” to the “Screen” option.
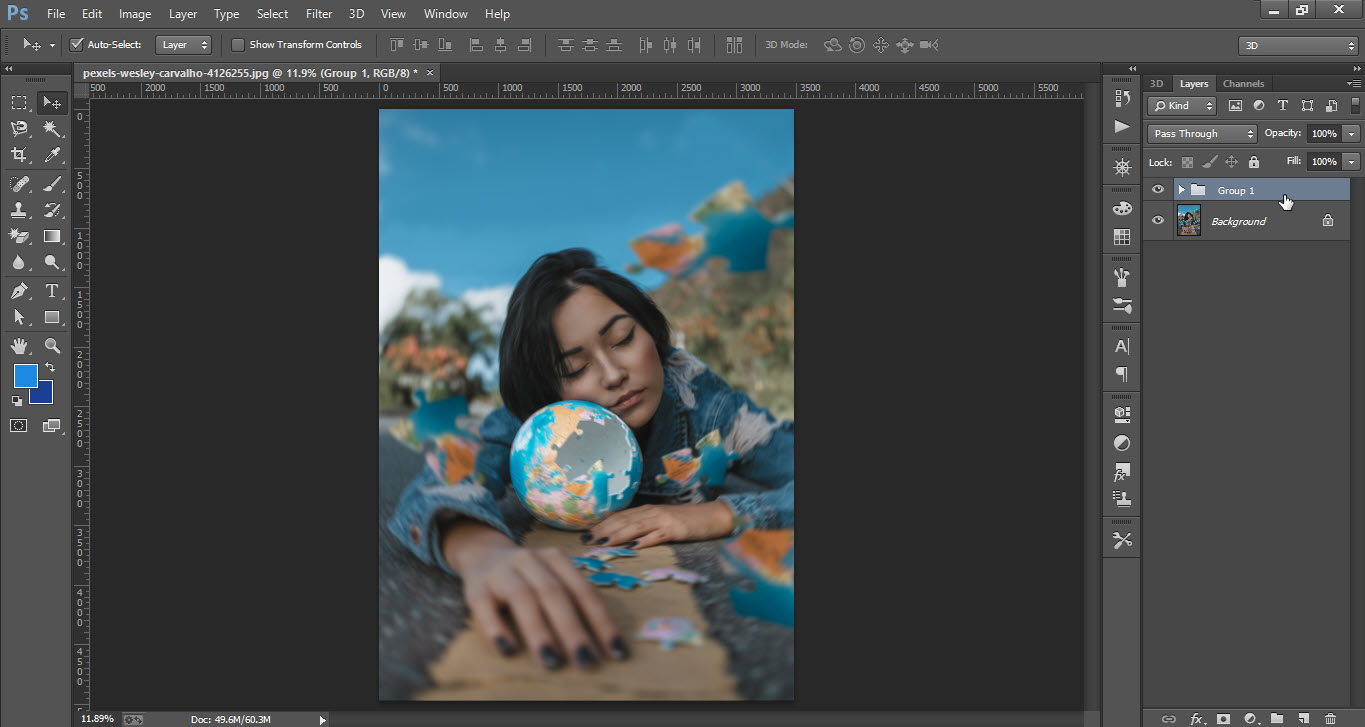
- Hold “Down” the “Ctrl Key” and select both the “Objects” layers.
- Press “Ctrl+G” to group the layers of the object.


Step 03
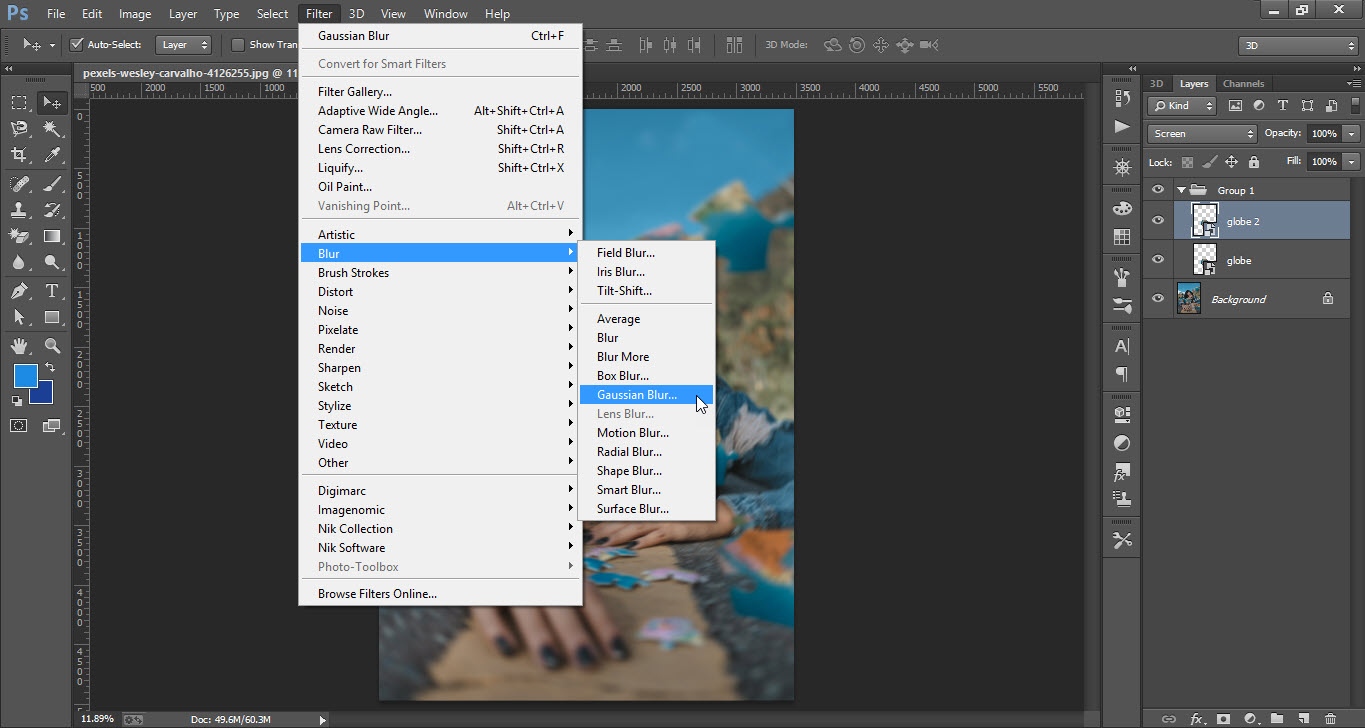
- Select the the “Upper-Layer” of the “Object”.
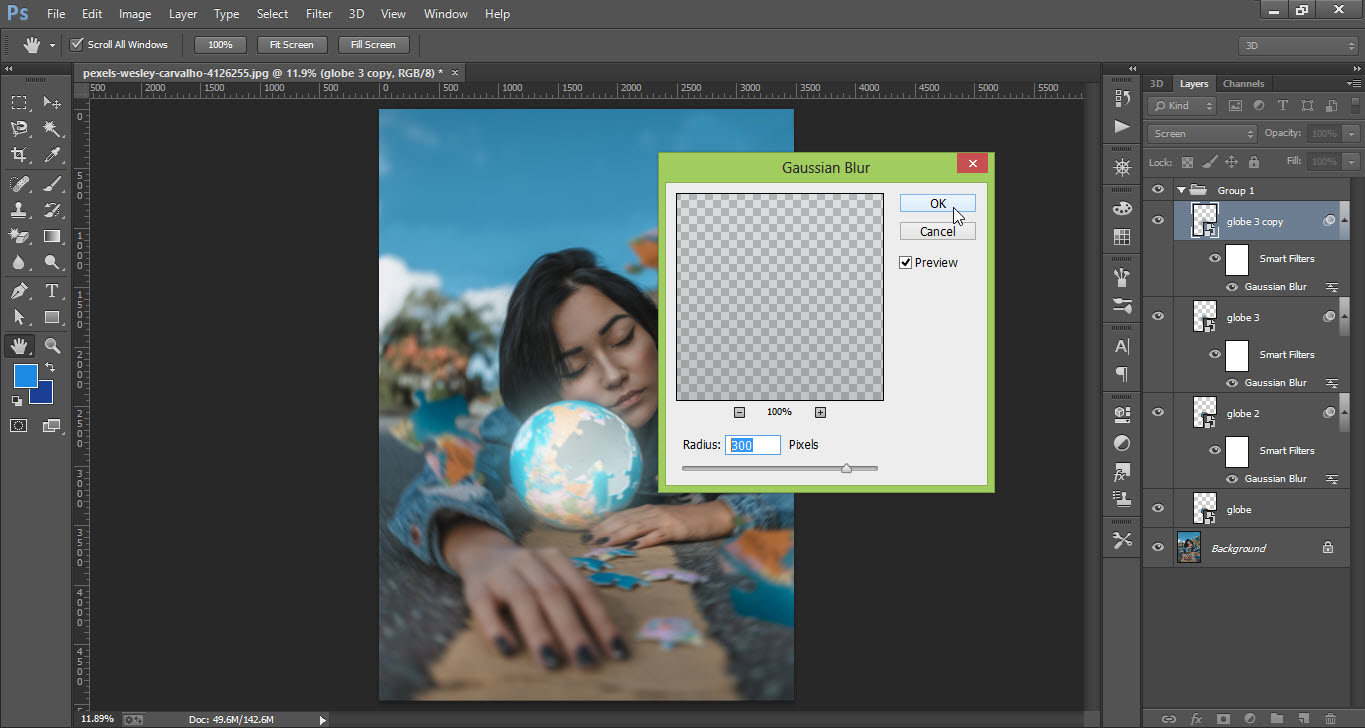
- Go to the “Filter” menu then to the “Blur” and click on the “Gaussian Blur” option.
- A “Gaussian Blur” window will be opened, keep the “Radius” 5 pixels.
- Press “Ctrl+J” to make another copy of the object 2 layer.
- Double click on the “Smart Filters” option under the “Object Layer”.
- Change the “Radius” to 150 pixels in the “Gaussian Blur” option.
- Make another copy and change the radius to 300 pixels.


Step 04
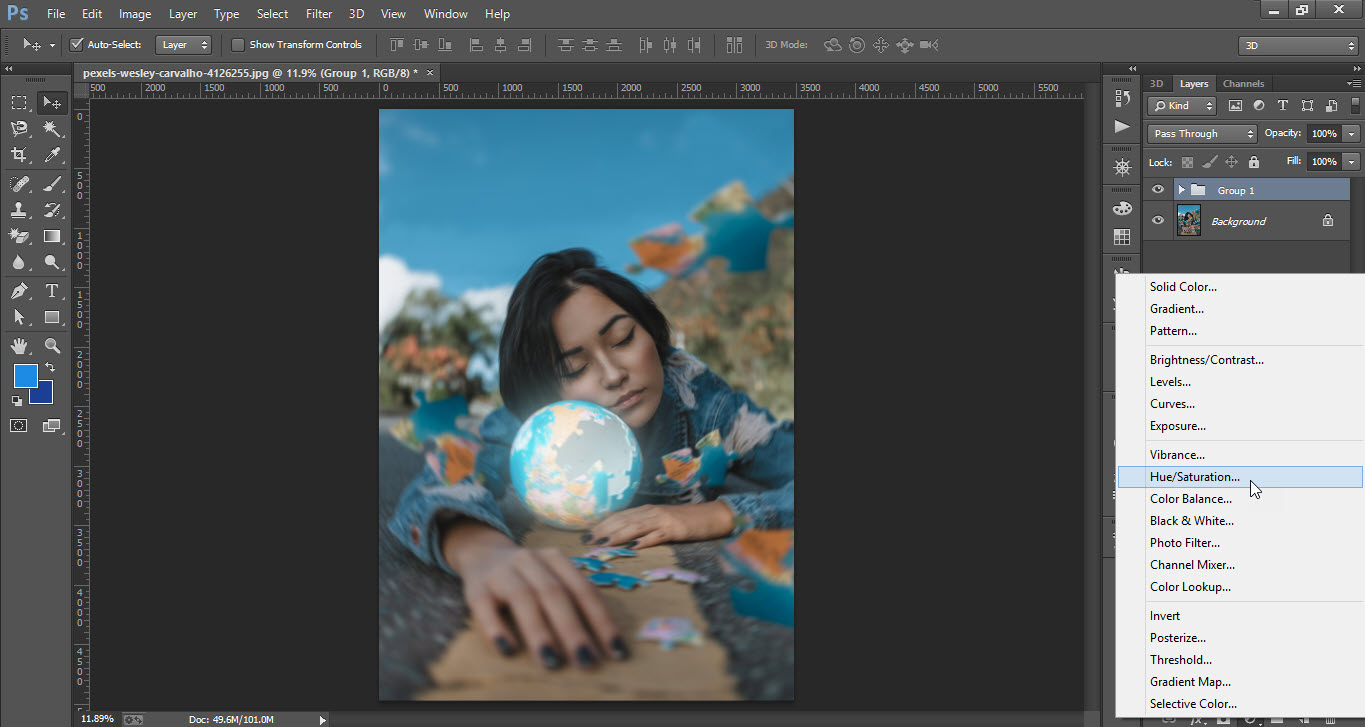
- Open the “Adjustment Layer” menu and click on the “Hue/saturation” option.
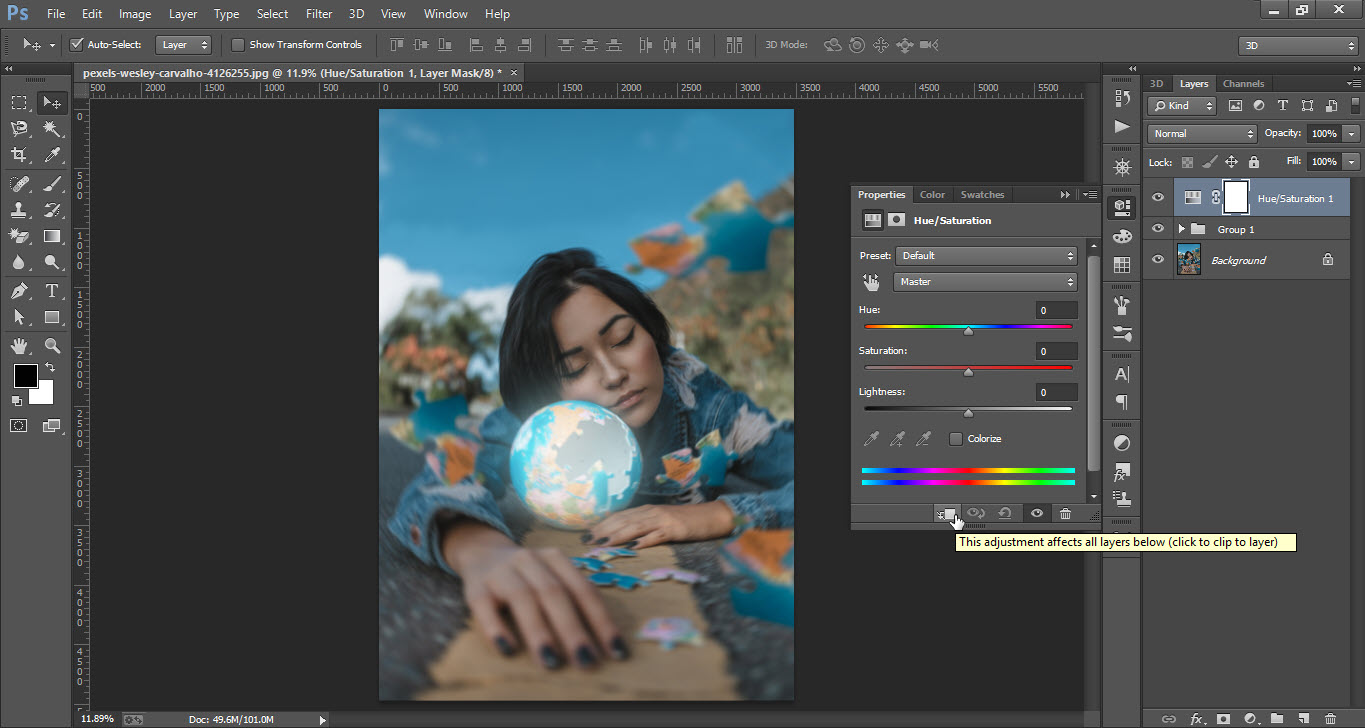
- Click on the “Adjustment Affects all Layers Below” button.
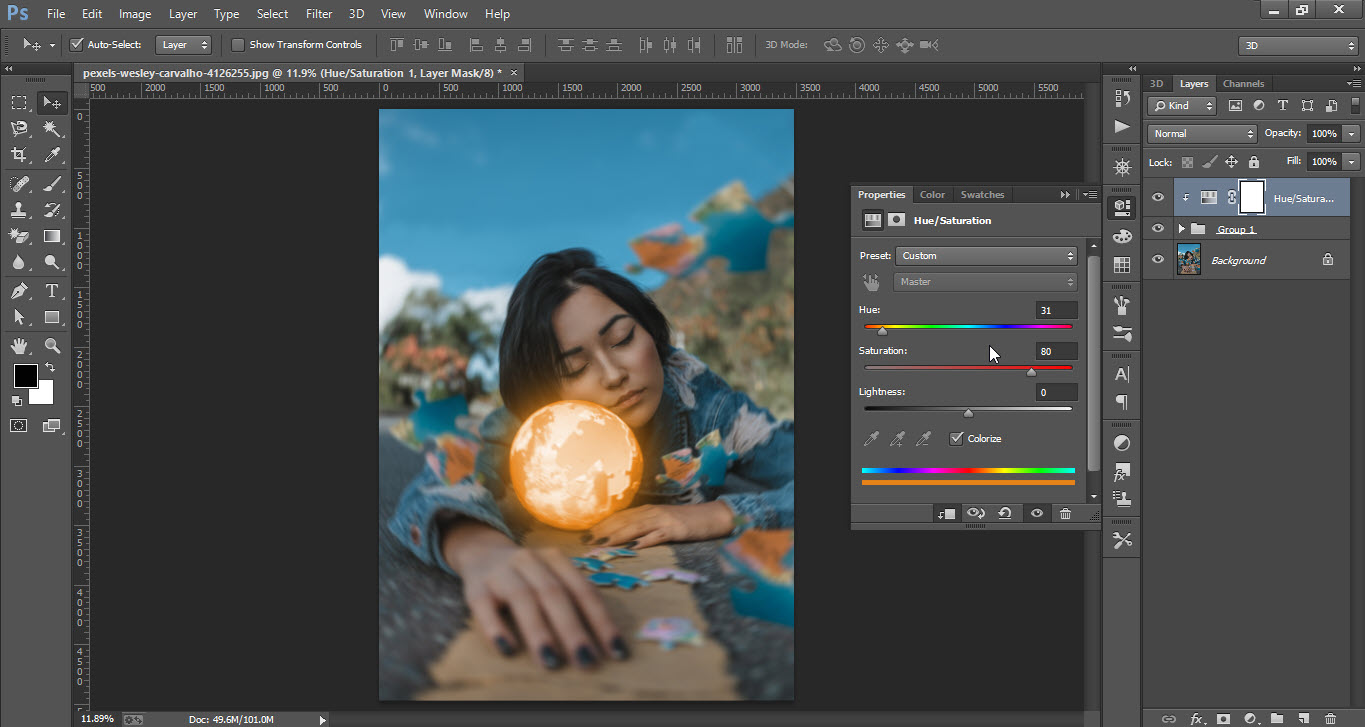
- Change the “Hue, Saturation & Lightness” sliders to adjust the color.
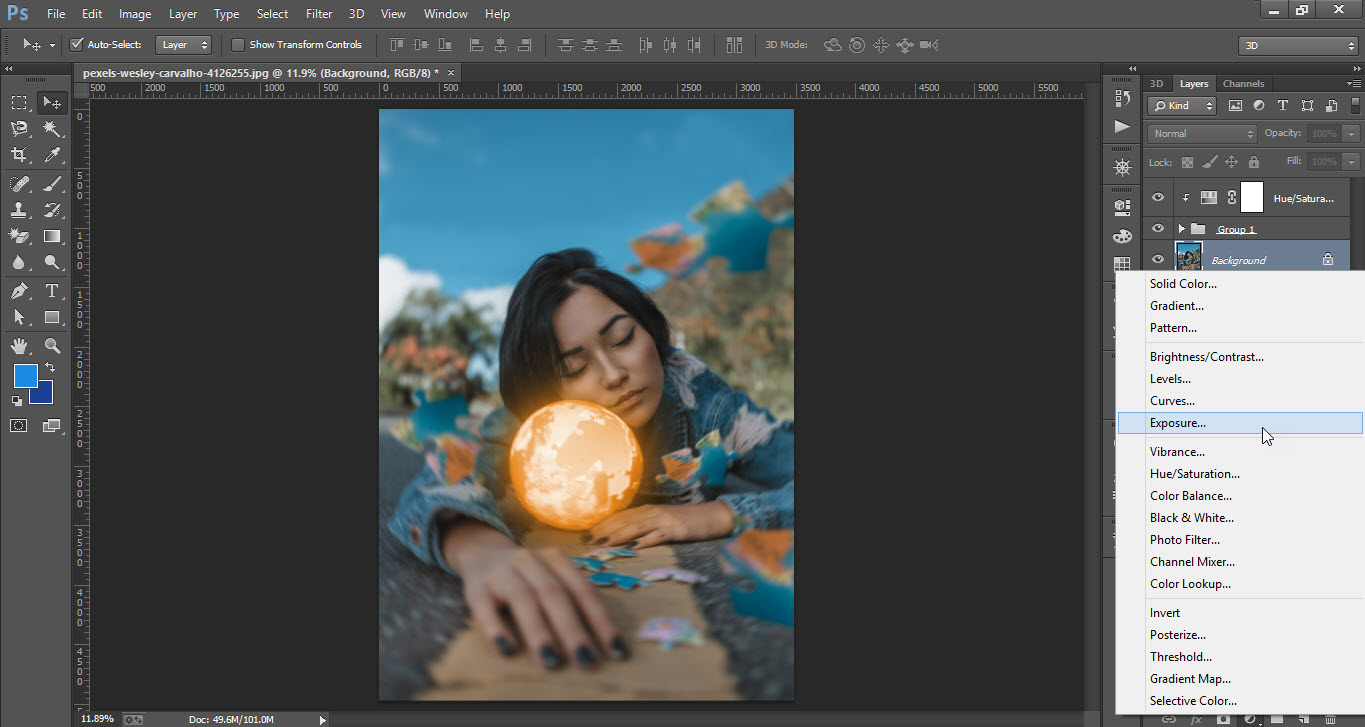
- Now select the “Orignal Image Layer” and open the “Adjustment Layer” menu.
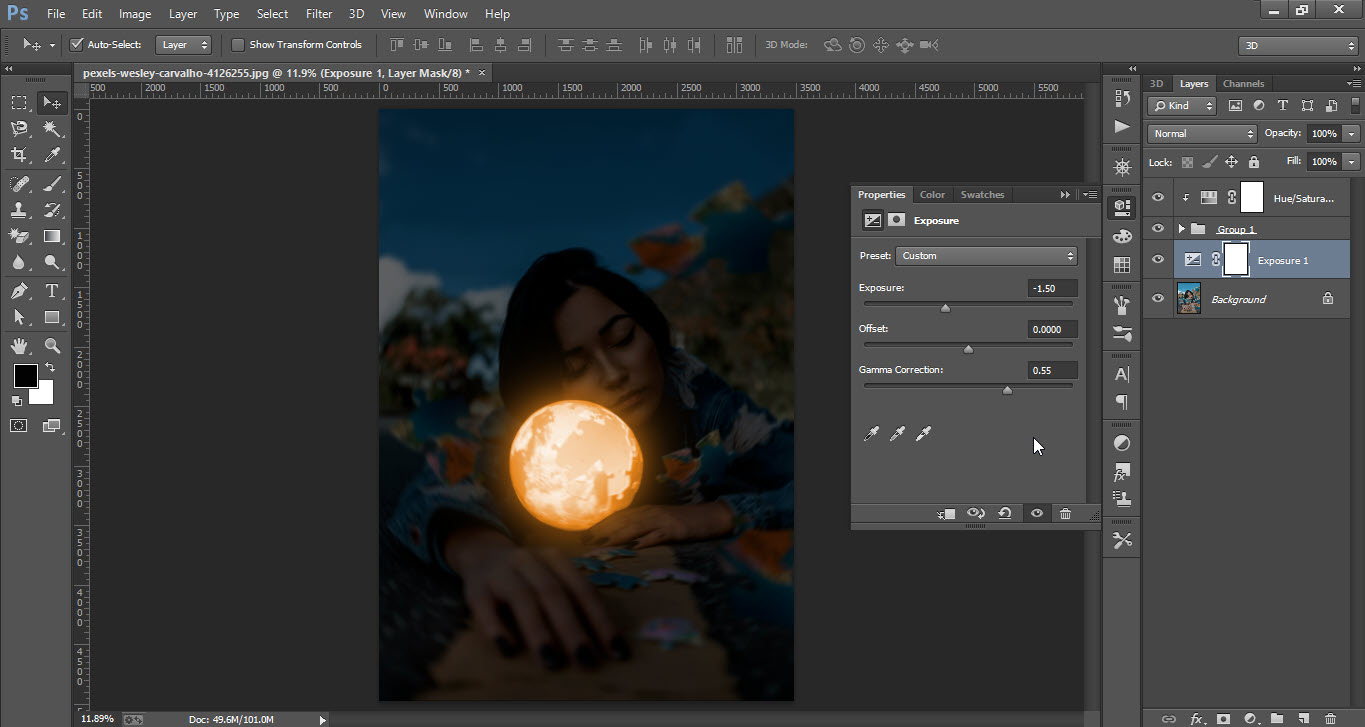
- Click on the “Exposure” option and change the sliders according to your requirement.
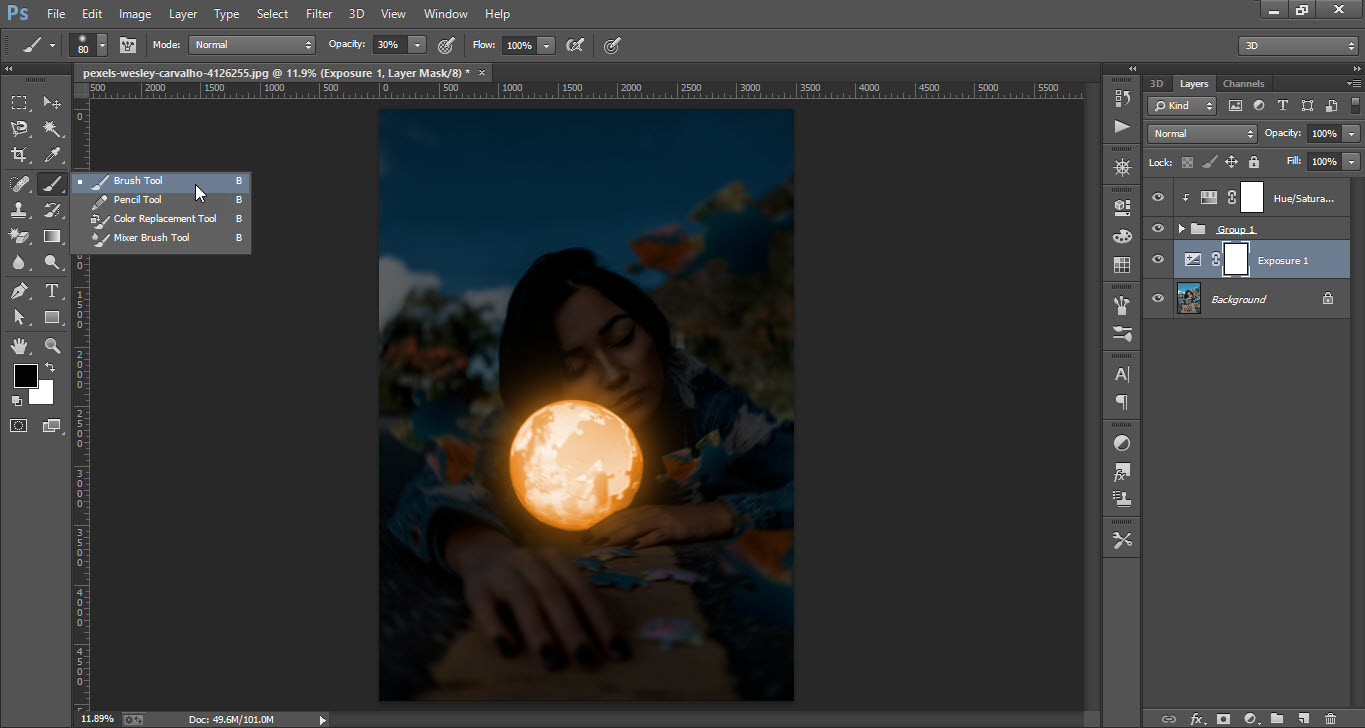
- Take the “Brush Tool” from the “Tools Bar”, Make sure that the color you selected is black.
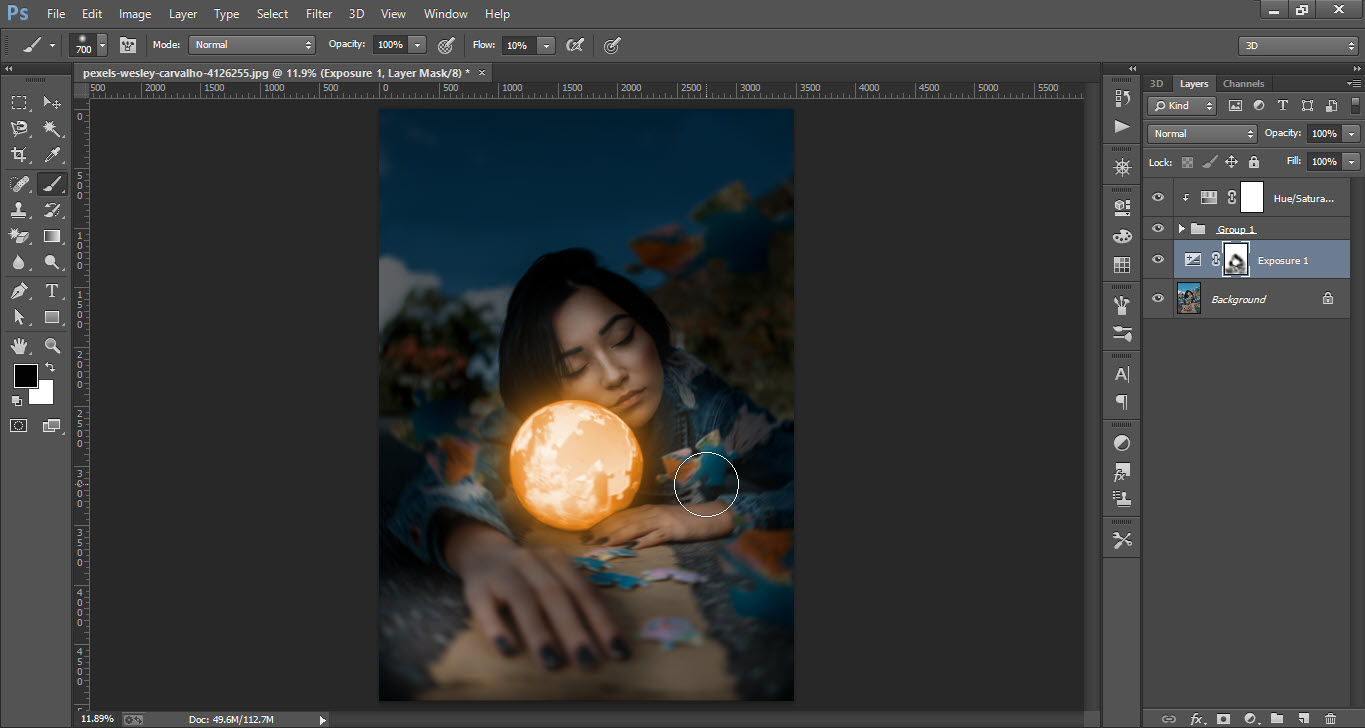
- Now start brushing around the “Glowing” object.
- Press “Ctrl+J” to make a copy of the “Exposure Layer” and select the “White” color.
- Again start brushing around the glowing object to create a lighting effect around the object,
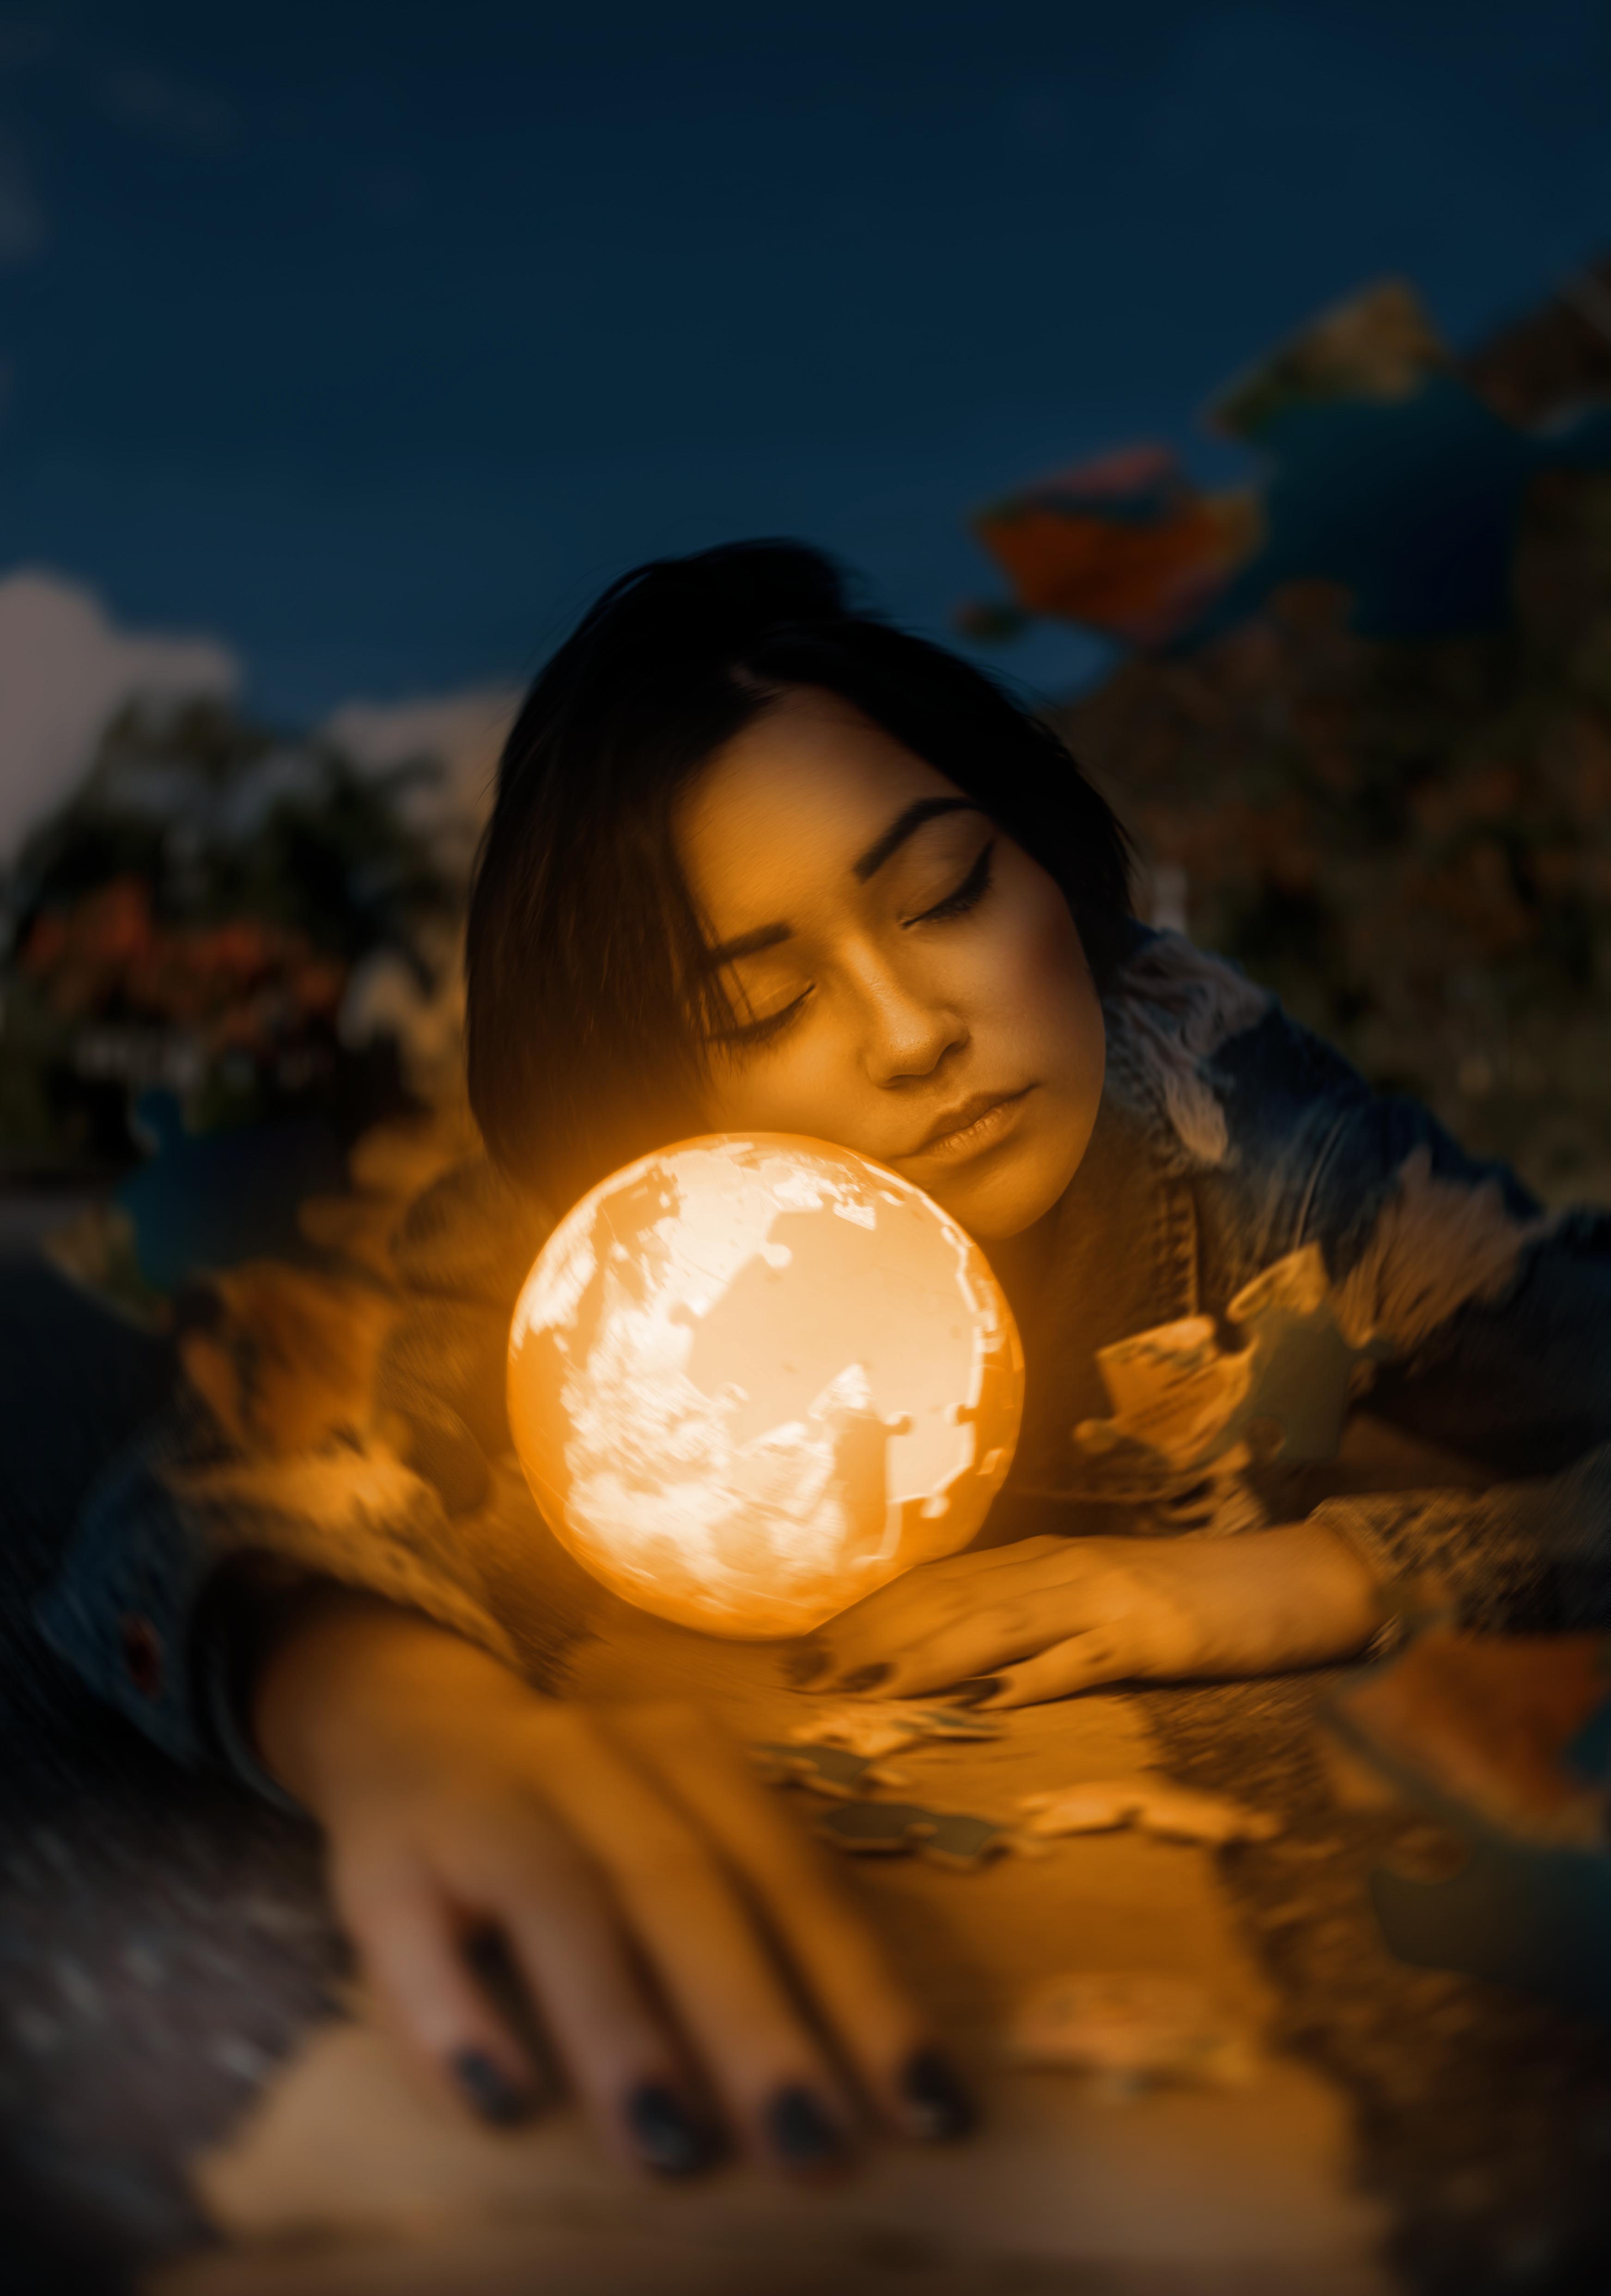
- Finally, your image is ready with a glowing effect.

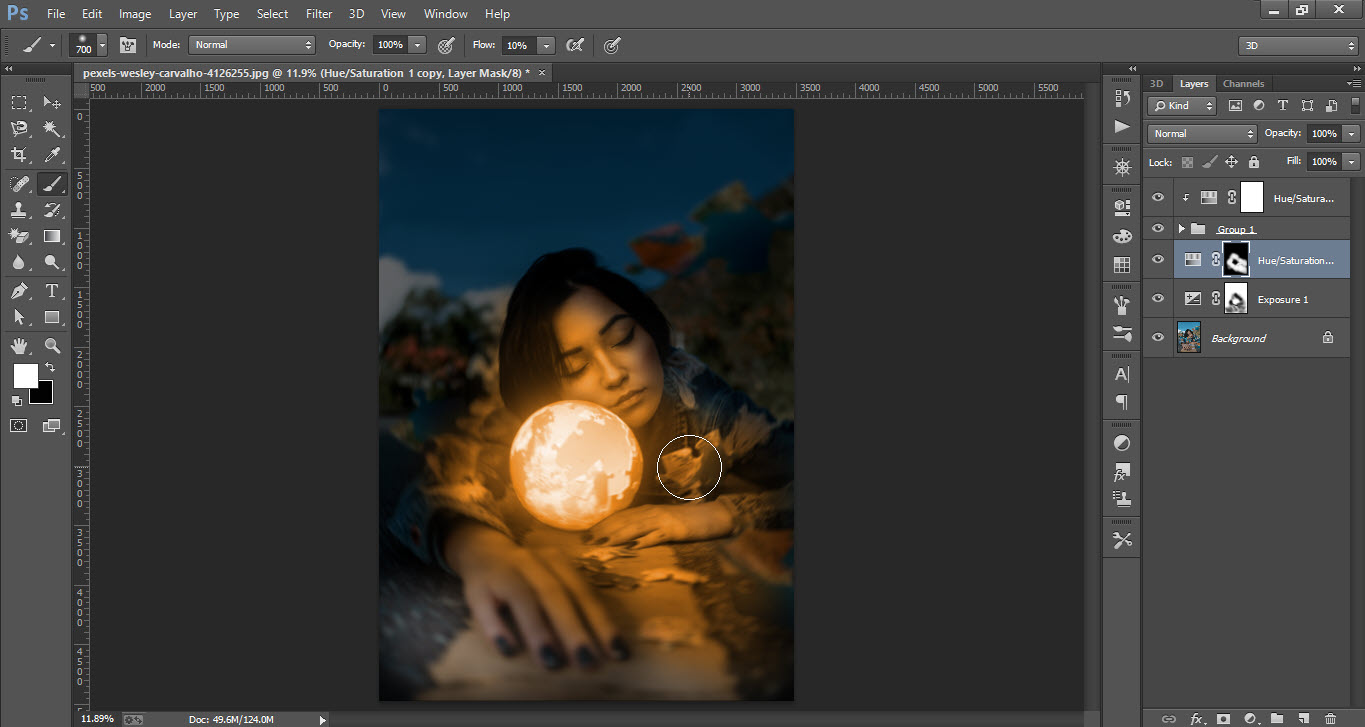
This is how the final result looks like