Hello!! Thanks for joining with us again. Guys (and gals too :P), today we are going to show you how to create an iOS 8 type flat icon Using Adobe Illustrator.
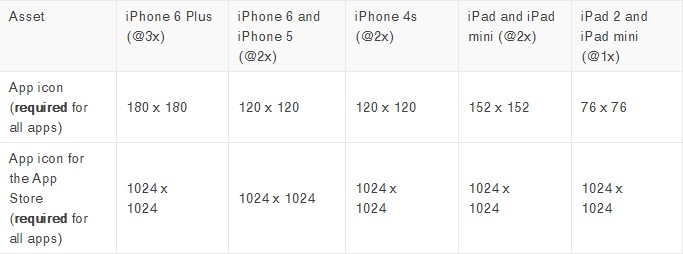
The iOS 8 is the most updated User Interface Method in Mobile App Designing. Now a days most designs and icons used in Mobile UI are flat and the Icons are also flat. If we talk about the icon sizes that are used in Mobile UI designing, they are:
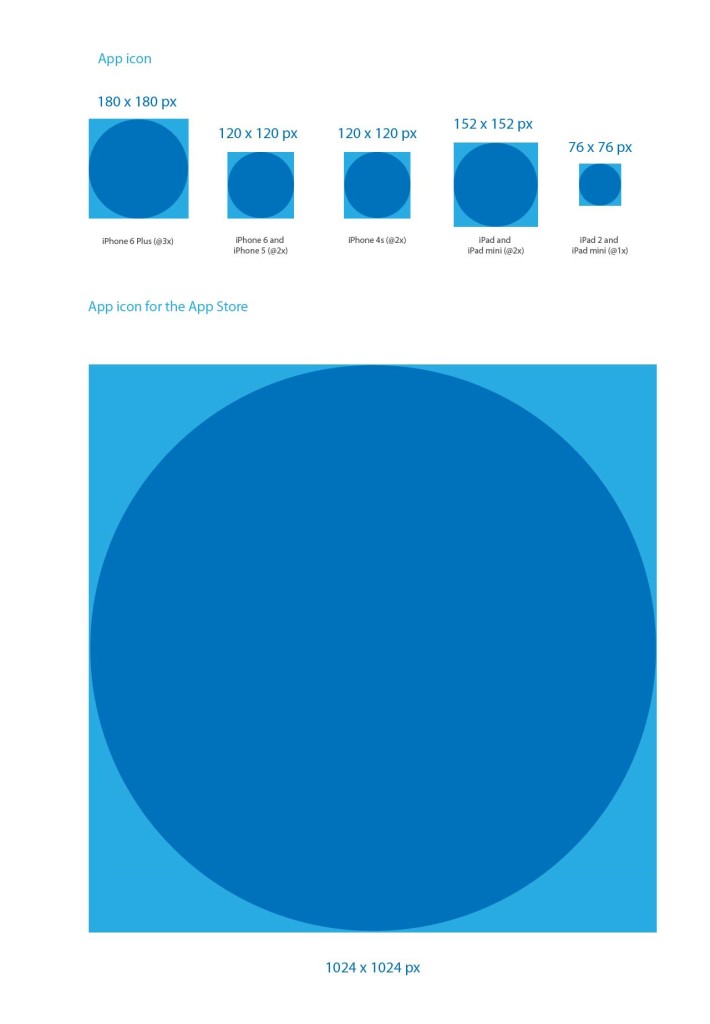
Step 01
- Open Adobe Illustrator and create a new document of 1280x800px art board, and save it as app icon .ai.
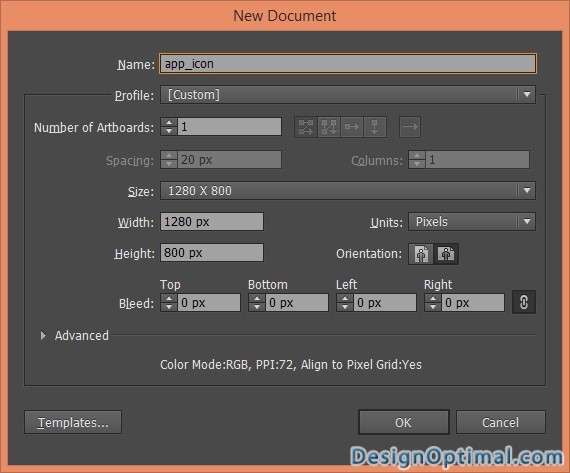
Step 02
- Now after creating the Document we will start creating the app icon.
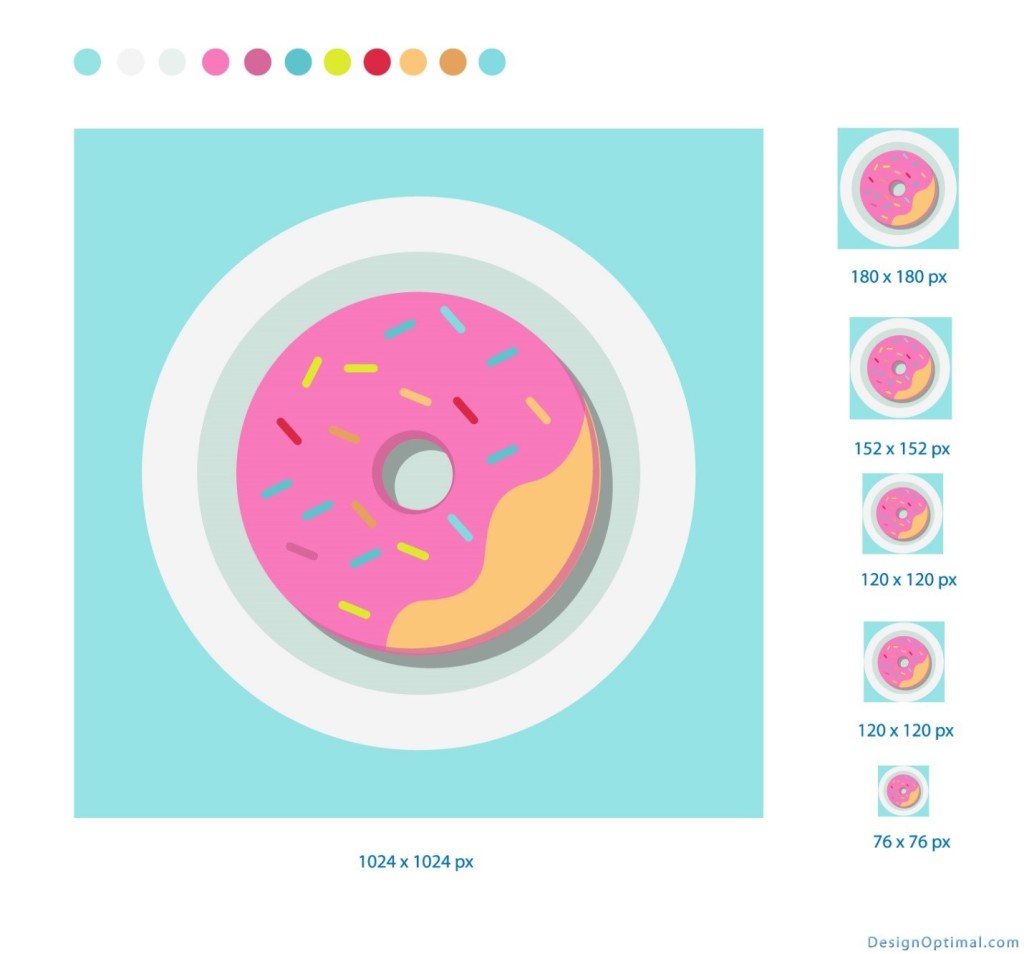
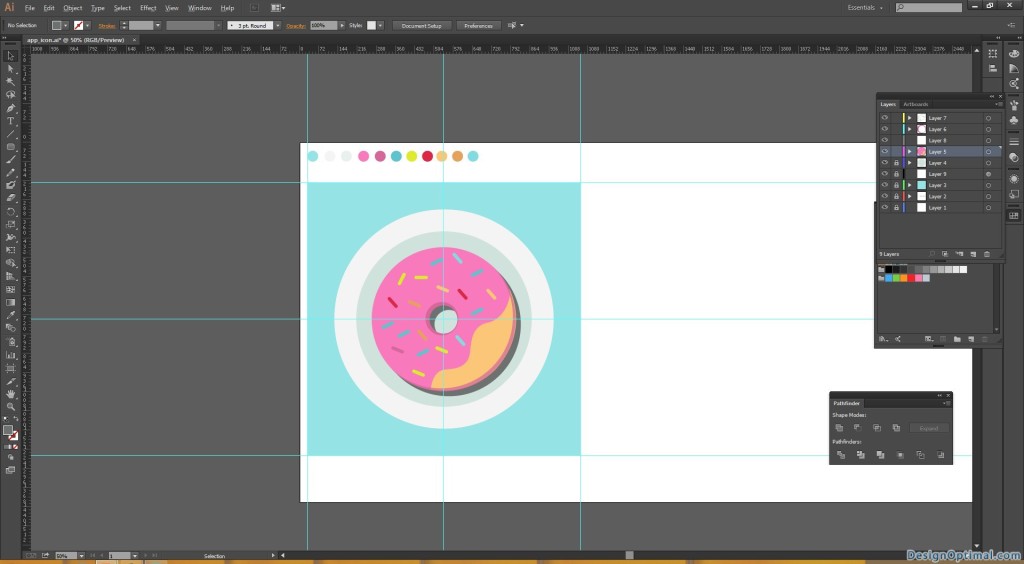
- The icon will be doughnut icon with flat colors. The color pallet that we use is shown below.
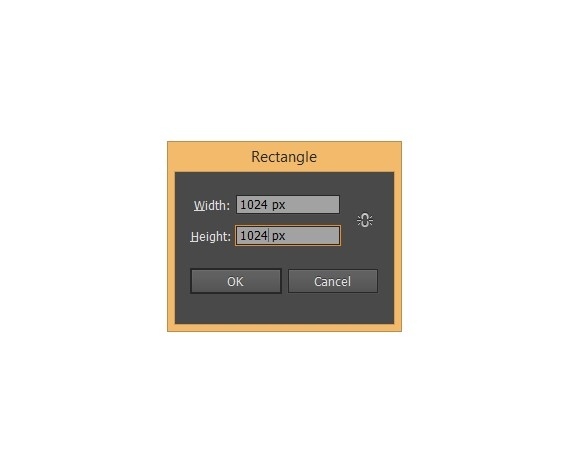
- We will create the icon in to 1024x1024px. Get the rectangle tool and double click it.
- Then the in the pop up box give the amount as 1024px by 1024px.

Step 03
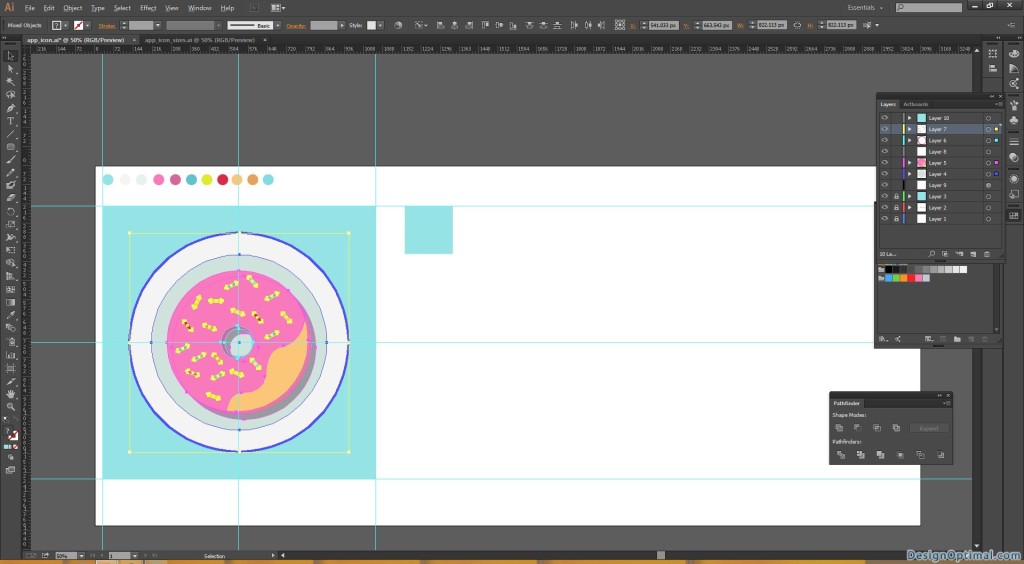
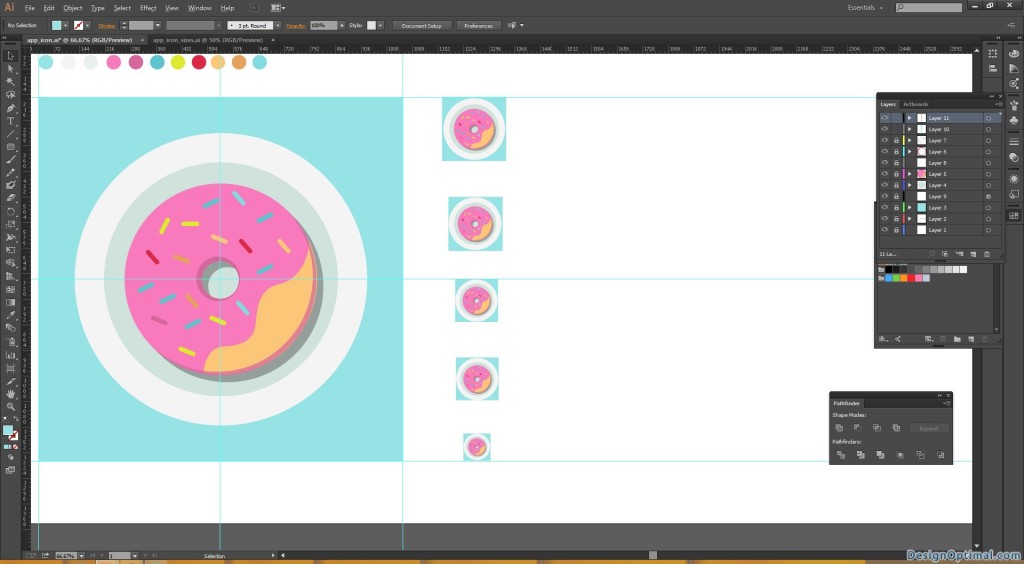
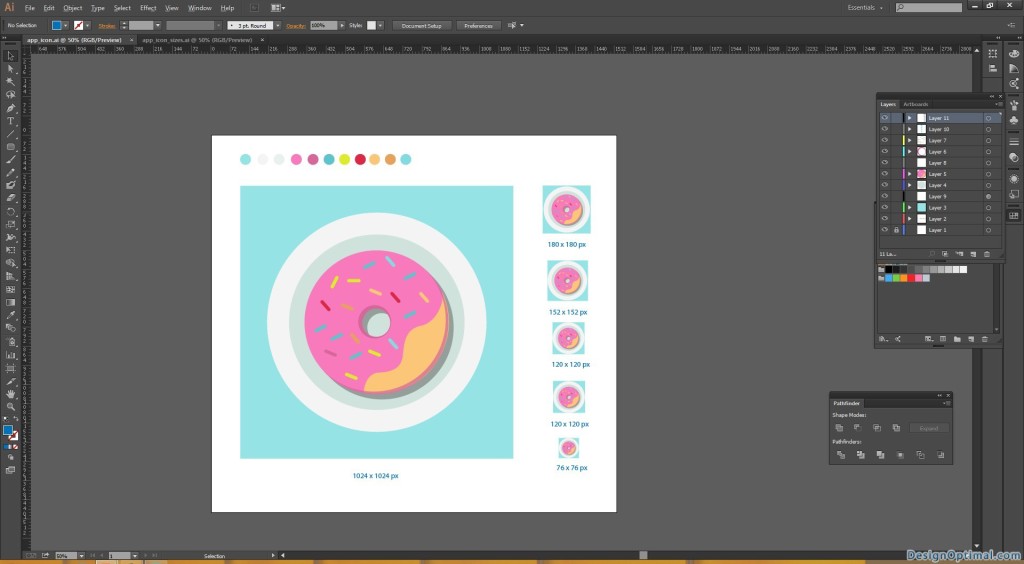
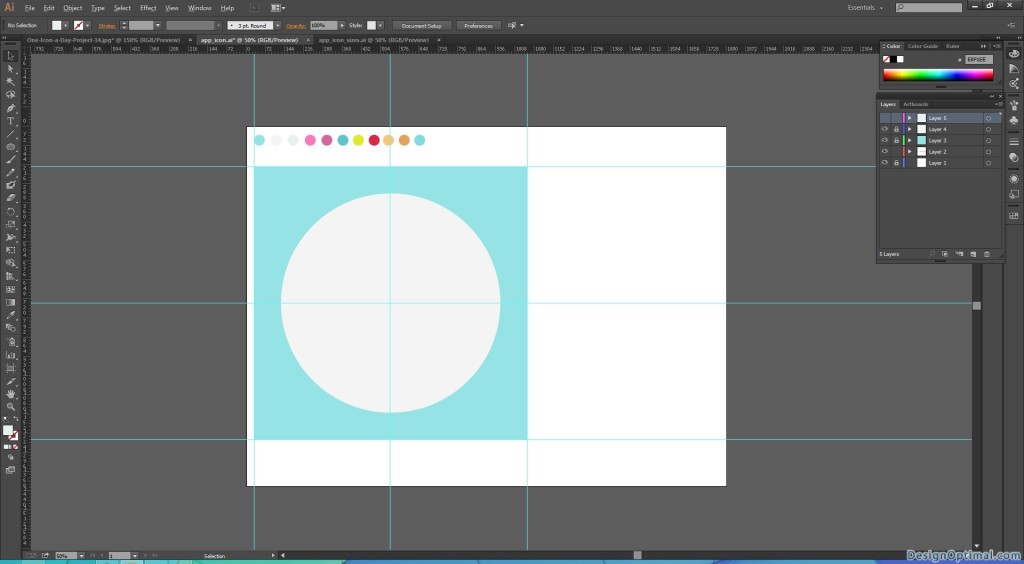
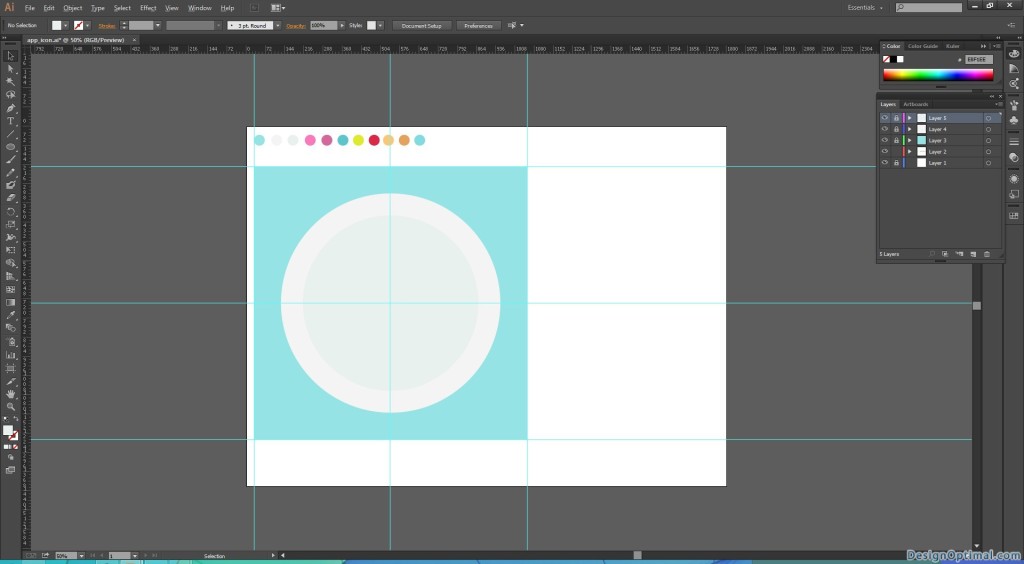
- After creating the 1024px icon size I had to change the document size in to 1800px x 1350px.
- Next fill the rectangle #95E3E5.
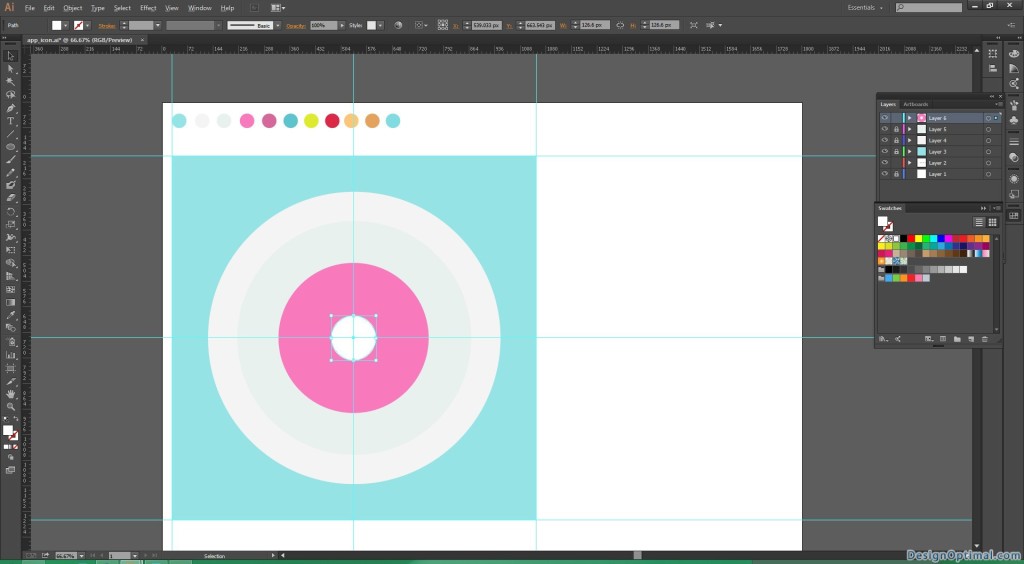
- Now Create a Small round in the middle and fill it with white color.
- Next make another circle in the middle of the white circle about 80% of it and fill it with #E8F1EE.
Step 04
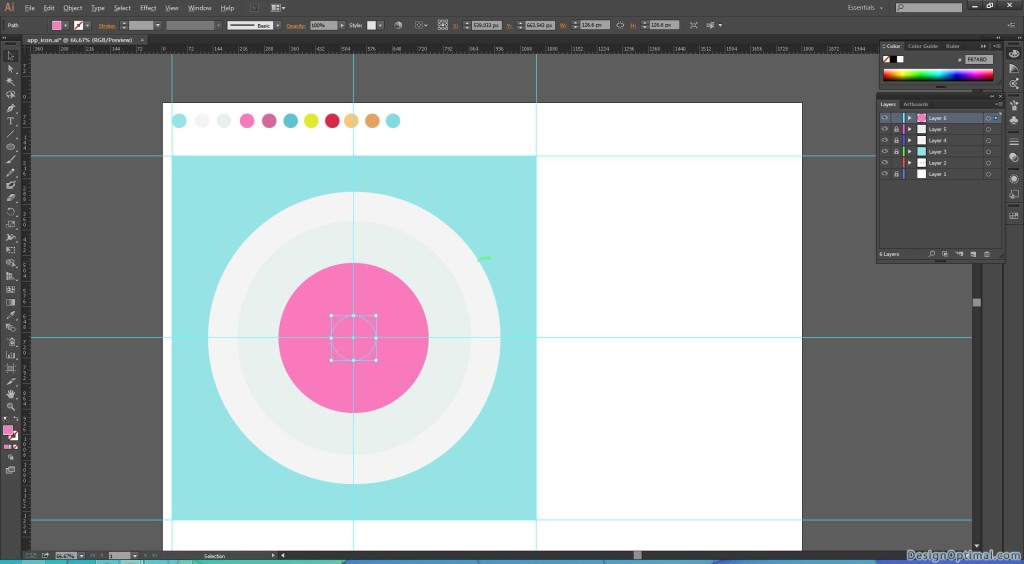
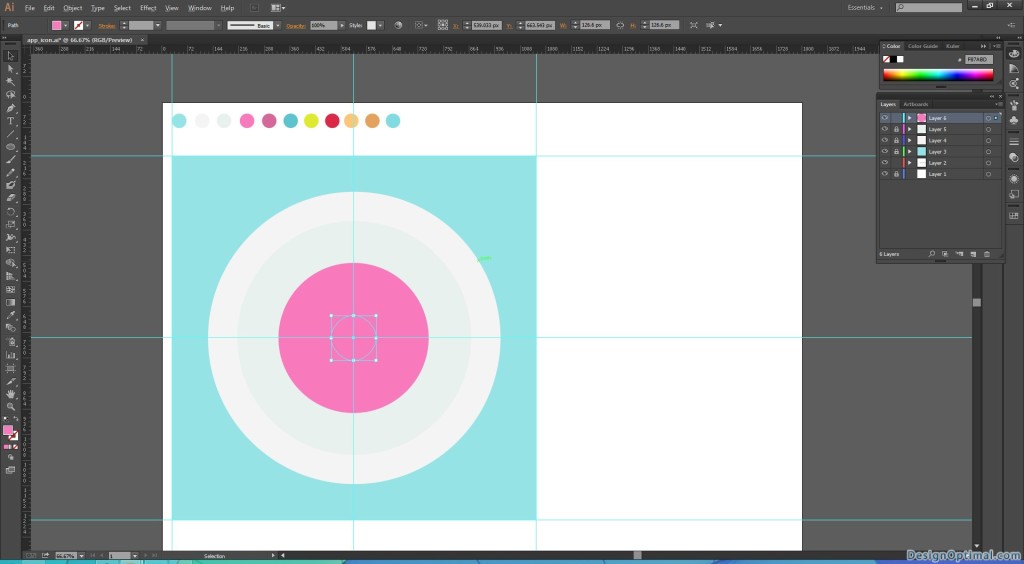
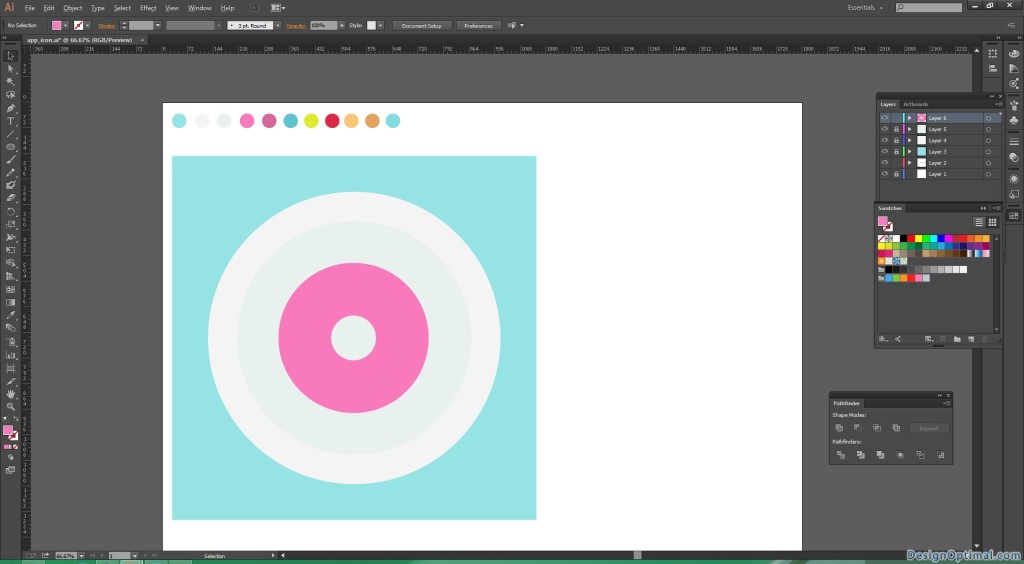
- Next draw another small circle in the middle of the newly created circle, this is going to be the shape of doughnut.
- Fill it with #F87ABD.
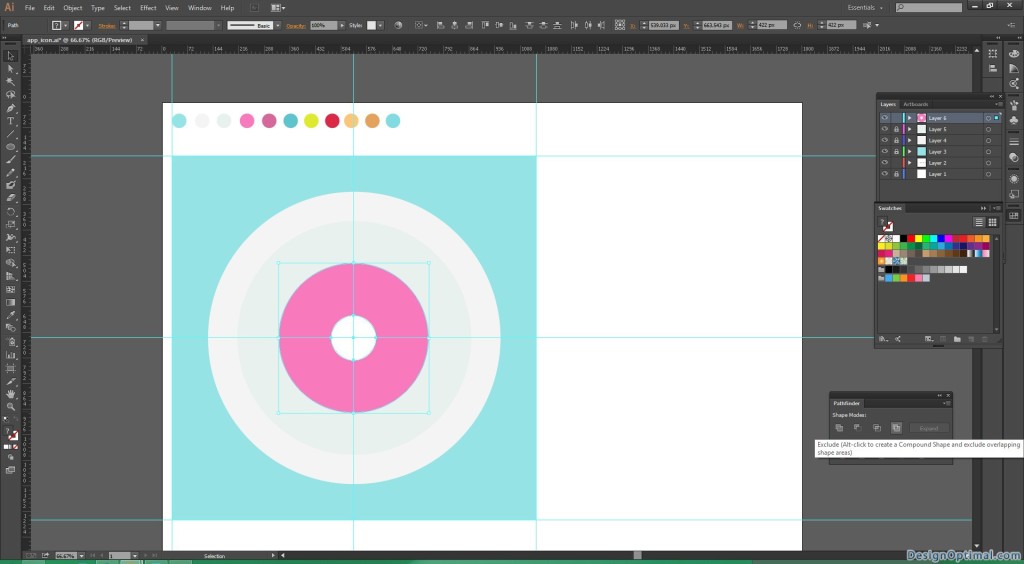
- Next make another circle in the middle of the doughnut shape around 30% of the pink color circle.
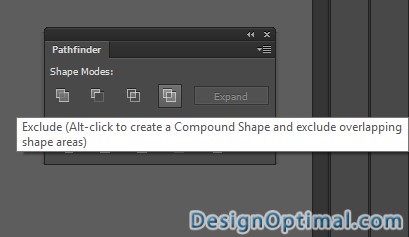
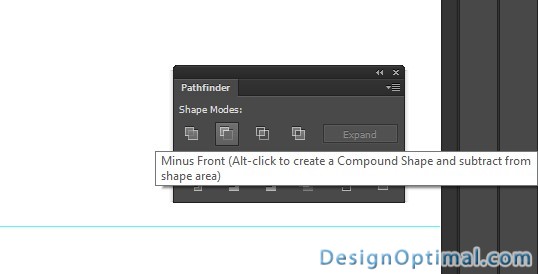
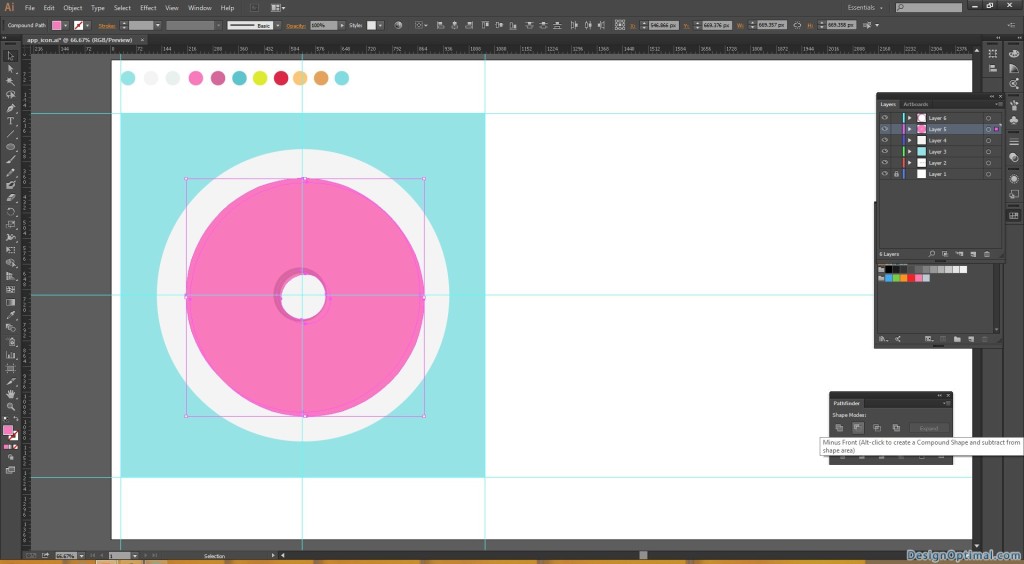
- Next with the pathfinder tools make a hollow with in the shape.
Step 05
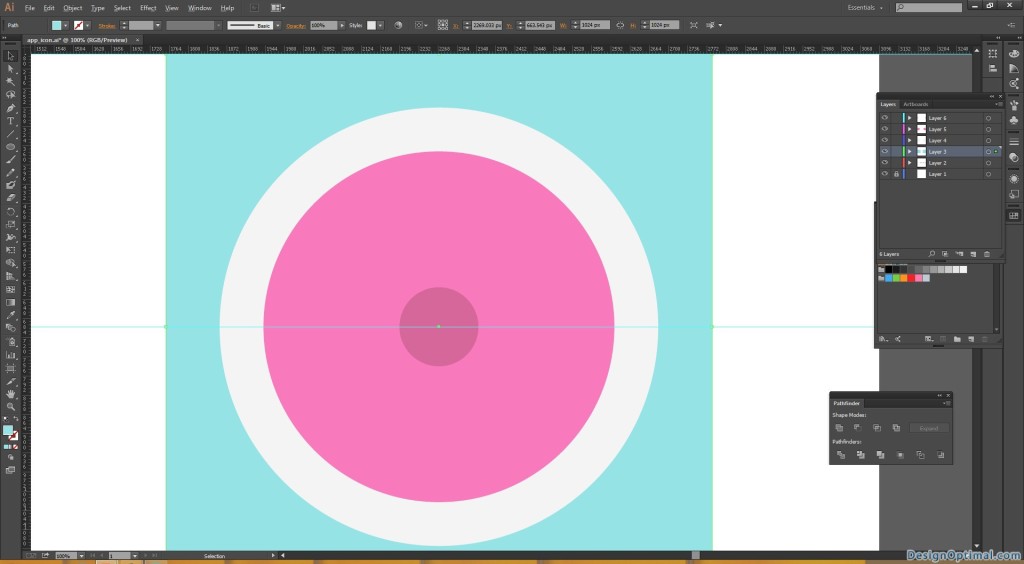
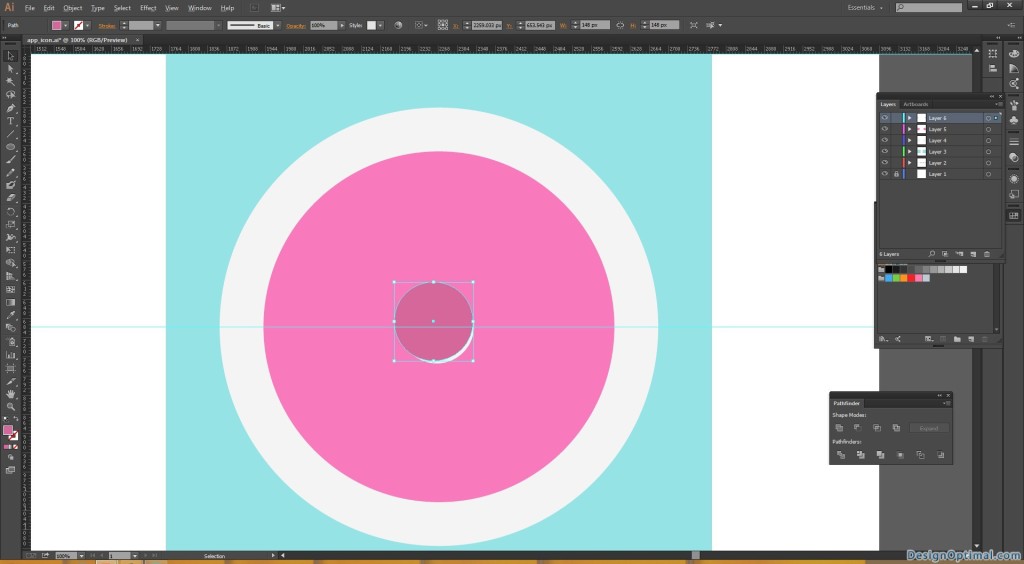
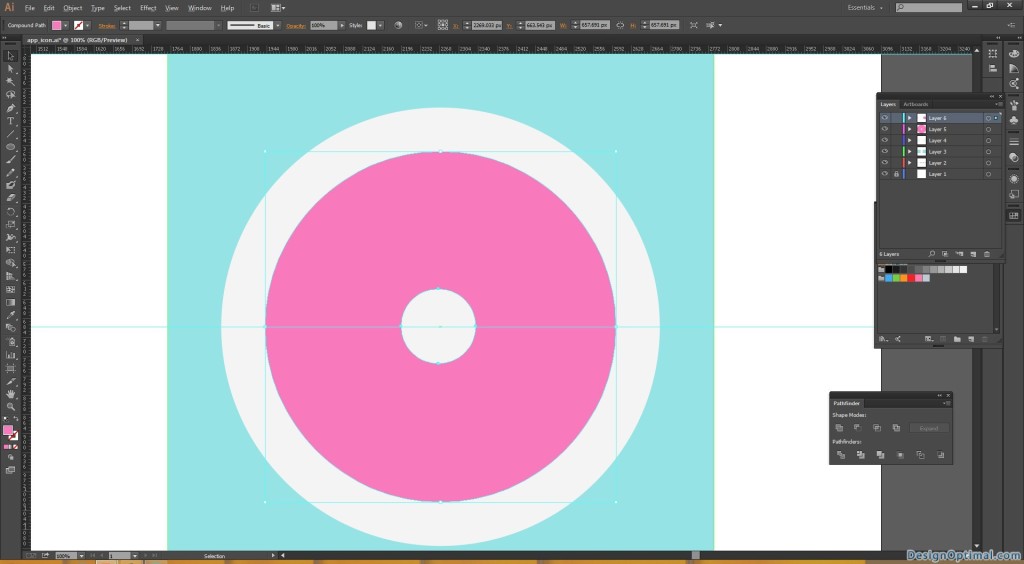
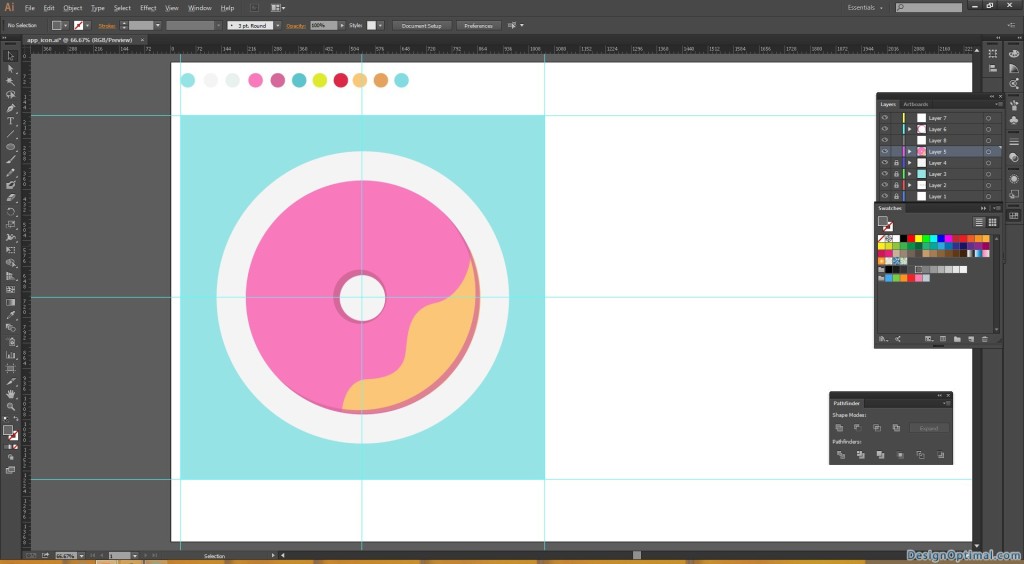
- Next we will make another circle with the dark pink color fill it with #D6679B.
- Next move the circle bit left and bit up from the middle of the shape.
- Next copy the main light pink color circle shape and keep it.
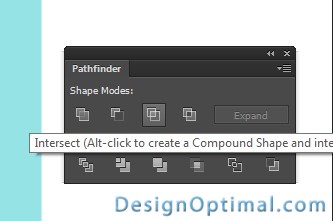
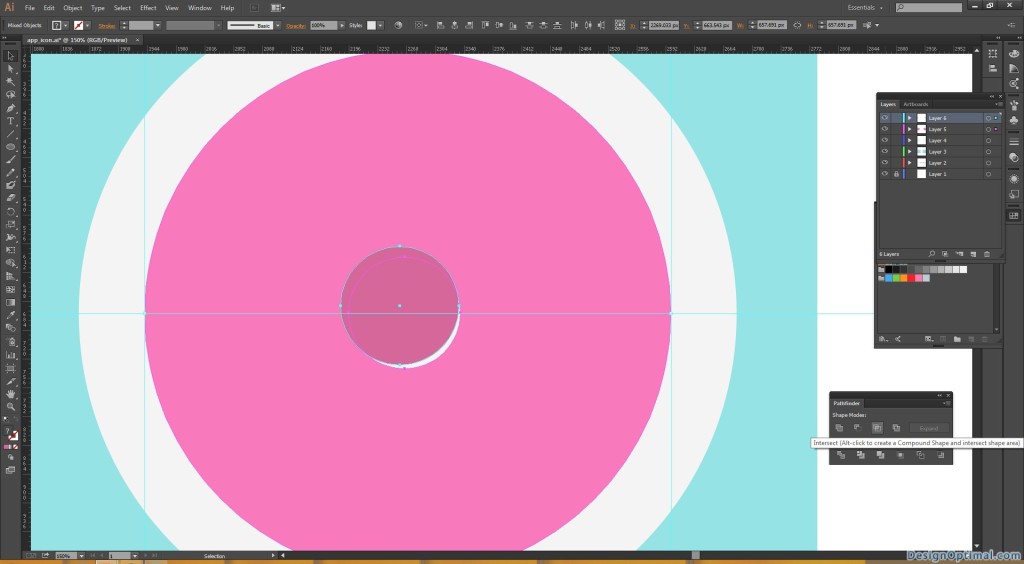
- Next with pathfinder tools, remove the excluding area from the main pink circle.
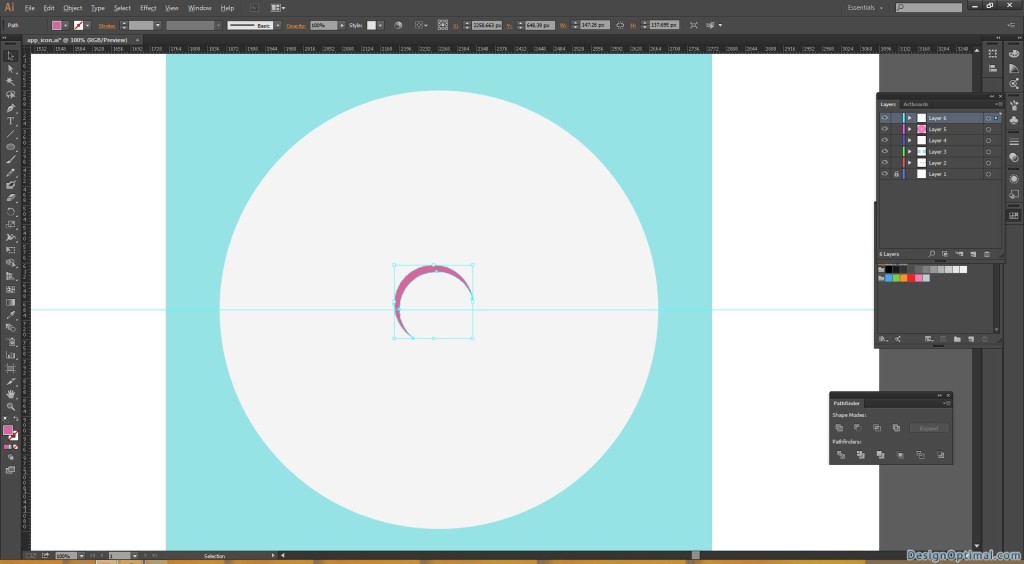
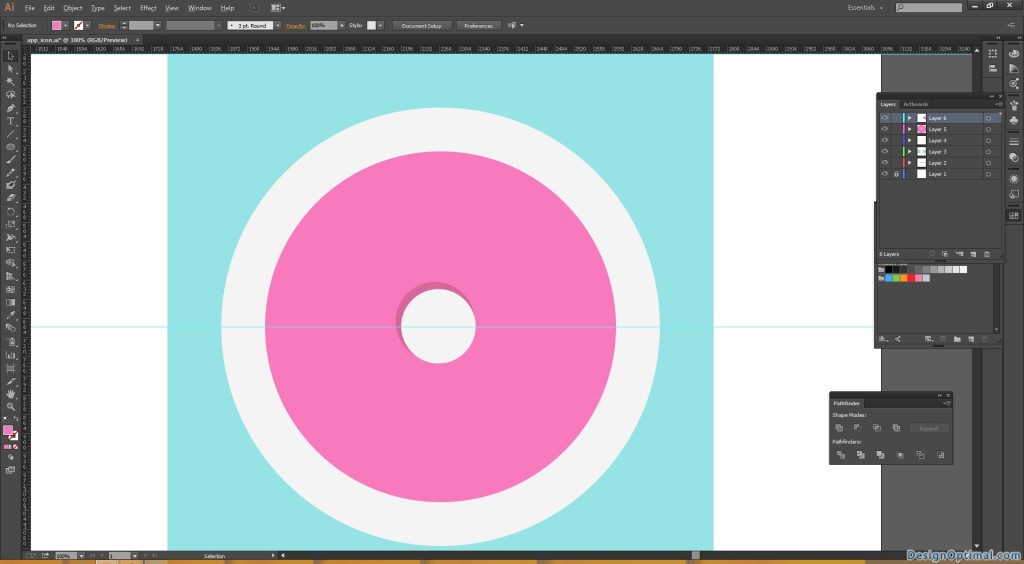
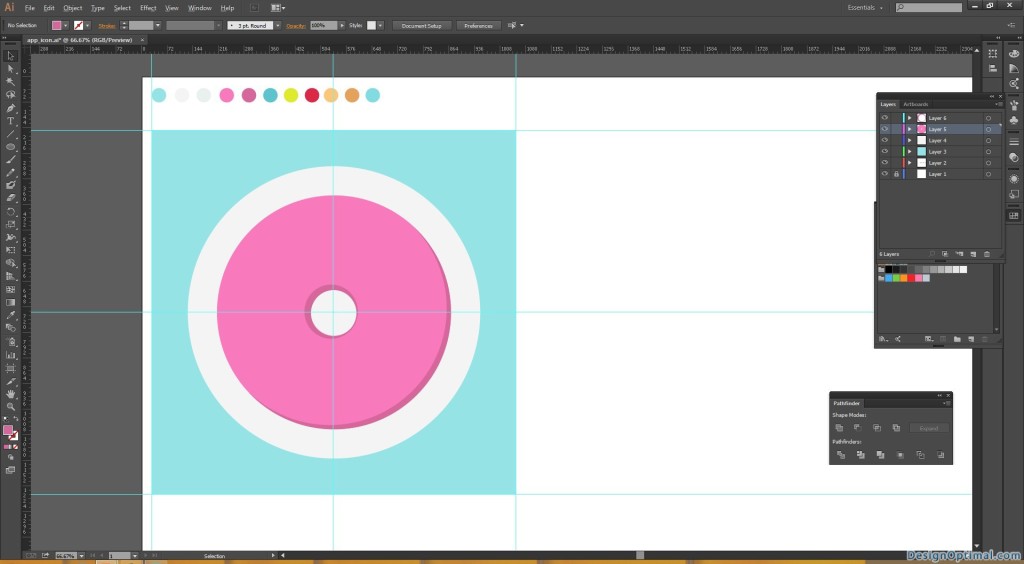
- Then again paste the copied pink circle again and send it to back when this is done, you can have a dark pink colored shadow circle in the middle of the large pink circle.
Step 06
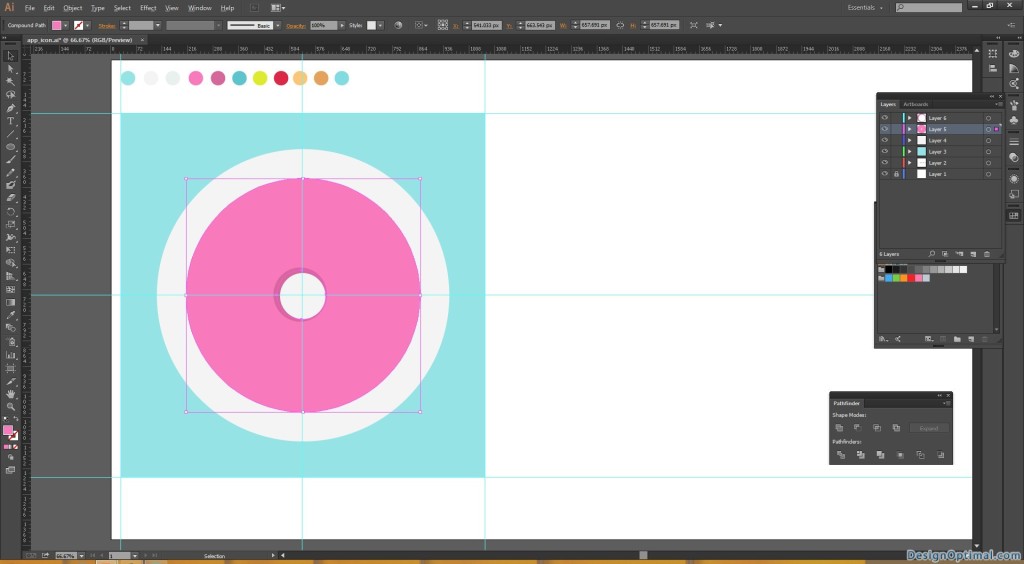
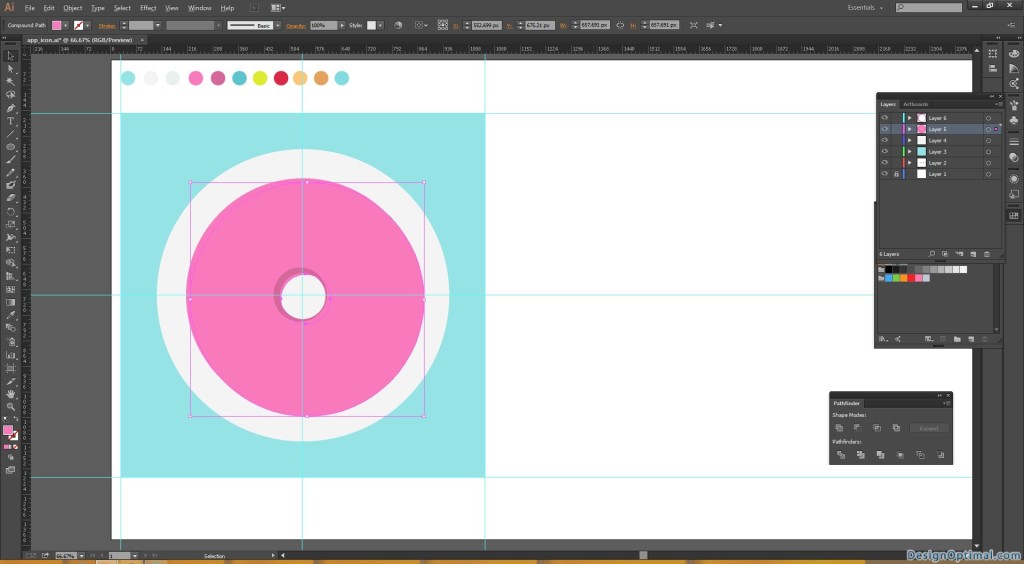
- Next copy the main light pink colored circle and go with the previous steps. This will show as the main doughnut shape has a shadow near far right corner of the shape.
Step 07
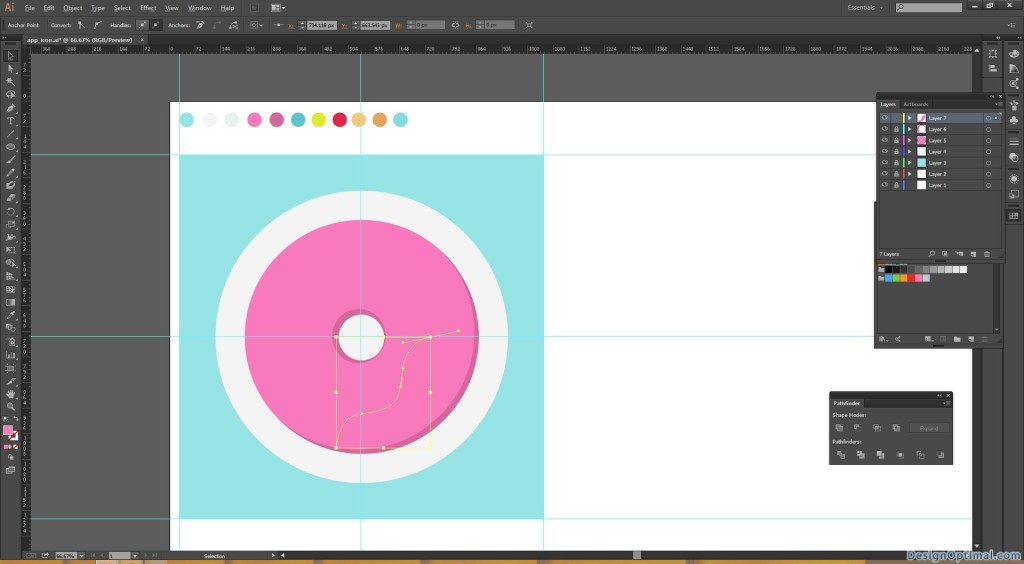
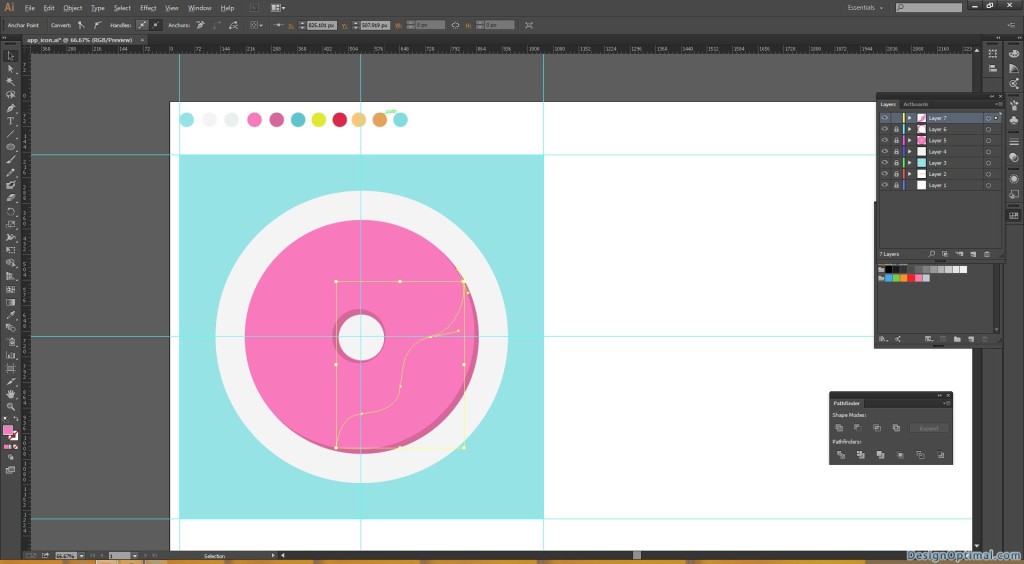
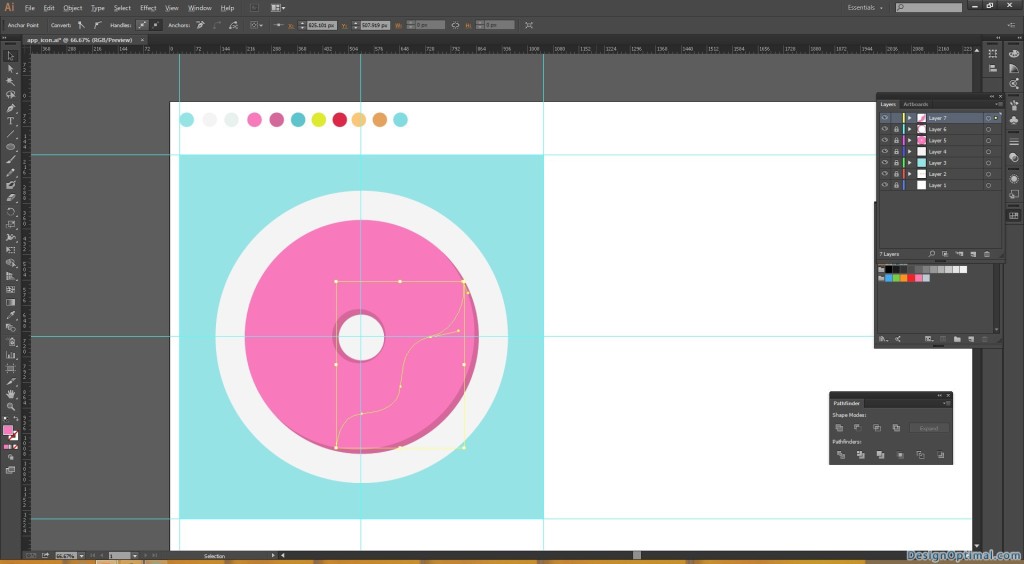
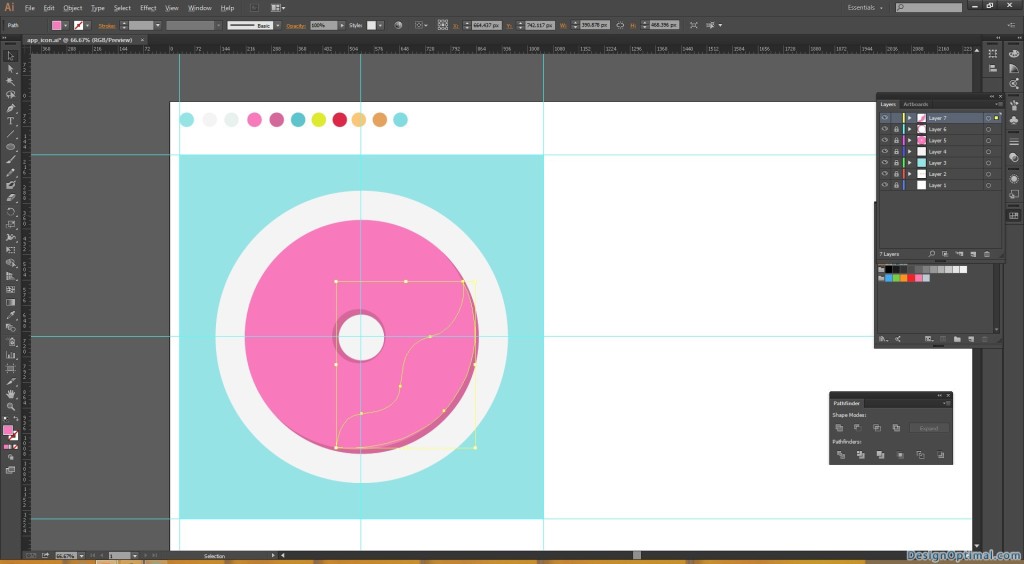
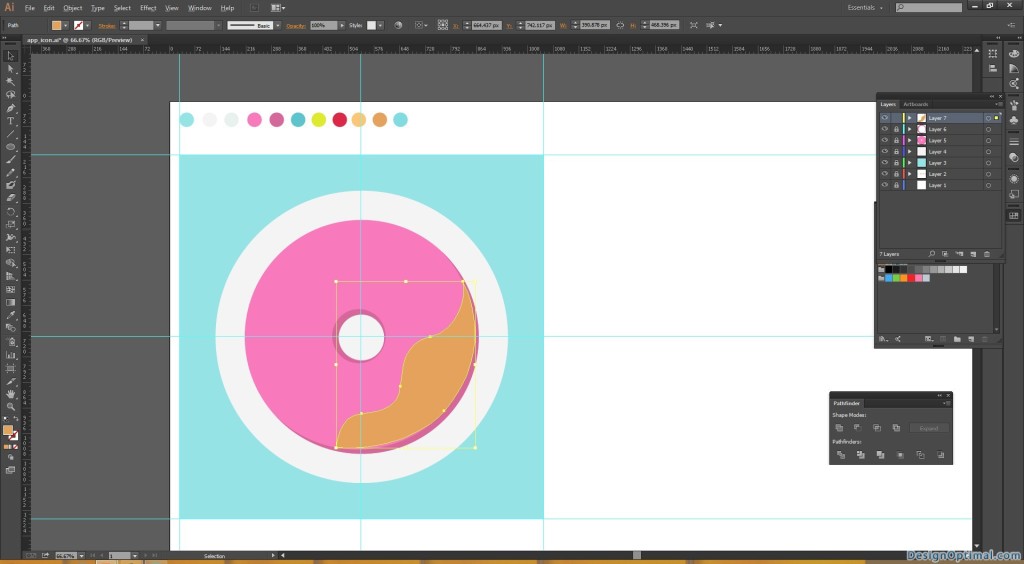
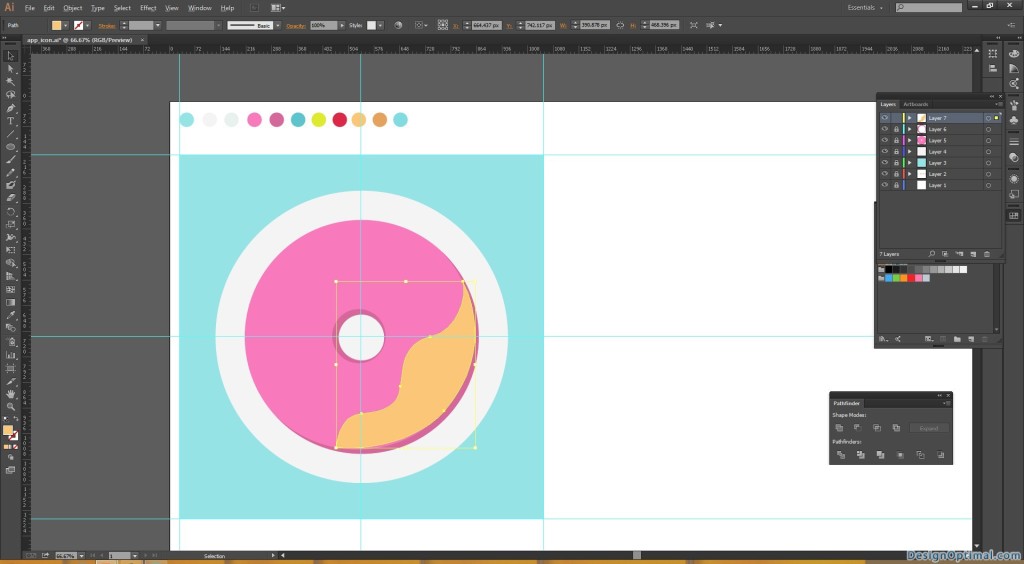
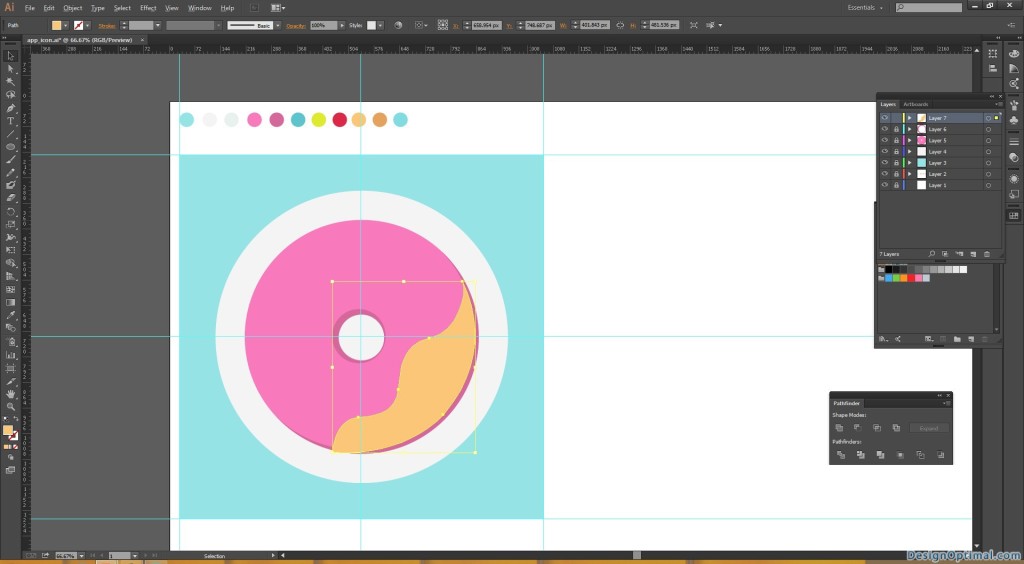
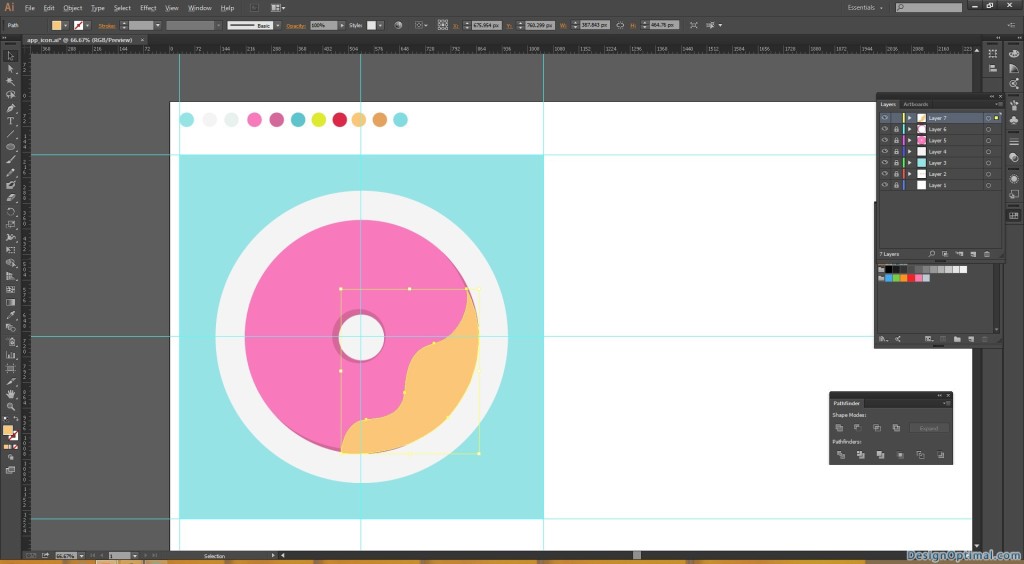
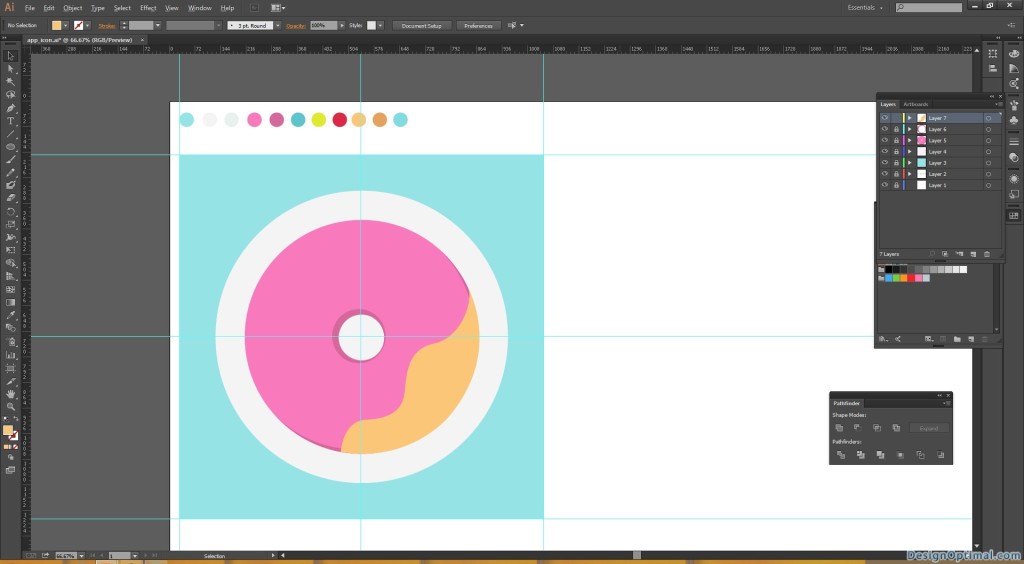
- Next we will add some cream on the doughnut. For this use the pen tool and draw it as shown in next couple of images.
Step 08
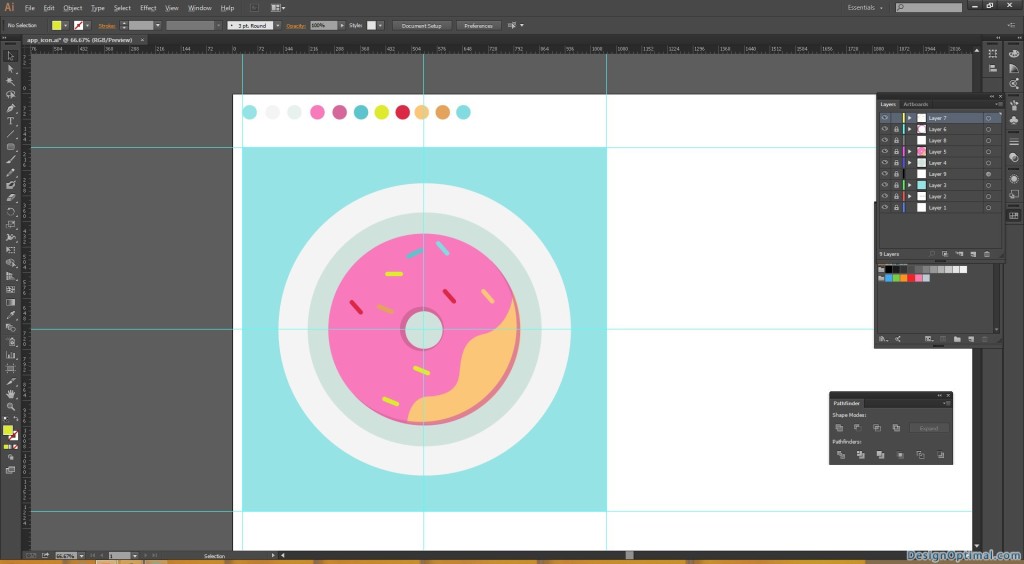
- After that, we will add some sprinkles on the doughnut.
- Get the rounded rectangle tool and start drawing small shapes and fill them with below colors.
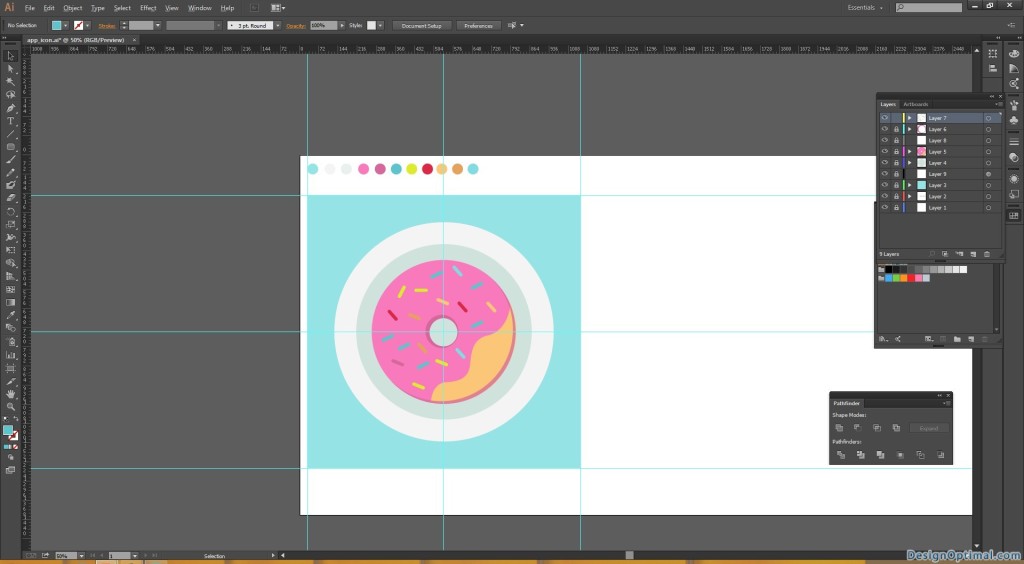
- Make sure to draw sprinkles unevenly on the doughnut surface.
Step 09
- As for the final step in creating the doughnut icon we will have to add a small shadow in the plate where the doughnut is kept.
- The steps are the same as the time we added a shadow to the doughnut center but only thing the size is different.
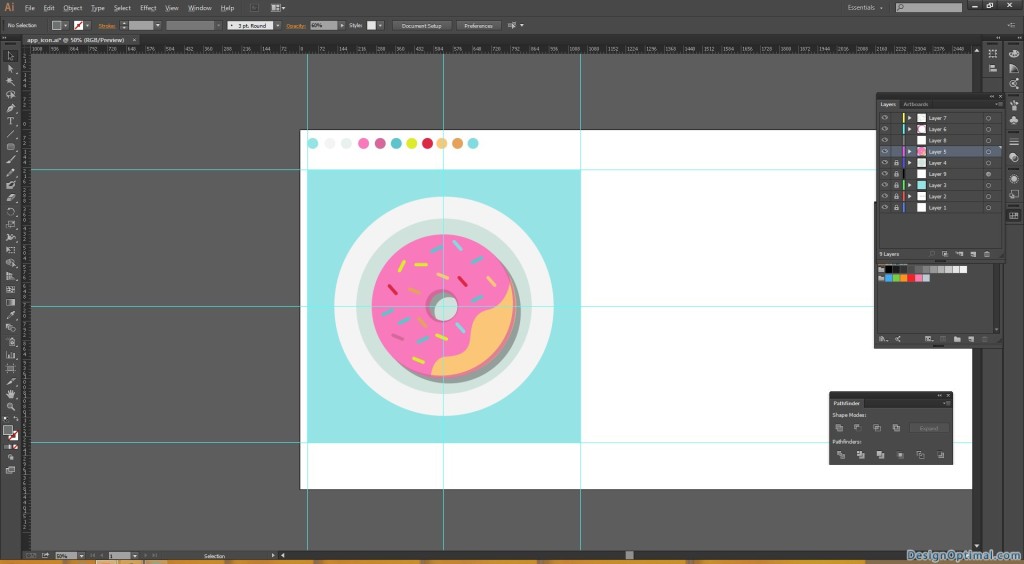
Step 10
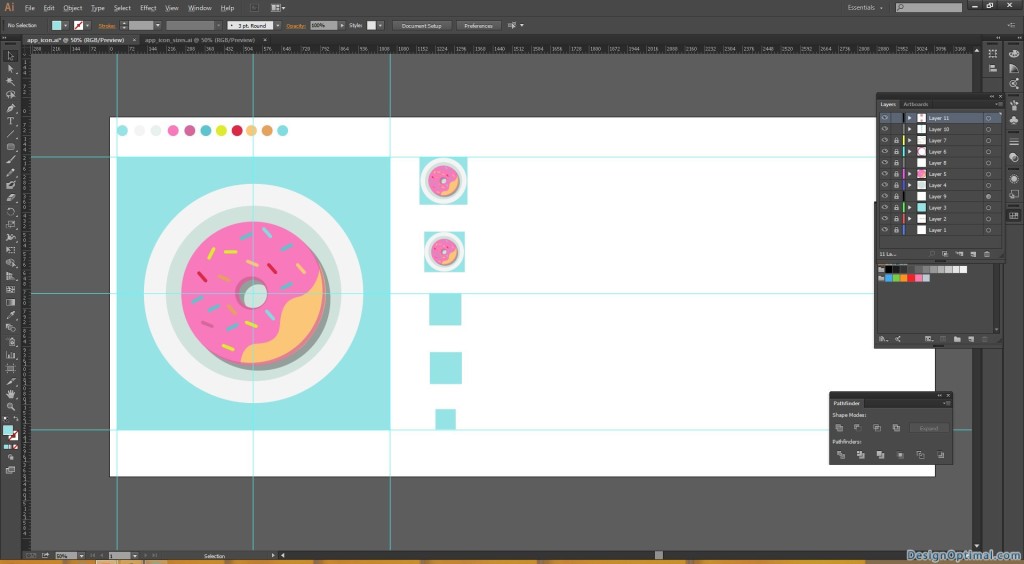
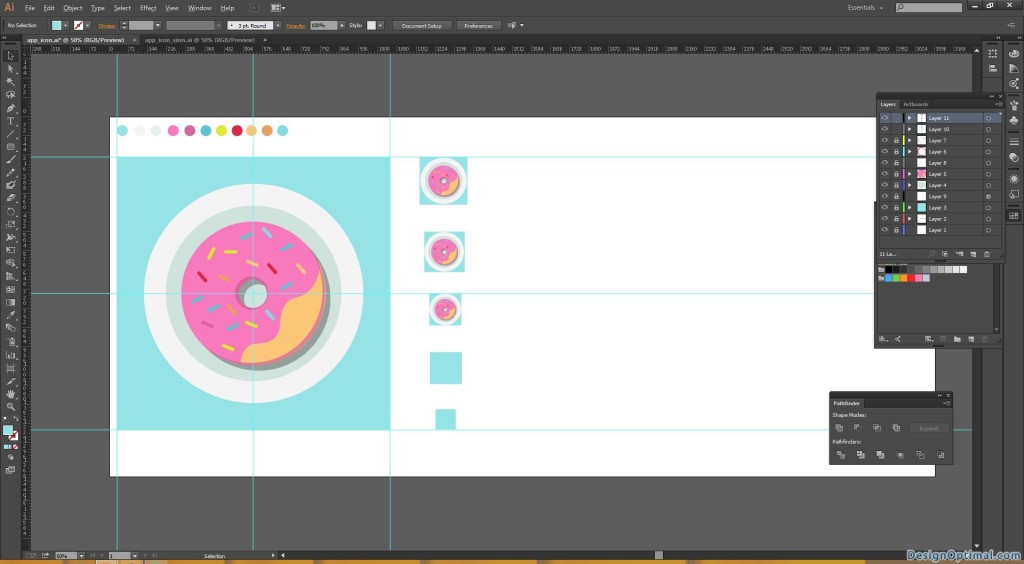
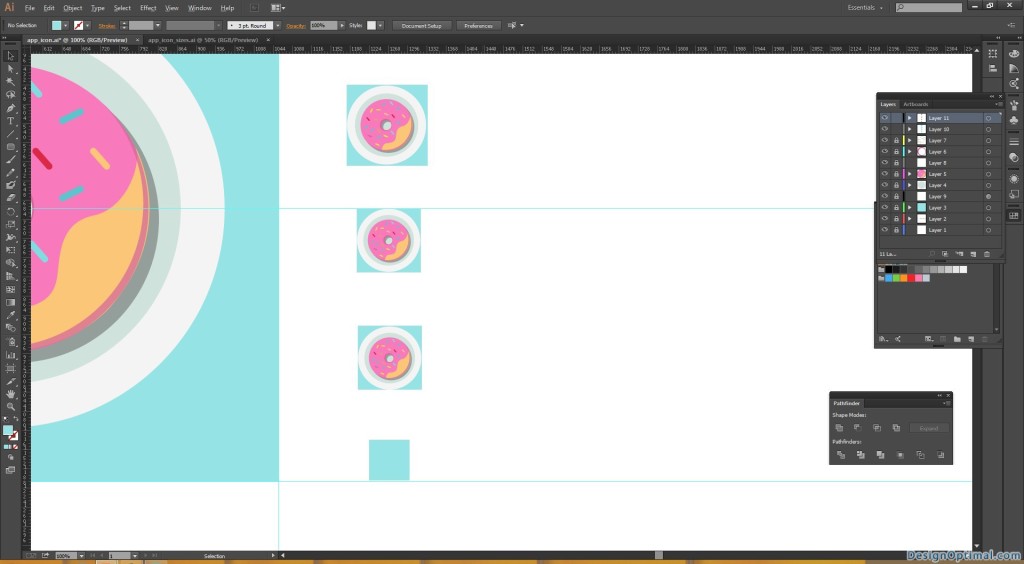
- Next we will make the above given sizes of the icon with the doughnut icon that we newly created.
