Hello, guys today we are going to show you “How to Design Pattern in Adobe Illustrator”. In this tutorial, you will learn how to make custom design brushes. Don’t worry if you are new here this is a step by step tutorial also have a screenshot of each step so you can practice it by yourself by downloading the project PSD file.
Pattern Drafting is an important part of fashion designing and requires tremendous skills and practice. Pattern drafting is where pattern pieces are drawn on paper according to body measurement which becomes the base for designers to create garments.
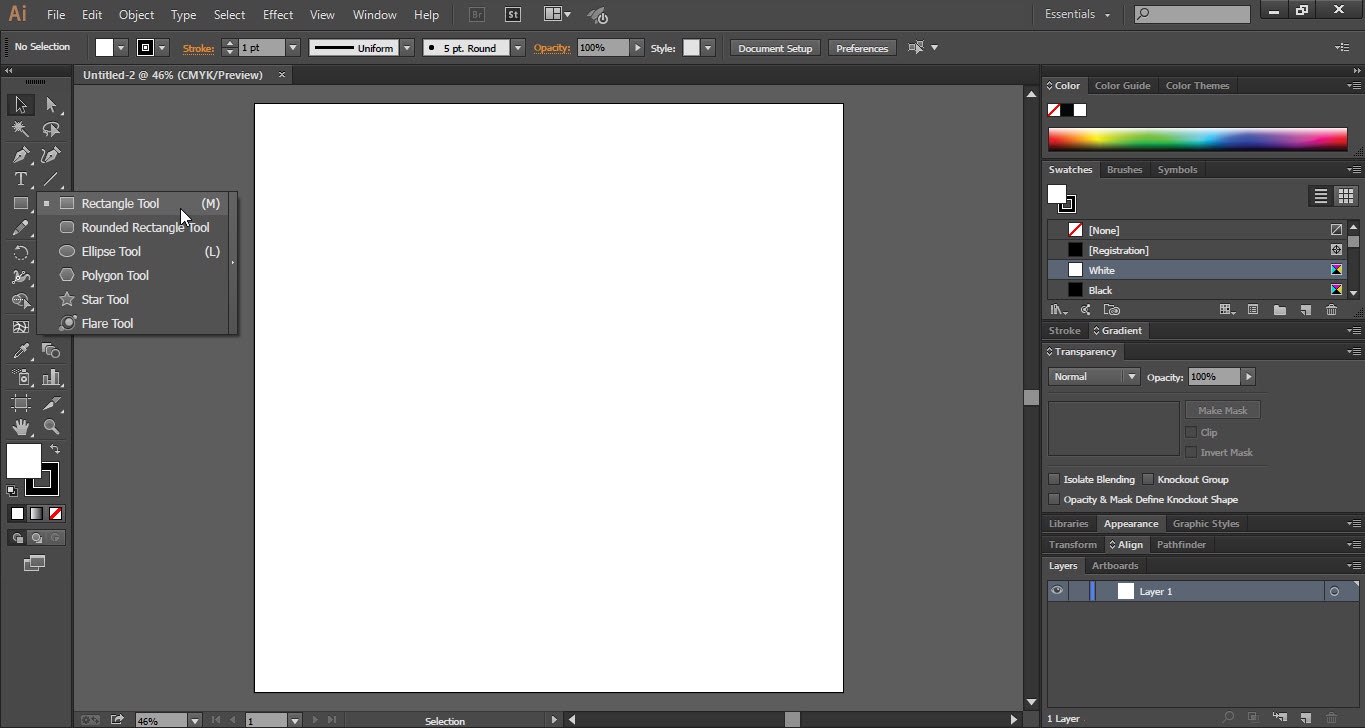
Step 01
- Open the Adobe Illustrator software.
- Go to the “File” menu and click on the “New” option.
- Select the size of the document according to your requirement.
- Take the “Rectangle Tool” from the “Tools Bar”.
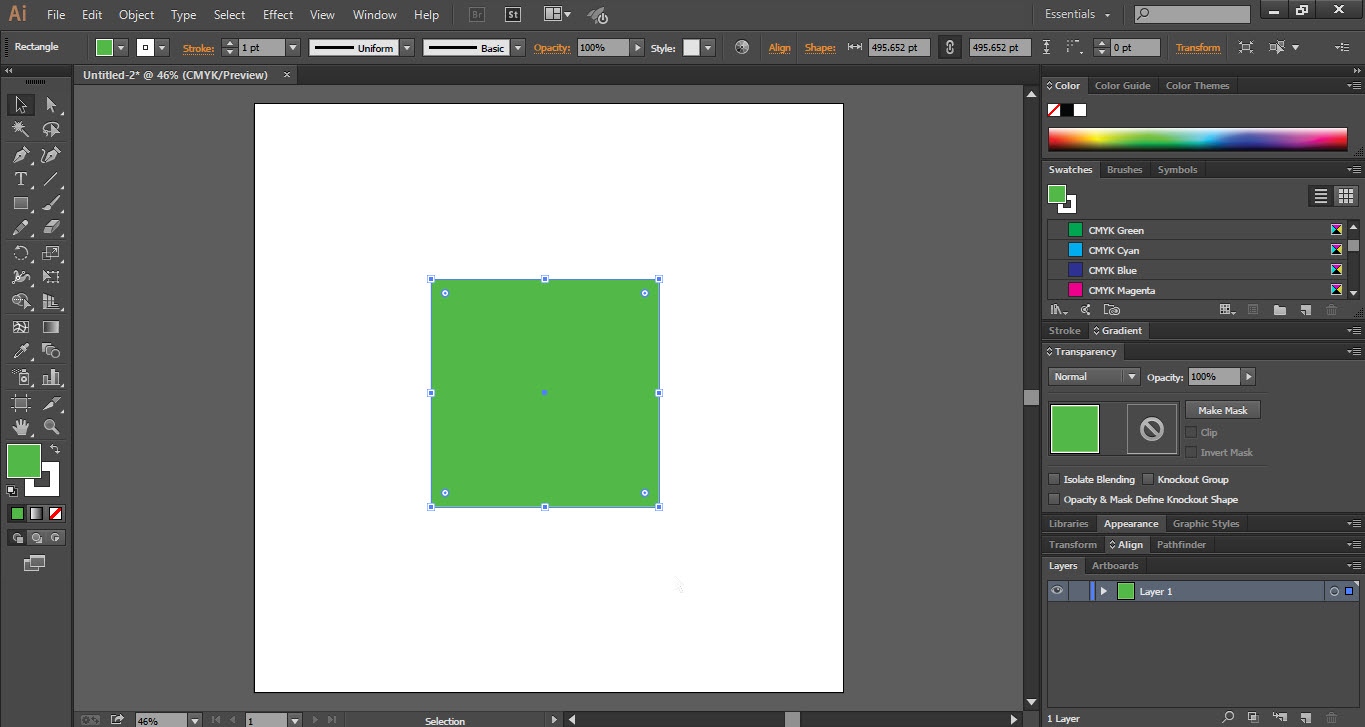
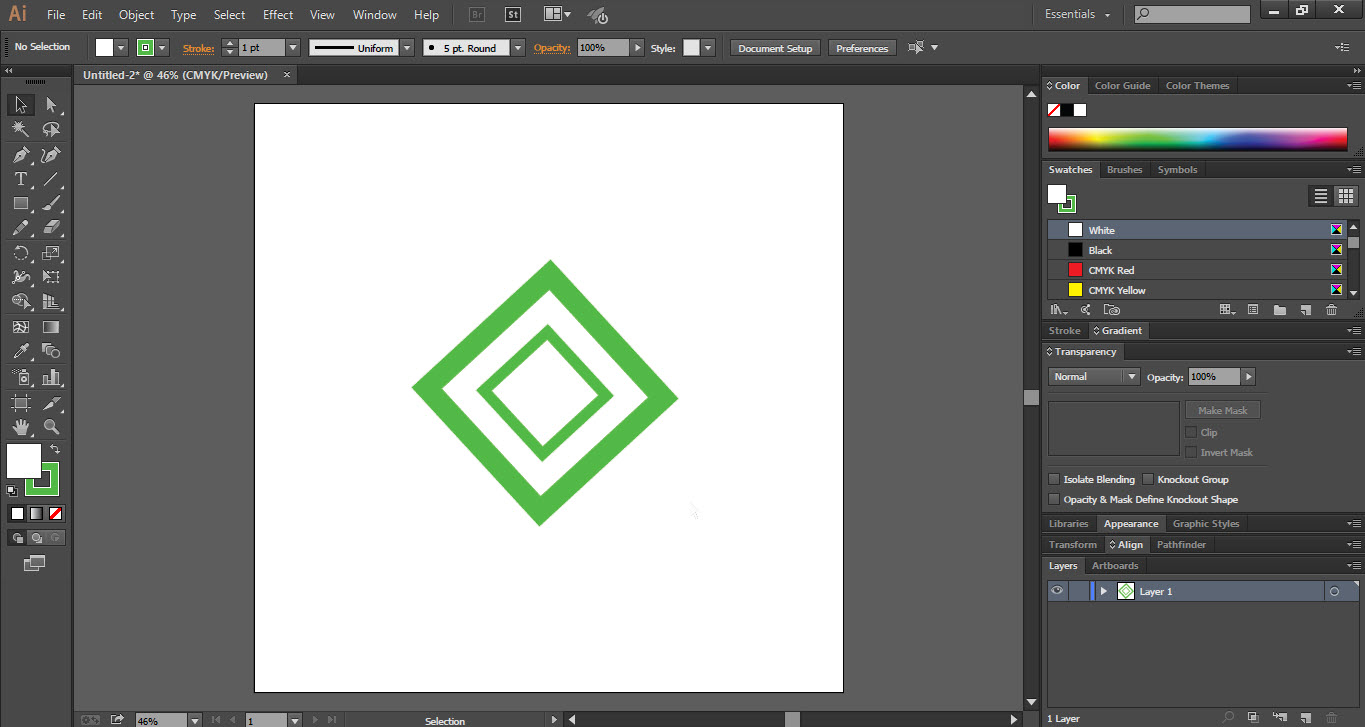
- Draw a rectangle in the center of the canvas.
- Press “Ctrl+C” and again press “Ctrl+F” to make a copy of the same rectangle.
- Select the 2nd rectangle to transform.
- Hold down the “Shift+Alt” key and click on the one corner of the rectangle and move the cursor toward in.
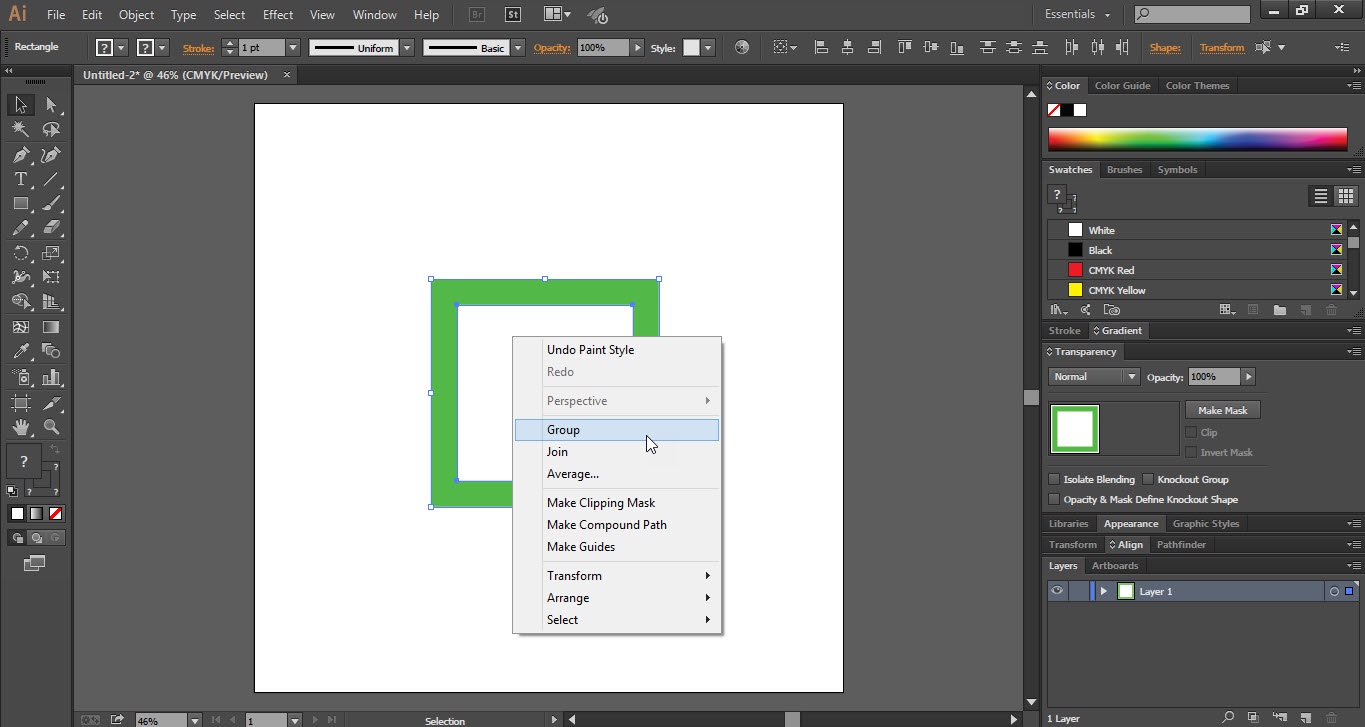
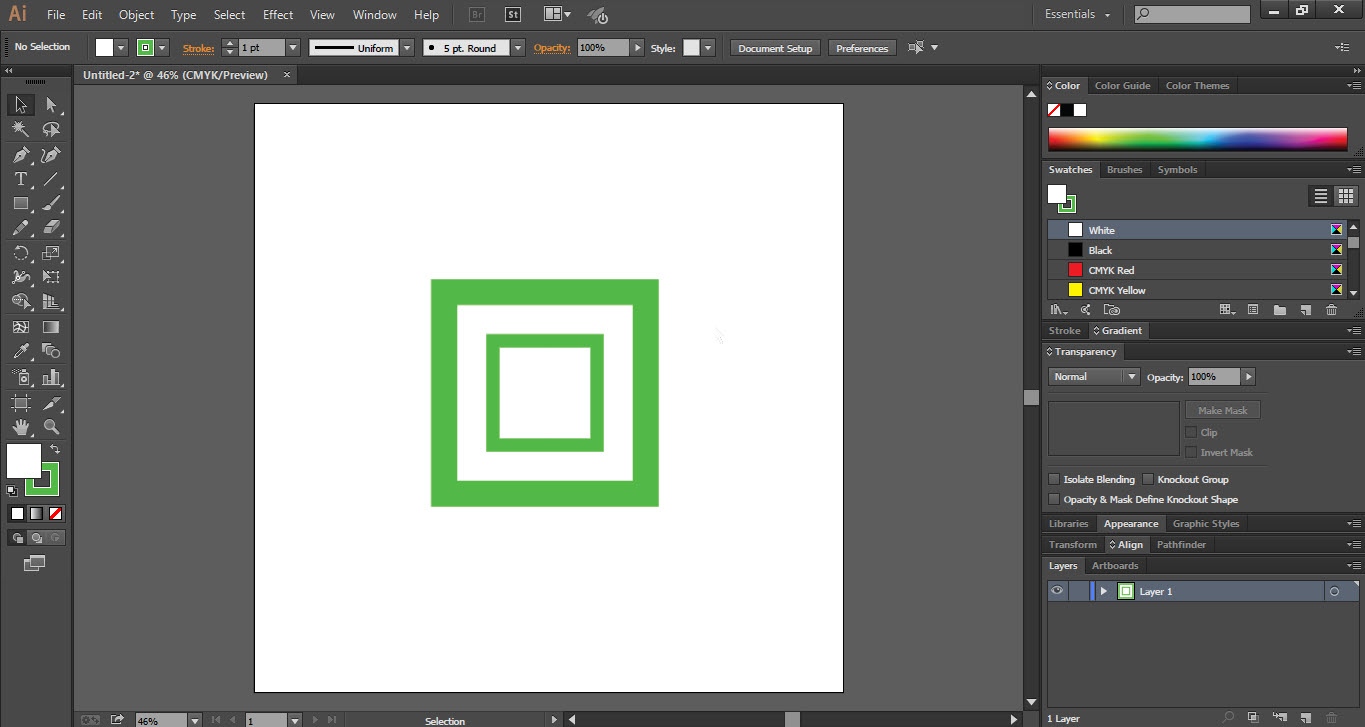
- Select both the rectangles and press “Ctrl+G” to make a group.
- Select the shape and again press “Ctrl+C” and then “Ctrl+F” to make a copy of the same rectangle shape.
- Again transform the copy shape and place it as shown in the screenshot.


Step 02
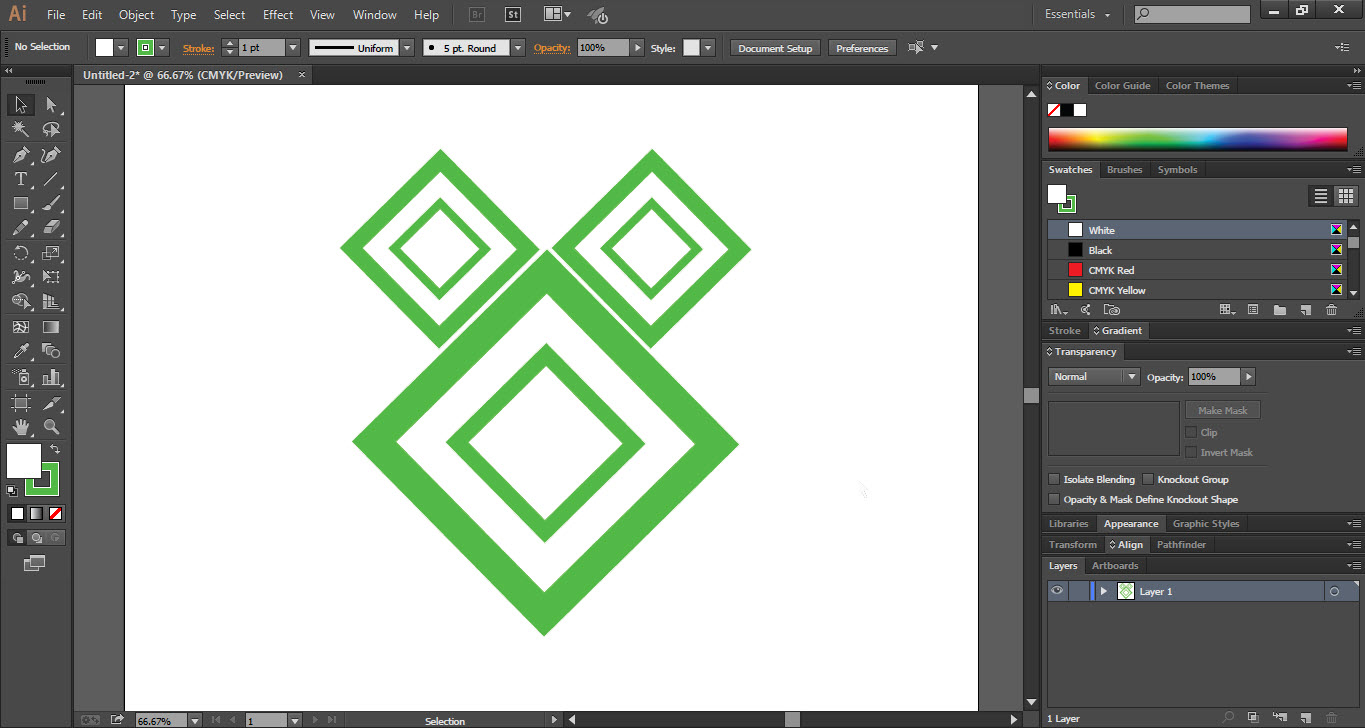
- Select whole shape and press “Ctrl+G” and rotate it as shown.
- Make a duplicate of the same shape and resize it and place it as shown.
- Make another copy of the small shape and place it as shown.
- Change the size of the large size shape.
- Press “Ctrl+G” to group all three rectangles.
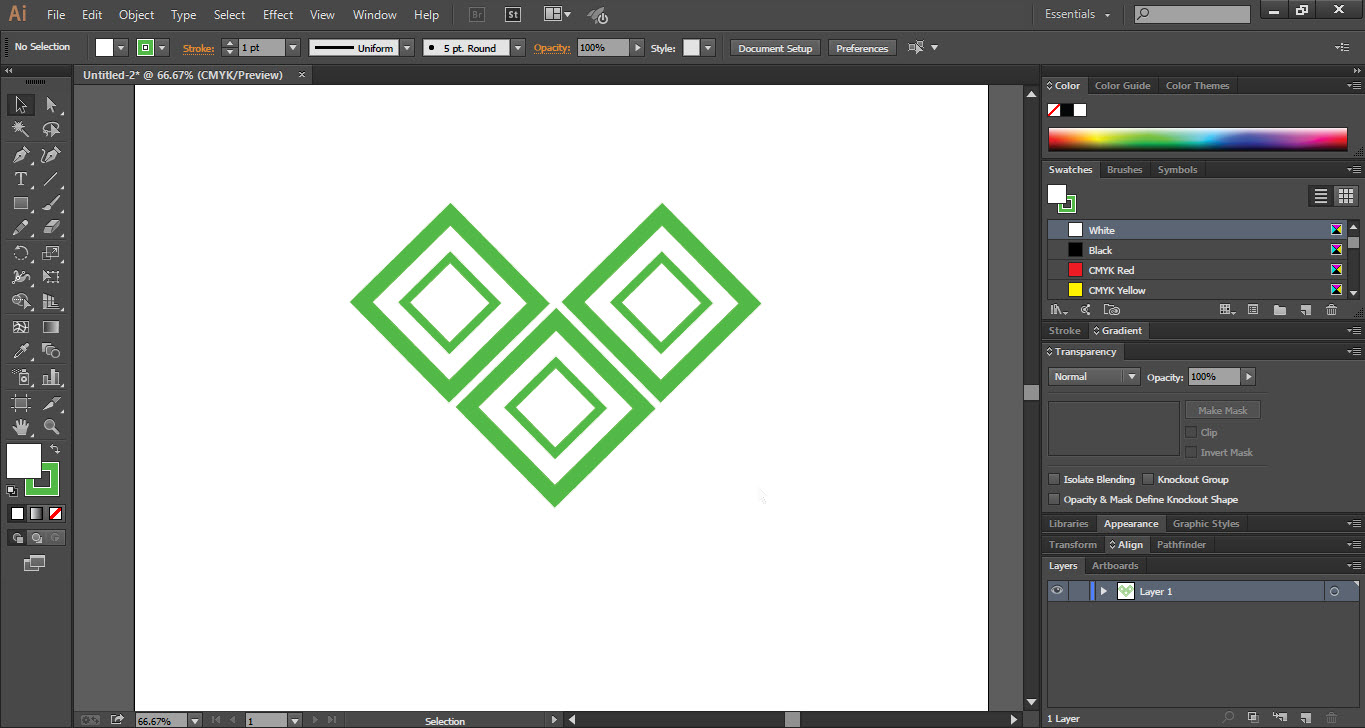
- Make a copy of all three rectangles and place them as shown.

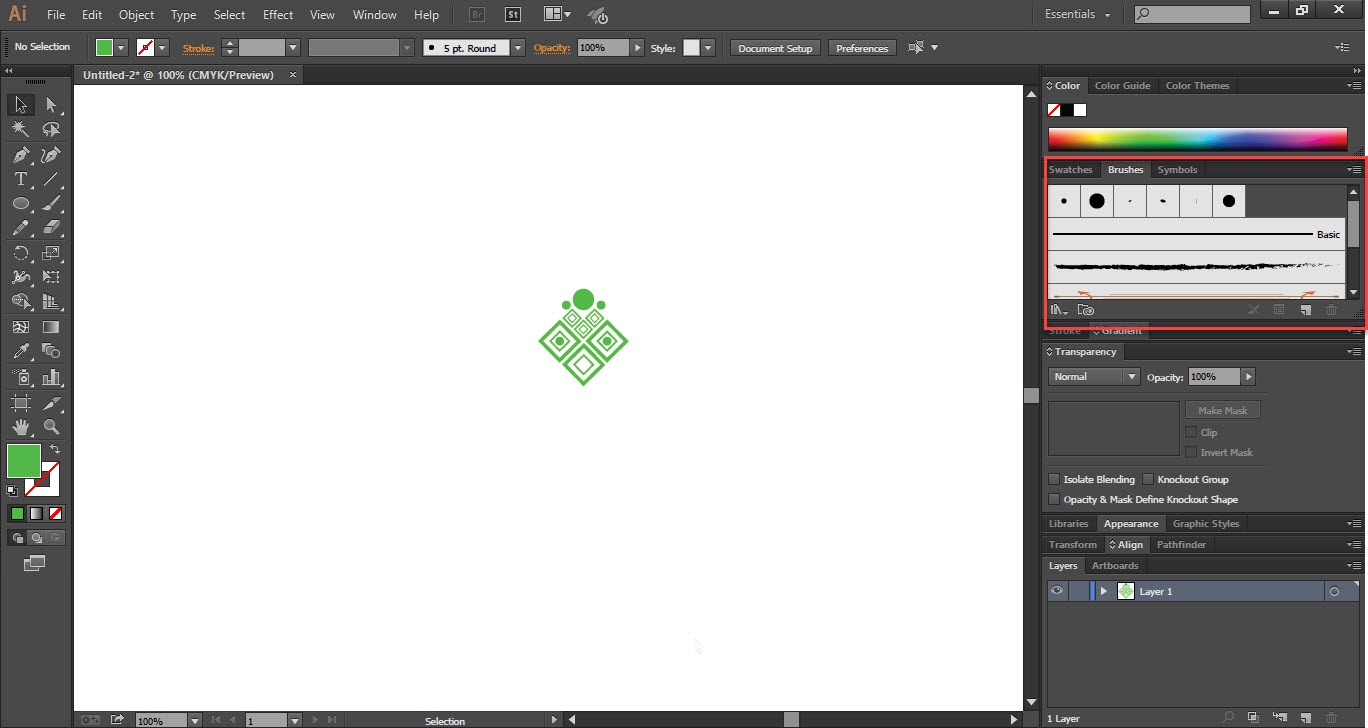
Step 03
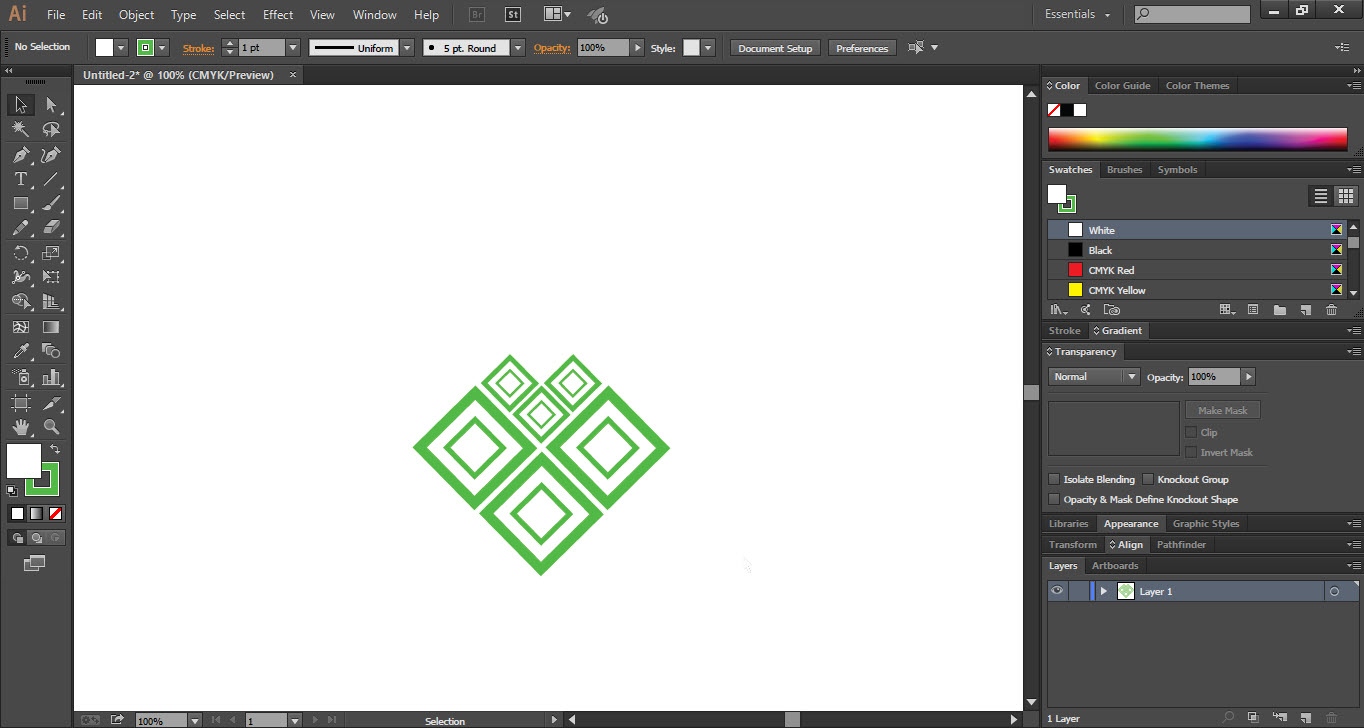
- Also, add three circles to the shape as shown and make a group of all the shapes.
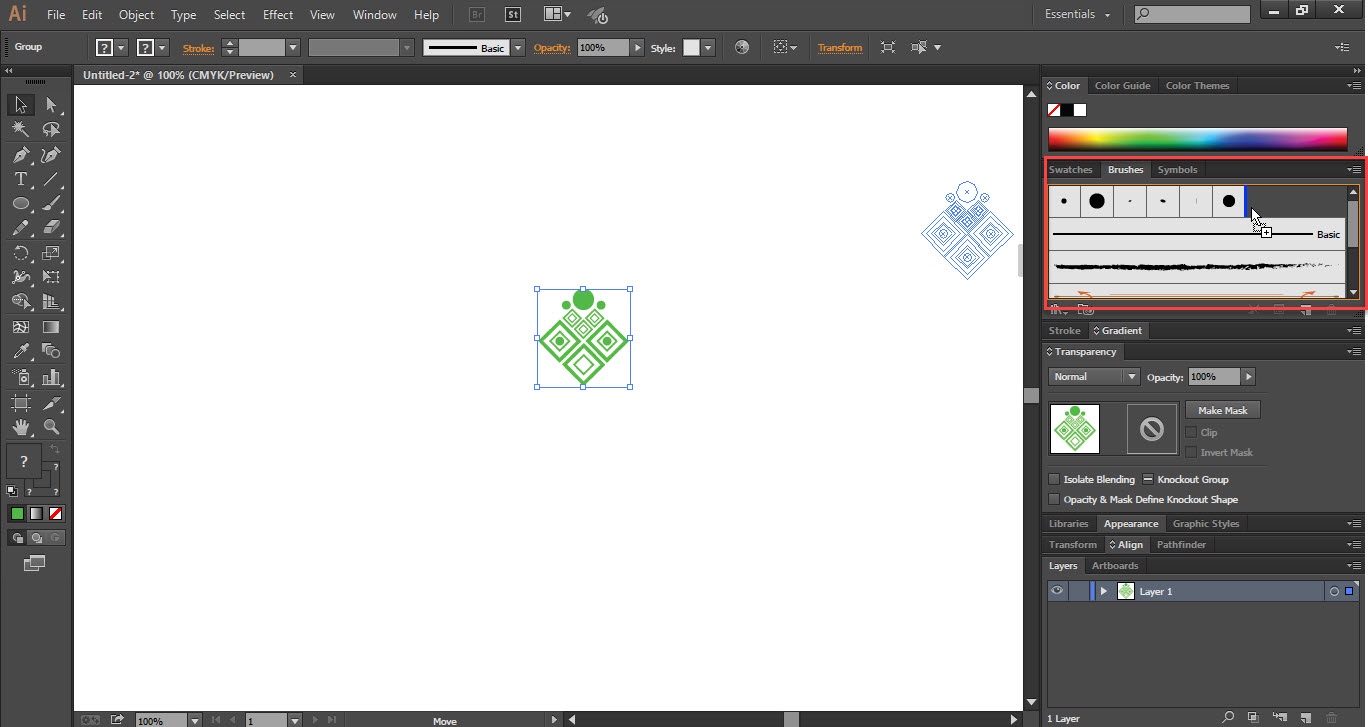
- Open the “Brushes Panel” and drag the pattern shape into the “Brushes Panel”.
- “New Brush” window will be opened. Select the “Pattern Brush” option and click ok.
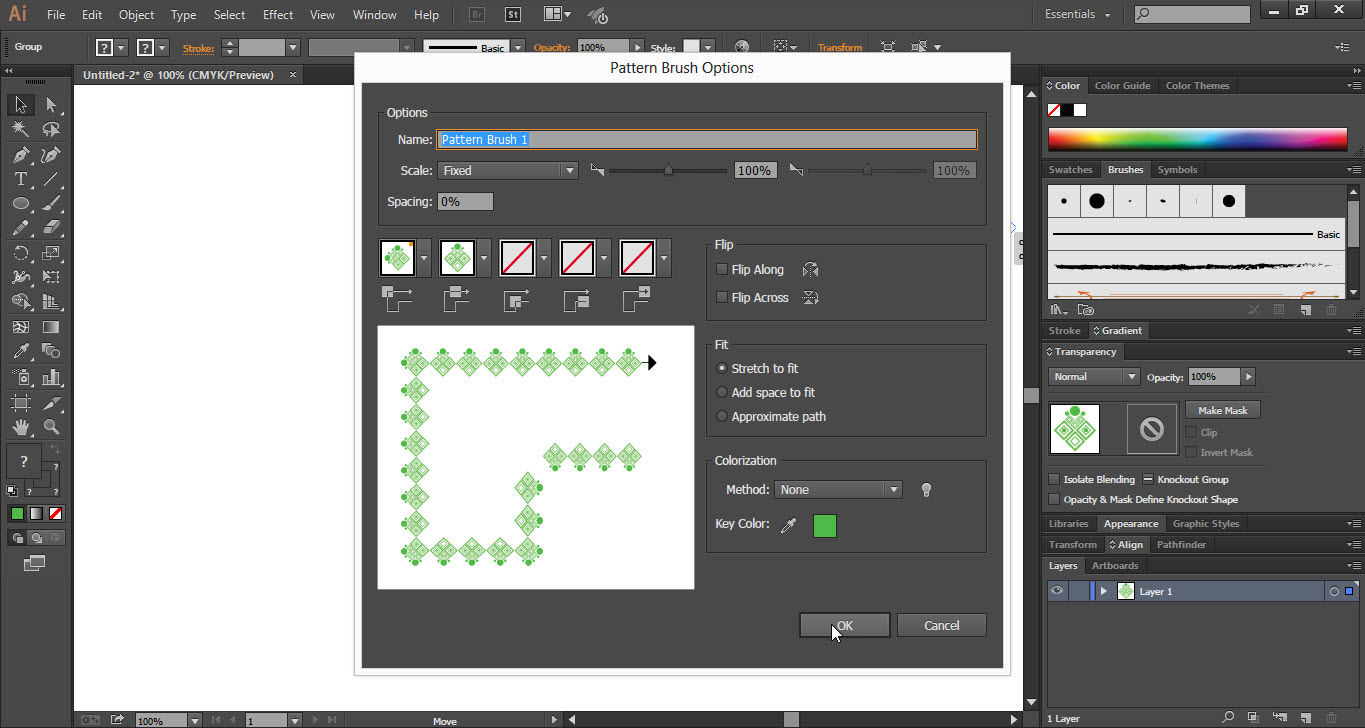
- A “Pattern Brush Options” window will be opened simply click ok.


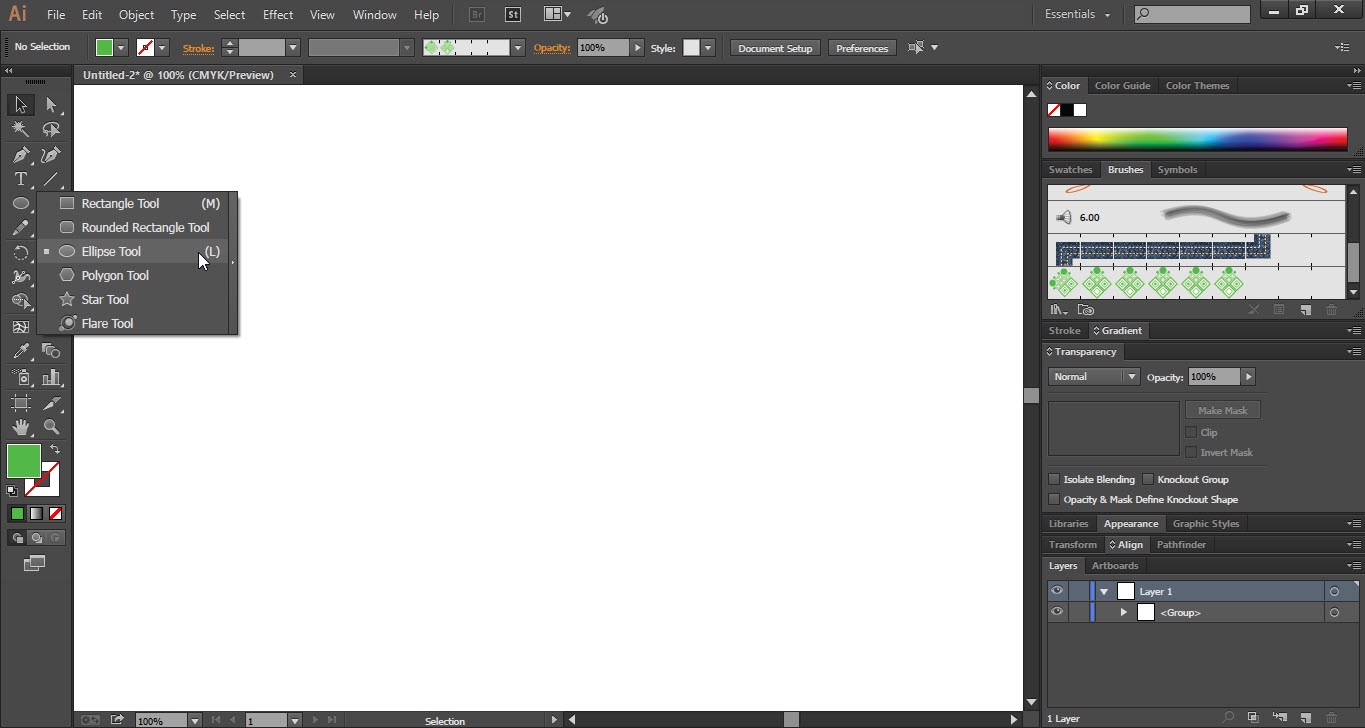
Step 04
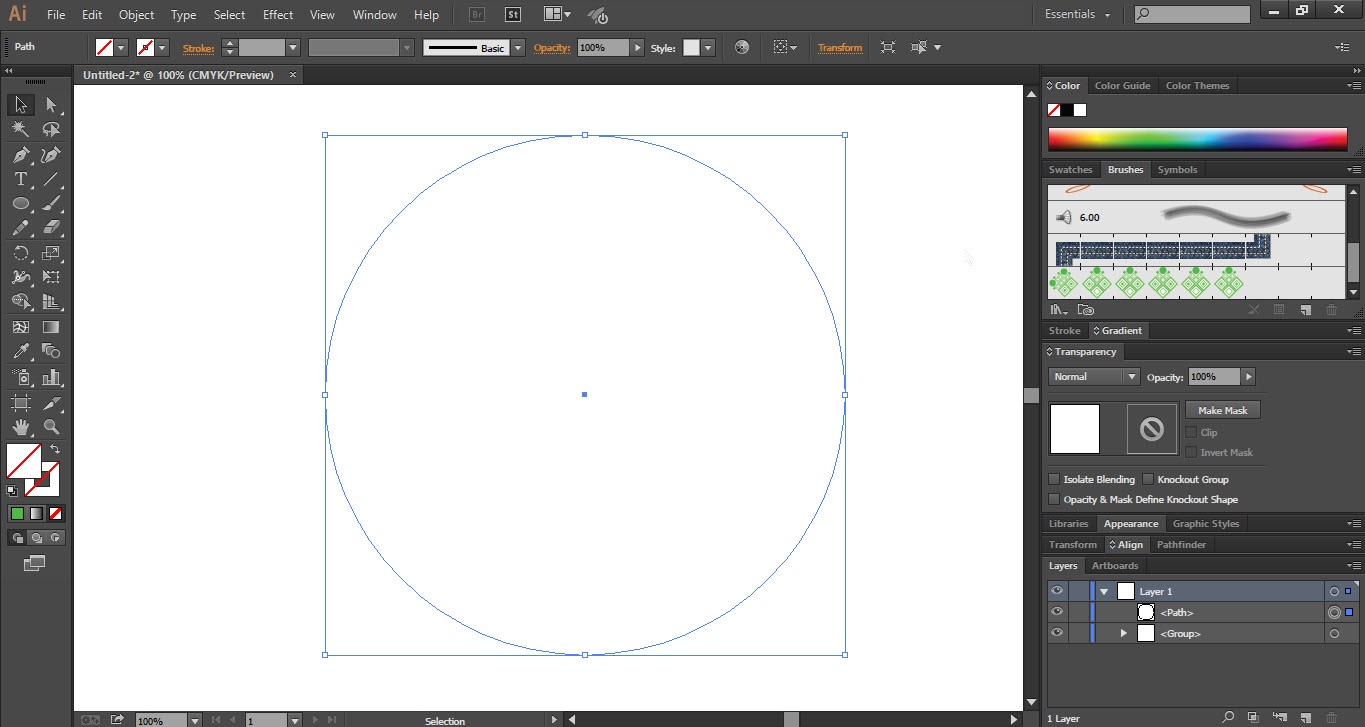
- Select the “Ellipse Tool” from the “Tools Bar”.
- Draw a circle and make sure that the “Fill” & “Stroke” is off.
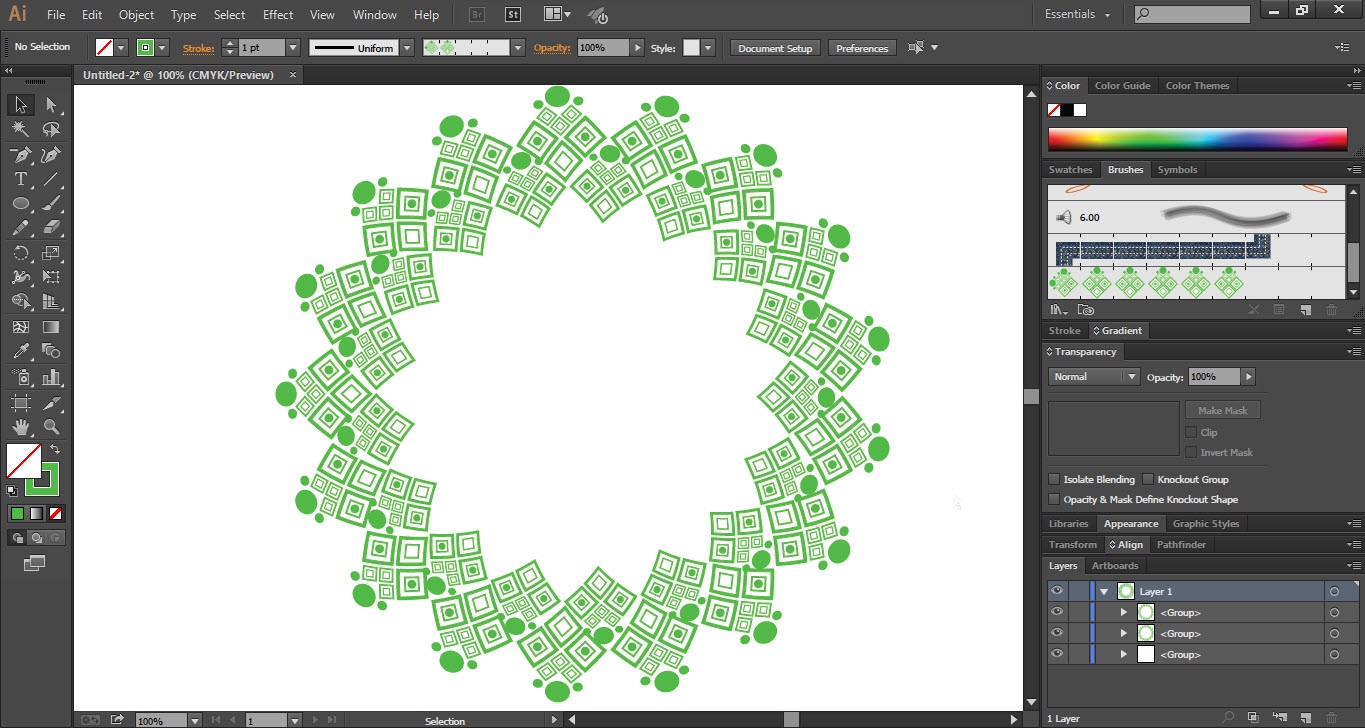
- Now just simply apply the pattern brush by clicking on it in the “Brushes Panel”.
- Press “Ctrl+C” then “Ctrl+F” and resize the copy of the pattern.
- If you want you can also change color and shape it’s up to.
- Finally, your beautiful pattern is ready.
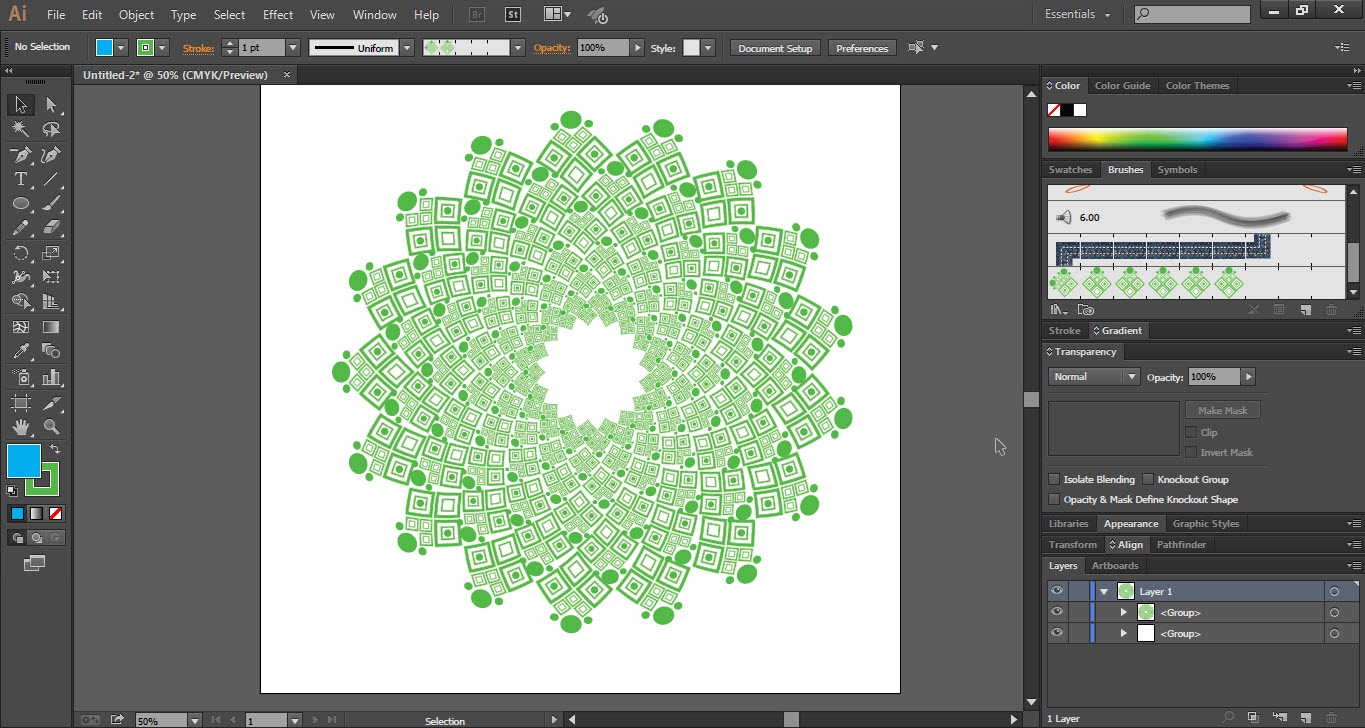
This is how the final result looks like