Hello, guys today we are going to show you “How to Design Ripple Text in Adobe Illustrator”. In this tutorial, you will learn how to apply the ripples effect very easily. Don’t worry if you are new here this is a step by step tutorial also have a screenshot of each step so you can practice it by yourself by downloading the project PSD file.
Resources
Fonts used:
- Myriad Pro Regular
Step 01
- Open the Adobe Illustrator software.
- Go to the “File” menu and click on the “New” option.
- Select the size of the document.
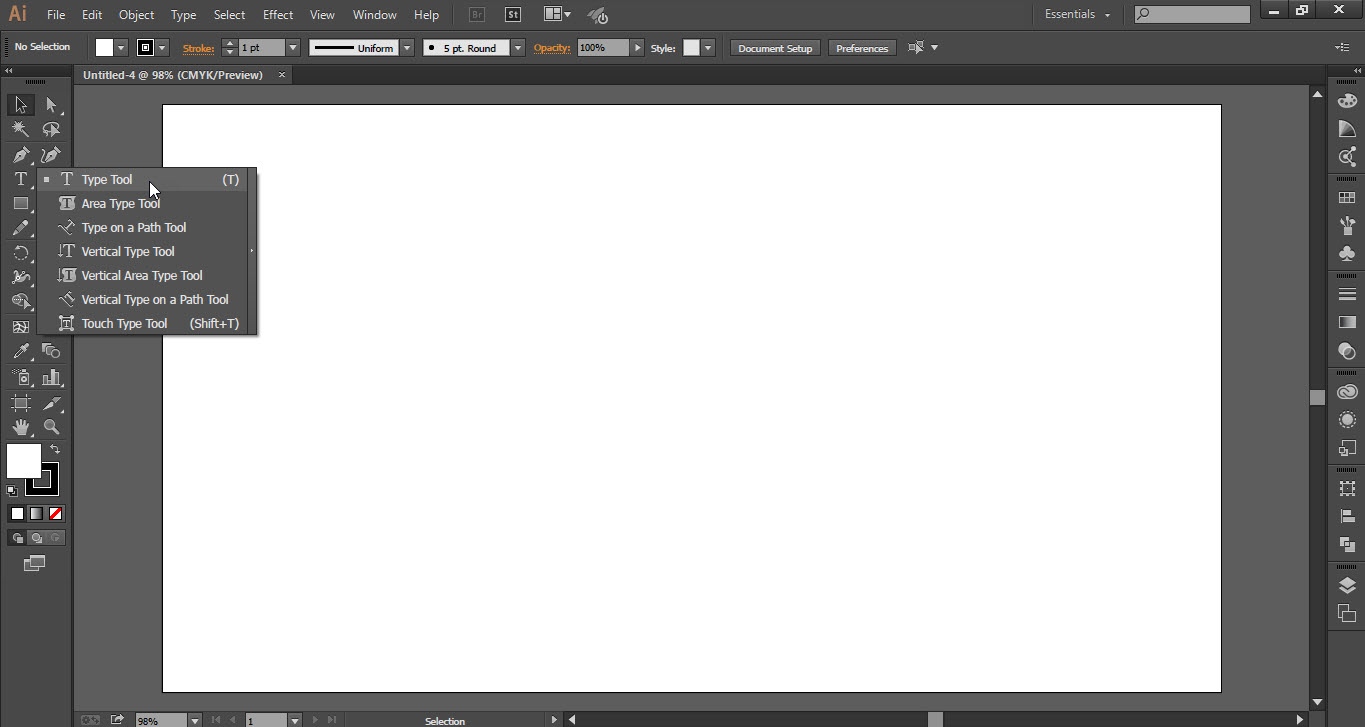
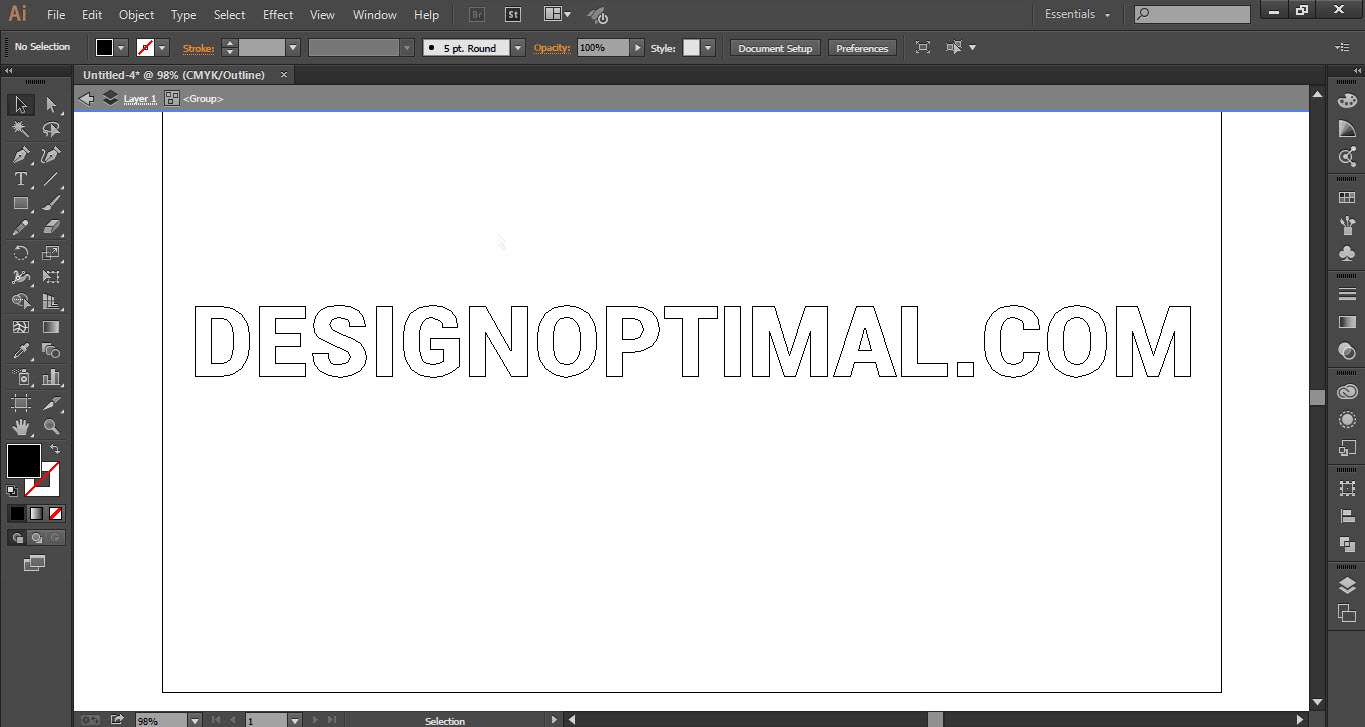
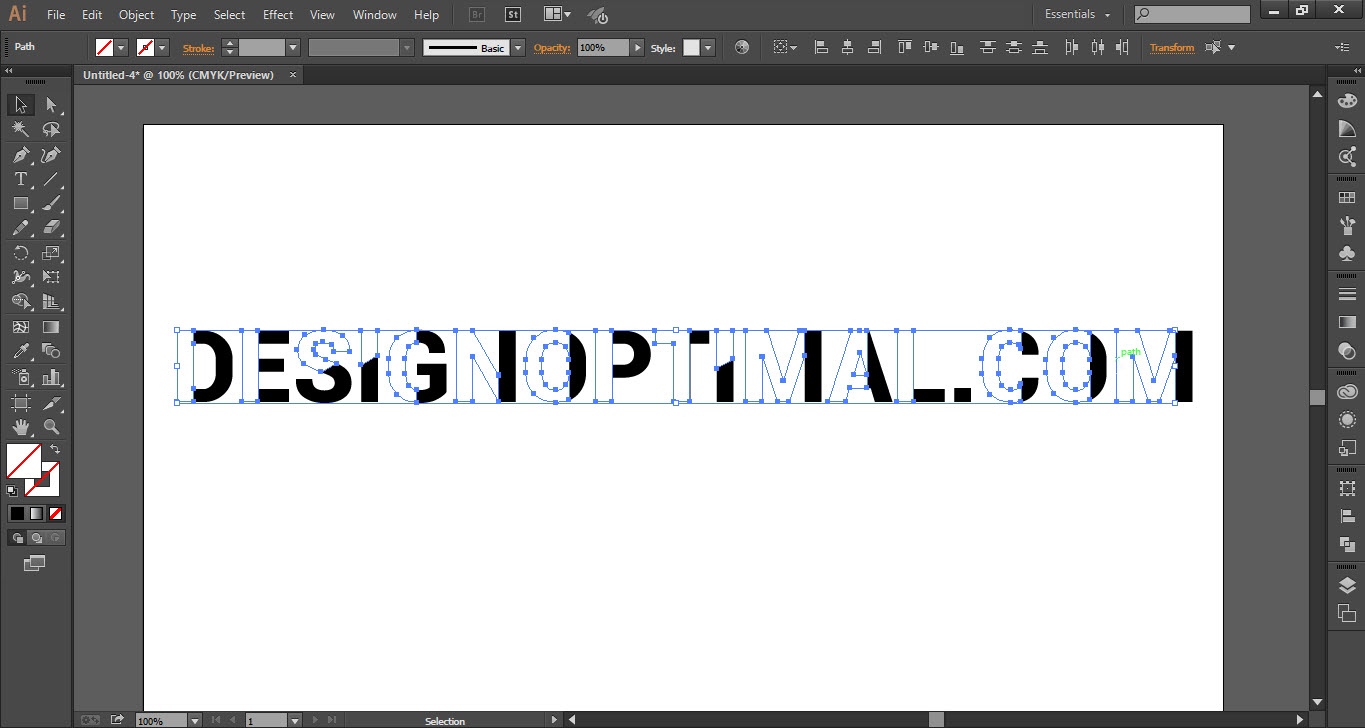
- Now take the “Type Tool” from the “Tools Bar”.
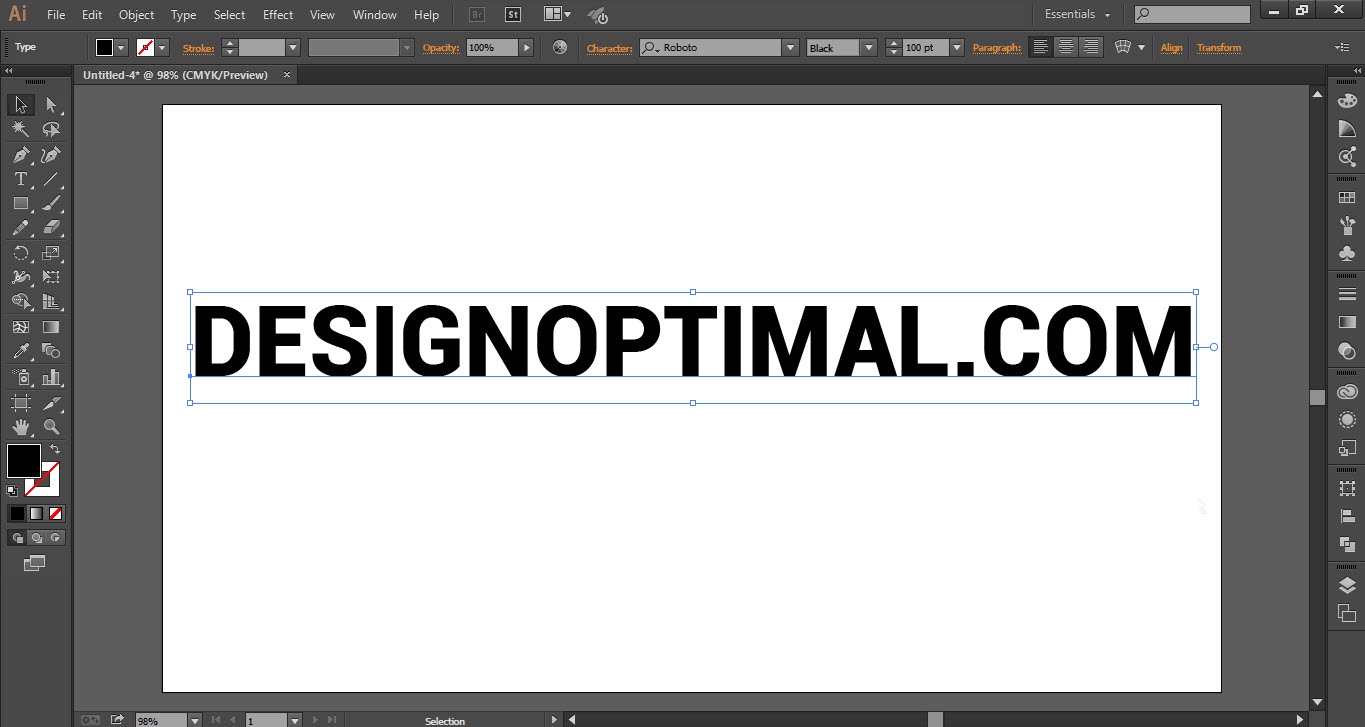
- Write anything which you want.
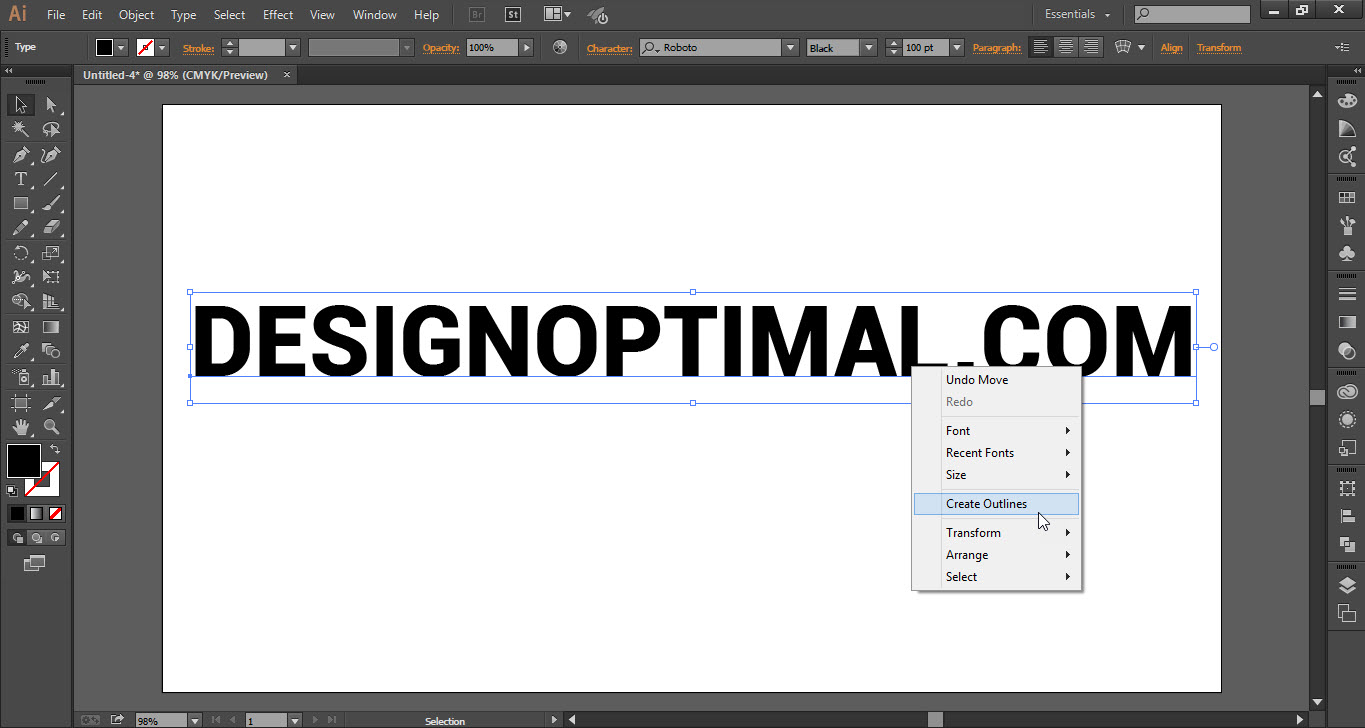
- Select the text and right-click on the text and click on the “Create Outlines” option.
- Again right-click on the text and click on the “Isolate Selected Group” option.
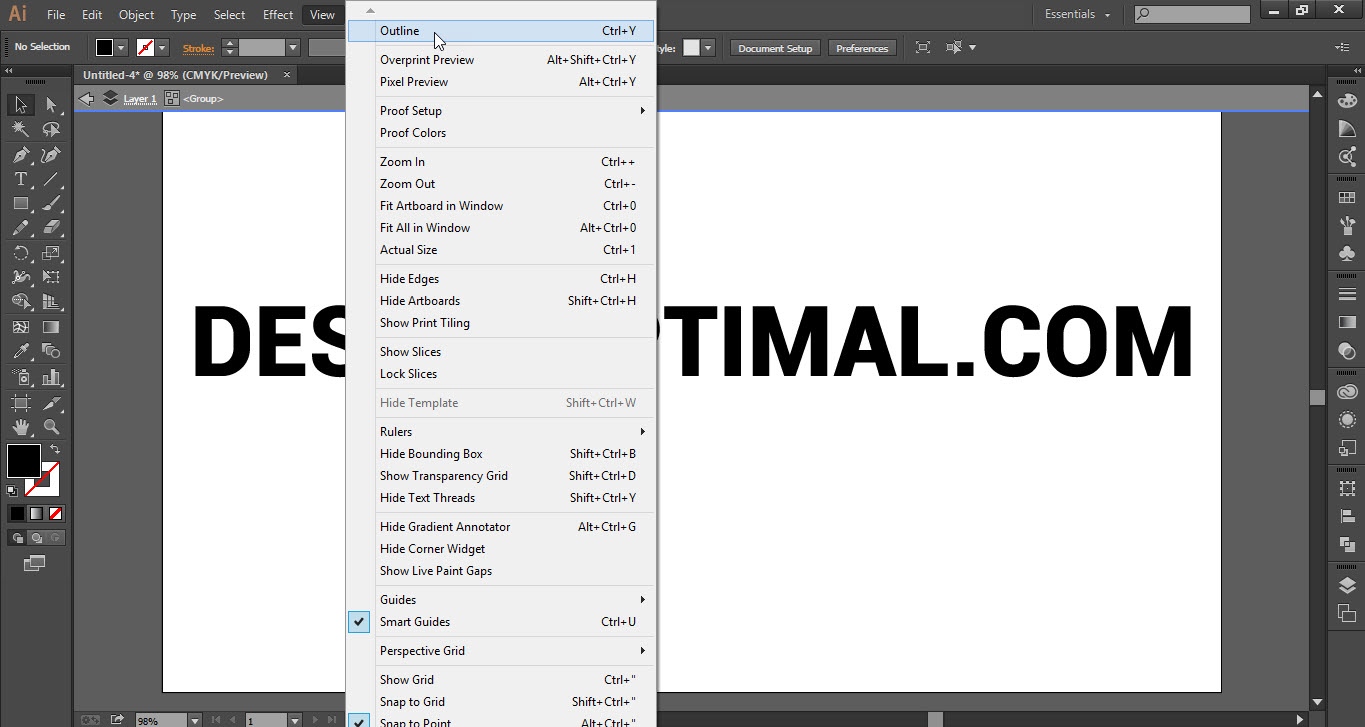
- Go to the “View” menu and click on the “Outline” option.


Step 02
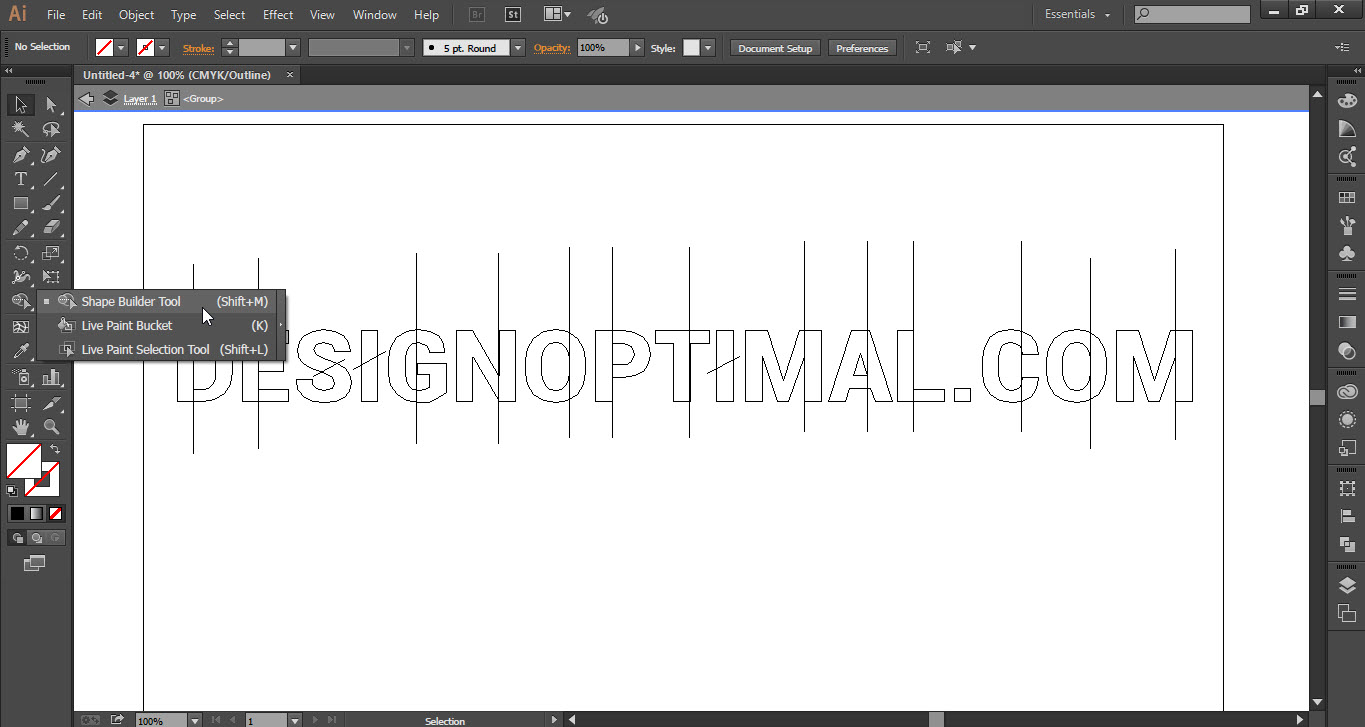
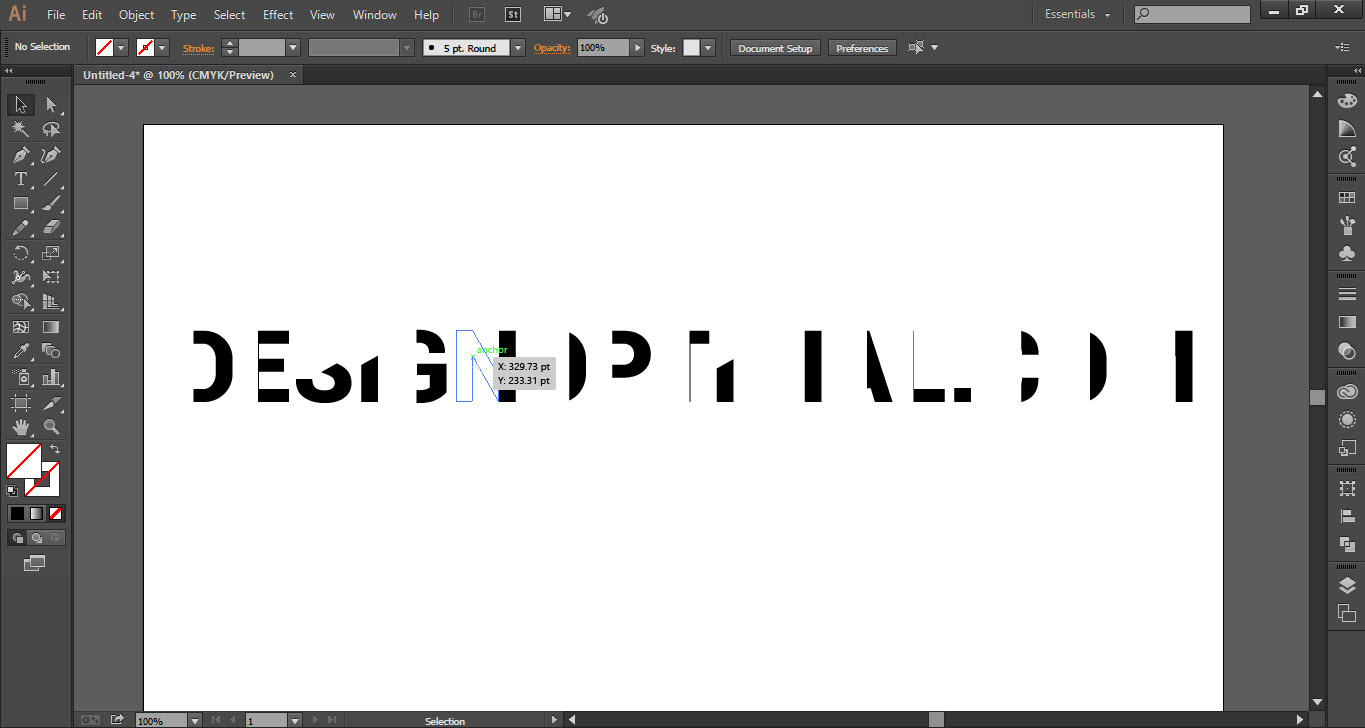
- Take the “Line Segment Tool” from the “Tools Bar”.
- Draw the lines on the text as shown in the screenshot(2.2).
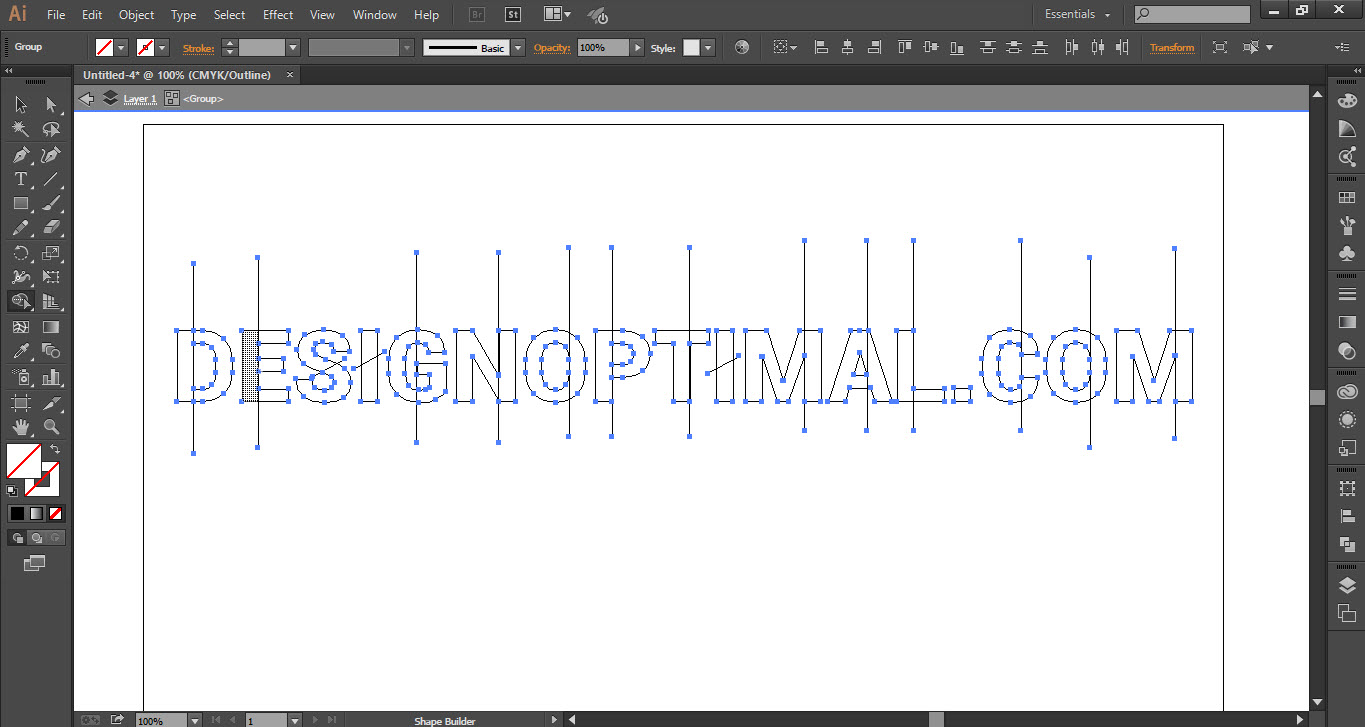
- Select the text and take the “Shape Builder Tool” from the “Tools Bar”.
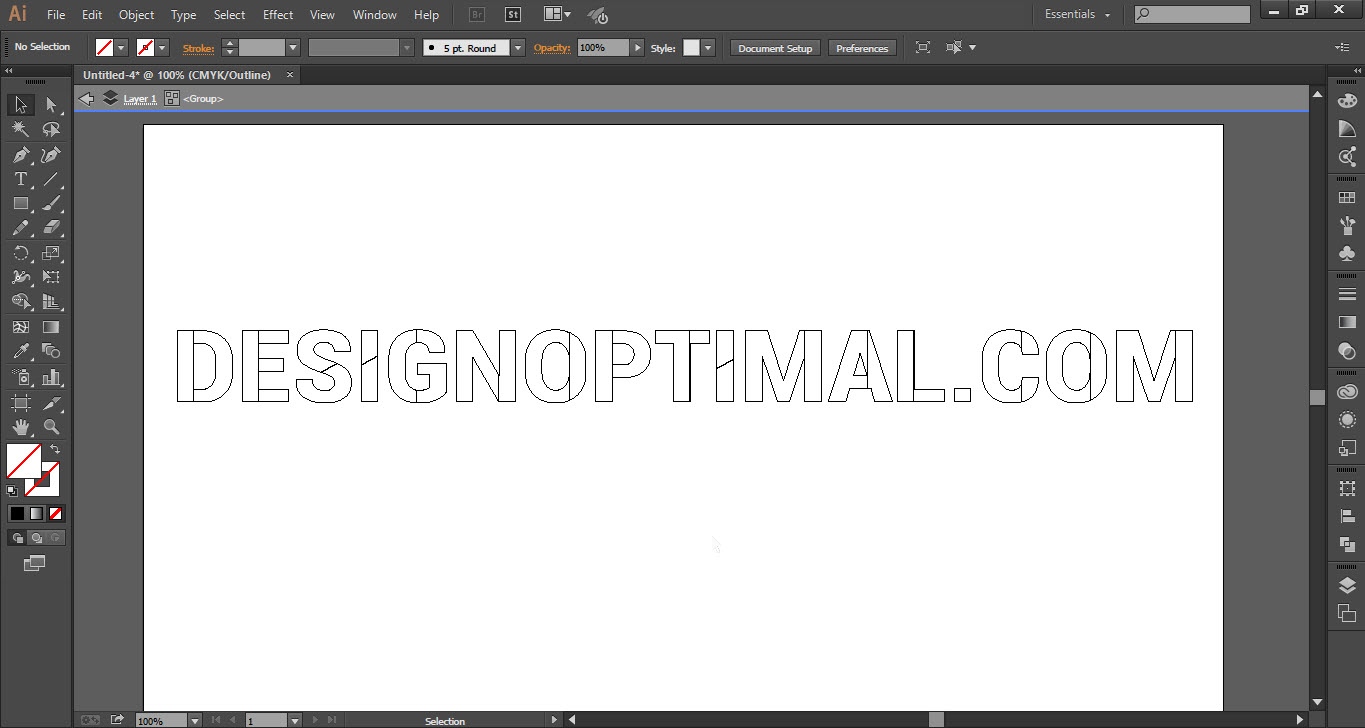
- Delete the outer lines from the text.
- Now select the “Right Side” part of the text and fill it with black color.


Step 03
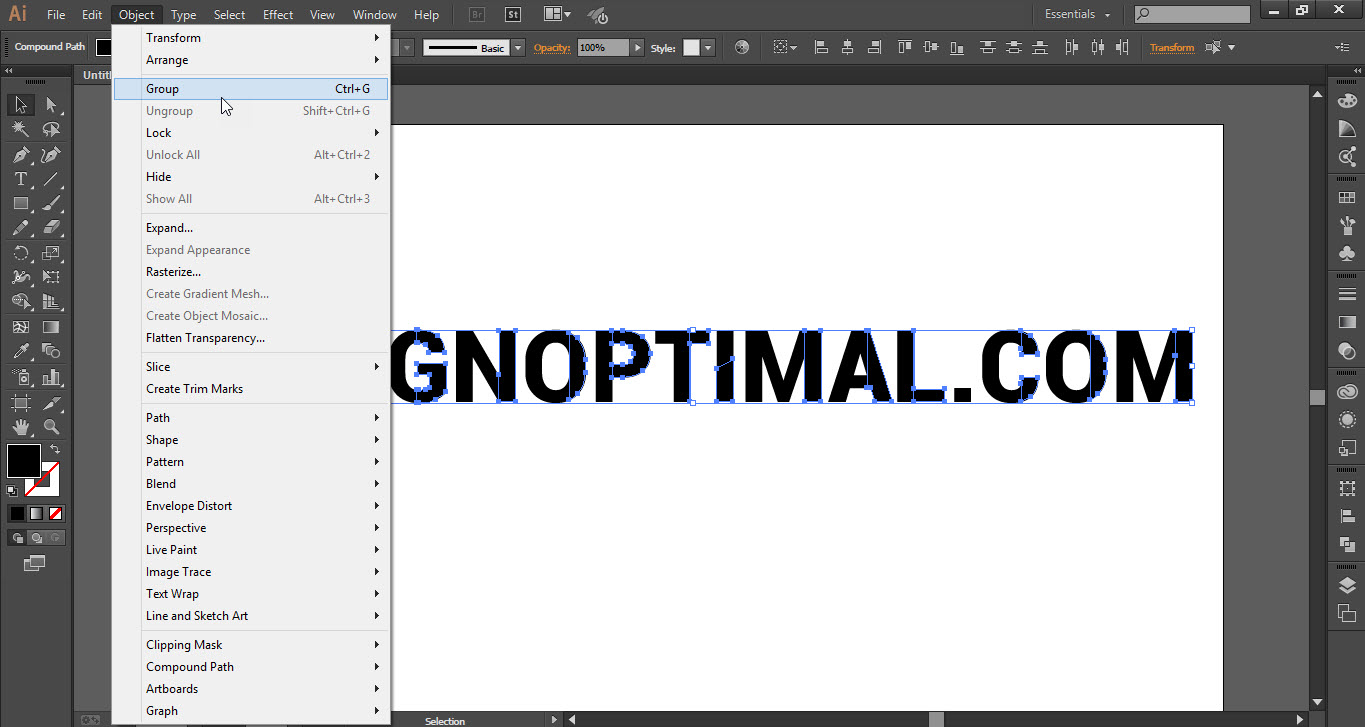
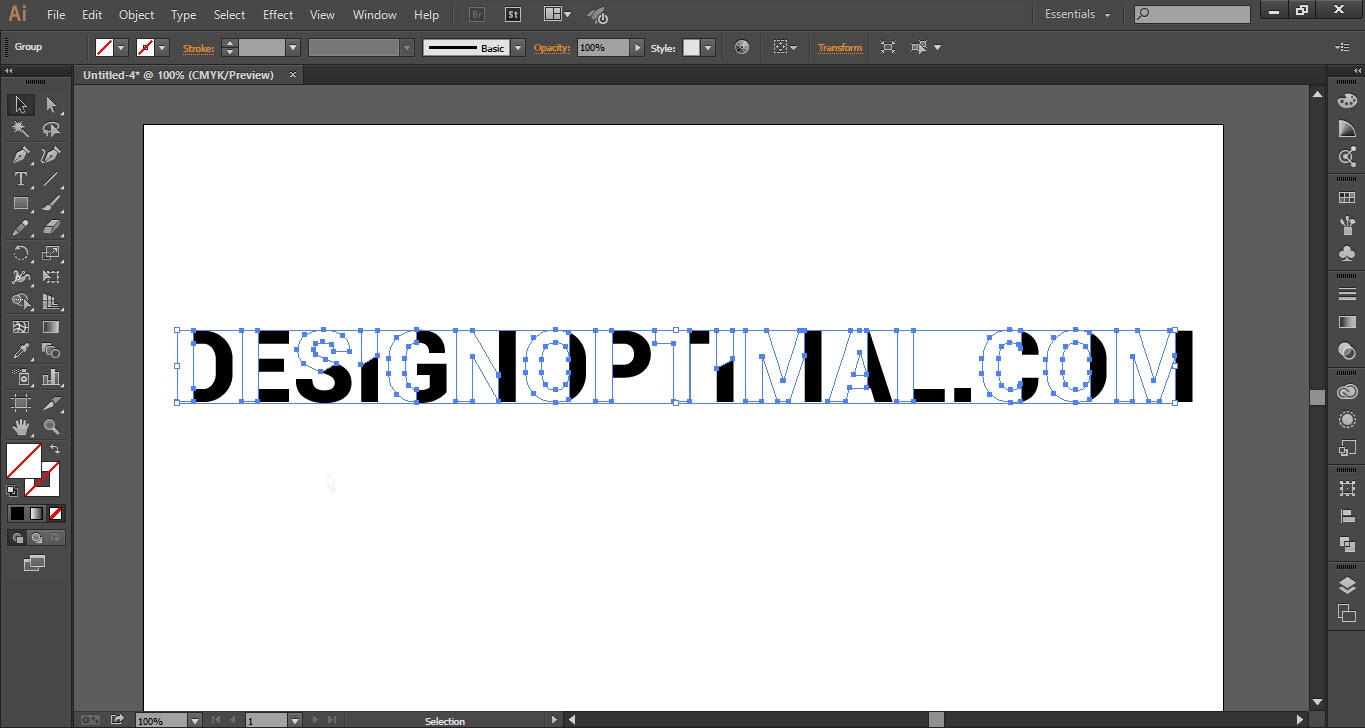
- Select the “Left Side” part of the text and press “Ctrl+G”.
- Now select the “Right side” part of the text and group it.
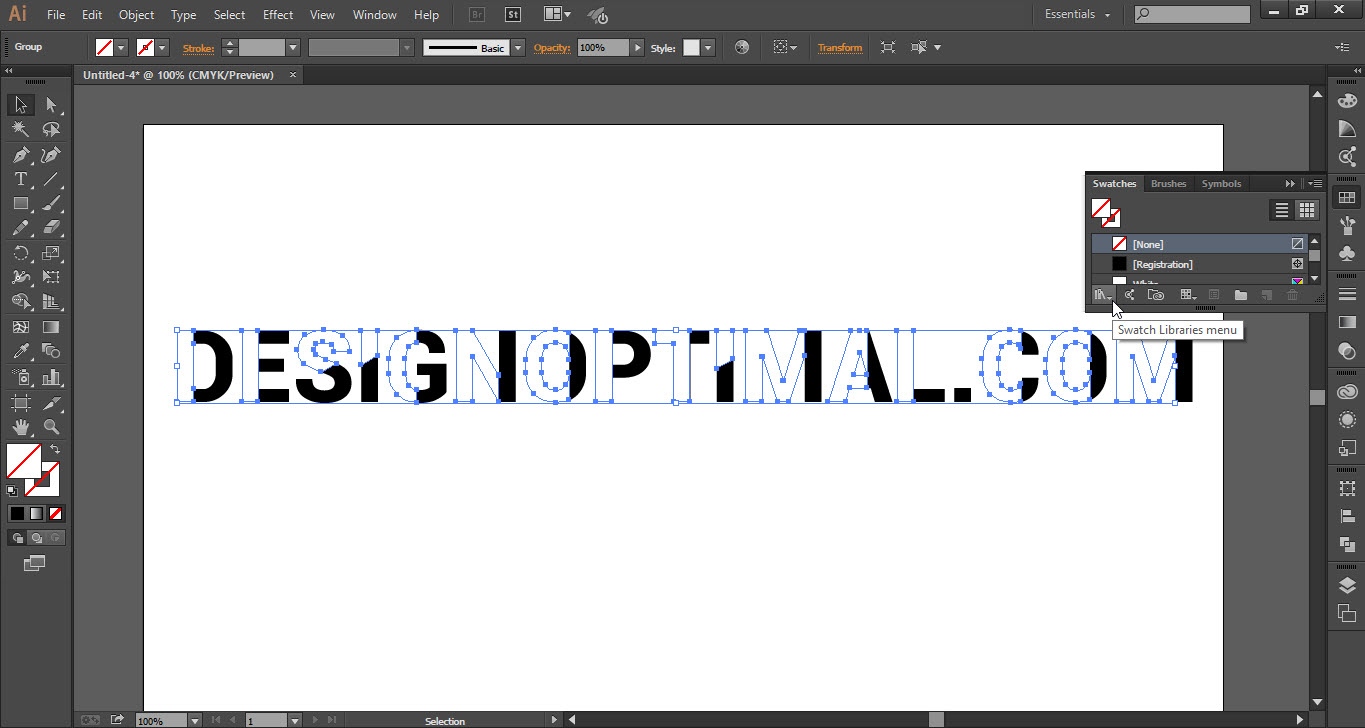
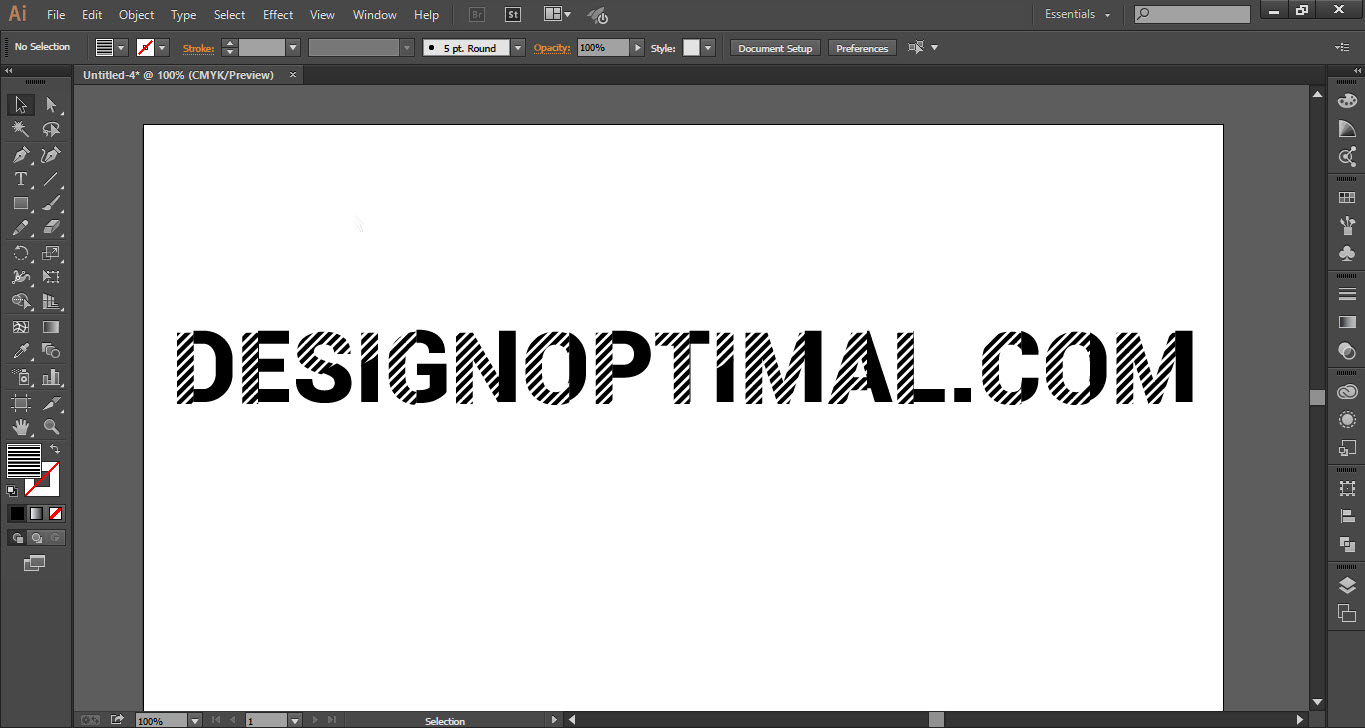
- Again select the “Left side” part of the text and go to the “Swatches” then open the “Swatch Libraries” menu.
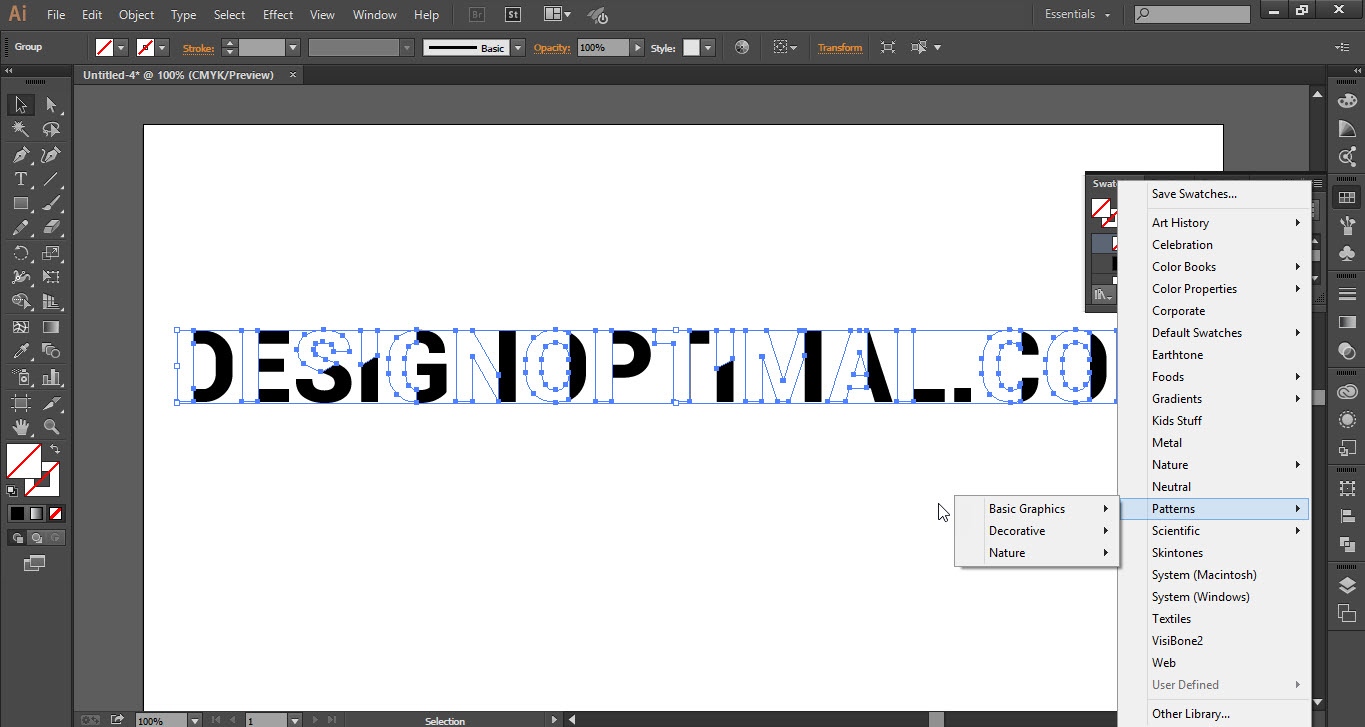
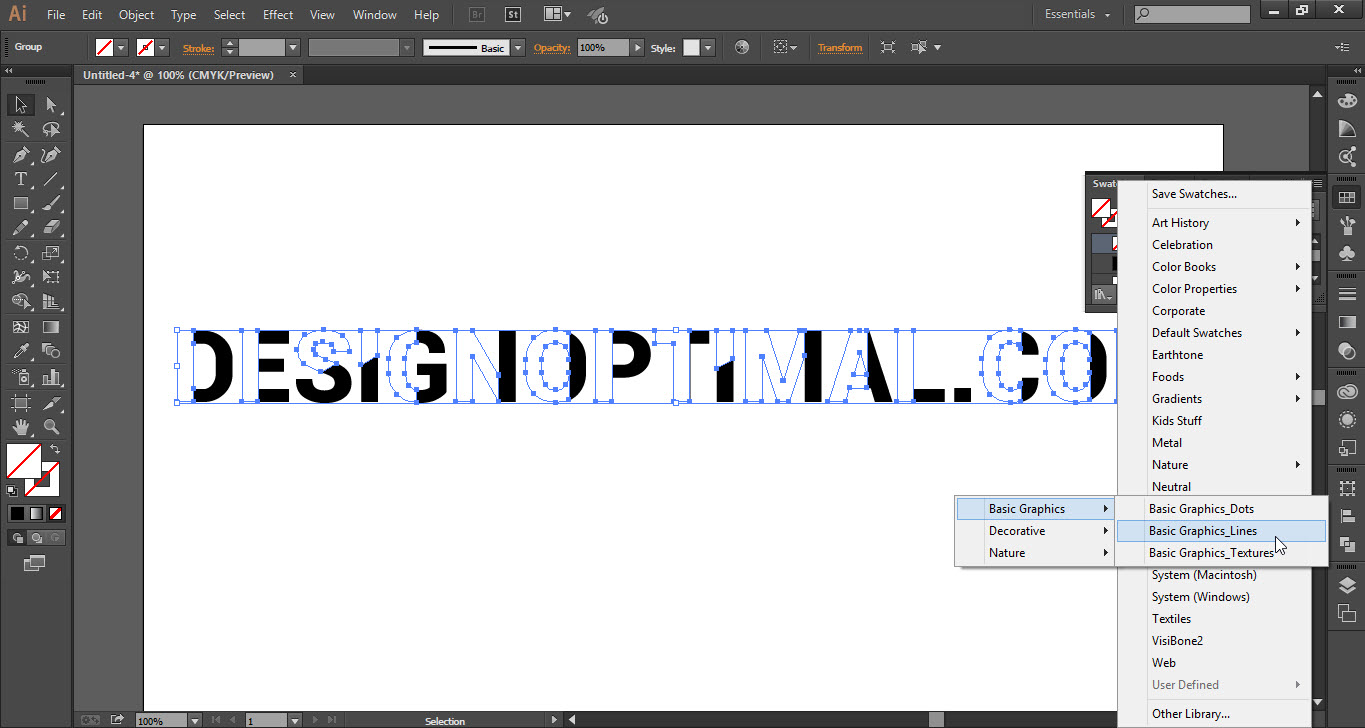
- Go to the “Patterns” menu then go to the “Basic Graphics” then click on “Basic Graphics Lines”.
- A window will be opened to select the “10 LPI 60%” option.


Step 04
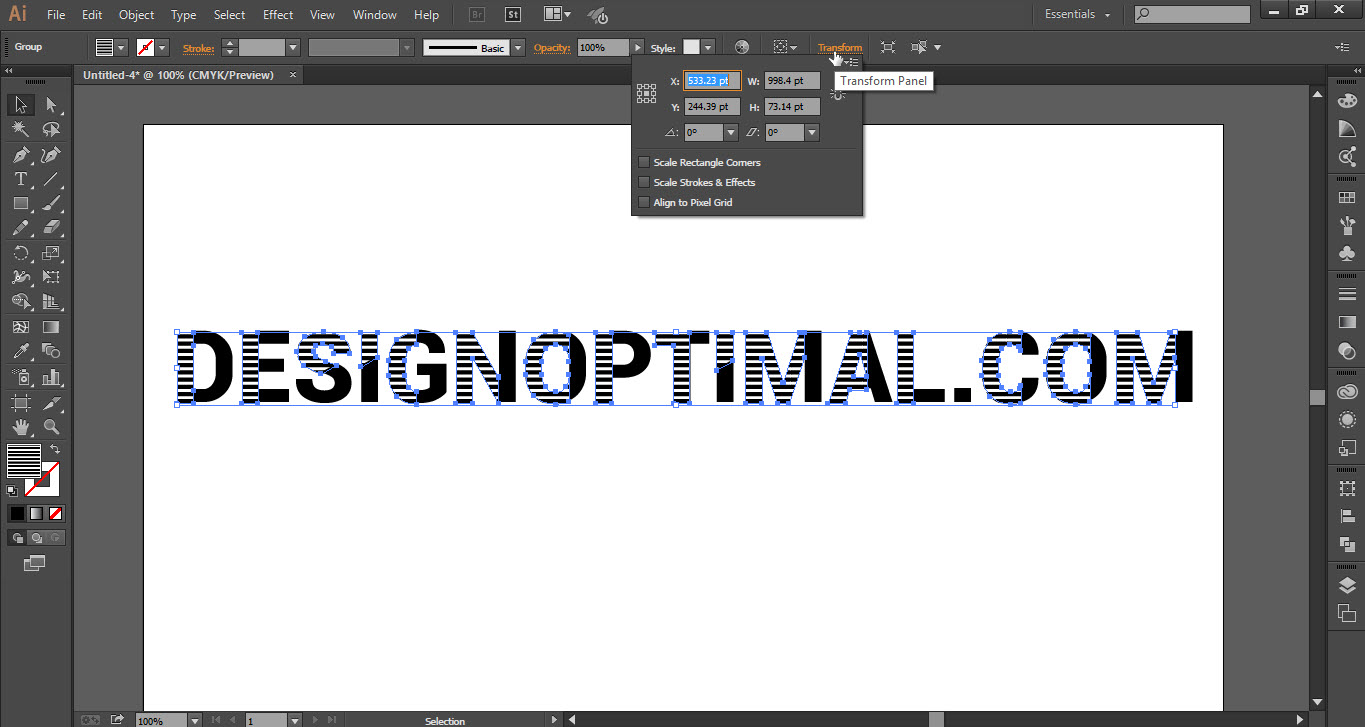
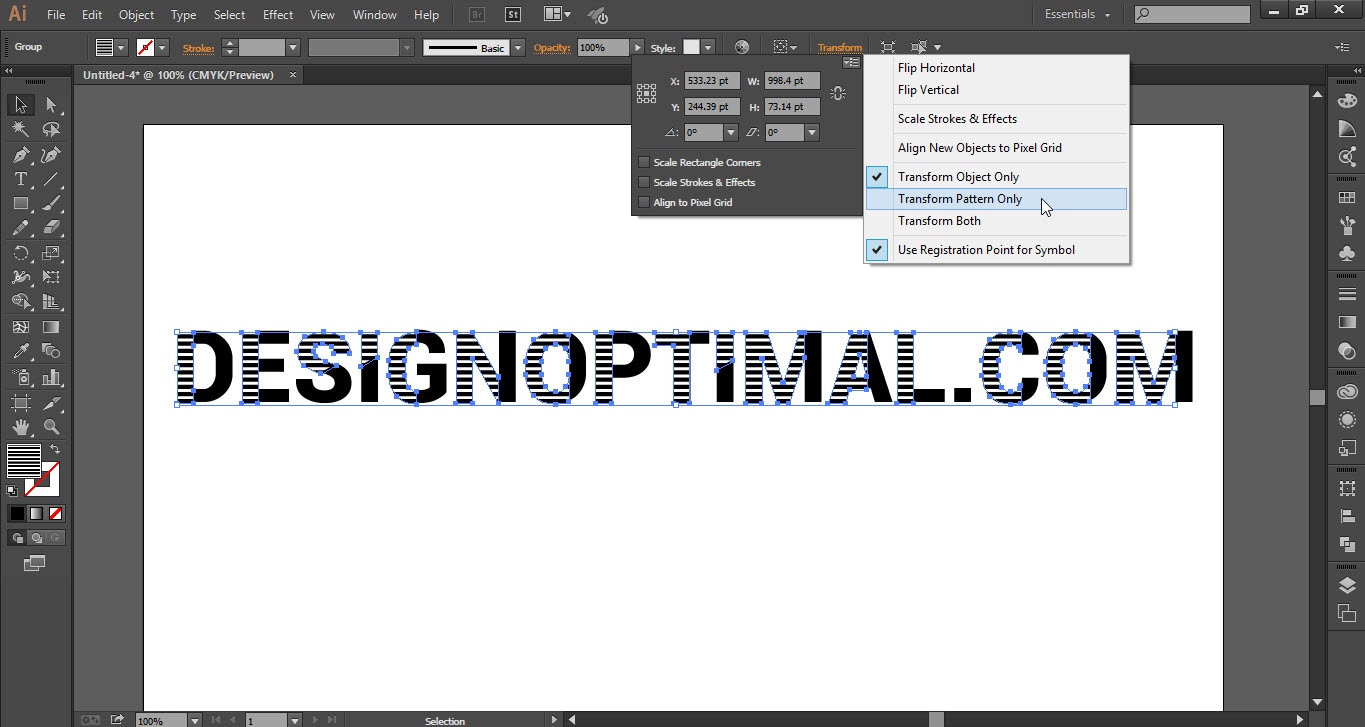
- Now go to the “Transform Panel” and open the “Transform Libraries” and click on “Transform Pattern Only”.
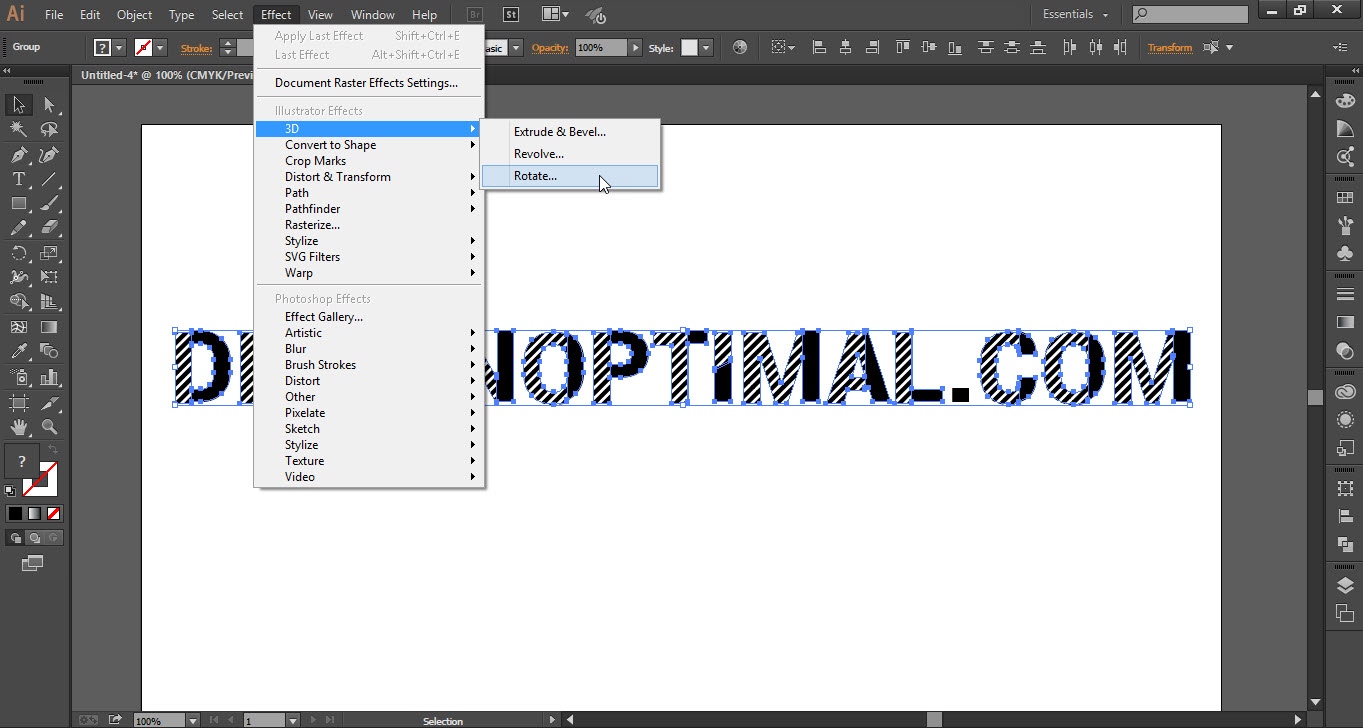
- Now select the text and go to the “Effect” menu then open the “3D” menu and click on the “Rotate” option.
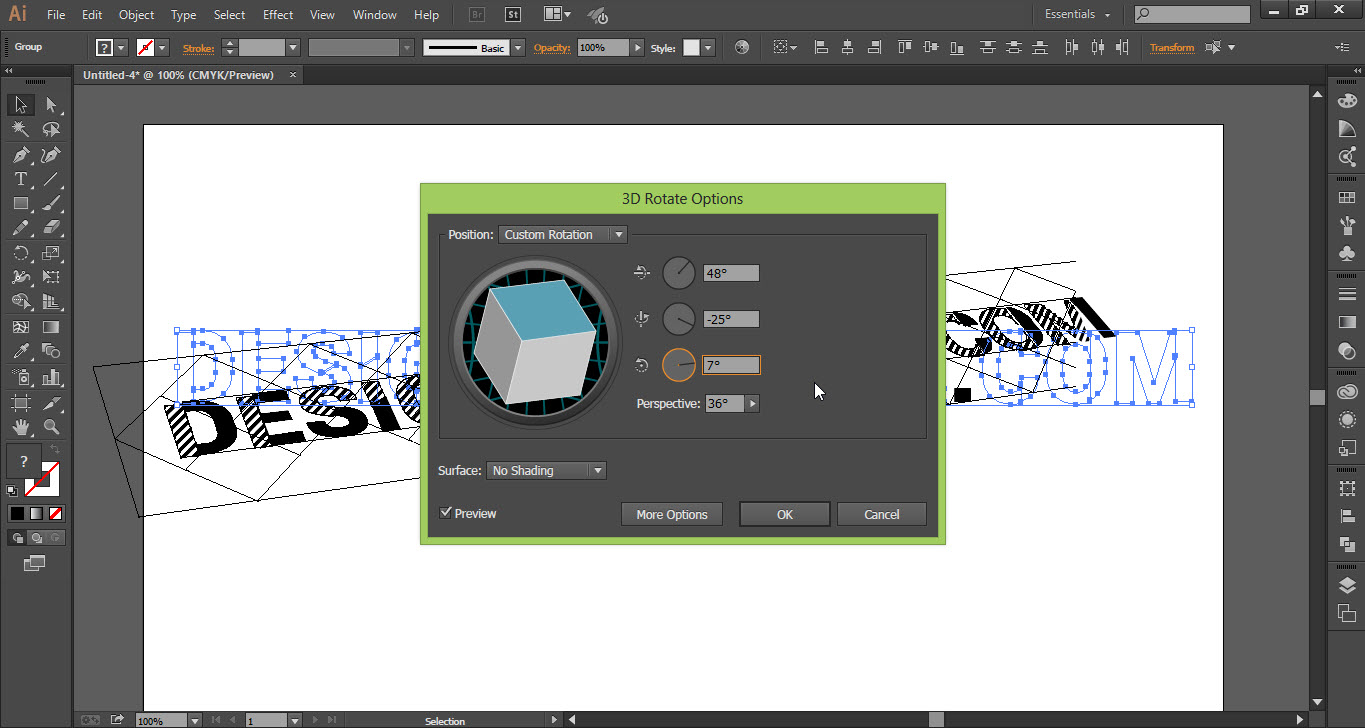
- Select the angle as shown in the screenshot (4.5).
- Here your ripples text is ready.
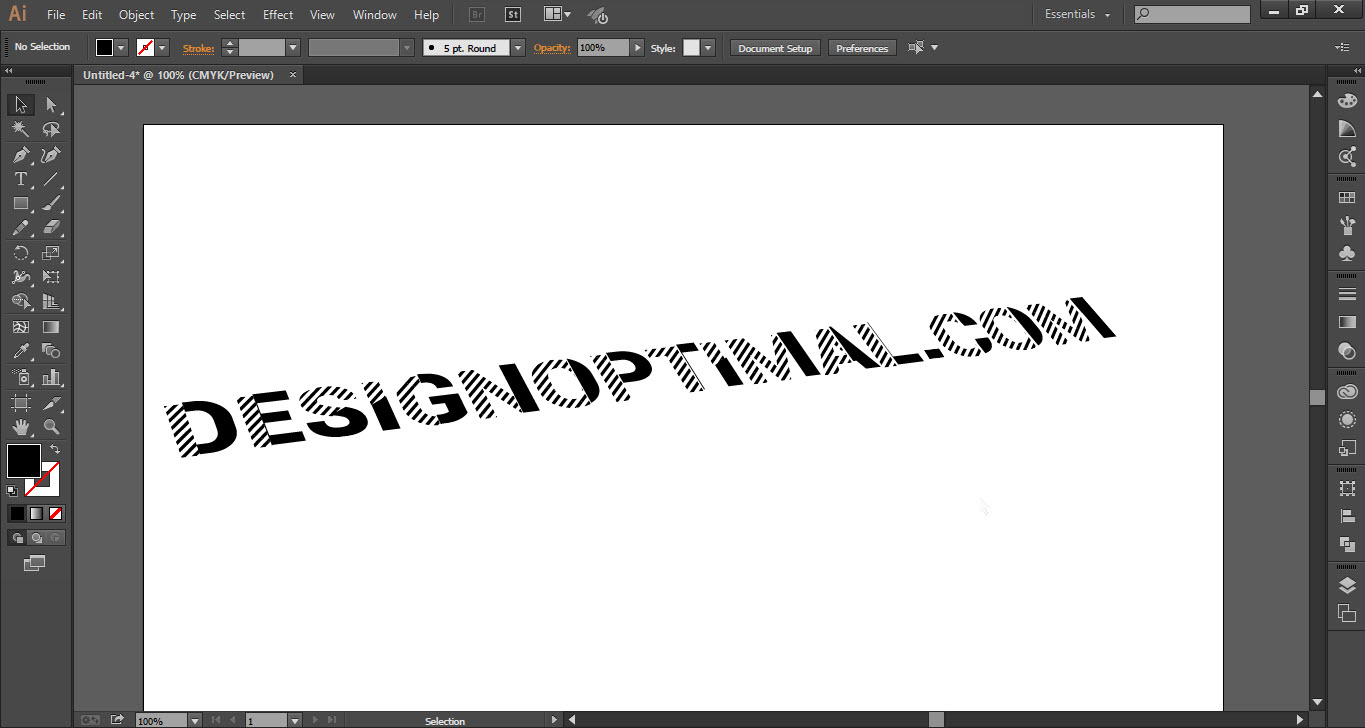
This is how the final result look likes