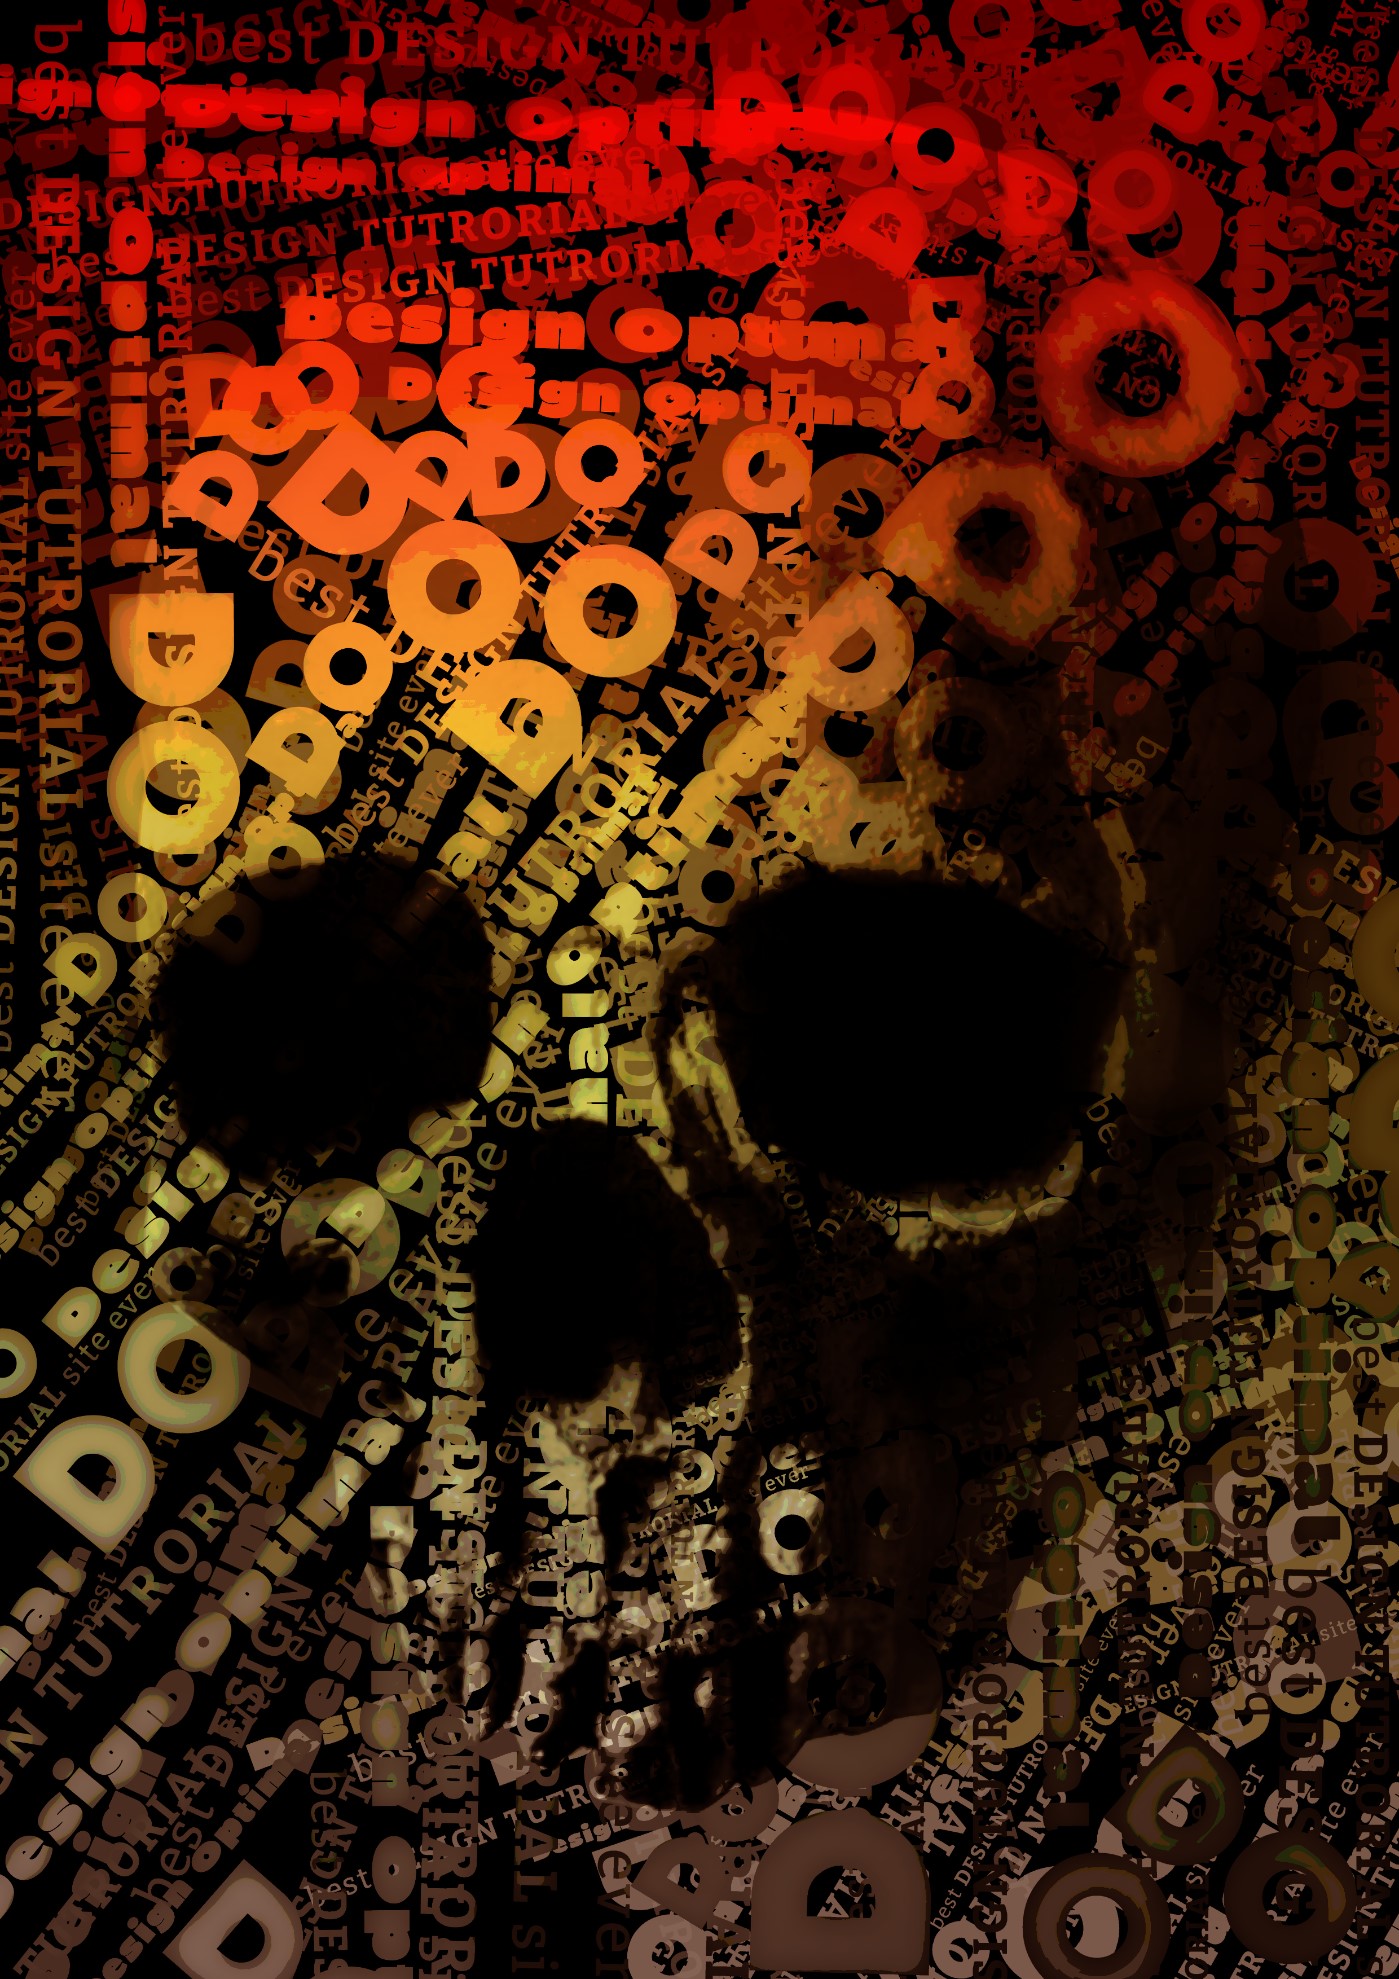
Hello Guys!! Today we will discuss how to create a Typographic Photoshop effect. This will be about a typography effect with a skull, and the final result will look like the skull is made out of the text showing our site name.
Typography effects, typo images or posters can be seen all over the web. The typography effects or manipulations are have been always popular thing in Graphics industry and among the designers, because we can do amazing things with only typo without including any images to it.
Typography posters or manipulations can convey strong message or idea to the society. Now a days, you can find most of the adverts that are only done with letters with two or three font types and sizes.
Resources (all credits goes to original authors)
- Images used :
- Fonts Used :
Step 01
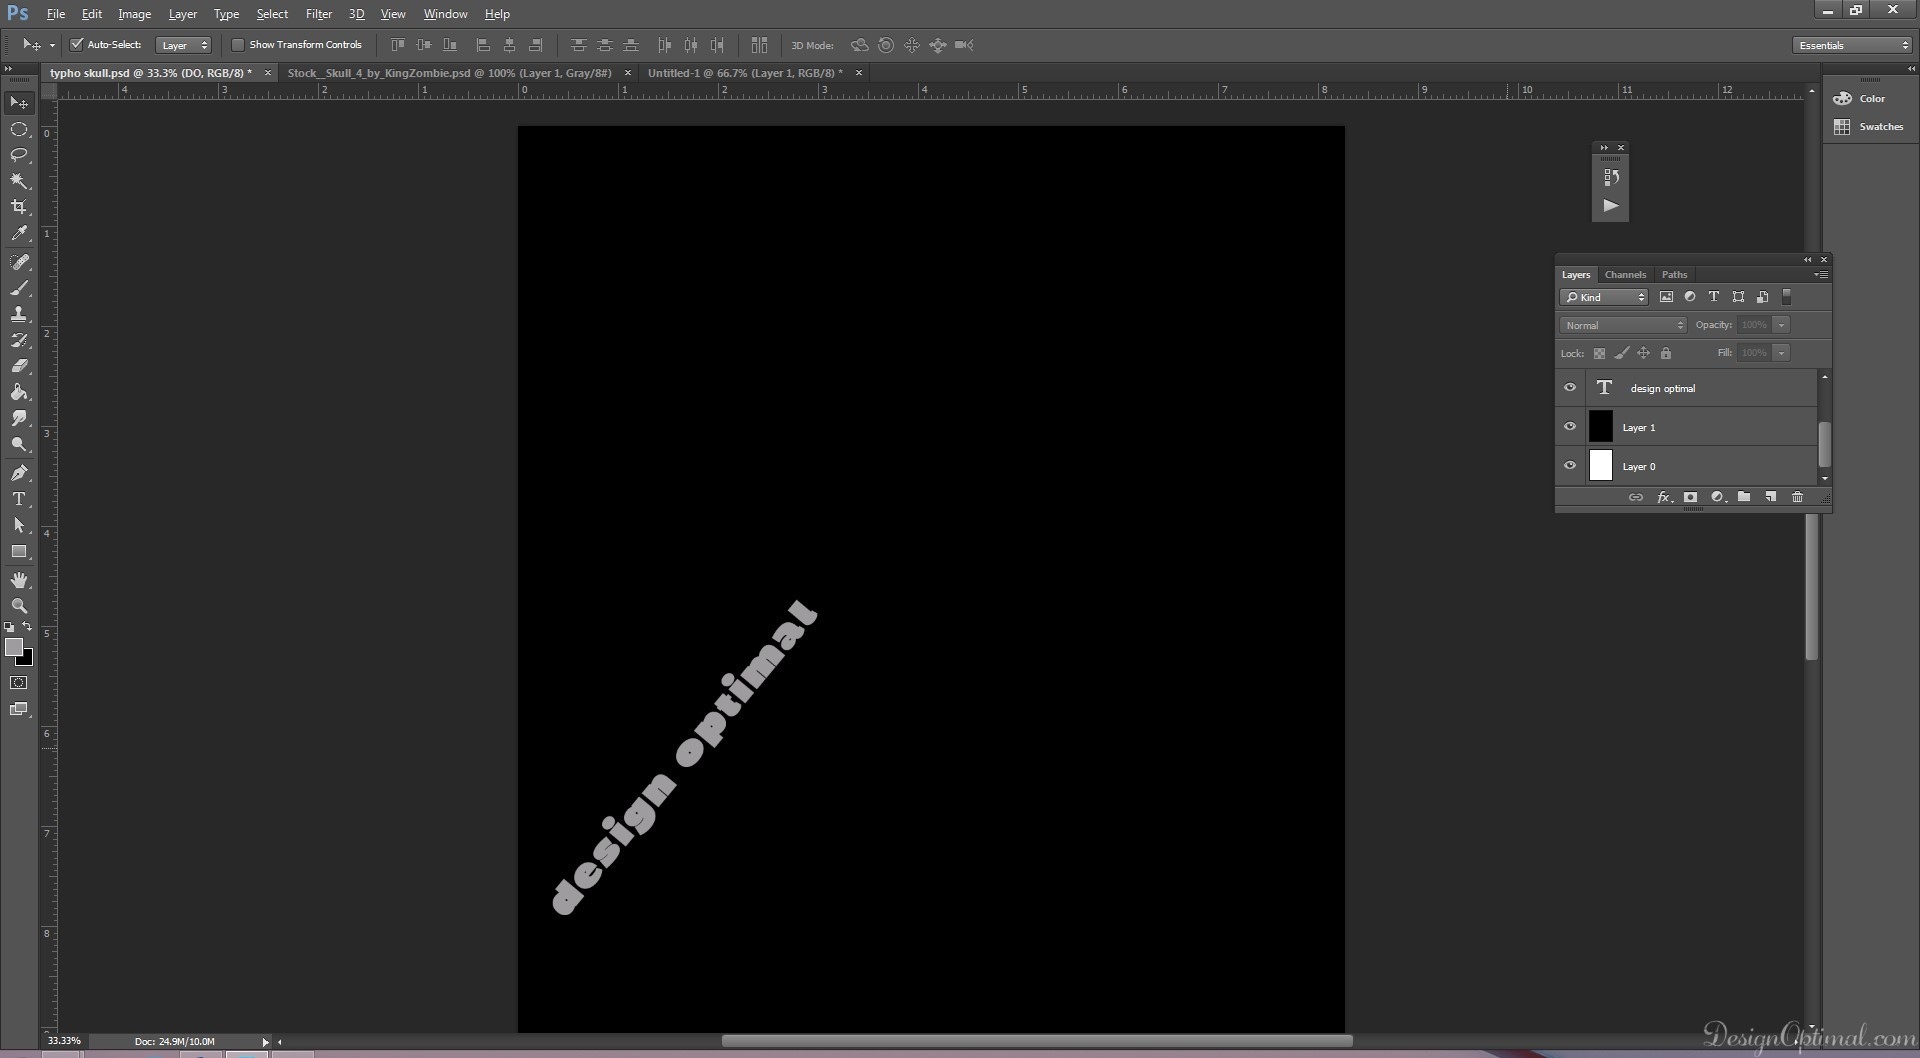
- Open Adobe Photoshop and create a new document of A4 size /color mode: RGB/300px resolution.
- Then fill it with black.
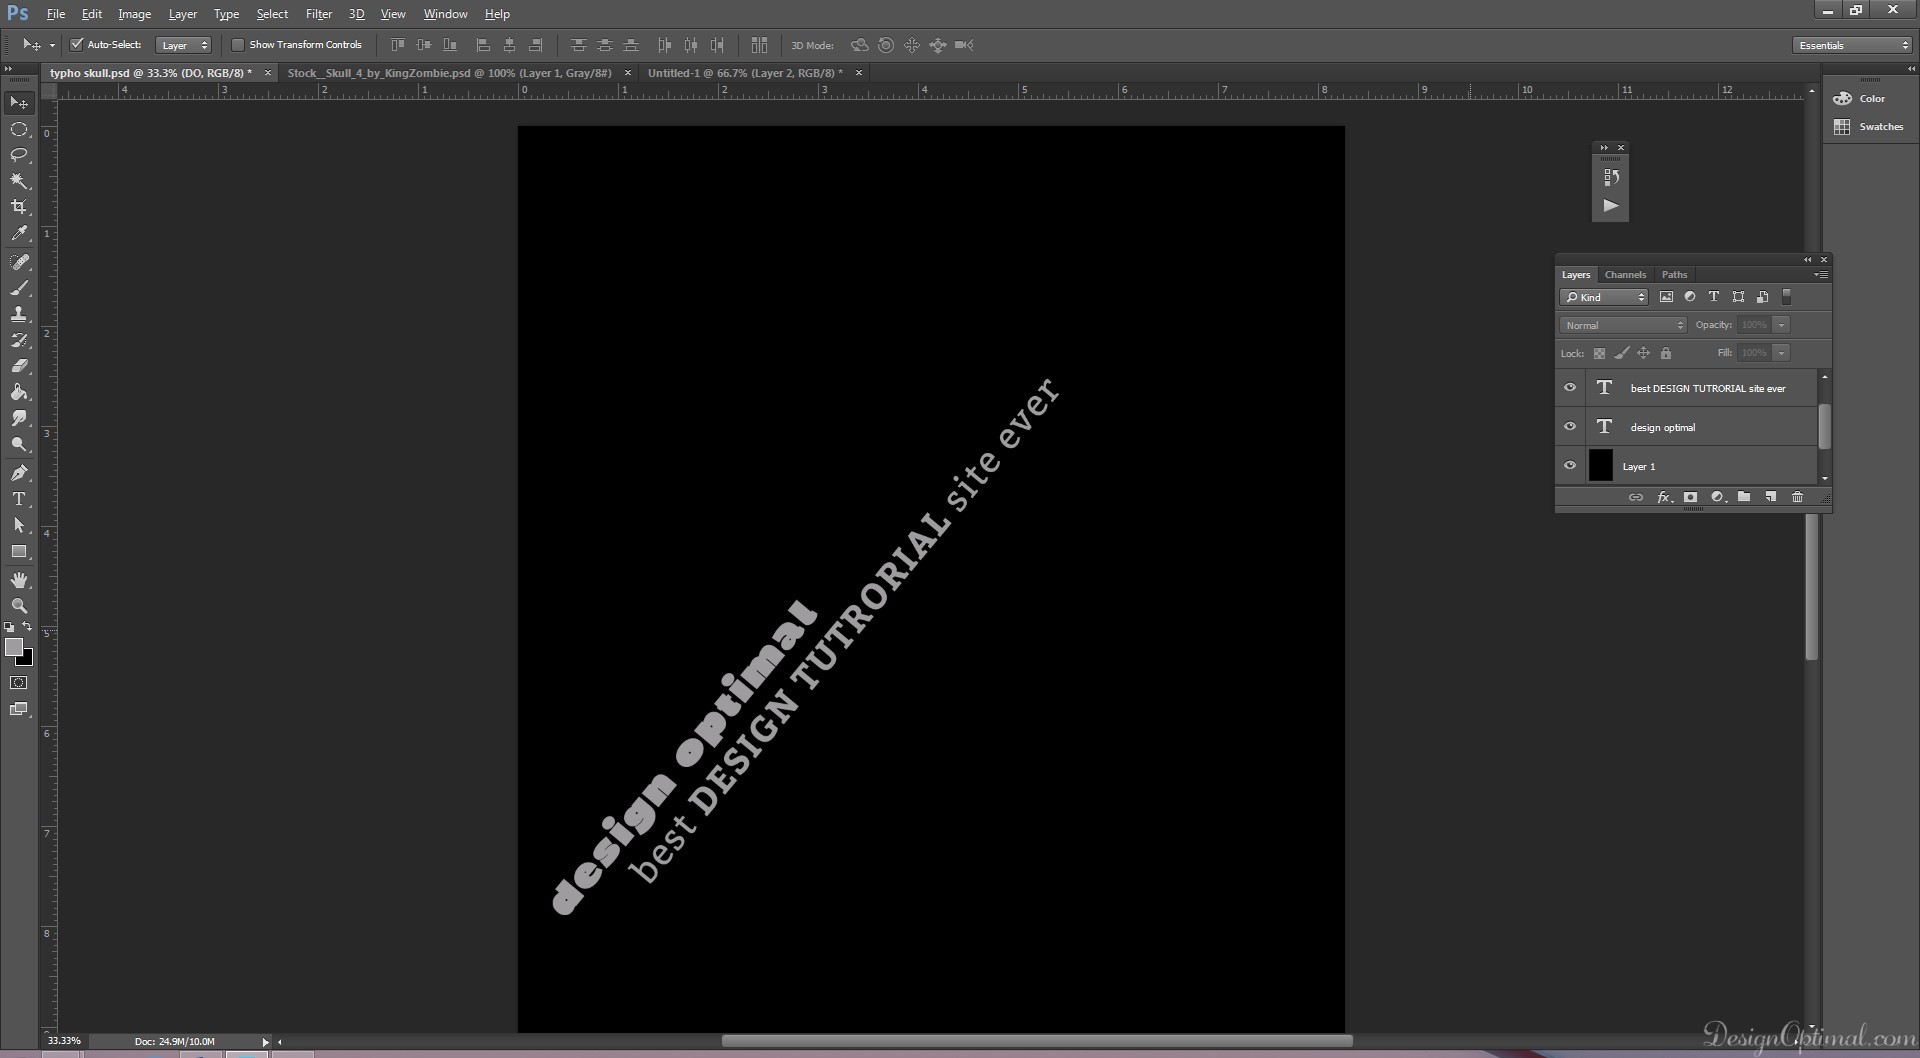
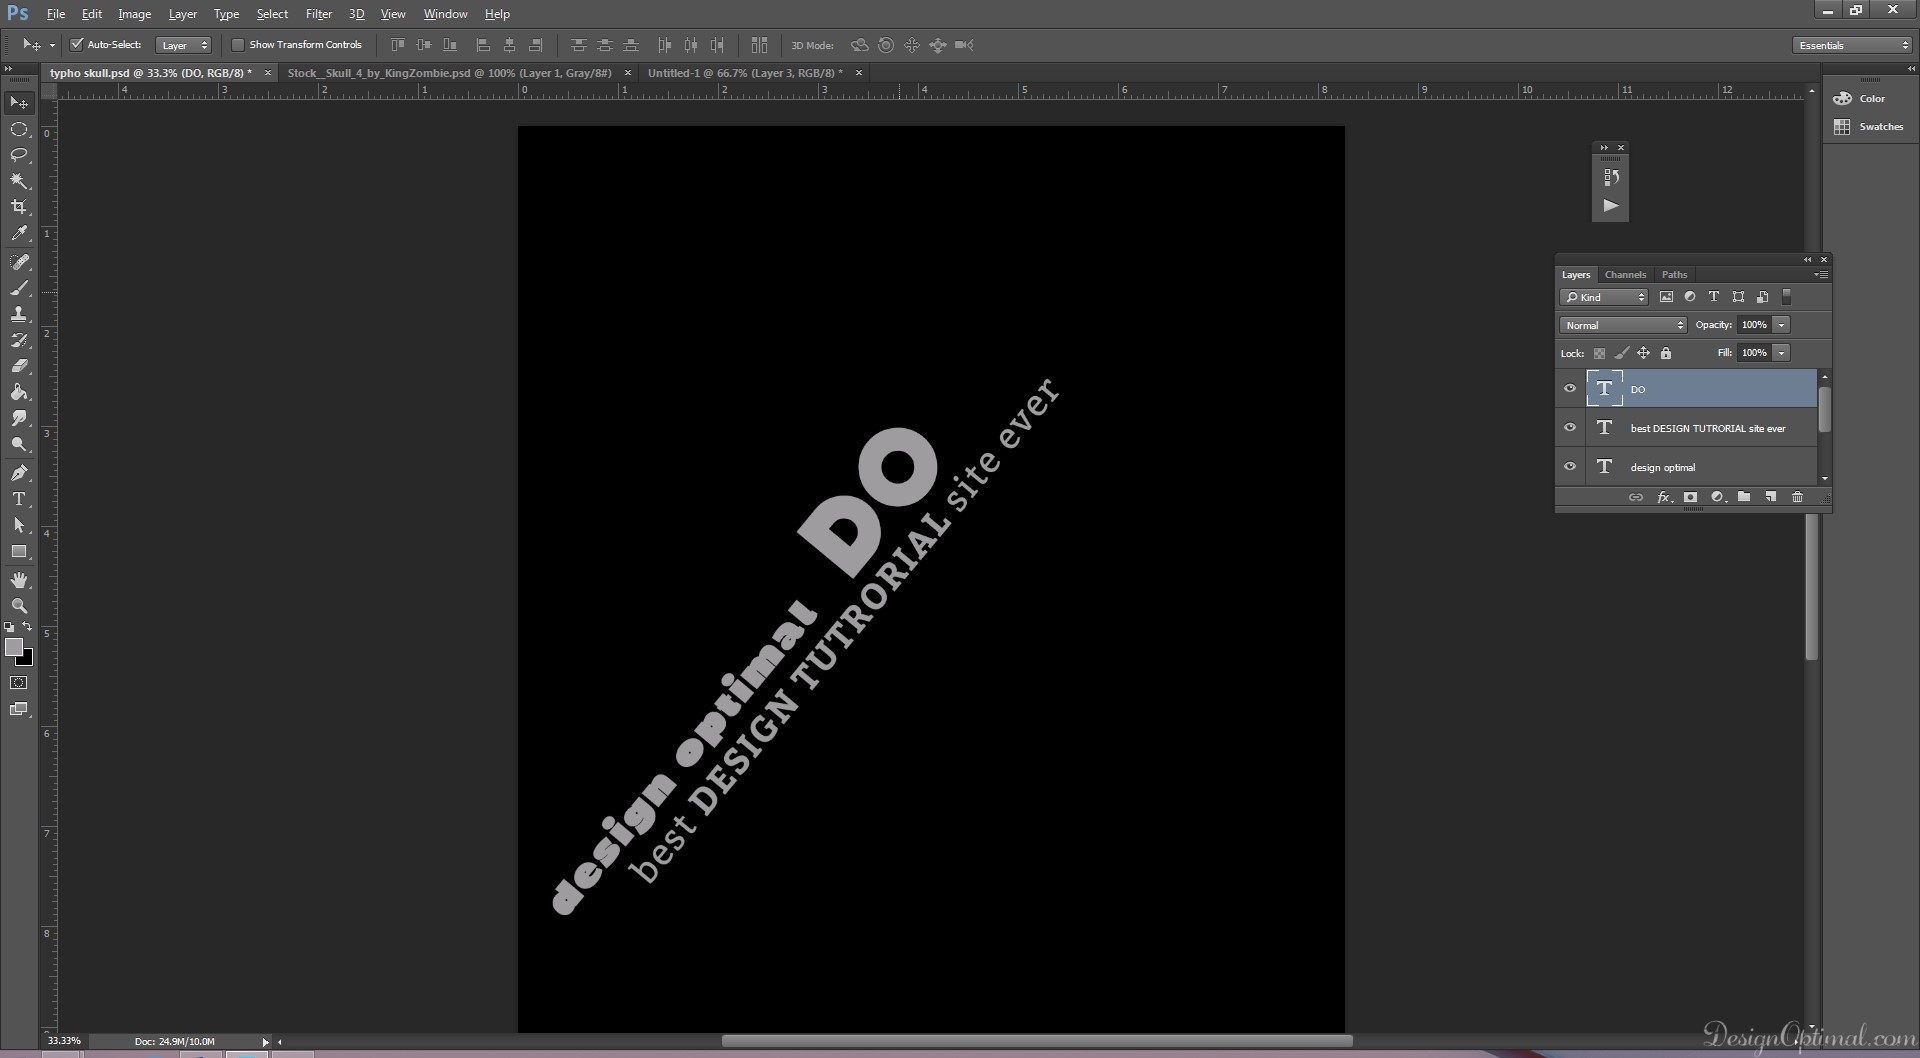
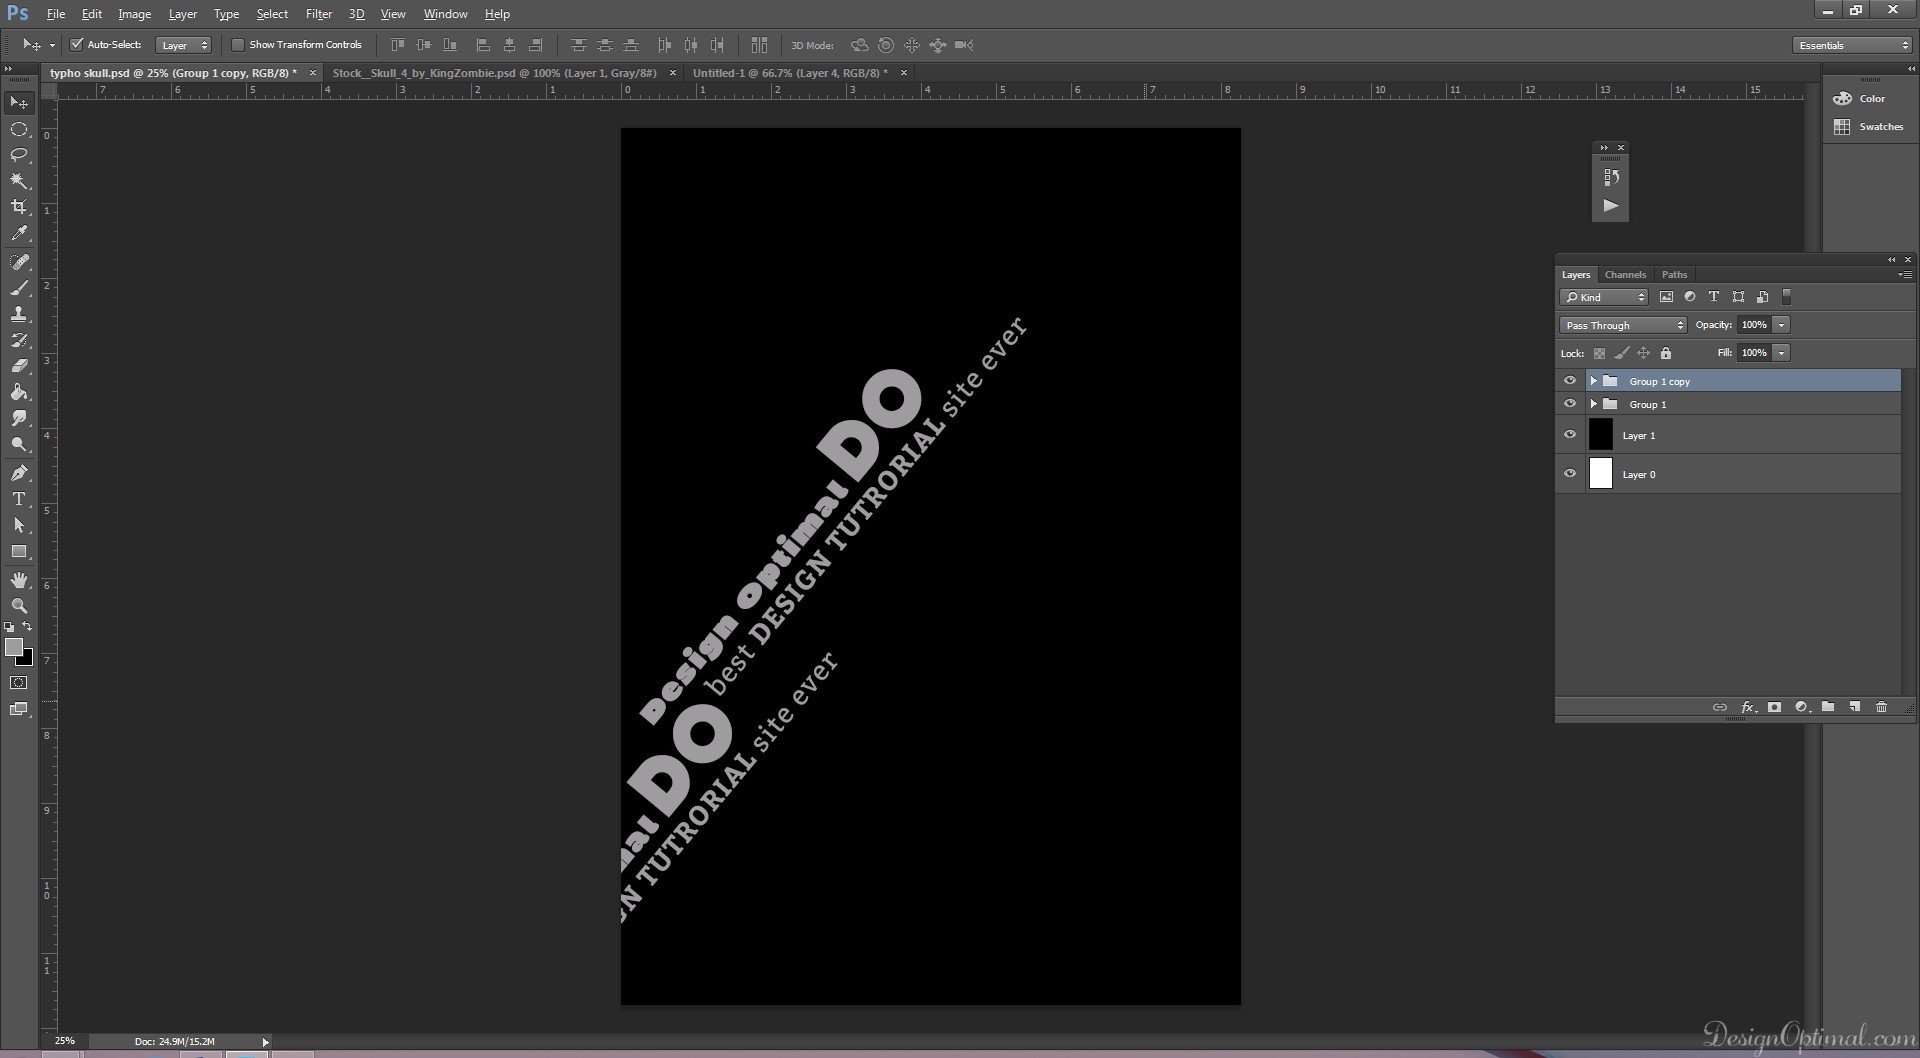
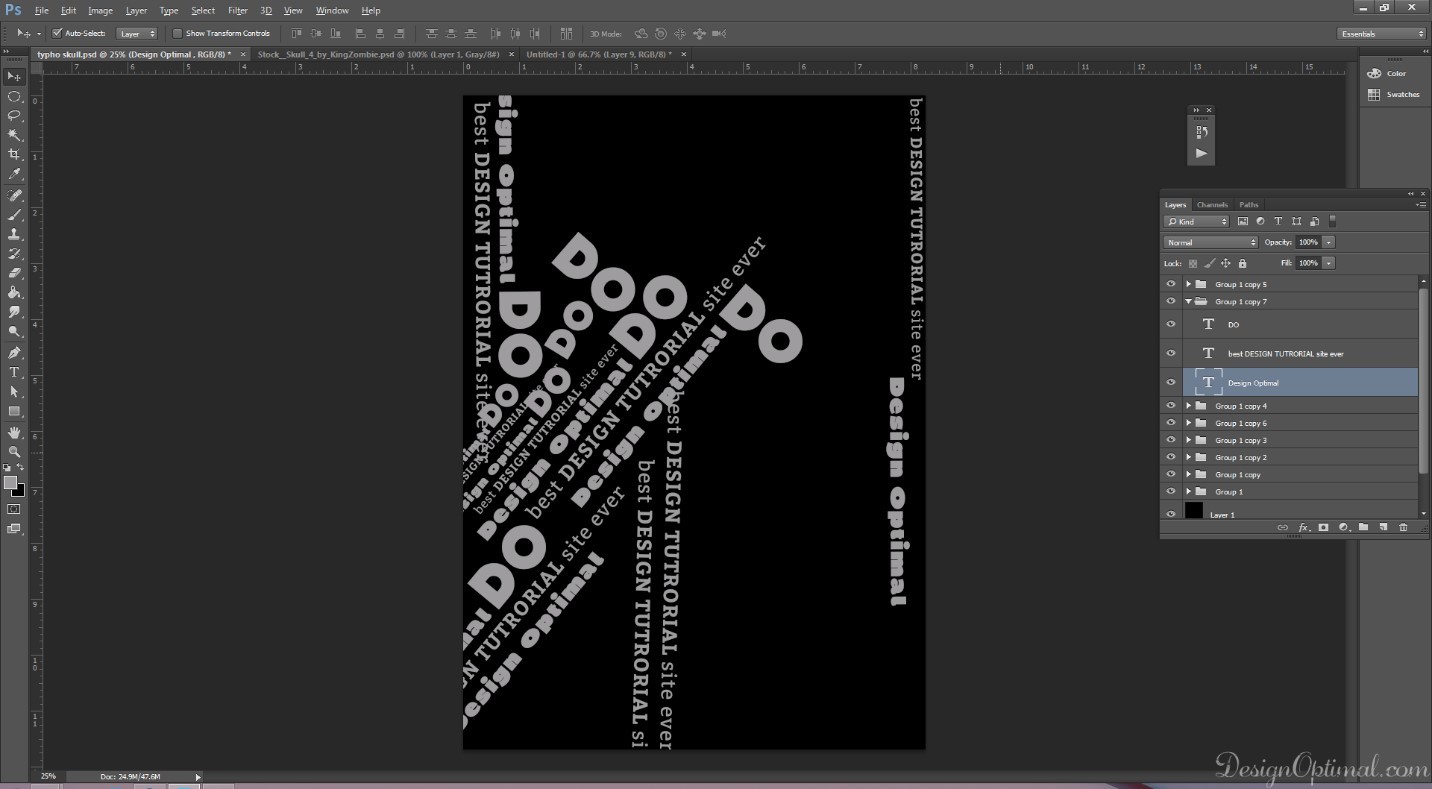
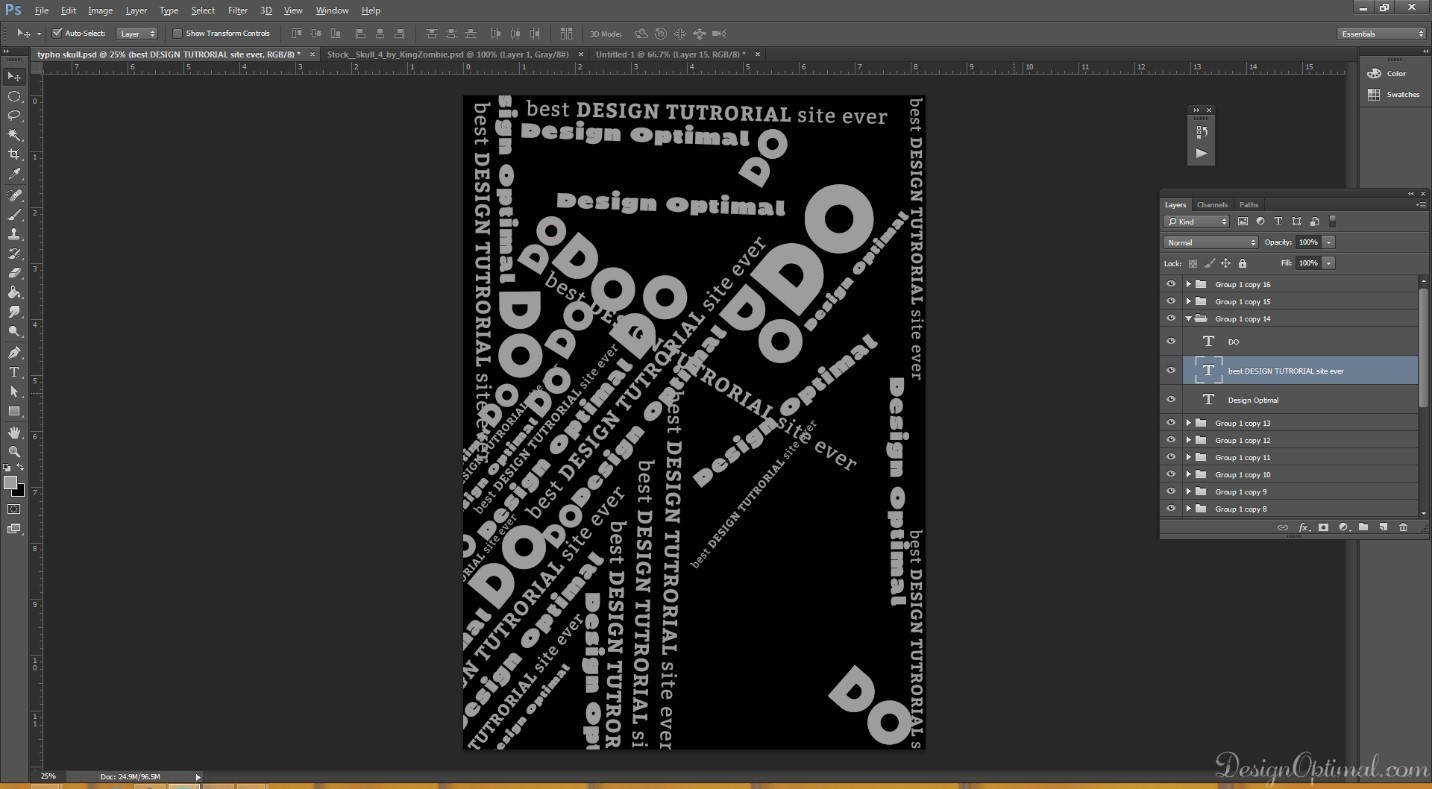
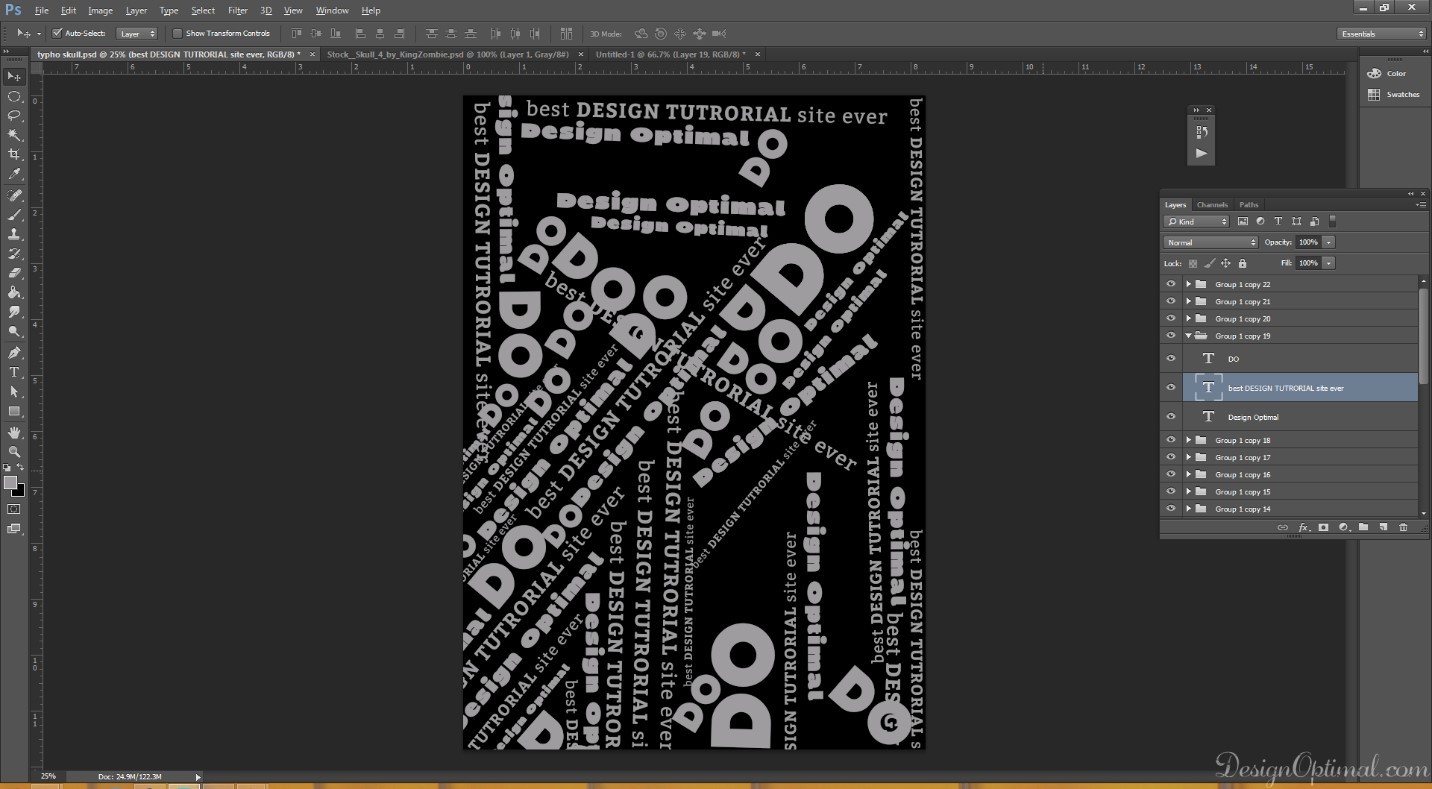
- Next take the type tool and start typing words of your preference. For this tutorial we have typed as design optimal / best DESIGN TUTRORIAL site ever/DO.
- The font color will be #9f9ca0.
- Type these words separately in different layers.
- The fonts that we used will be BP Diet Ultra Black/ Bitter Bold/ Kilogram Regular.
- The end result so far is shown below.


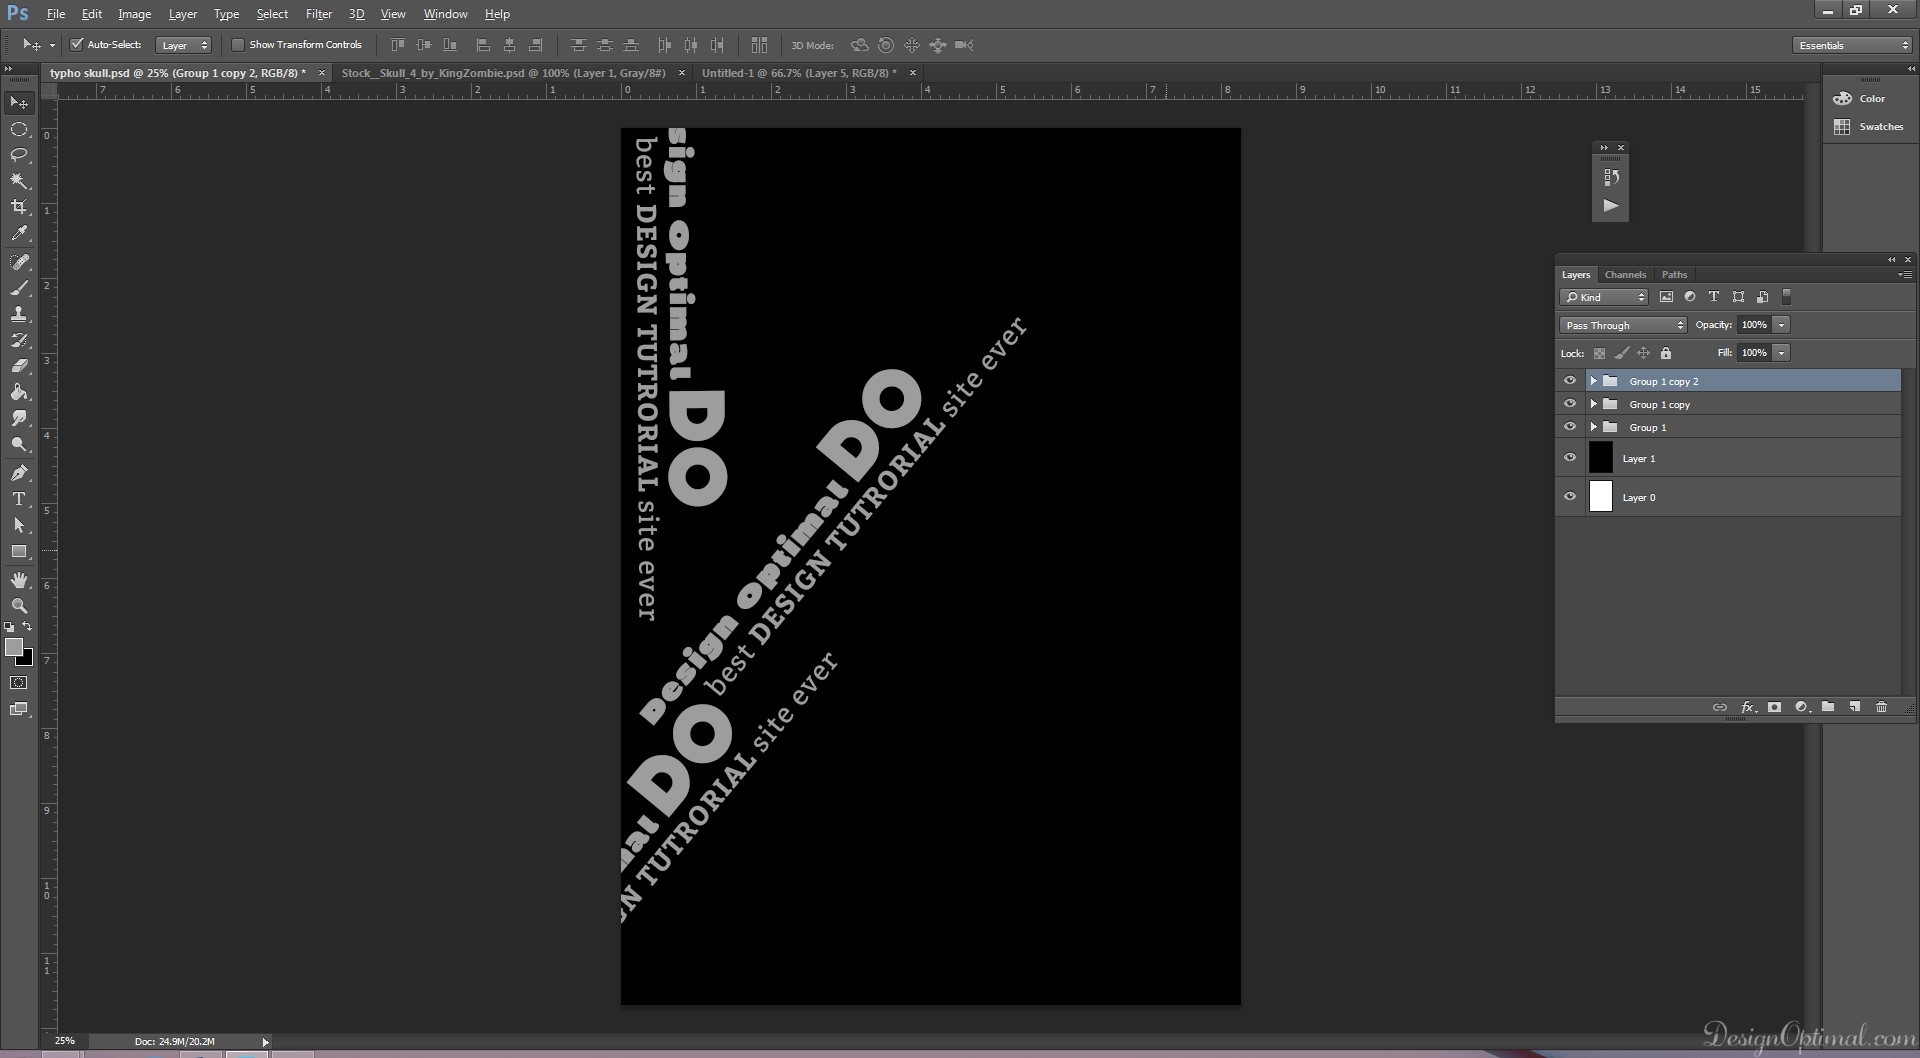
Step 02
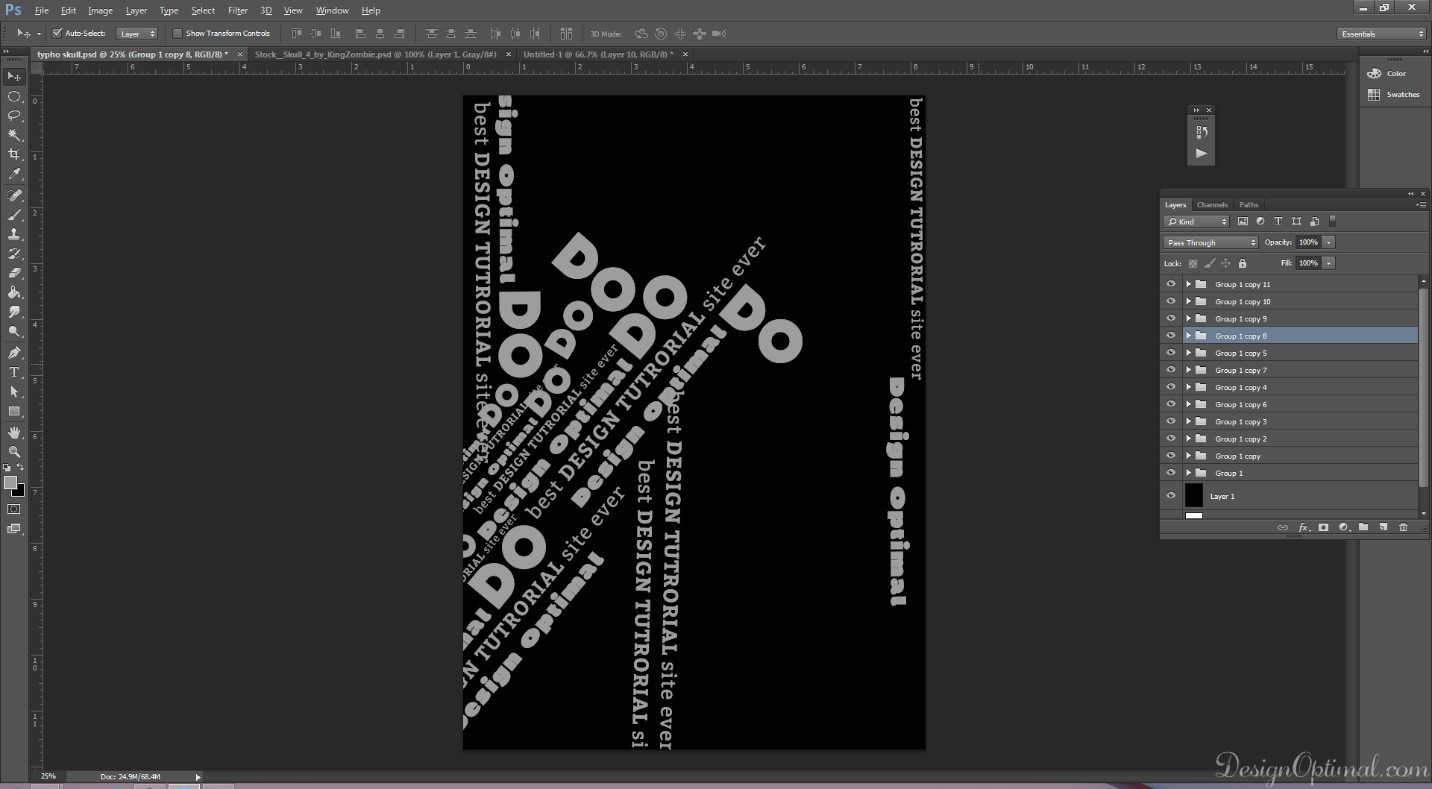
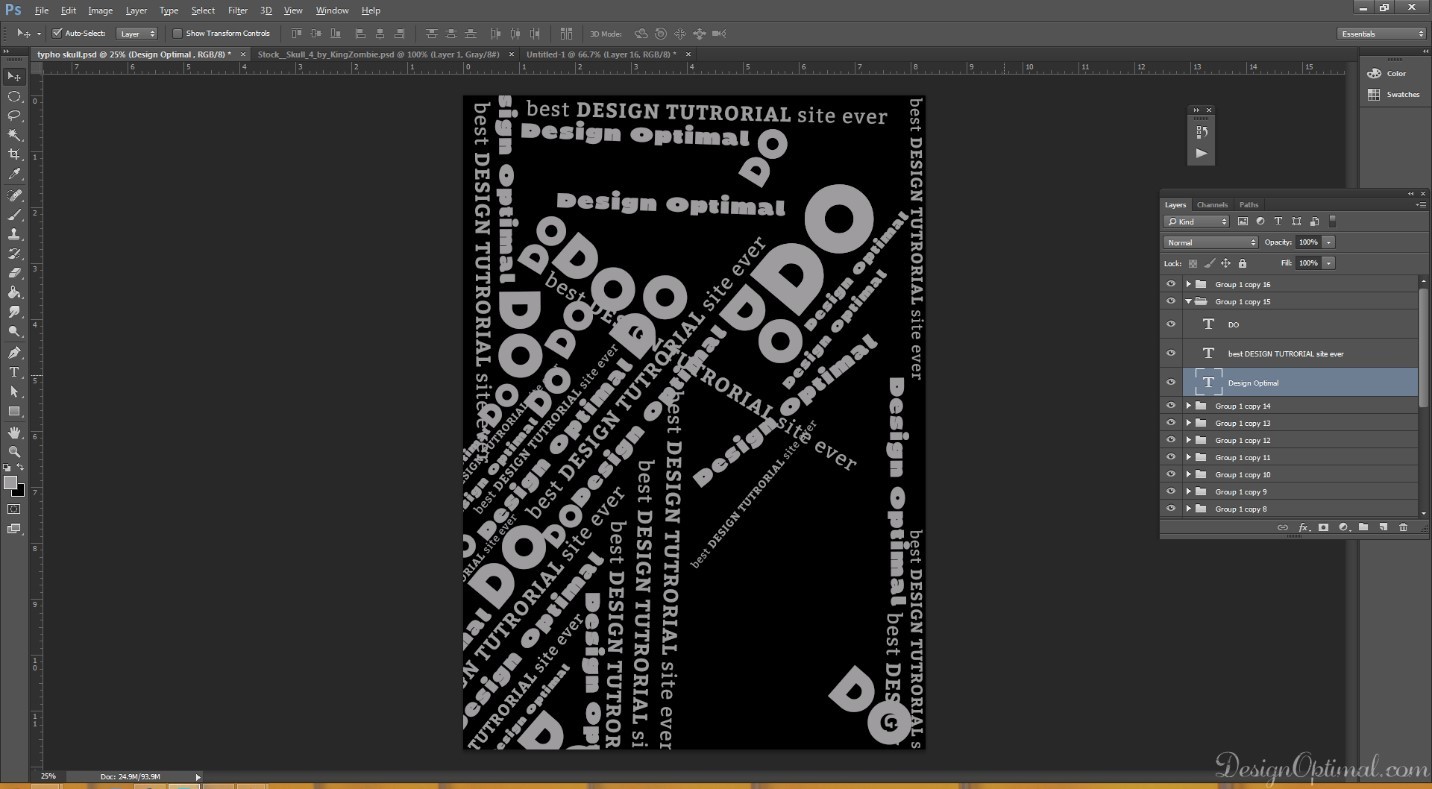
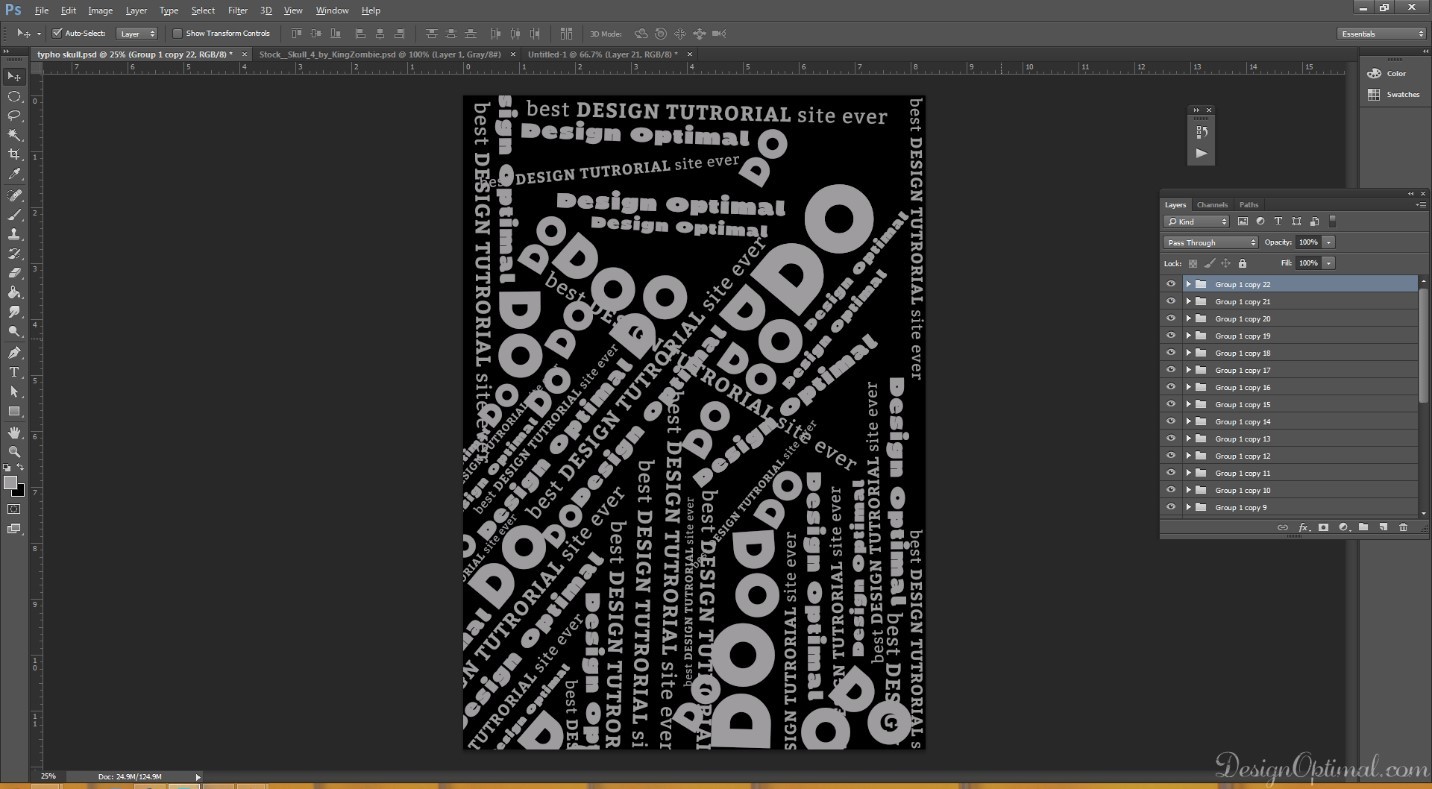
- Next duplicate the layers and keep them in different positions and angels.
- Reduce or increase the sizes of each word as you wish but keep the overall look interconnected.
- Keep them in different places.
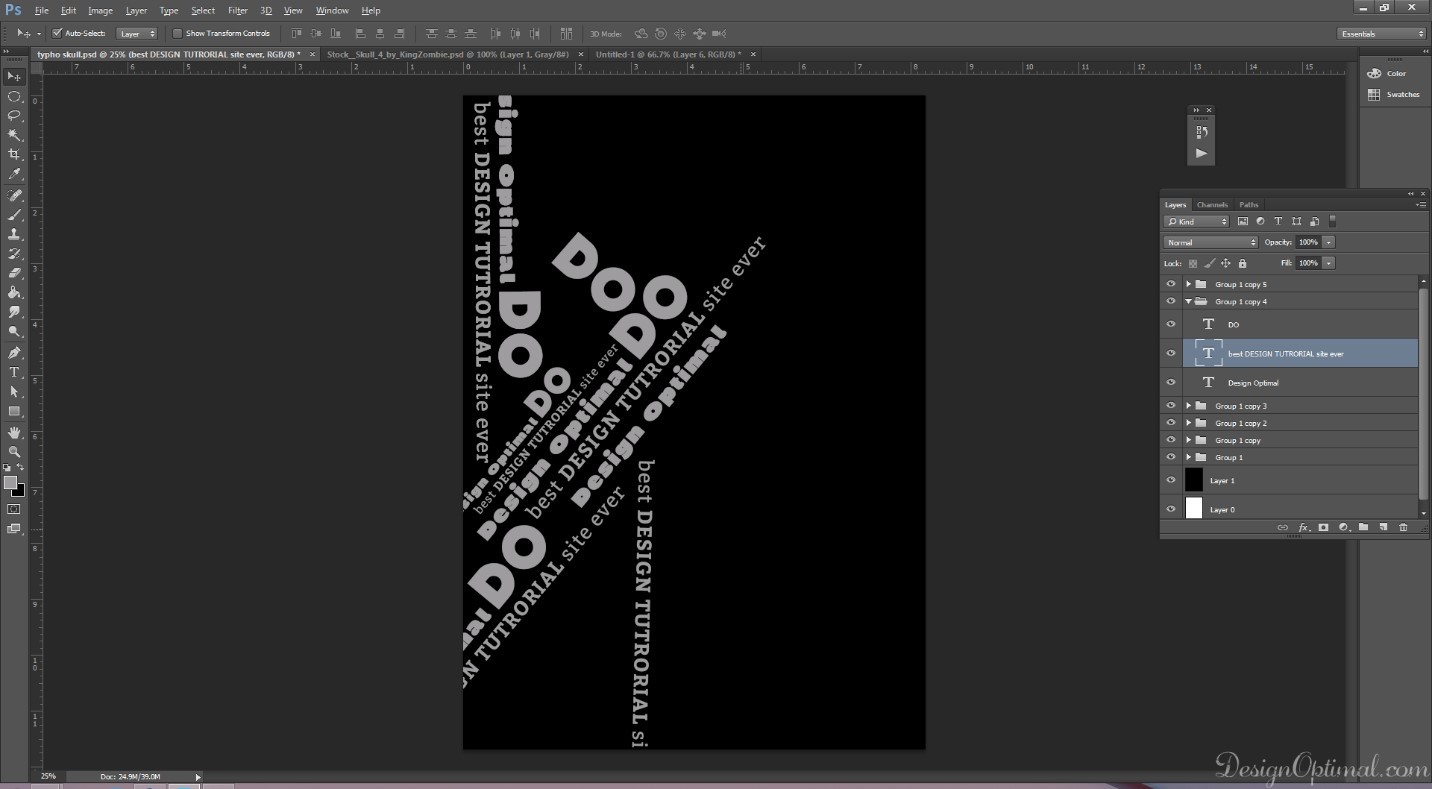

Step 03
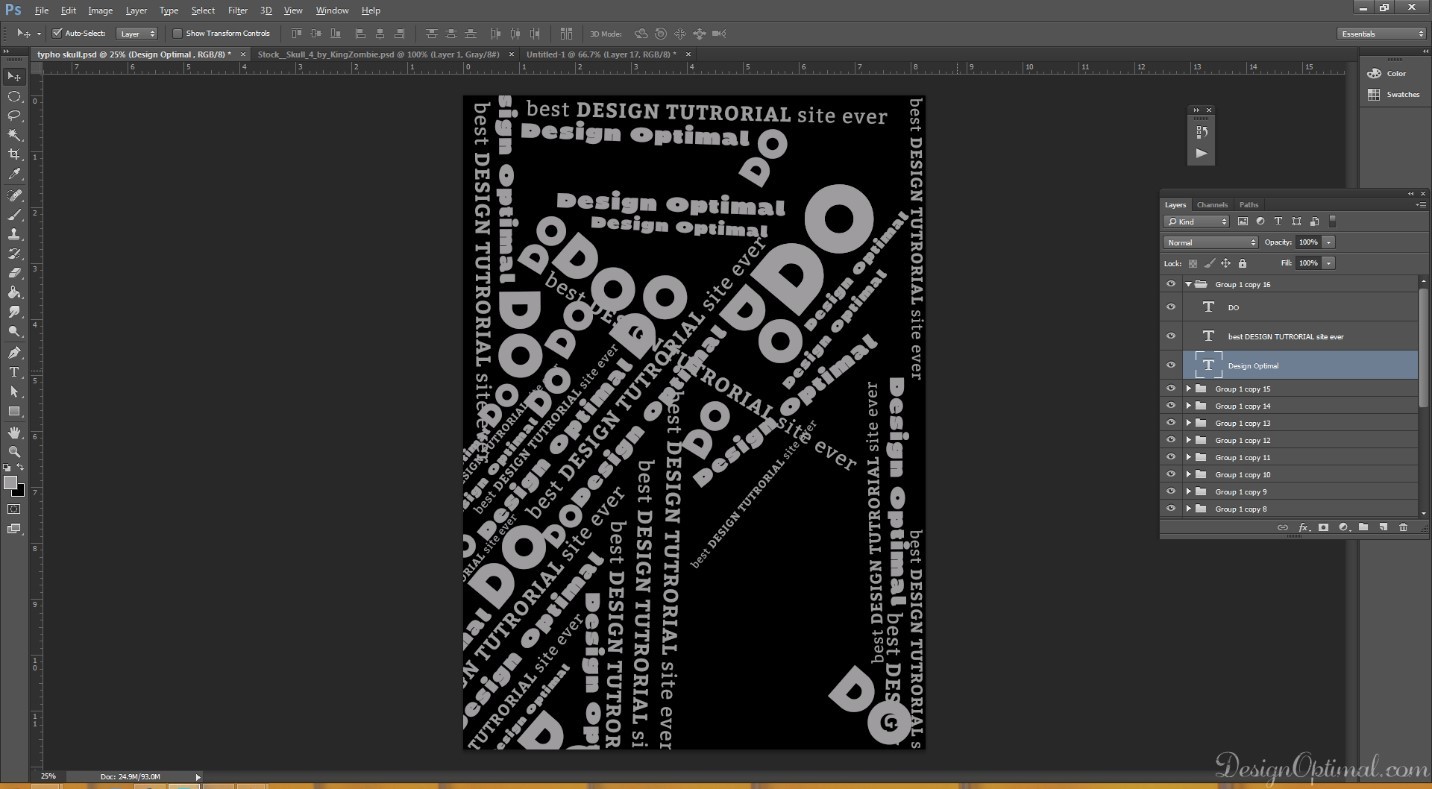
- Repeat the same process again and again till the whole document area is filled with the text in a proper manner.
Step 04
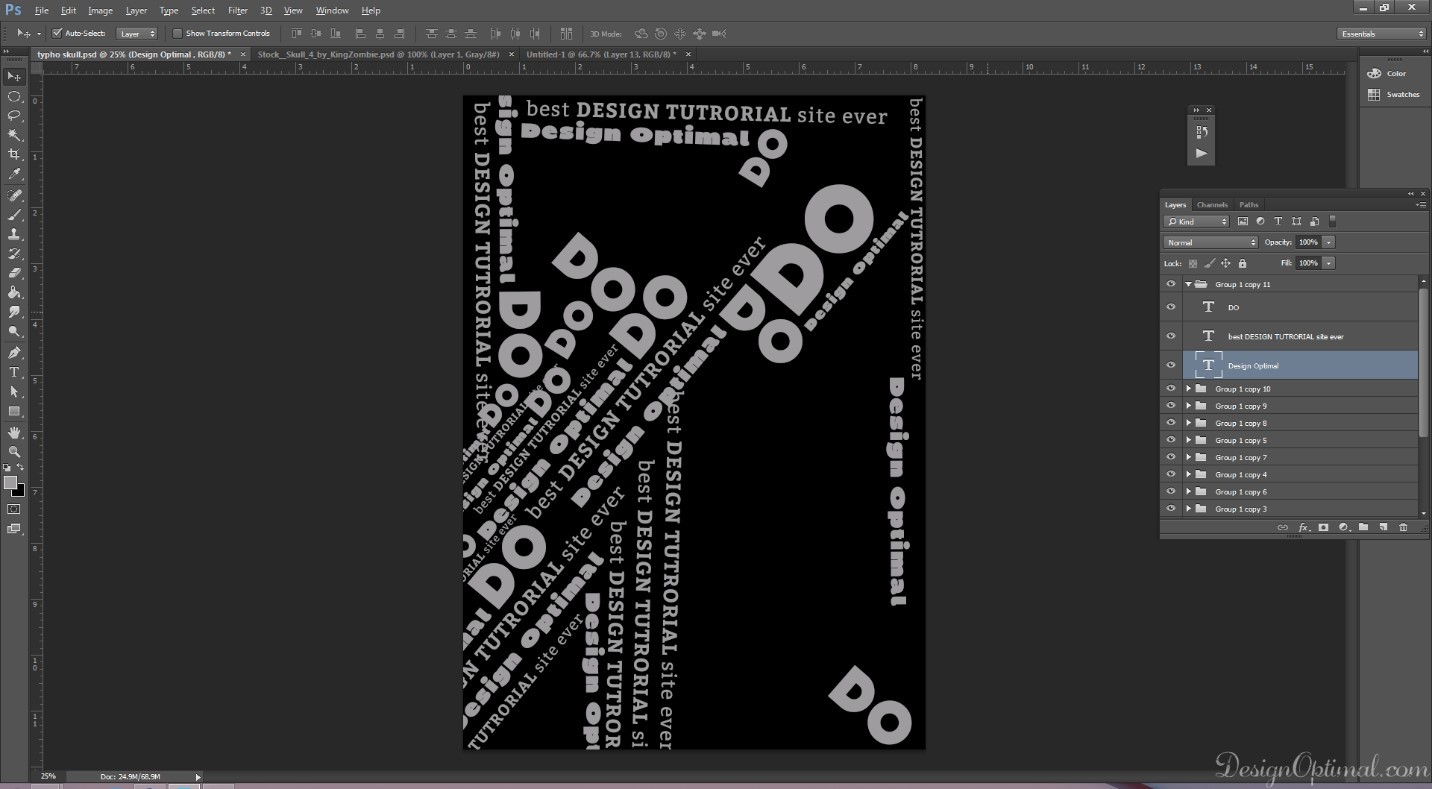
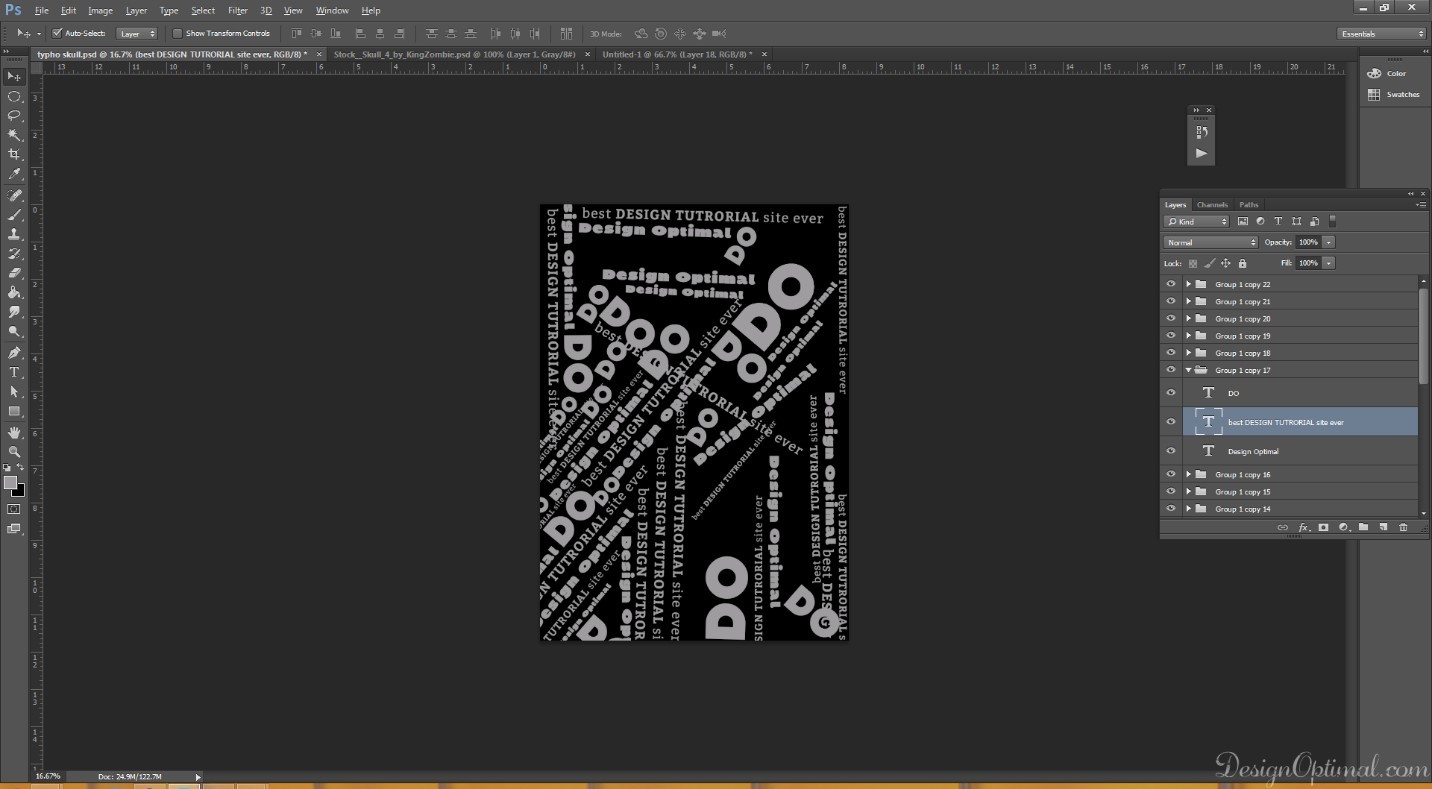
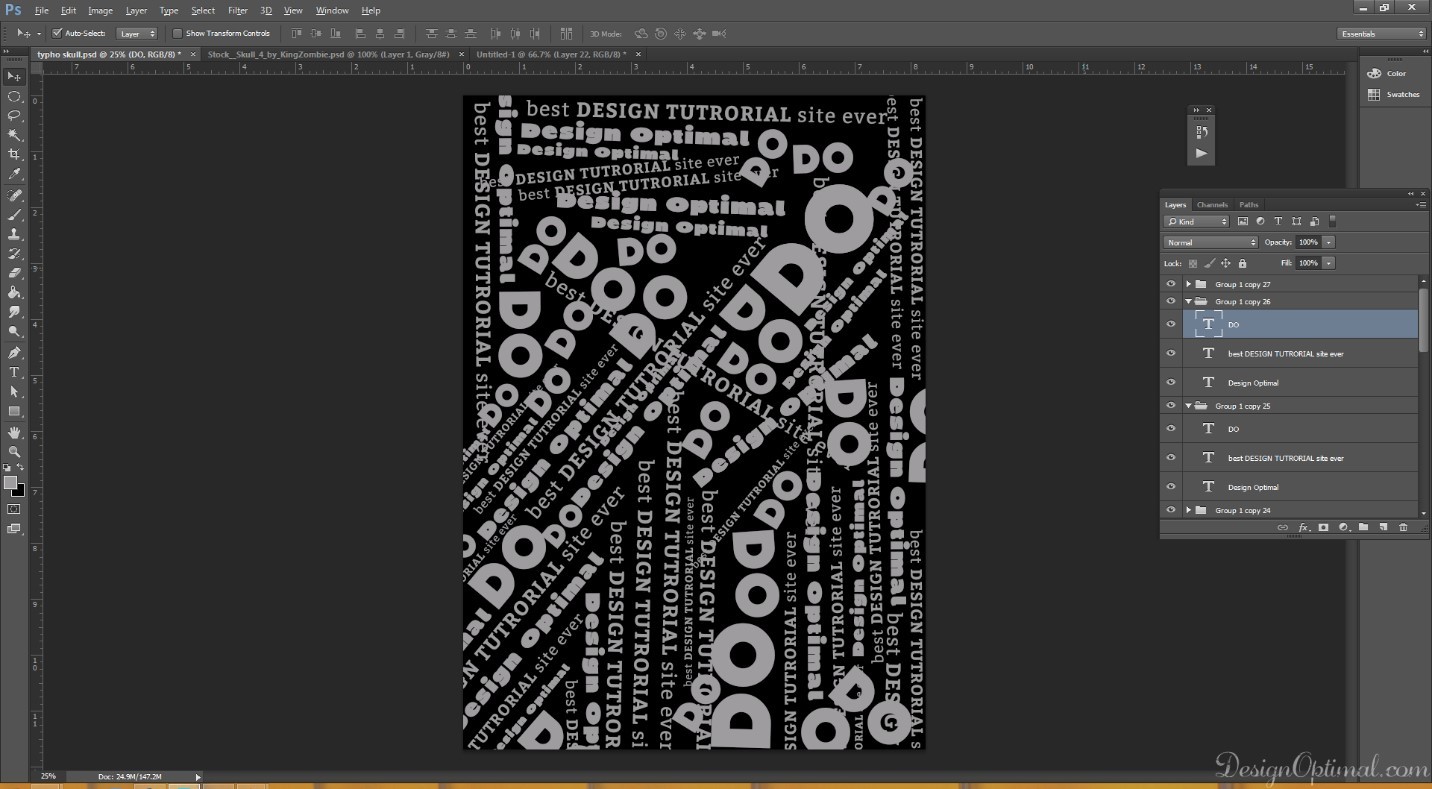
- I repeat! Repeat the same 🙂 .
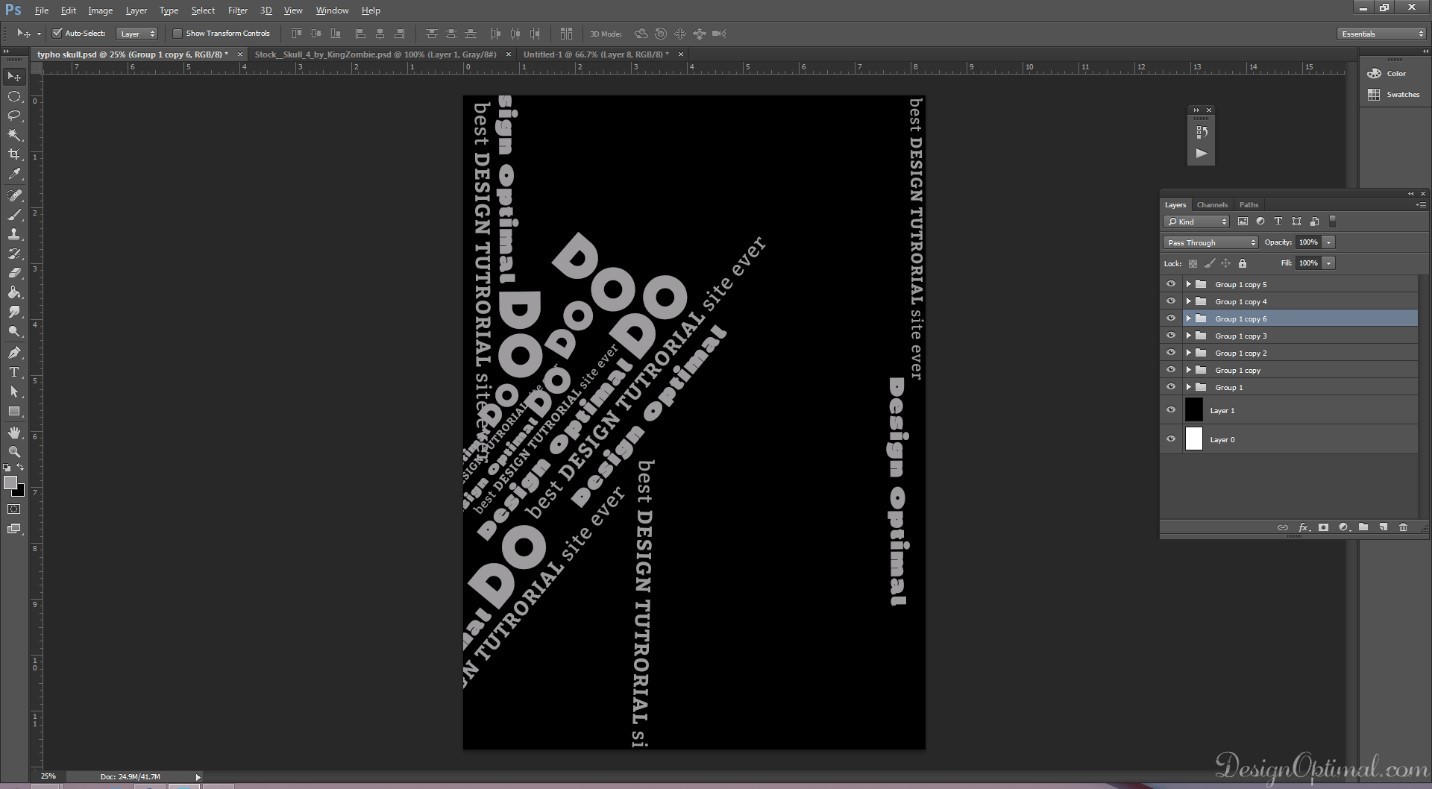
Step 05
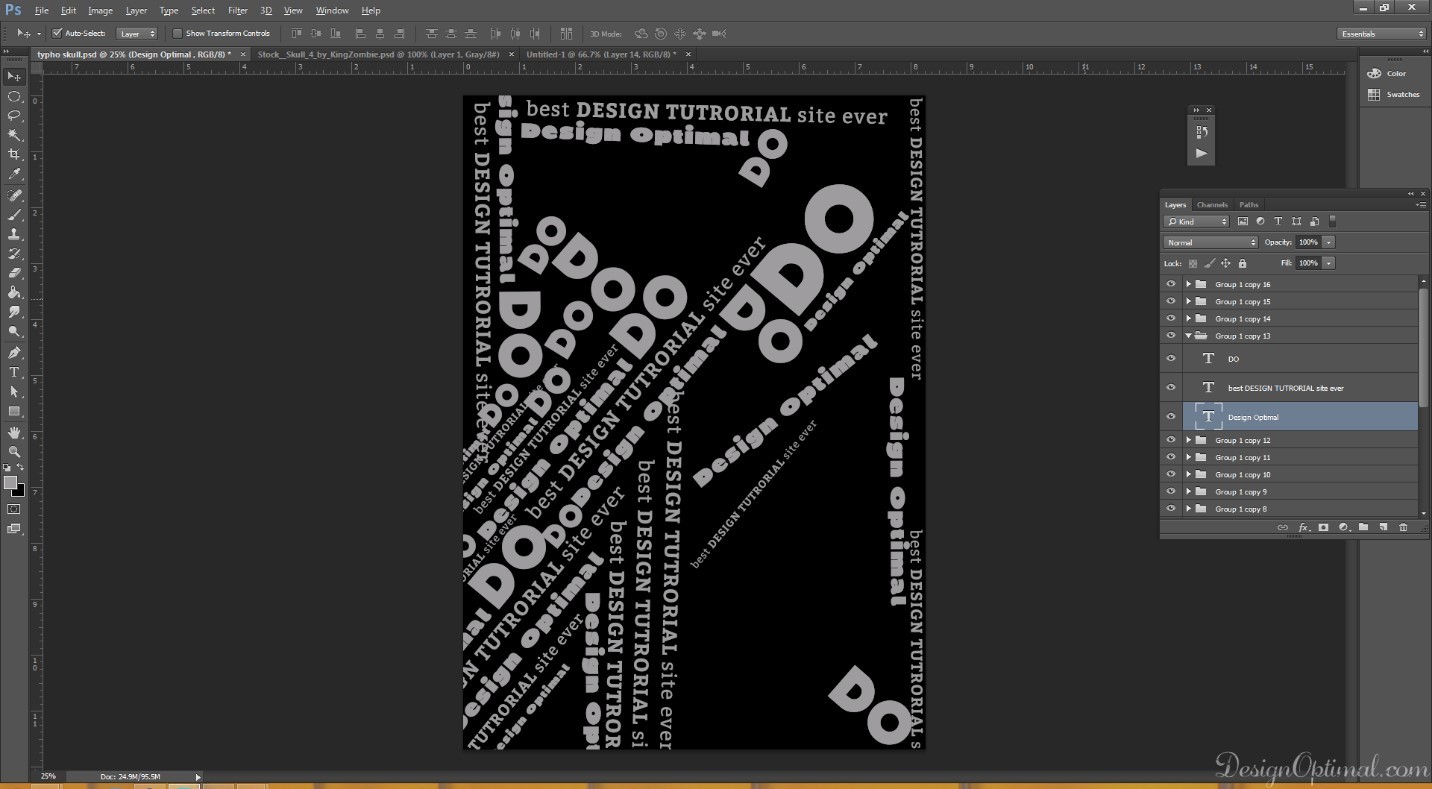
- I know I know, but just repeat the process again and again by changing the positions and sizes. That’s all you can do right now 🙂 .

Step 06
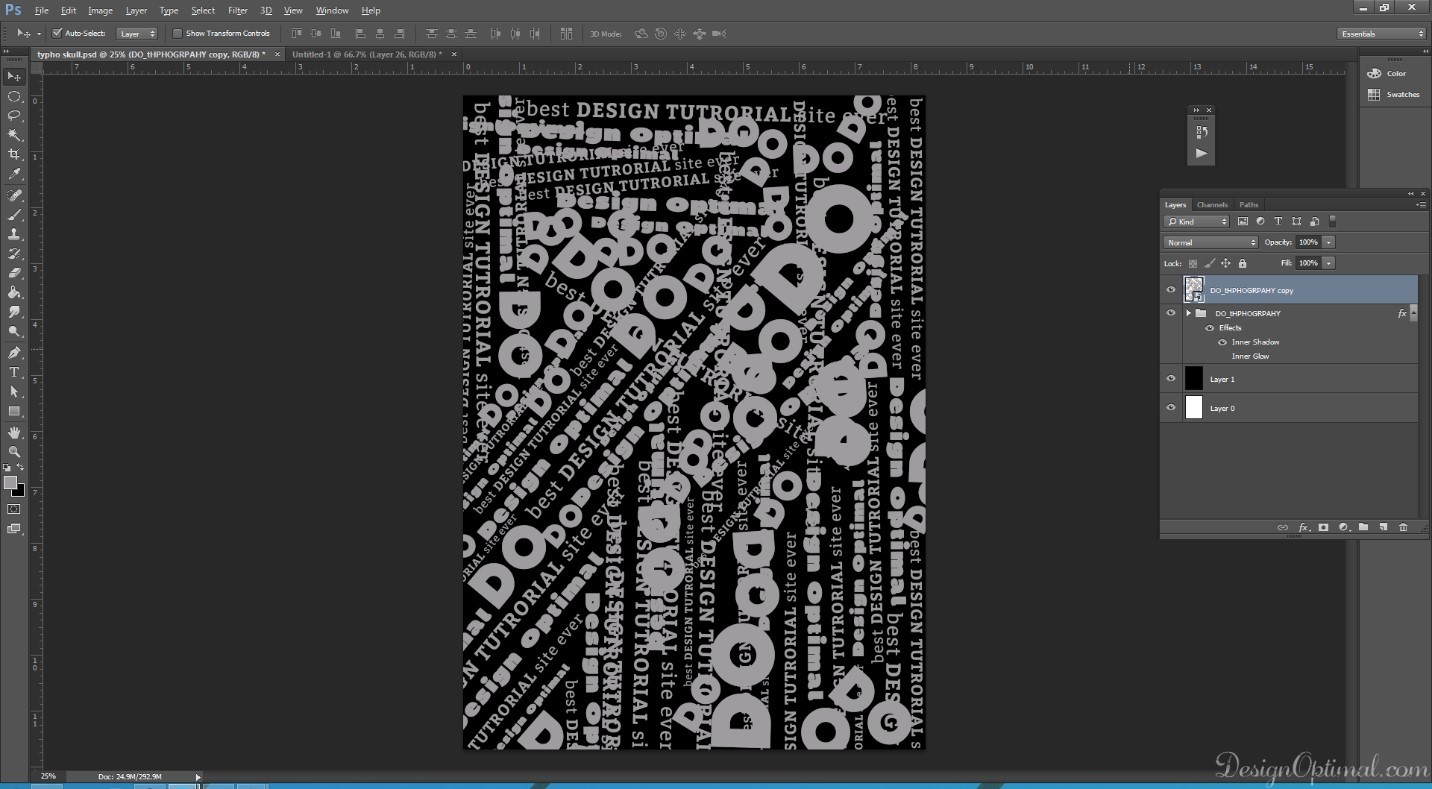
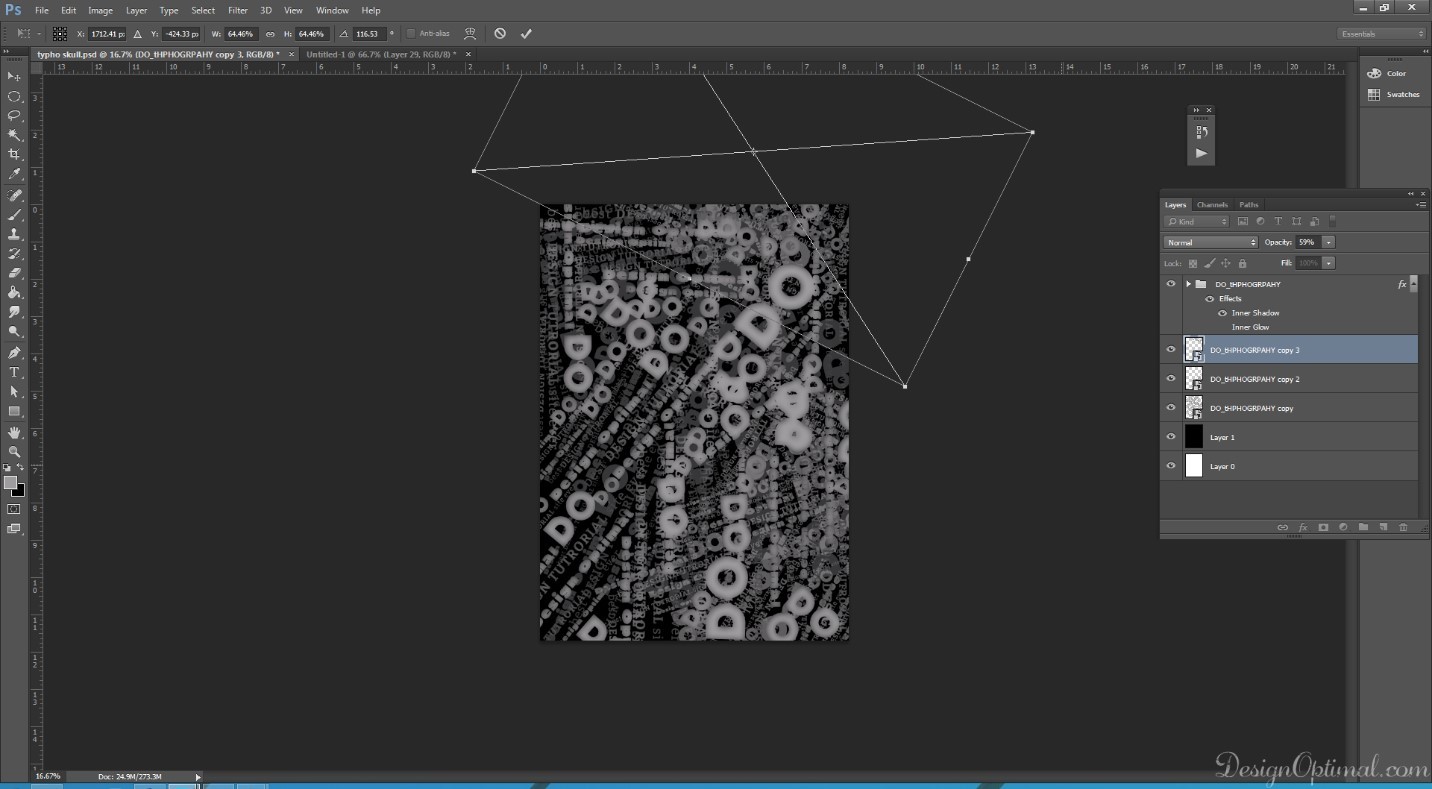
- Next step will be group all the text layers that you have created so far and name it as Do typo or something.
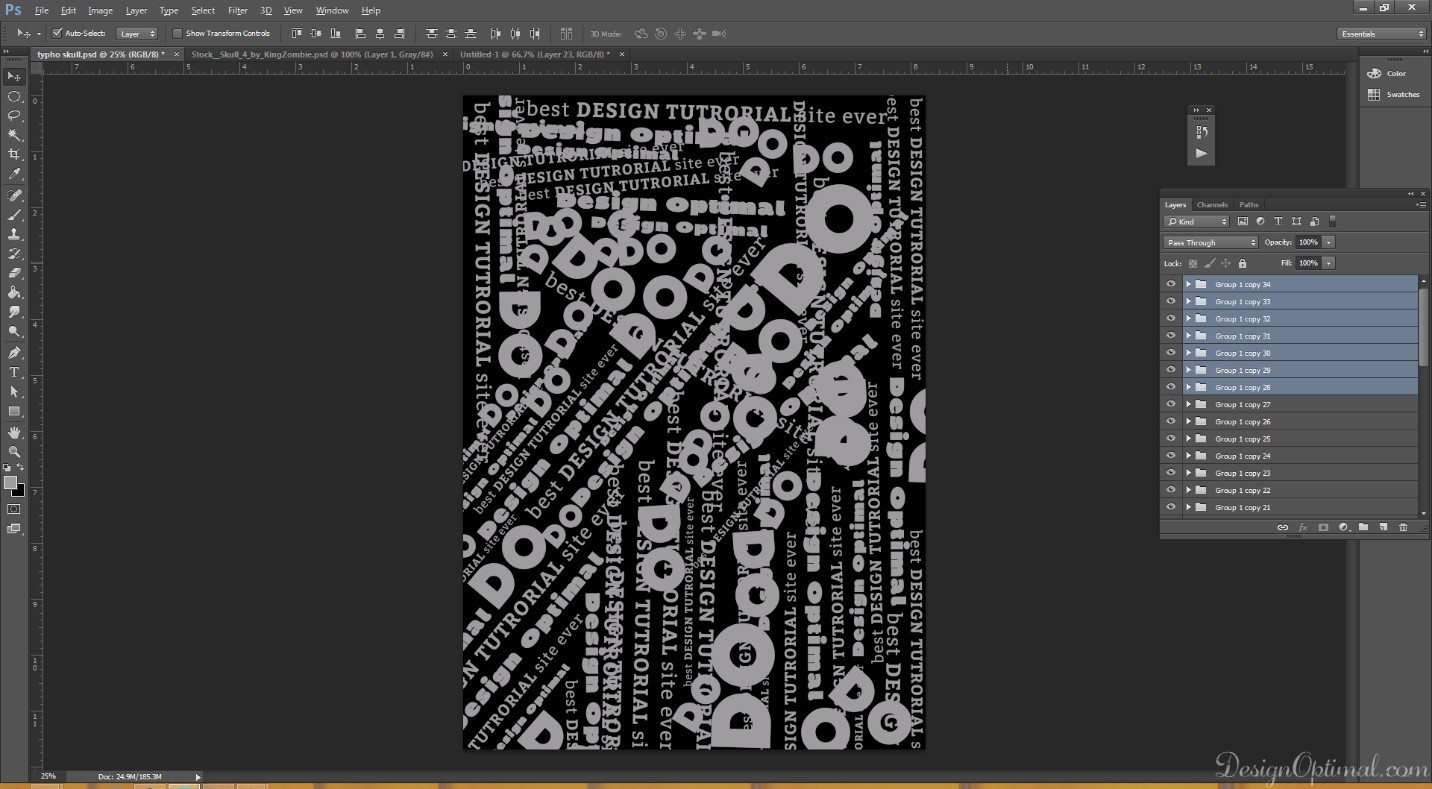
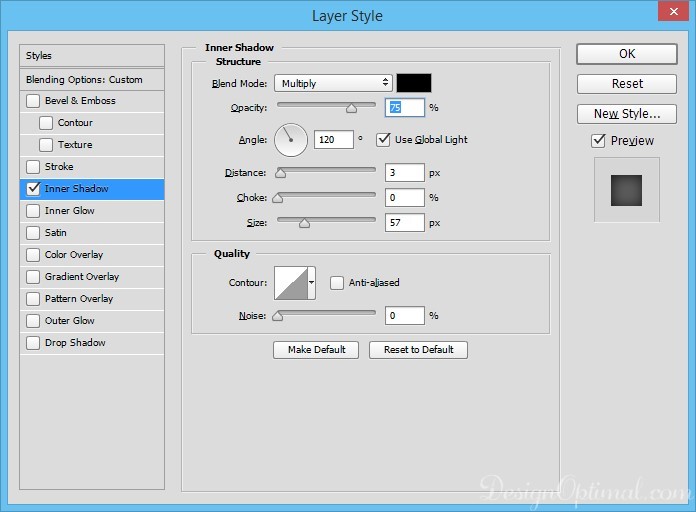
- Now add an Inner shadow to the group.
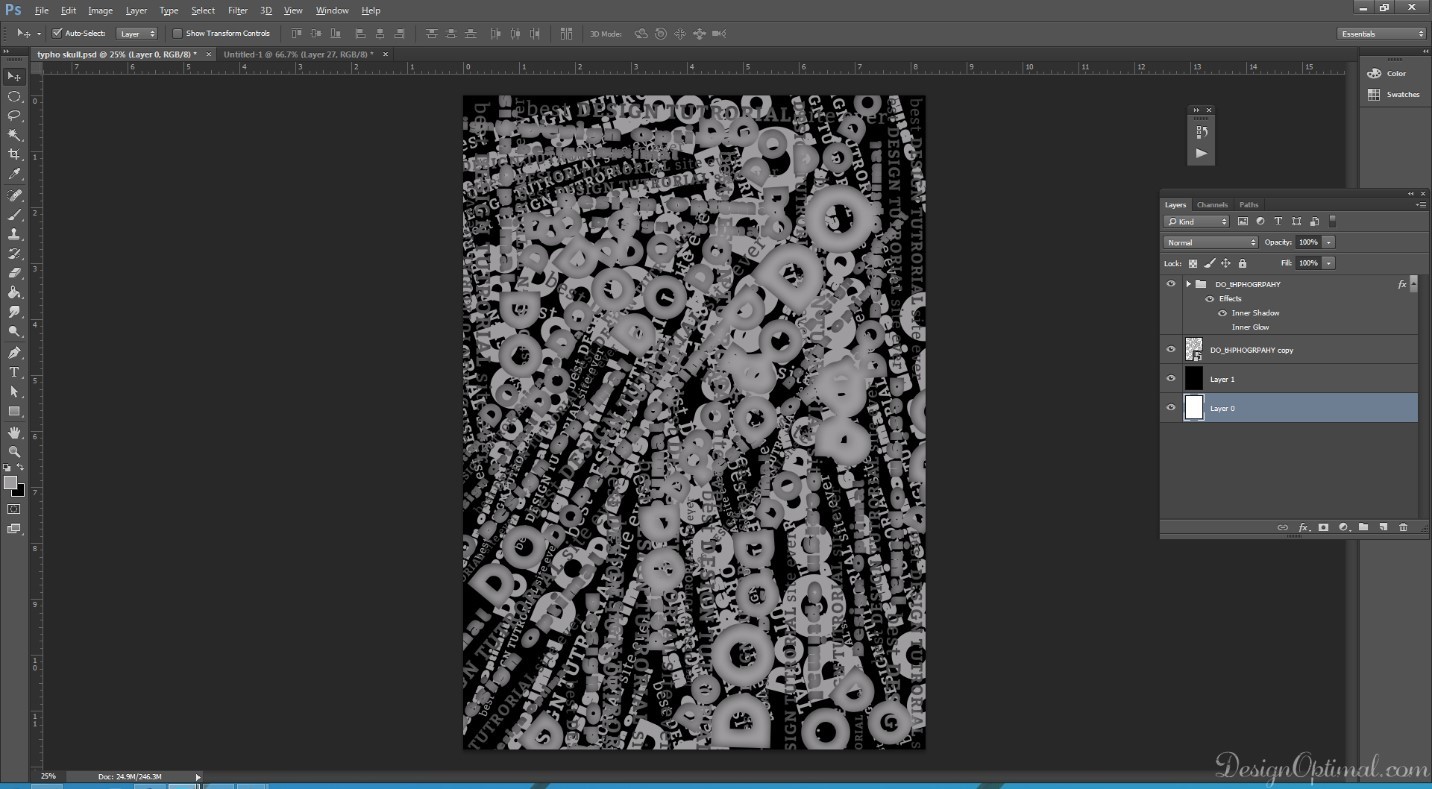
- Next duplicate the group and merge the group to one layer before doing this make sure to remove the group inner shadow effect.
- Reduce the opacity of the layer around 35%.
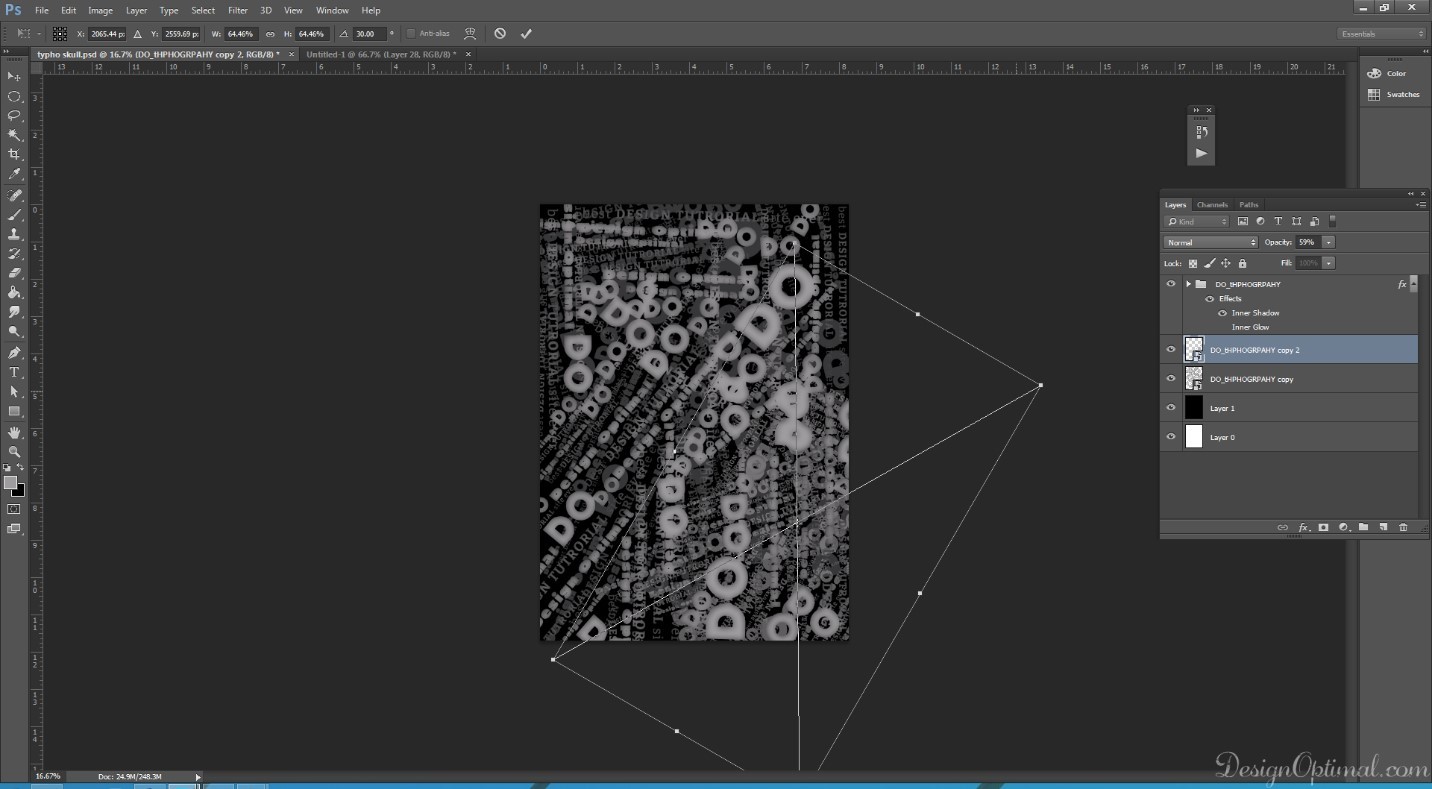
- Repeat above step few more times. Every time remember to give different opacity.
Step 07
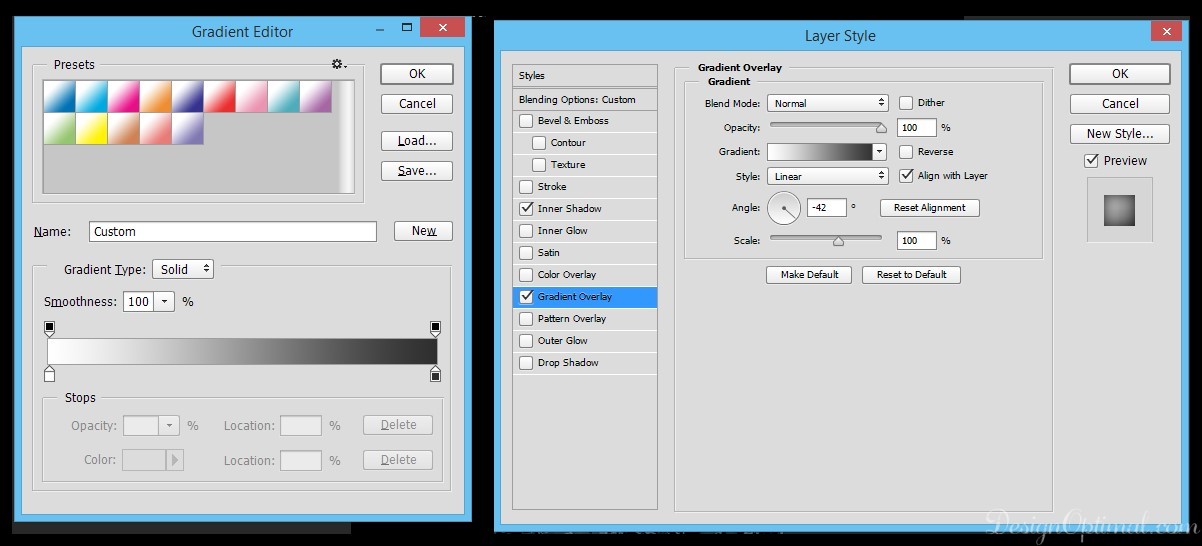
- Next to the group that named as DO typo, add a gradient overlay to it.
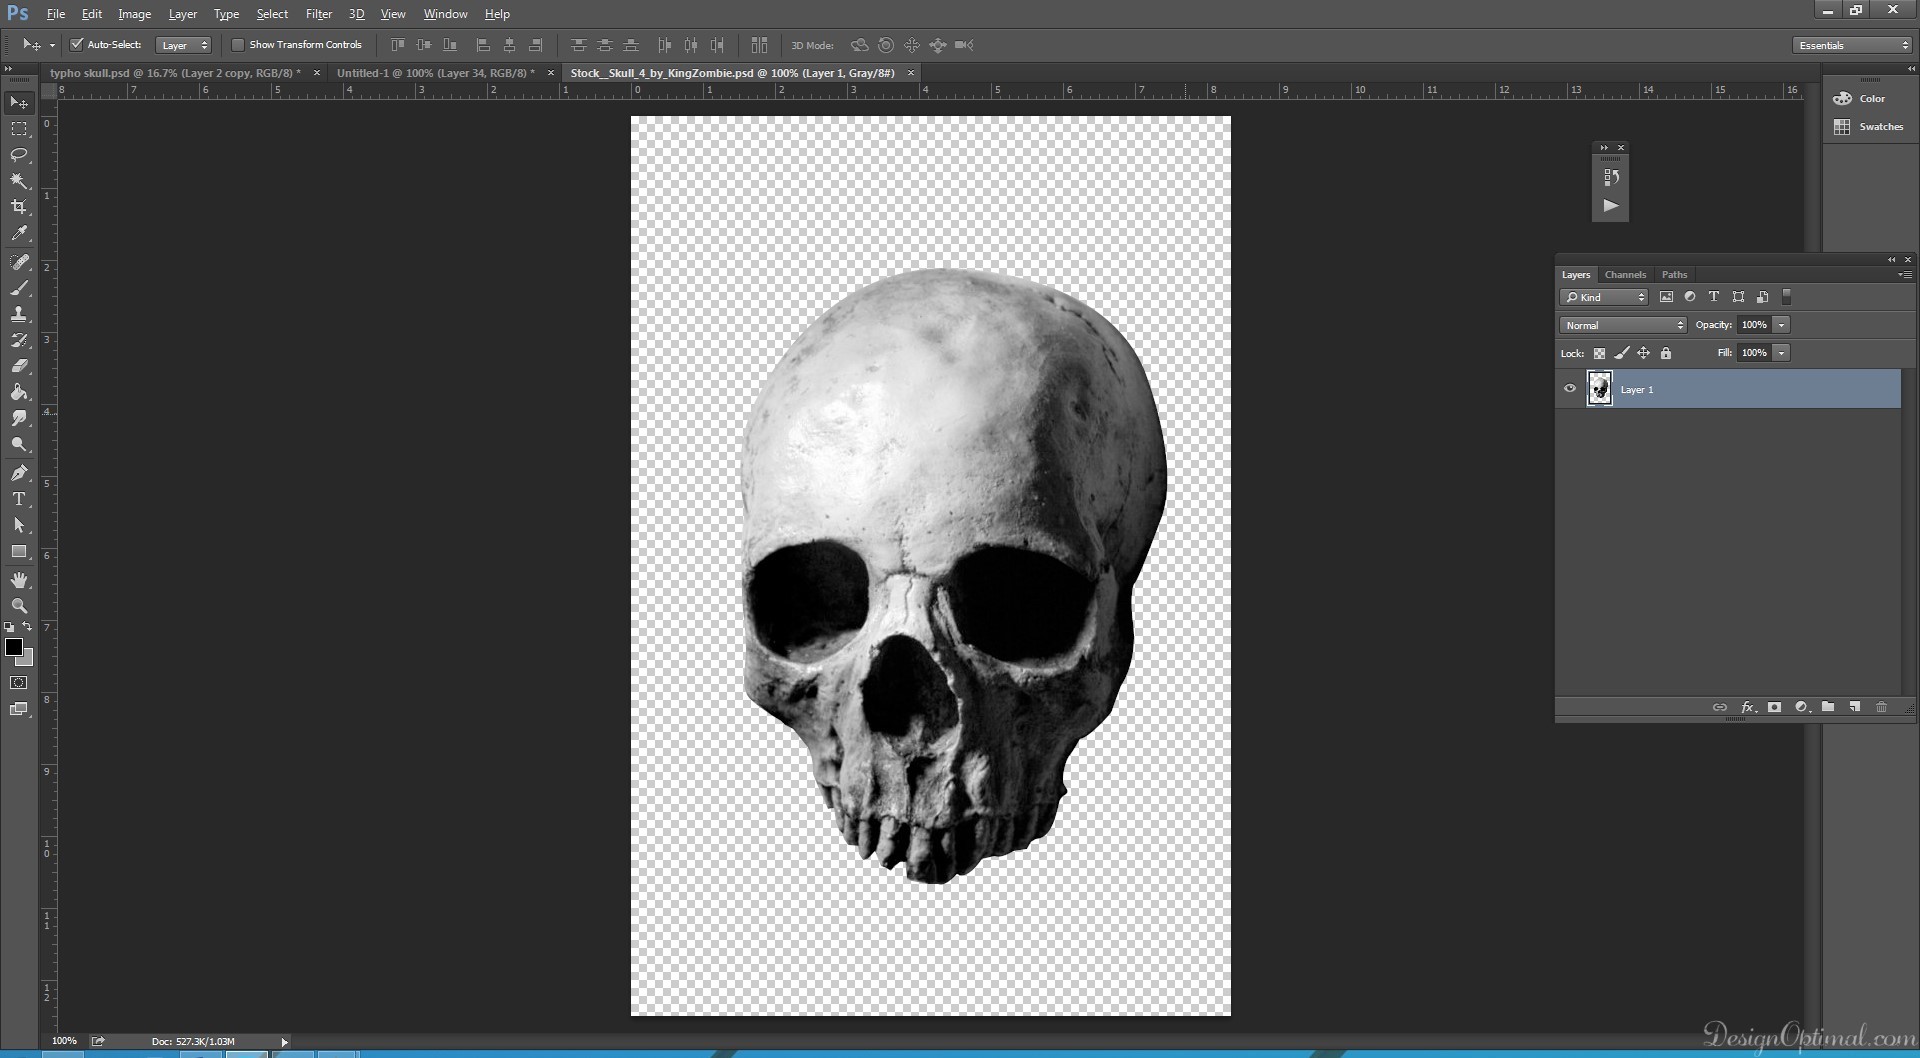
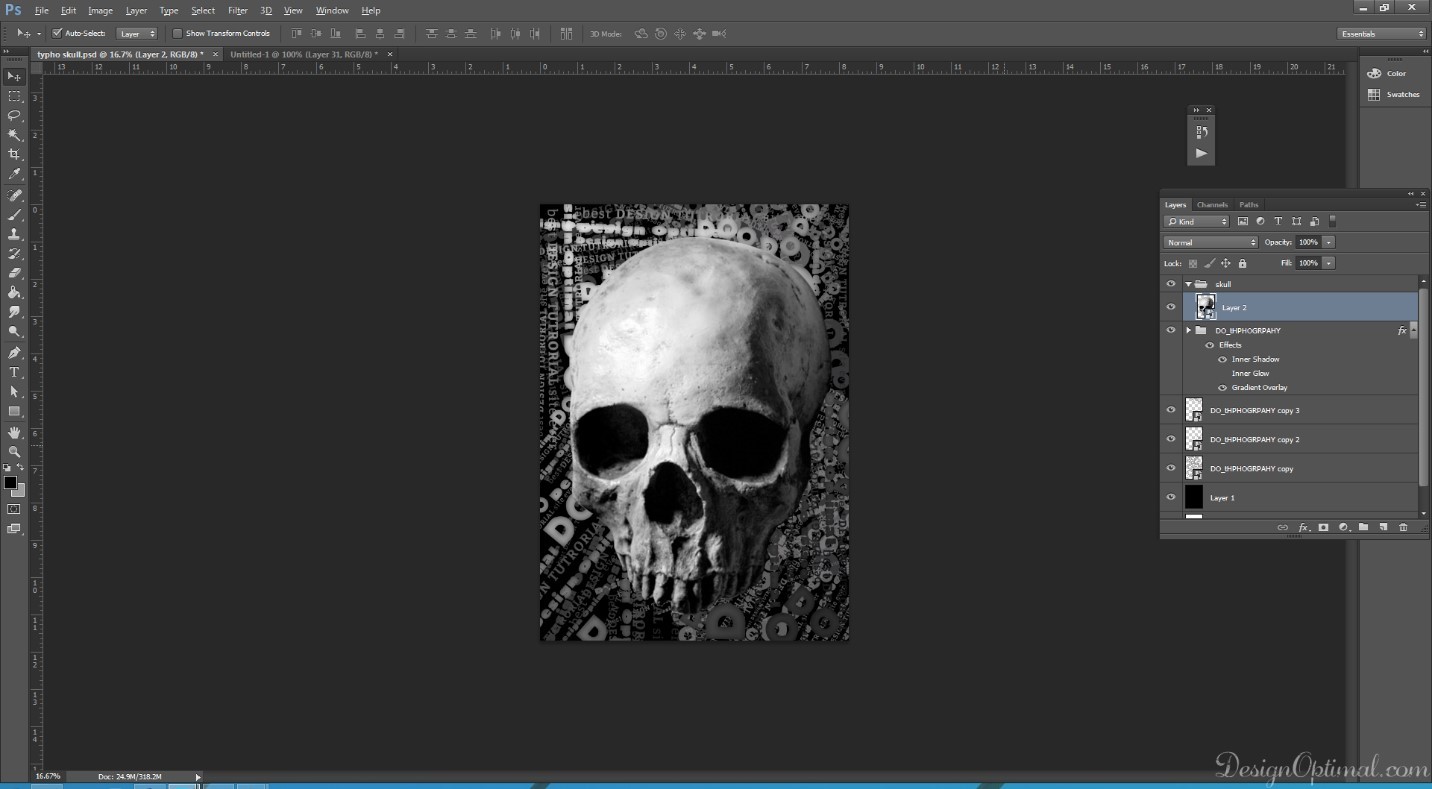
- Then import the skull image that is mentioned at the resources section at the beginning of the tutorial.
- Resize the skull till if fills much are of the document.
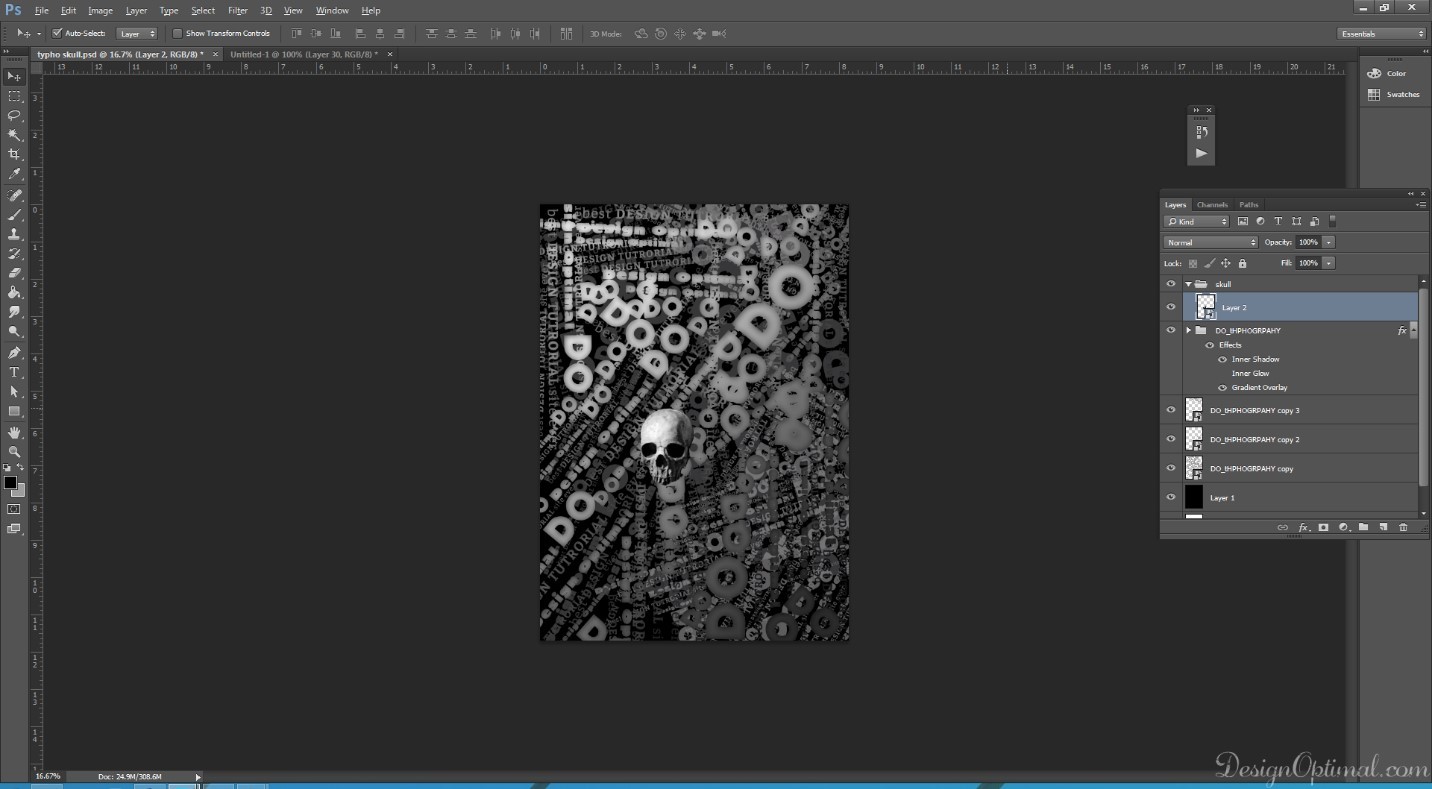
- Next make the blending option to Overlay.
- Next duplicate the skull layer and make some brightness contrast adjustments.
- Next make the blending option to Color Dodge and opacity to 20%.
Step 08
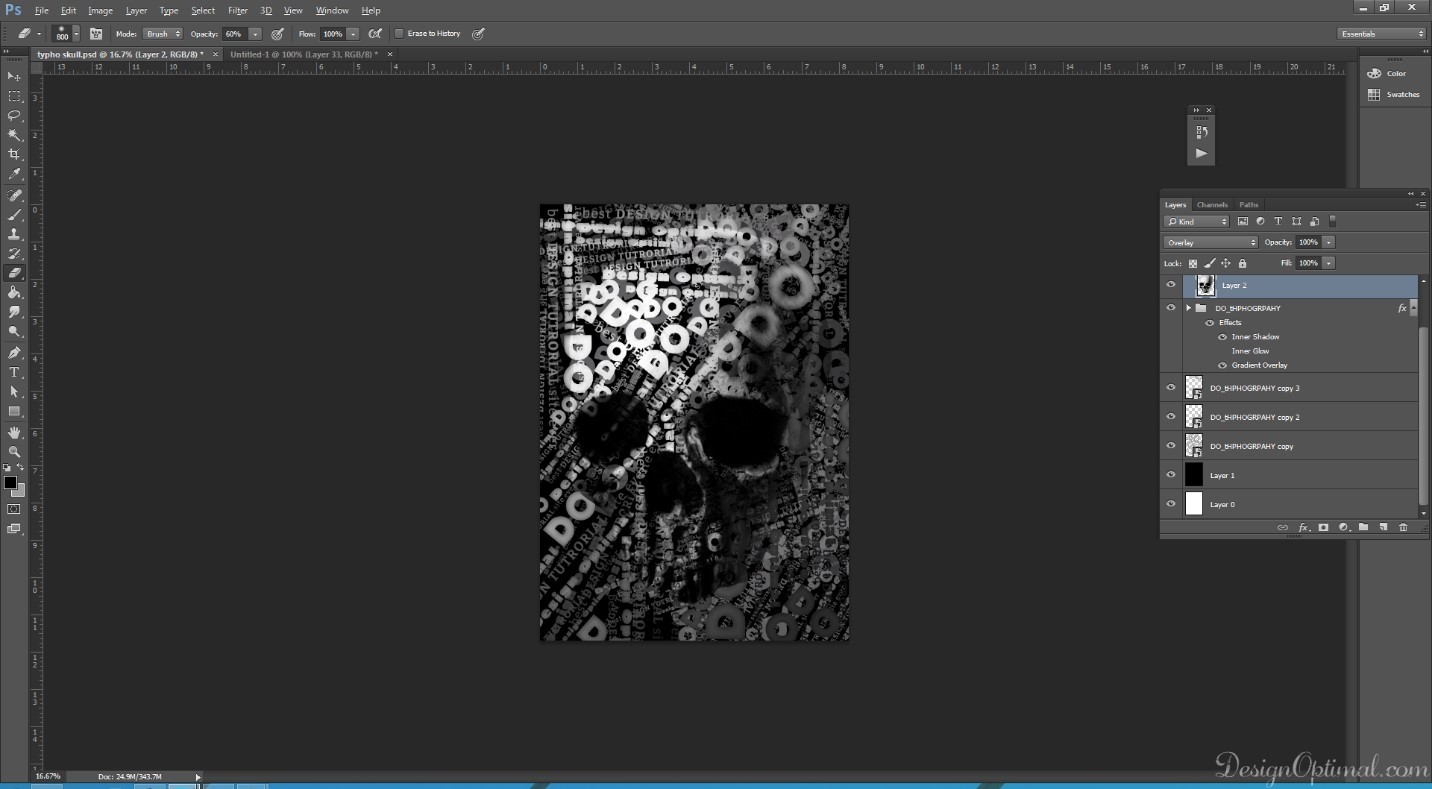
- Next for the final touchups we will add another layer on top of skull layer.
- Take a blur brush and select black color and give few touch ups in the eyes area and the cheeks and behind the skull this will add bit depth to the skull.
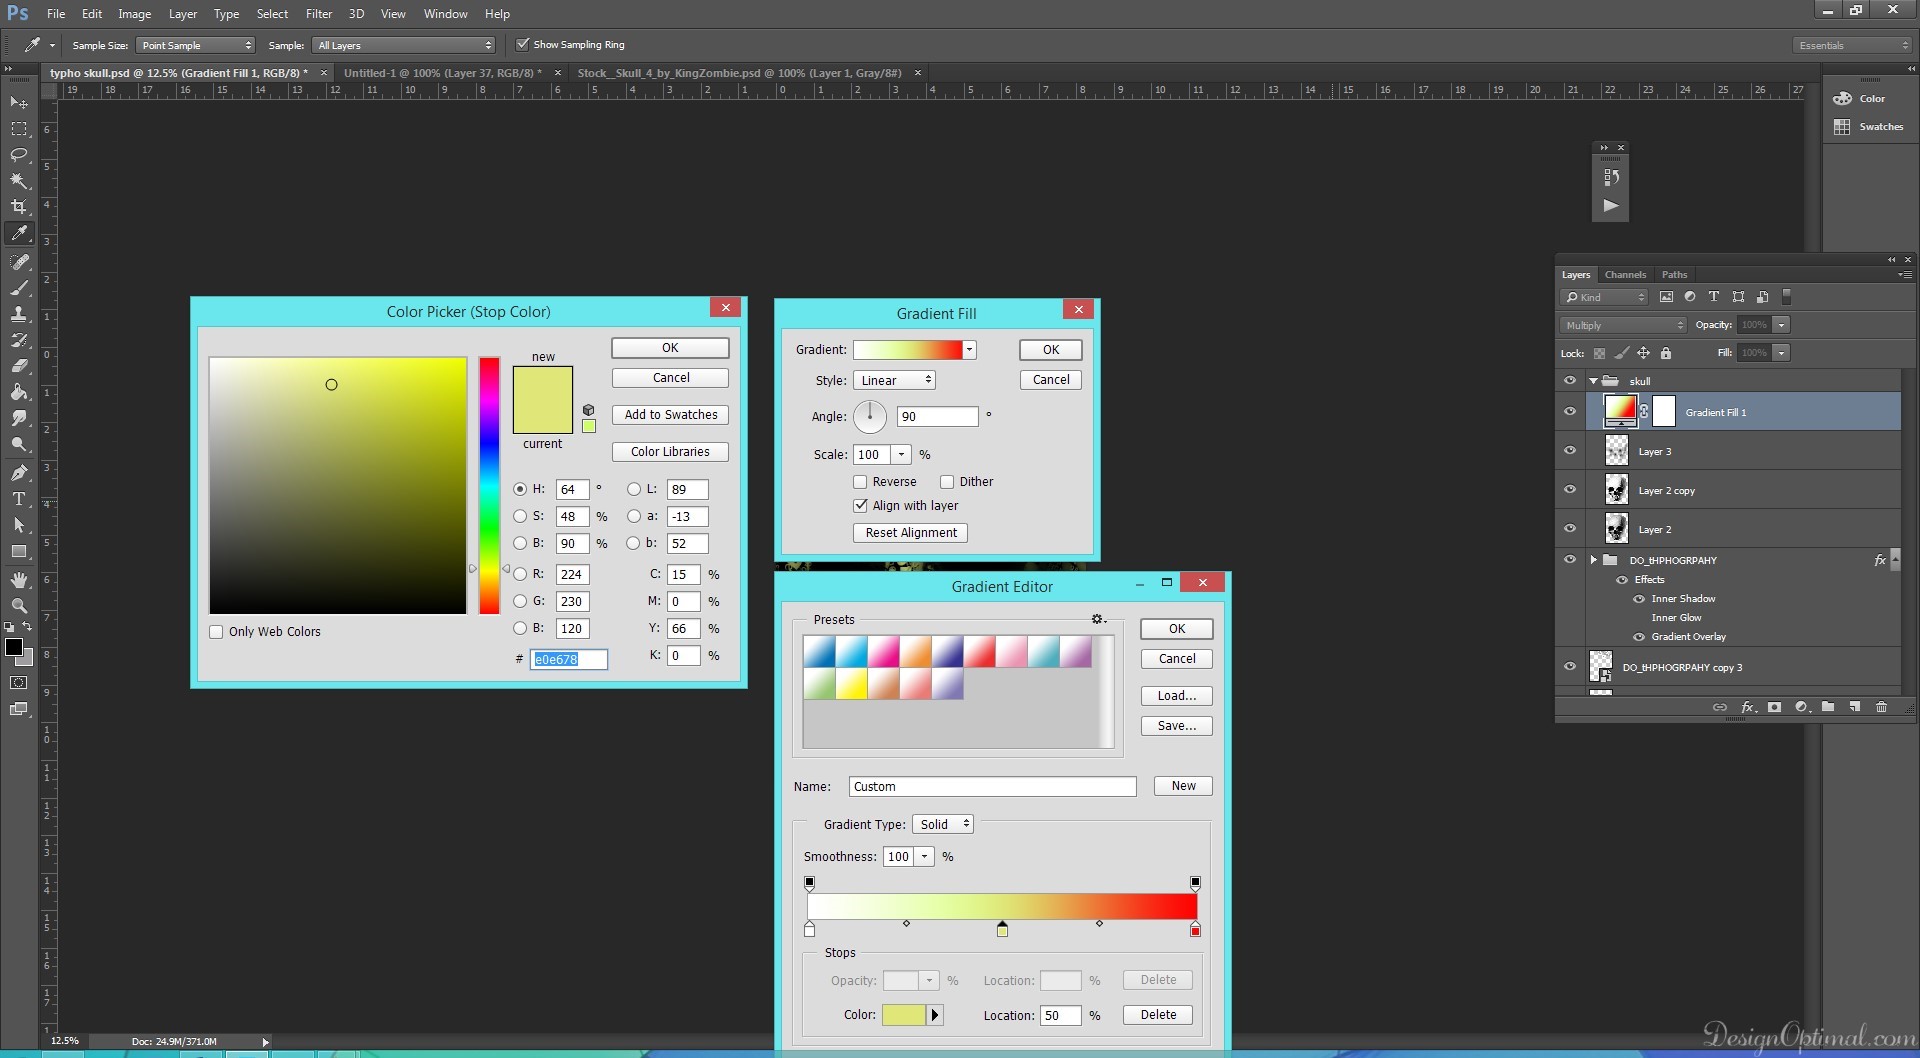
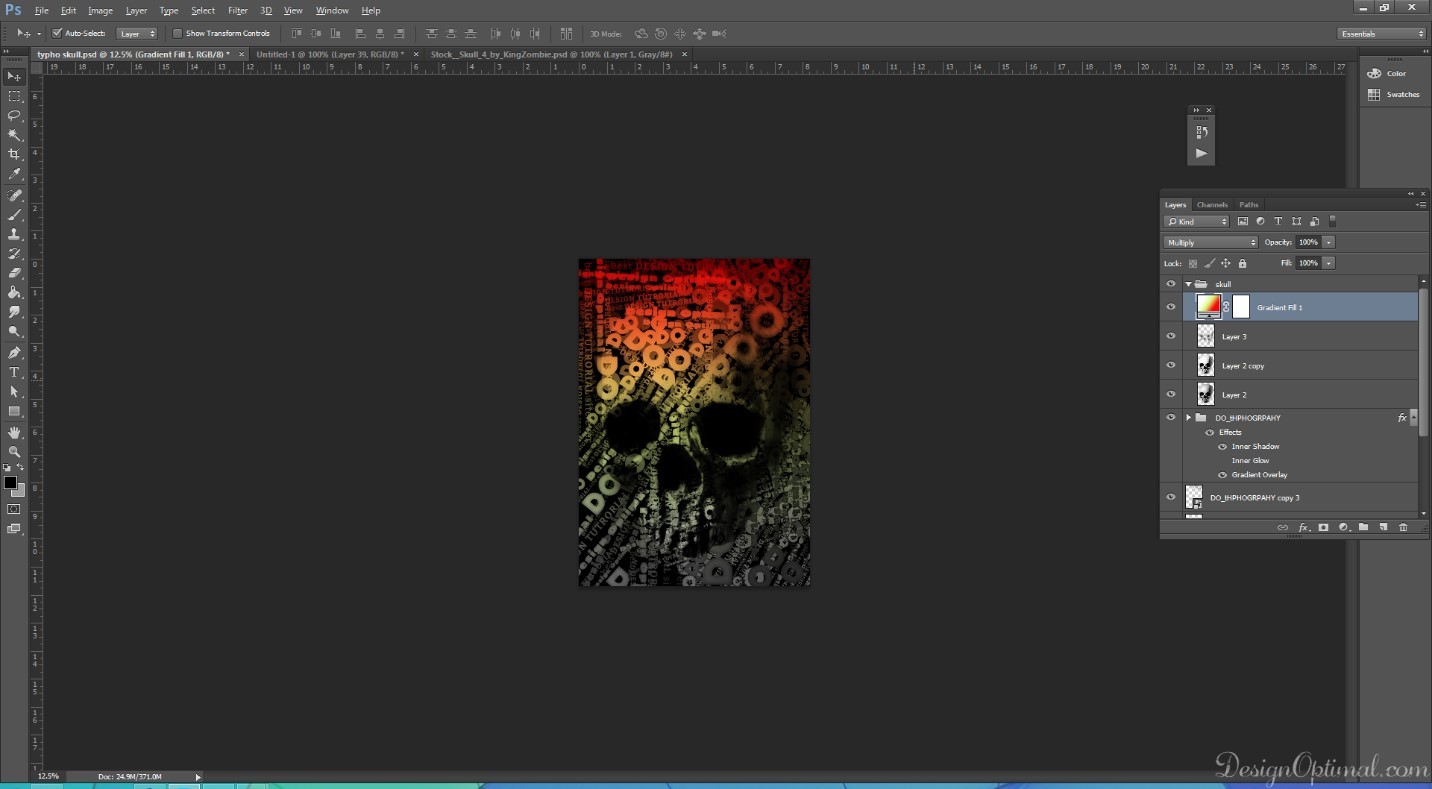
- Next add a gradient adjustment layer on the top of all the layers.
- The colors will be from left to right #ffffff / #e0e678 / #ff0102.
- Next blend it in to multiply.
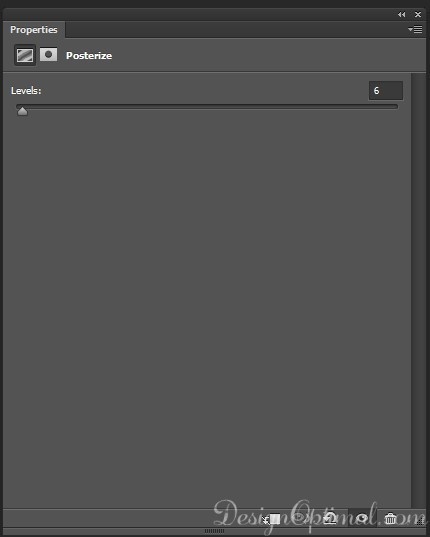
- For the next step, add posturize adjustment layer and give the level as 6 and paucity to 50%.
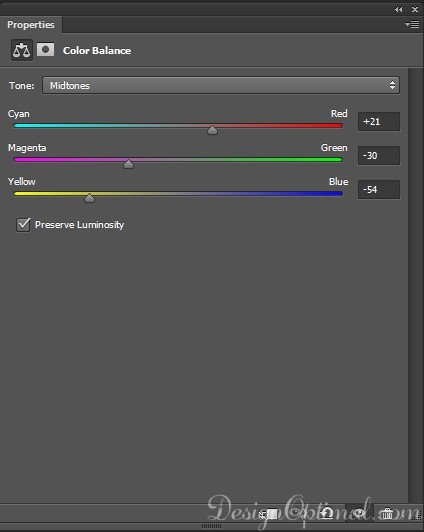
- For the final, step add a color balance layer and give the amounts as shown in the screenshots below.
- So now we have final completed our typography skull.