Hello everybody!! Thanks again for joining with us today and in this tutorial we are going to discuss about how to create a Chrome effect Style in Photoshop.
We are going to do this Using just layer styles. The whole process is very simple but it might require some tweaking and a little bit of time. The above design will be the final outcome of what we are going to create.
Resources
- Fonts Used :
Step 01
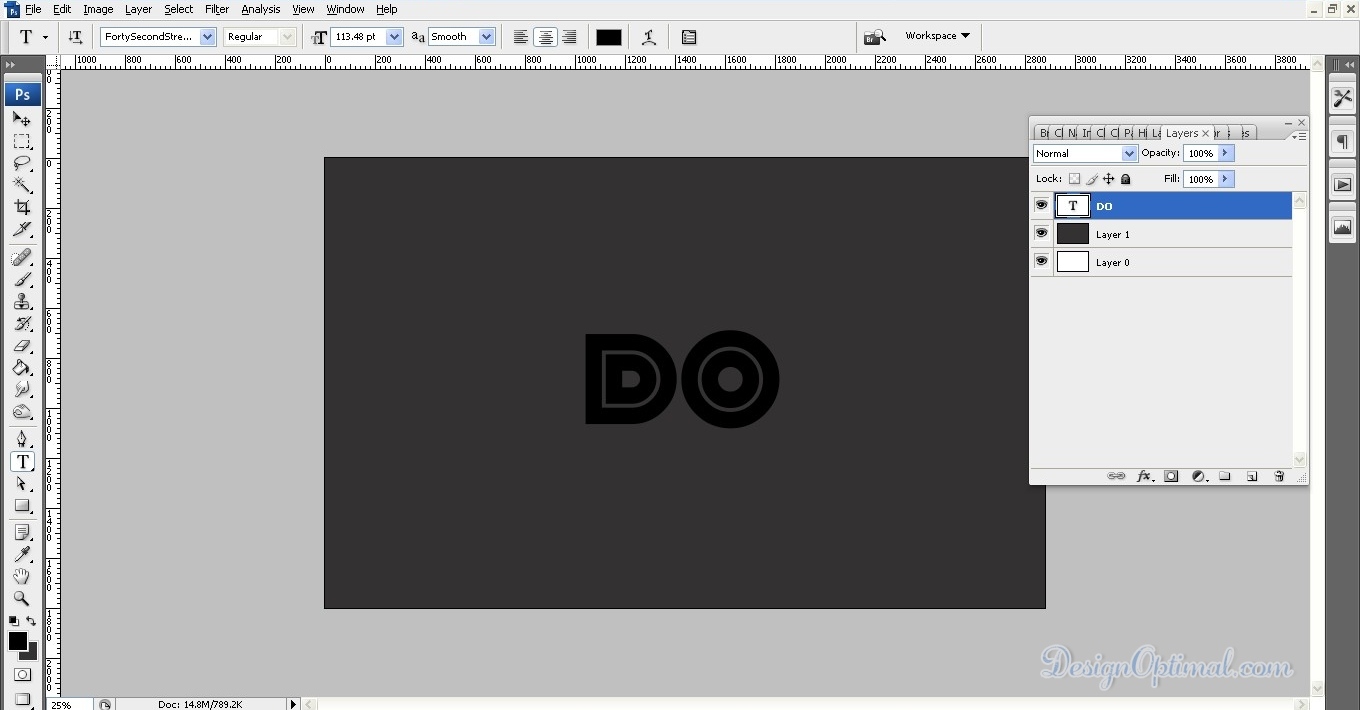
- Open Photoshop and create a new document. We are using 2880×1800 for the size, so we can use it as desktop wallpaper for your PC/ laptop. After that put the logo/symbol you want to apply the chrome style. For mine I am going to use Design Optimal logo, if simplified DO logo, I have used FortySecondStreet HB as the font for the DO logo for this Tutorial. Now save the PSD as name of Chrome Effect.PSD. Now fill the background with #333131.

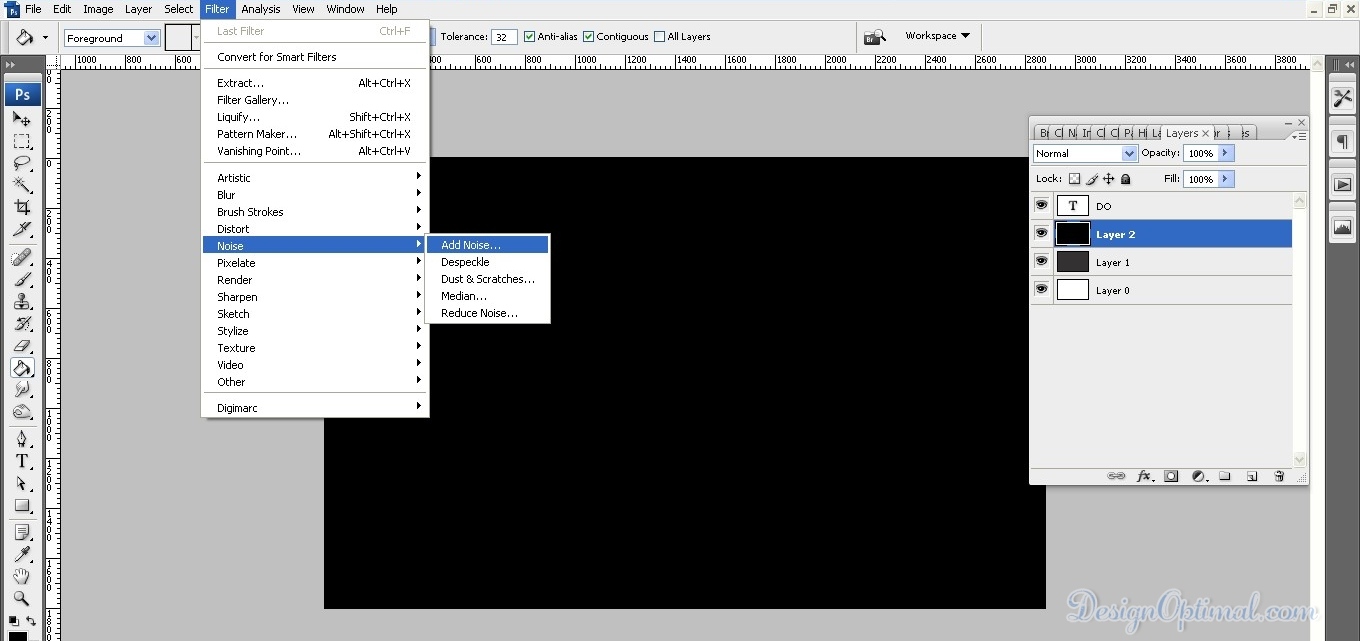
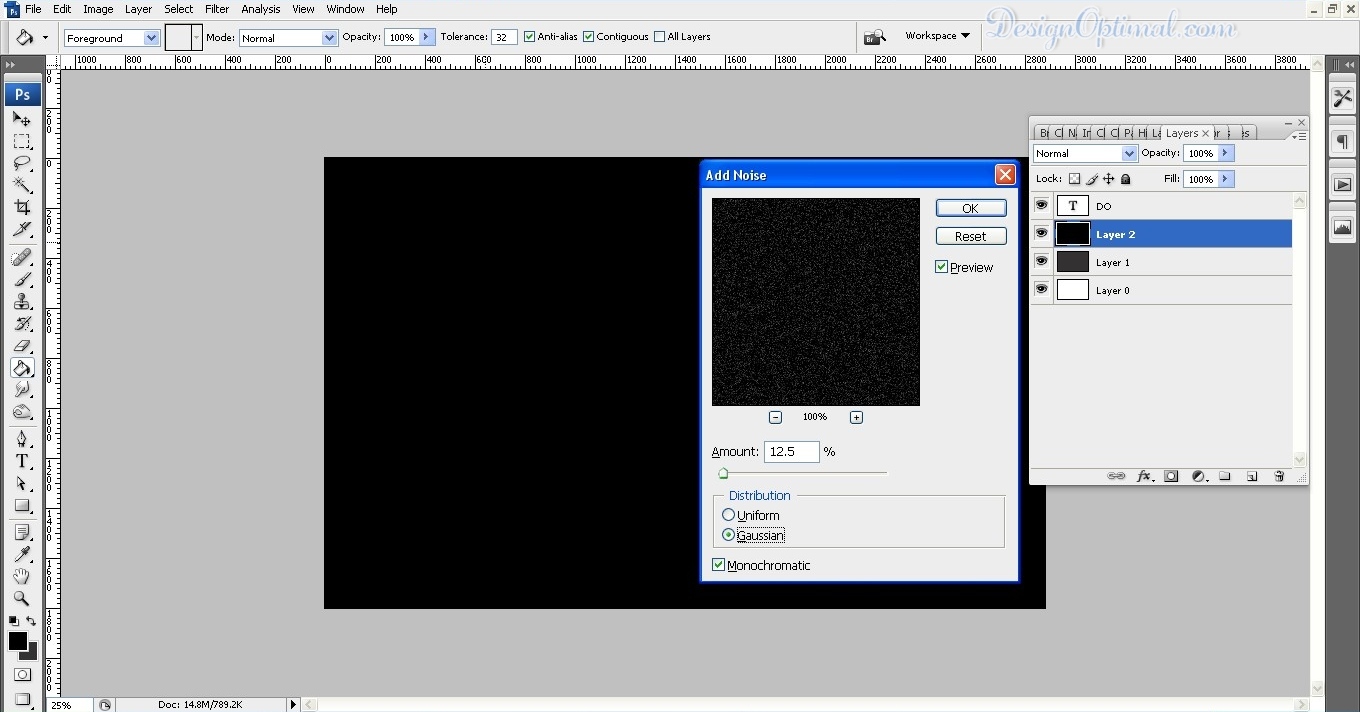
Step 02
- Now fill the document background with Solid black and after that, go to Filter>Noise>Add Noise. Use 12.5% for the Amount and select Gaussian and Monochromatic.
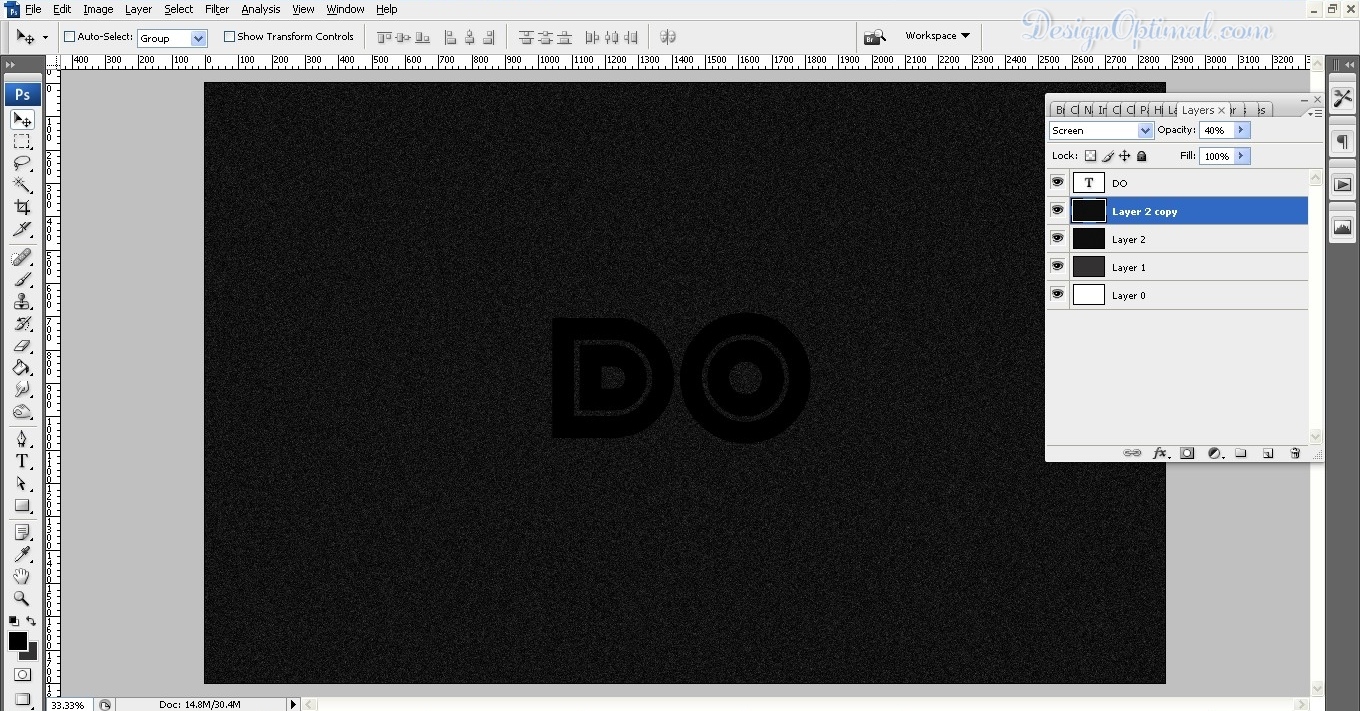
Step 03
- Duplicate the layer and for the one on top go to Edit>Transform>Flip Horizontal. After that, change the Blend Mode to Screen and the opacity to 40%.
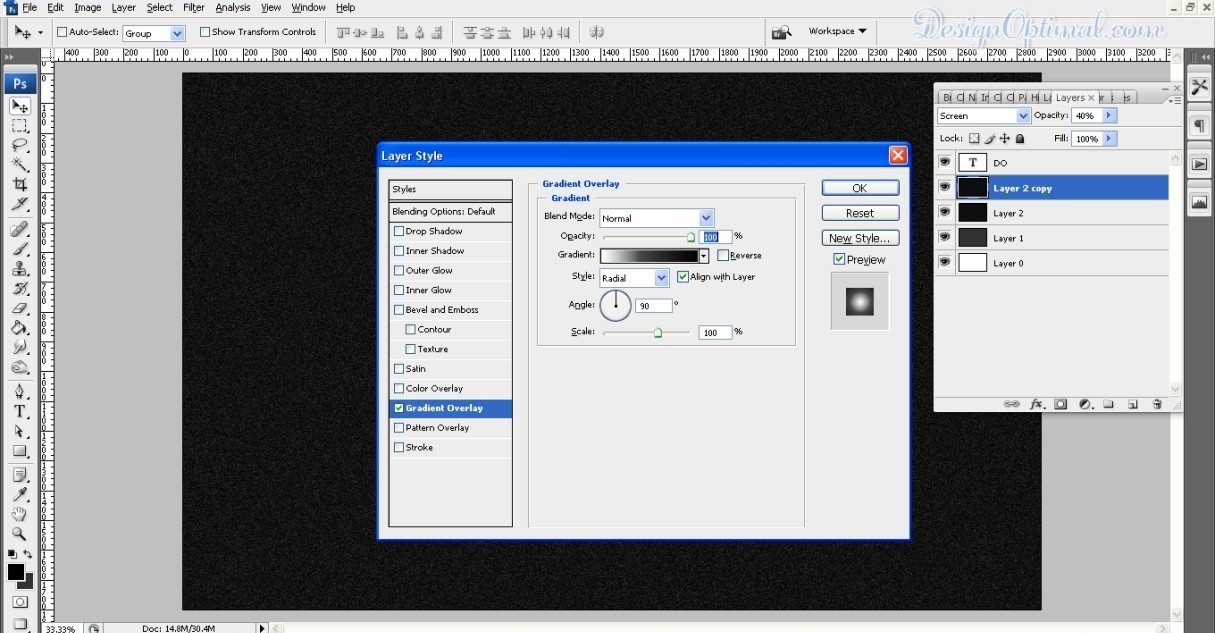
Step 04
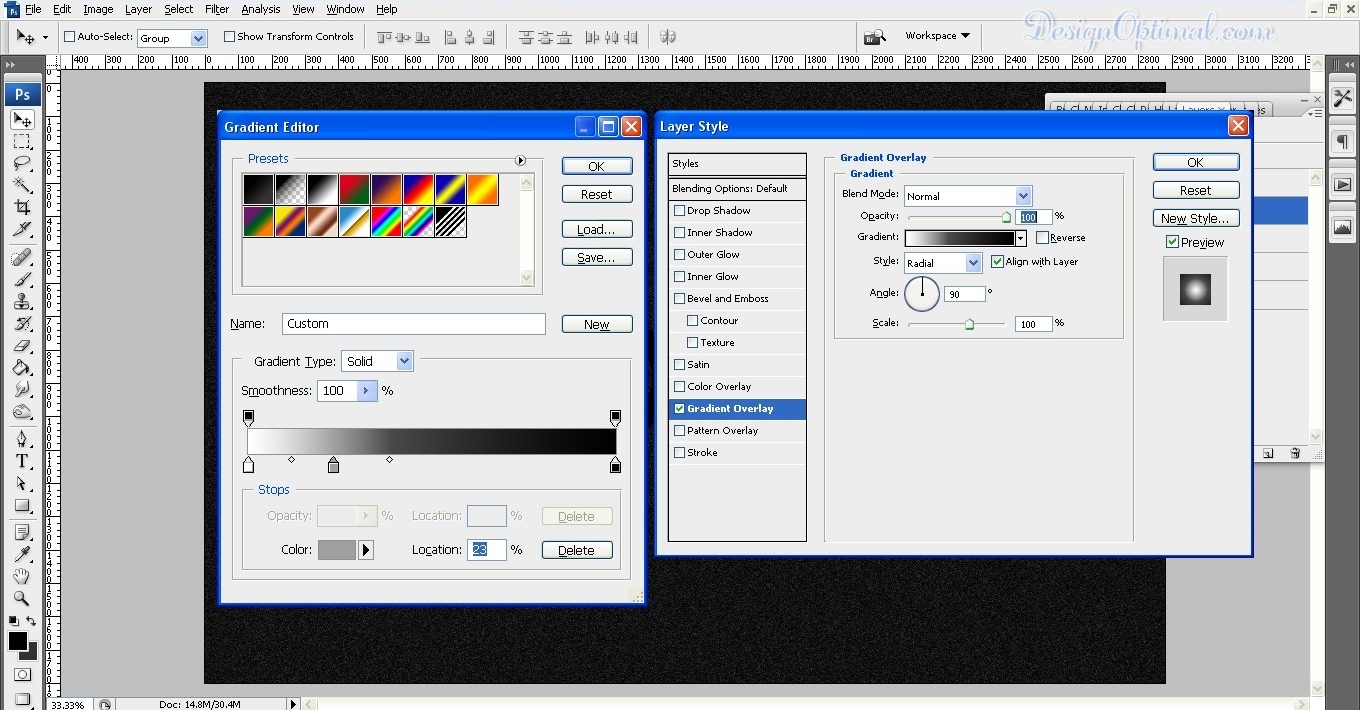
- Now Group the 2 layers with noise and then for that layer group, apply a layer style. Select Gradient Overlay and use Radial with a light grey in the middle and black for the edges.
Step 05
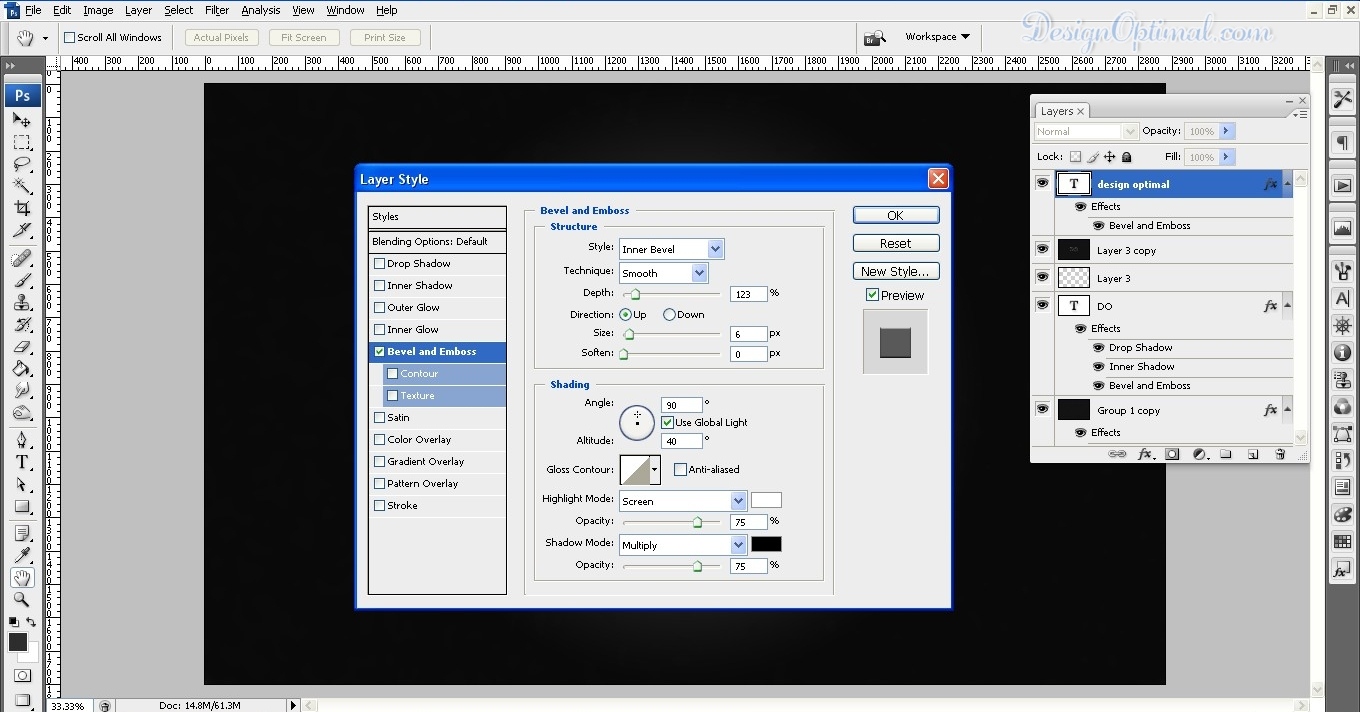
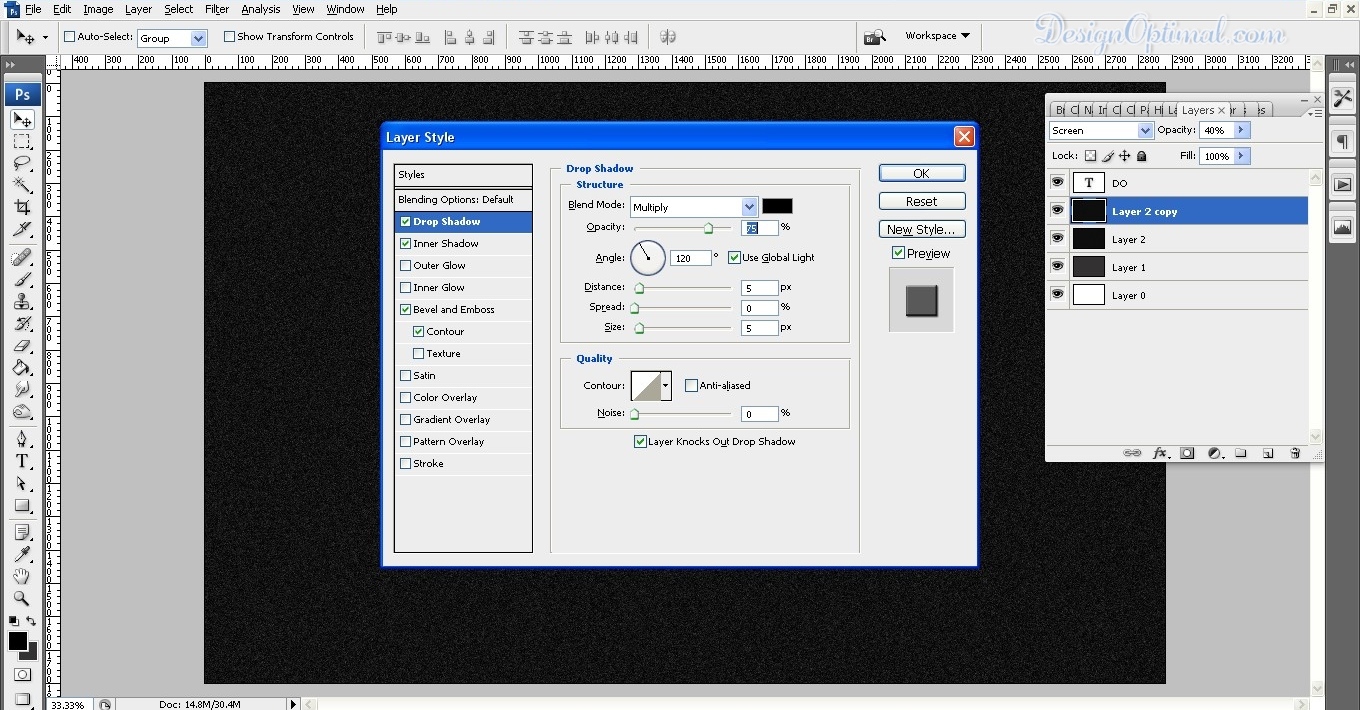
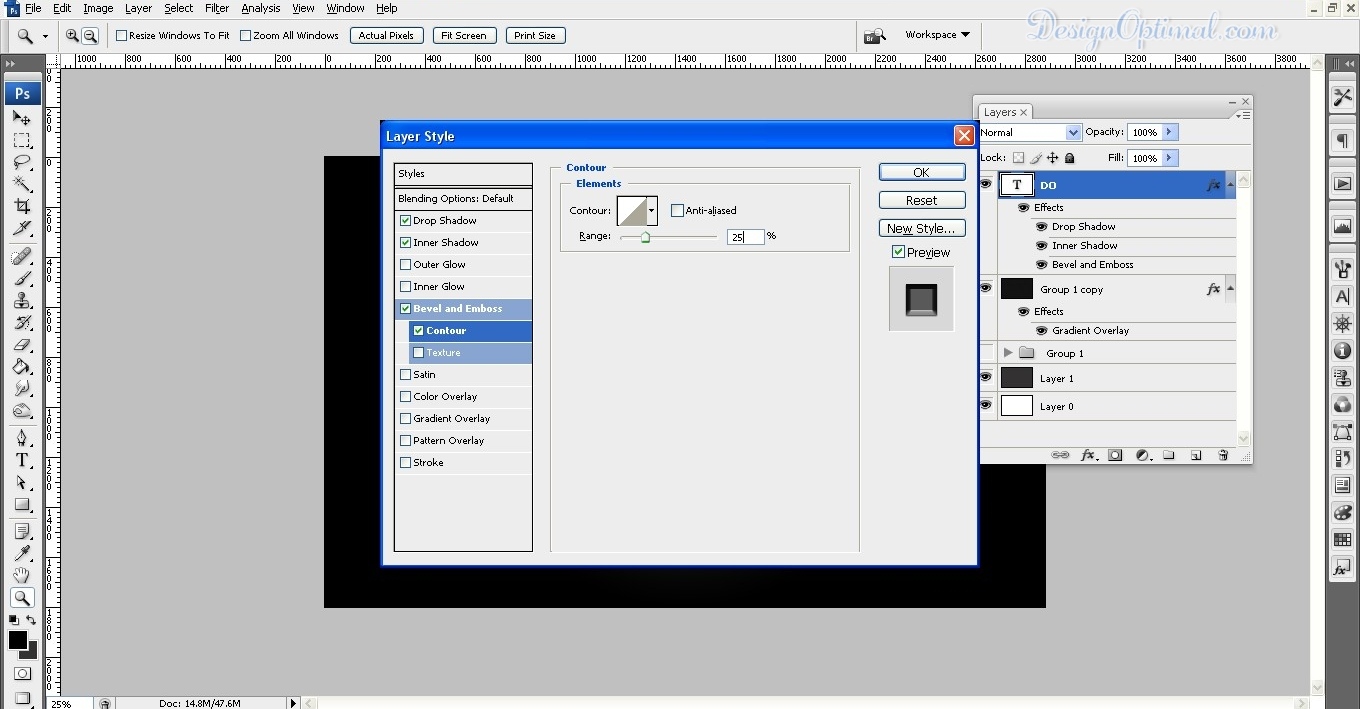
- Select the symbol and then go to Layer>Layer Style>Blending Options. Use the settings like the images below. These values might be variant according to your logo or symbol. Now use the settings like the images below.


Step 06
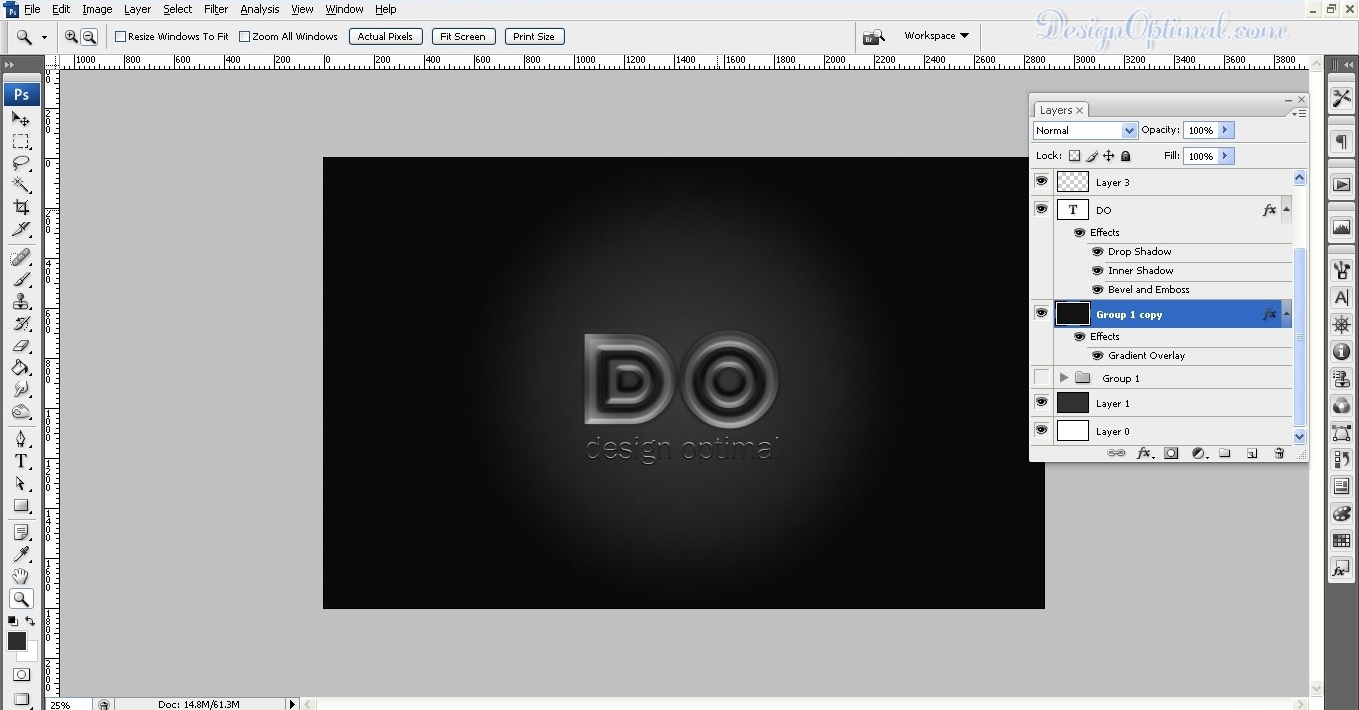
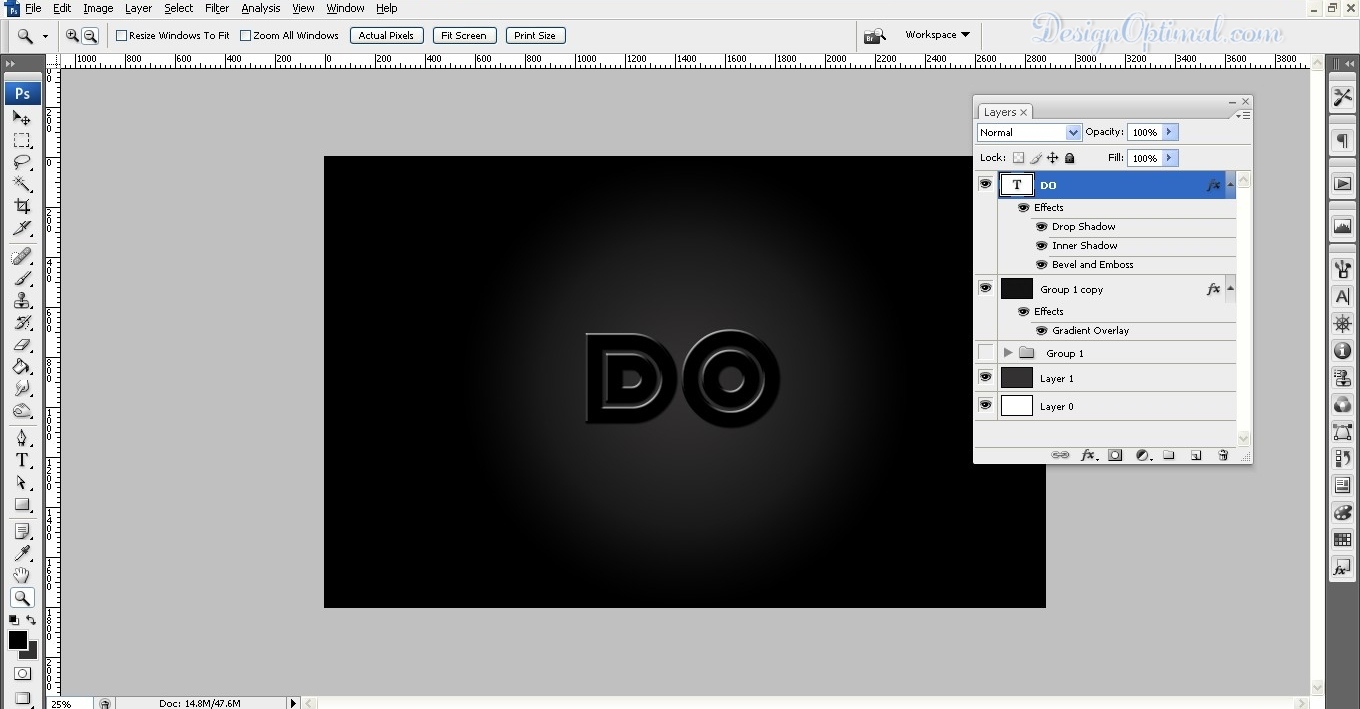
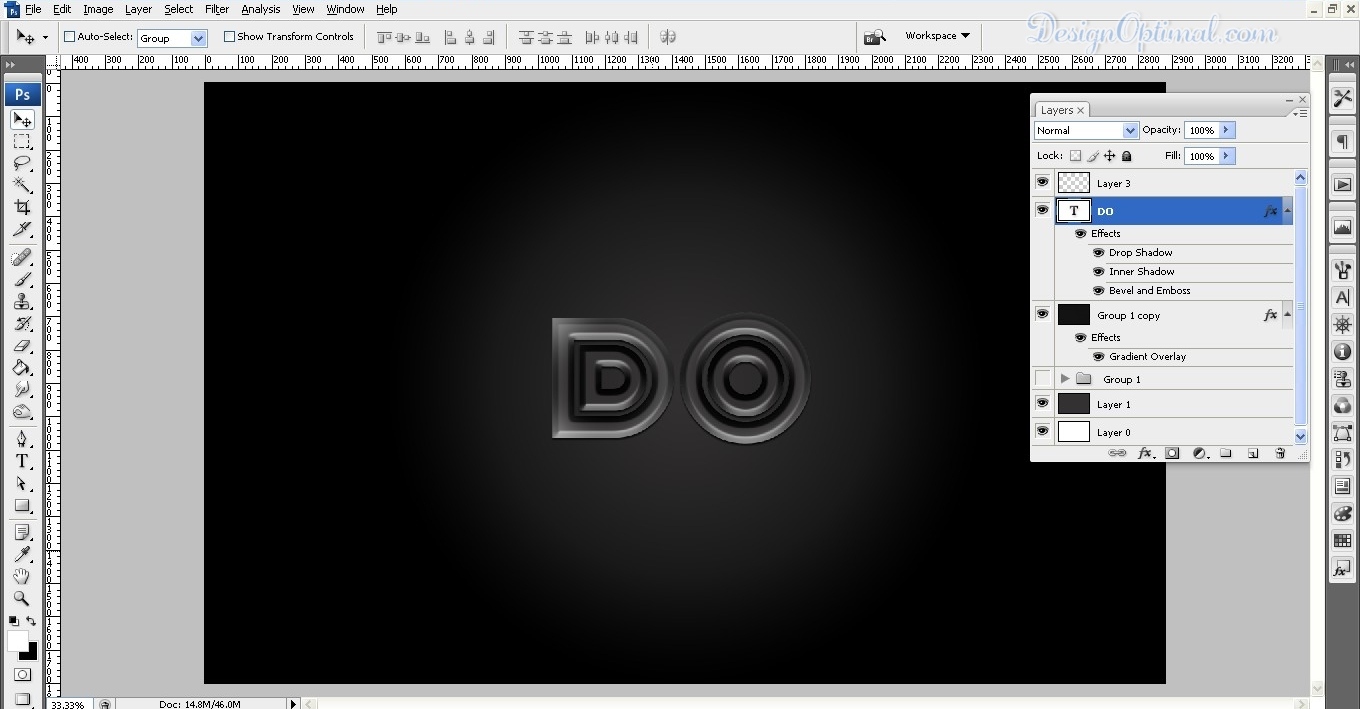
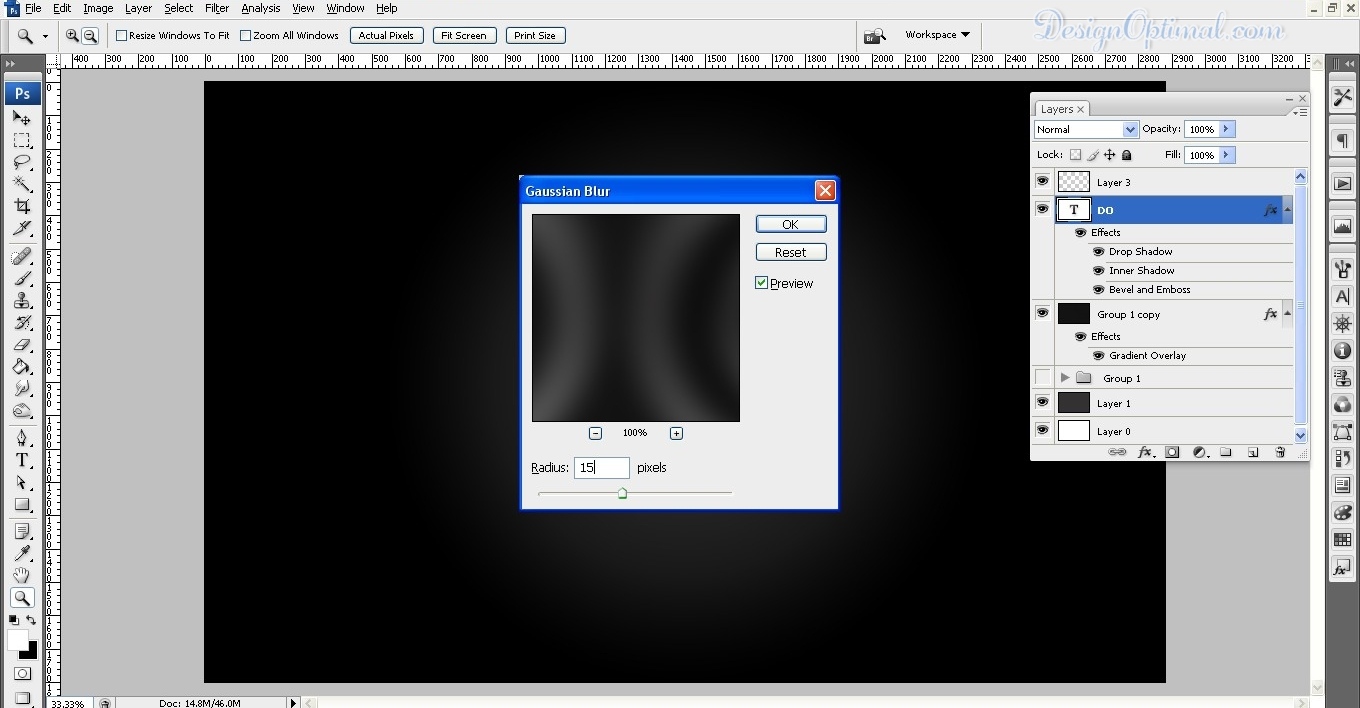
- Select all layers and duplicate them. Merge all the new duplicated layers into one layer and then go to Filter>Blur>Gaussian Blur. Use 15 for the amount. After that, change the Blend Mode to Screen at 50% and go to Layer>Add Layer Mask. With the Brush Tool, make only the symbol area visible so this layer will create a sort of glow effect.
Step 07
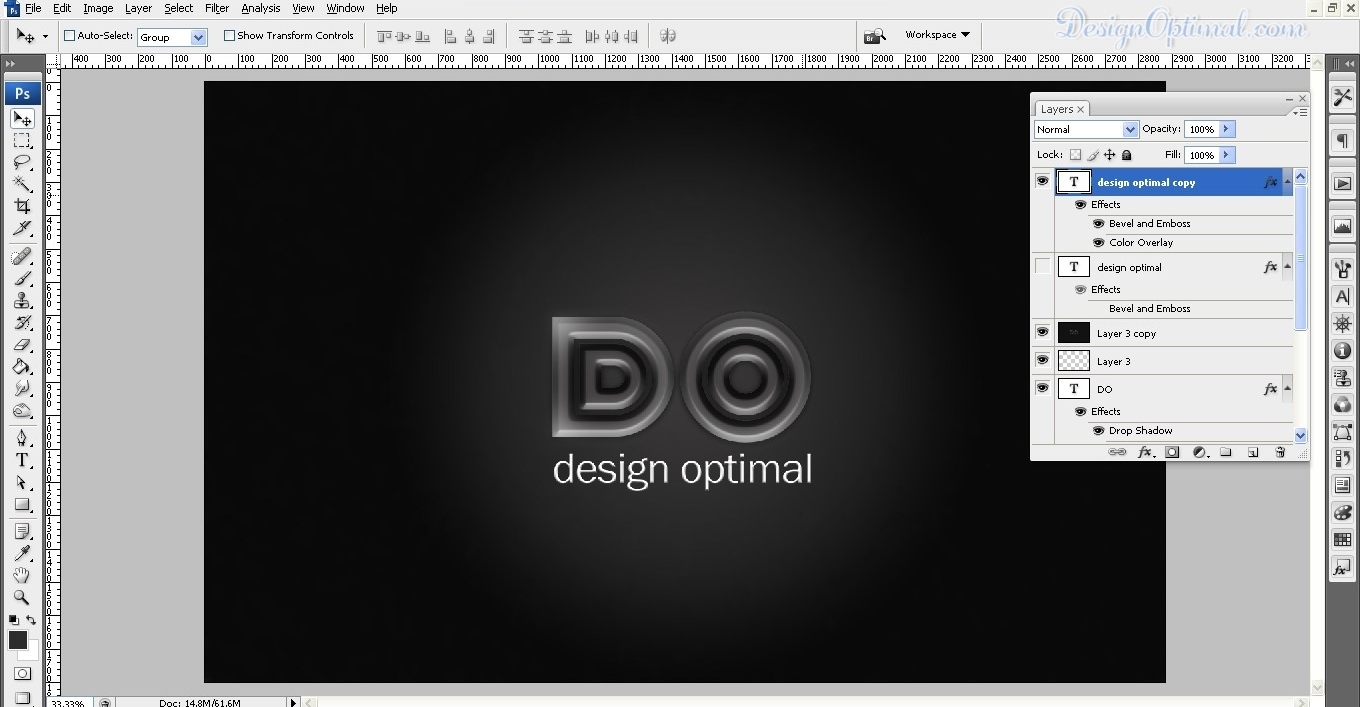
- Now for the end results I have typed the design optimal text and added the some effects to it. It will make the logo much more attractive.