Hello Guys! today we are going discuss about how to create a Vintage poster design using Adobe Photoshop
If you search in the web you can find lots of inspirational vintage posters, you can get more inspired from them too.
You can access the project file at the end of the tutorial in case if you are interested, but we recommend going through the tutorial first and gain some skills by yourselves. You can search for similar free stock images that you can use for designing purposes to follow this tutorial.
Resources
- Fonts Used :
Step 01
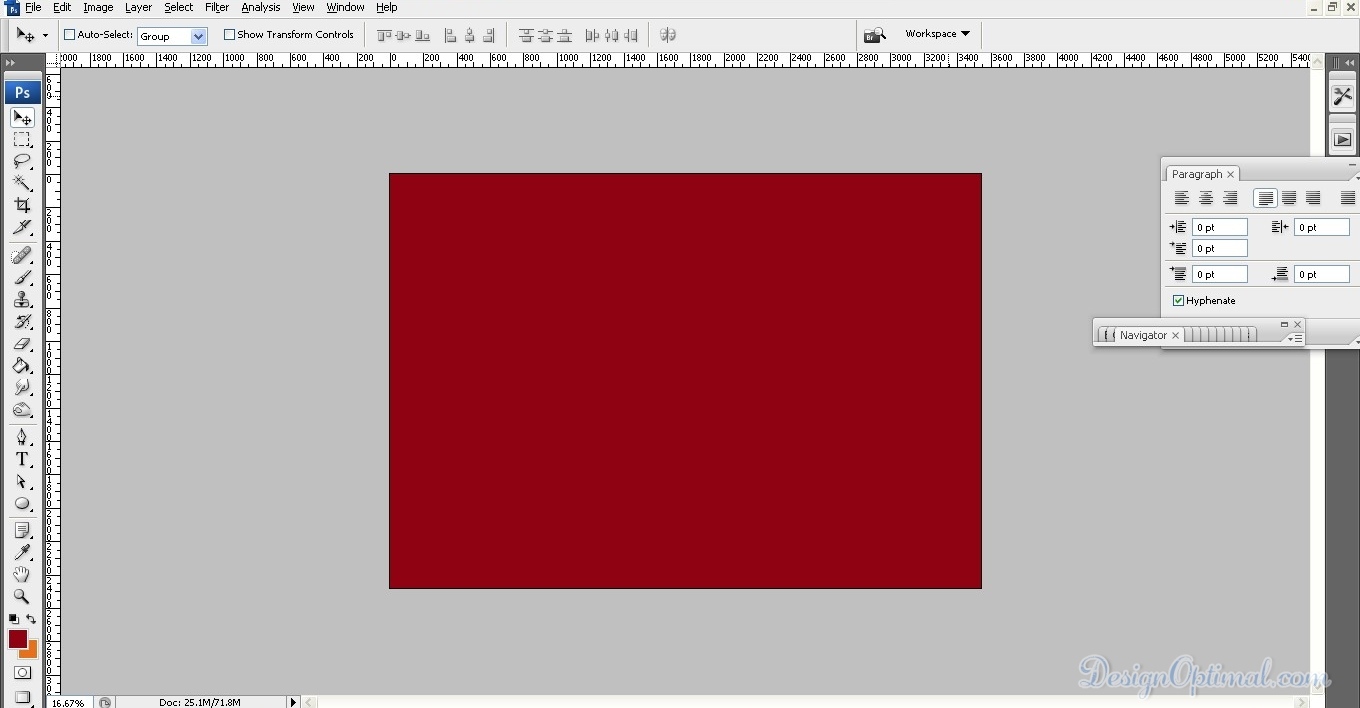
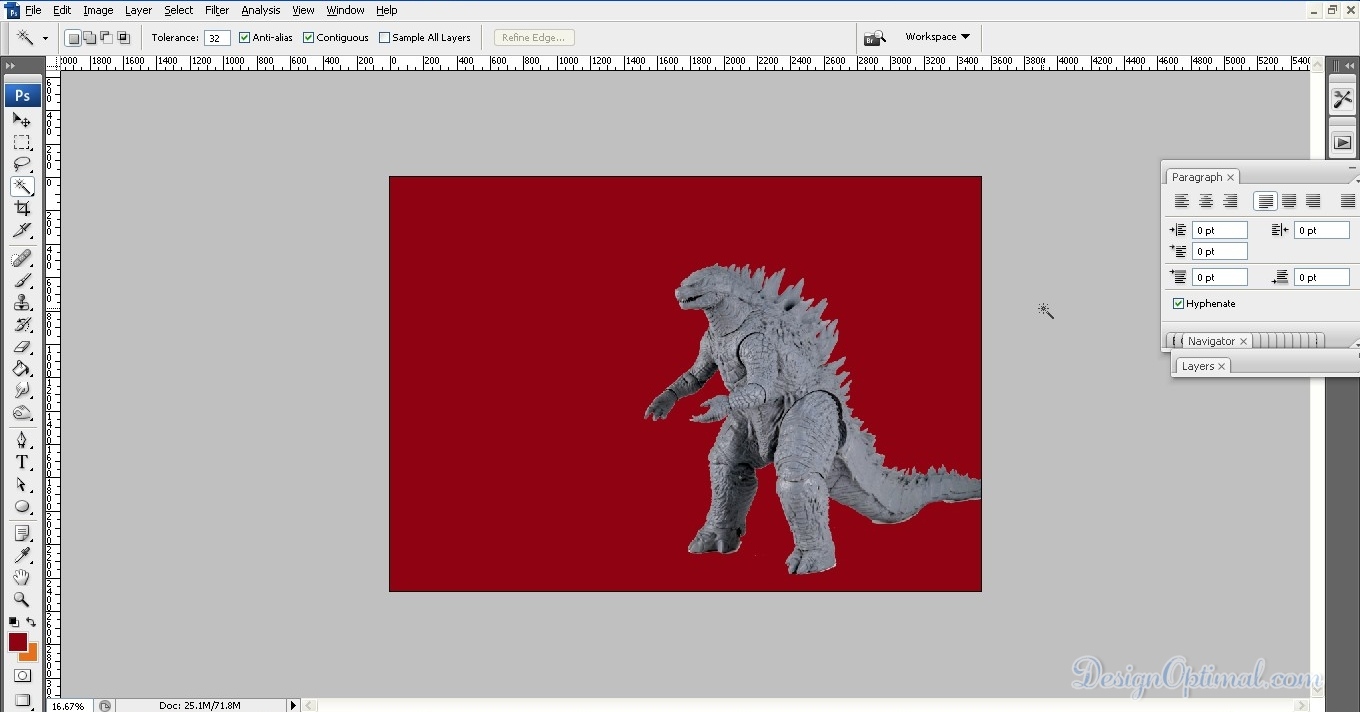
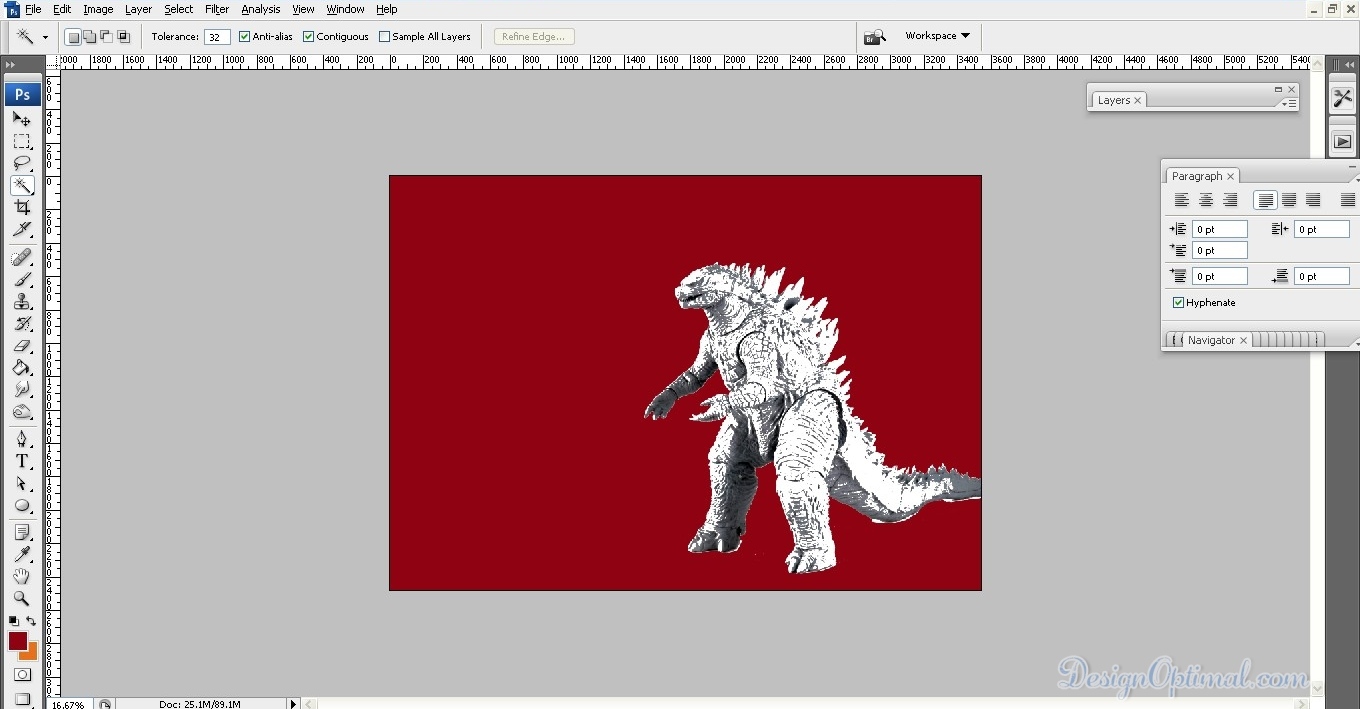
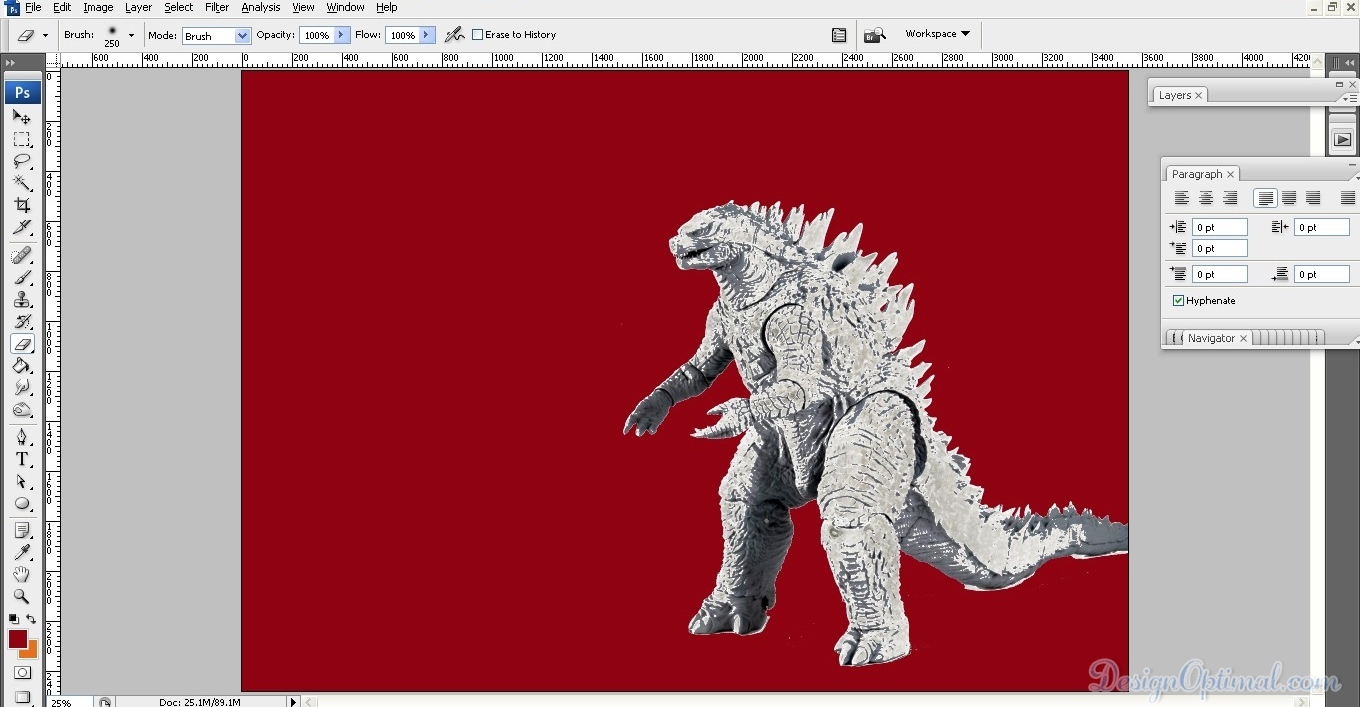
- Open Adobe Ps and create a document of A4 landscape. And fill it with #8f0212 to get the Japanese taste. Now take the Godzilla Toy replica image (or similar) and remove the background around it using magic wand tool or using the pen tool. Now place it on the document as shown in the next images. Now save the Document as Vintage Poster.psd.
Step 02
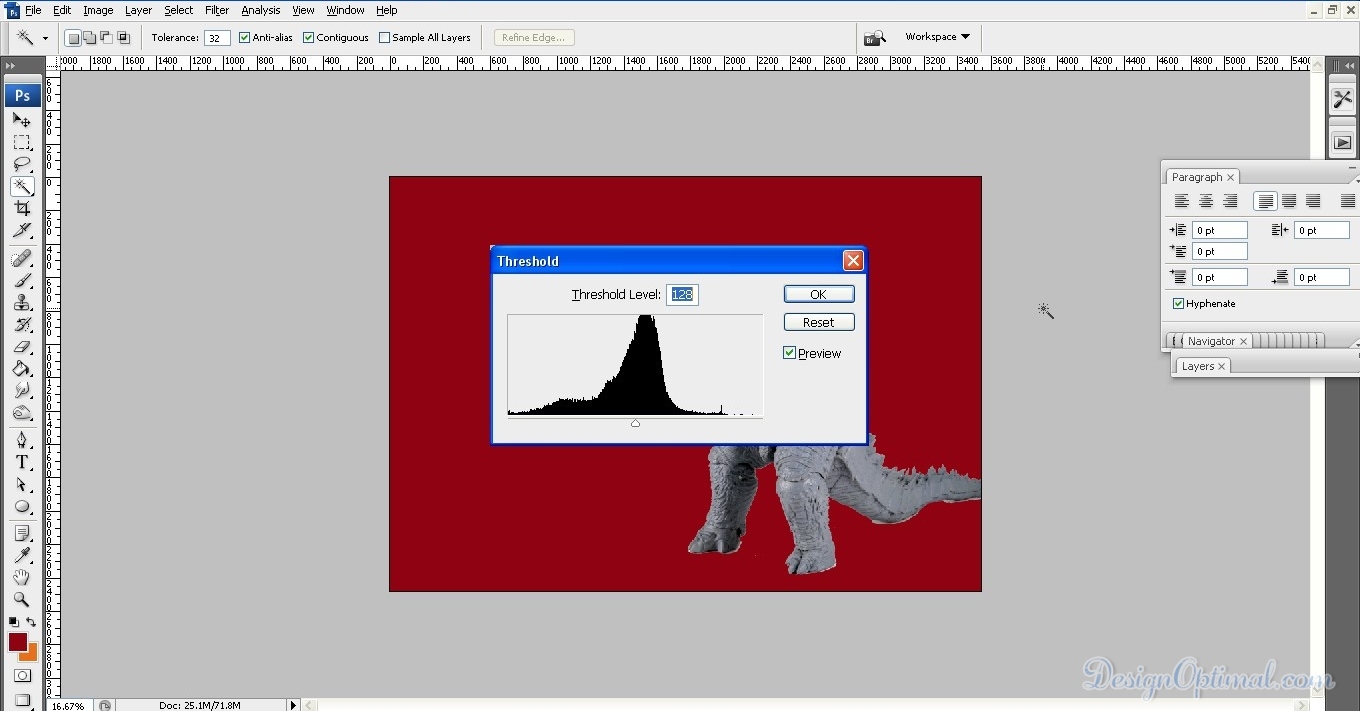
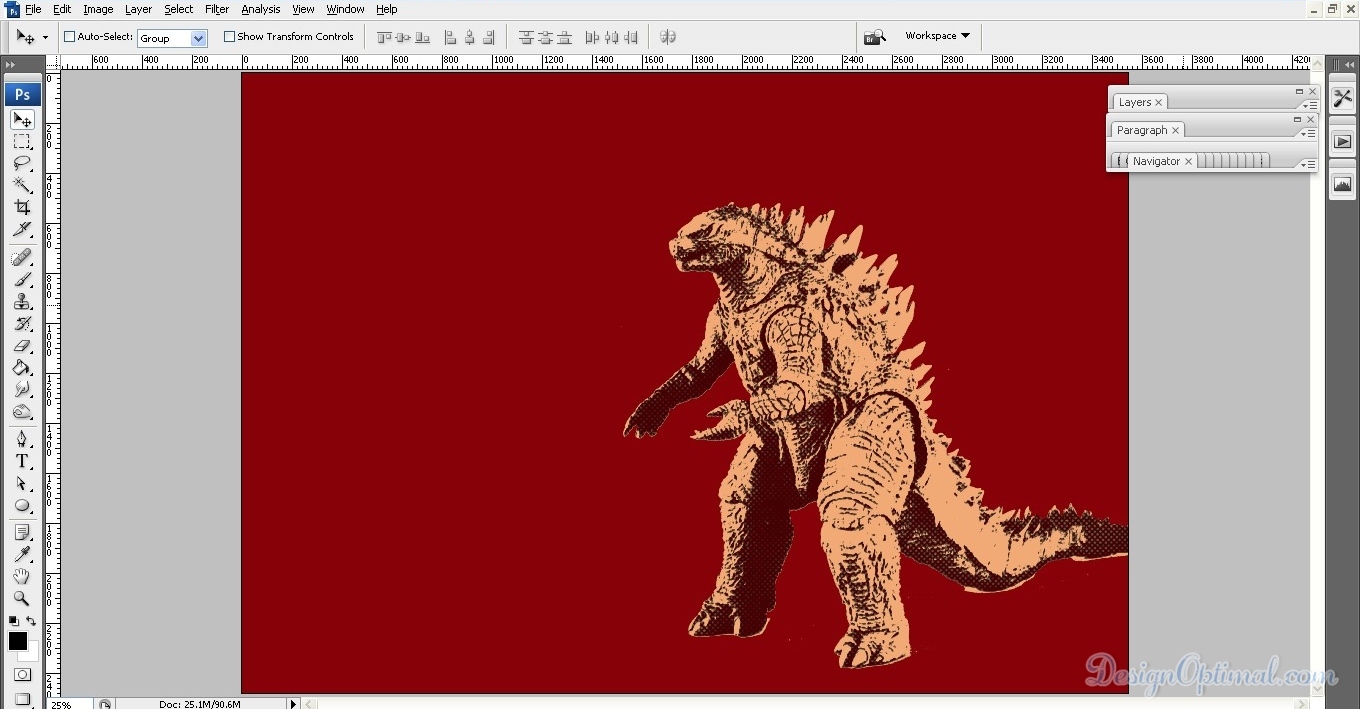
- Now select, duplicate the layer which has Godzilla and go to Image >Adjustment >threshold and give the amount as 128 and blend it to Lighten.
- Now duplicate the originall godzilla image we palce in the document in the first plcae and change the colur mode of it to Black and white then belnd it in to Hue. Now again duplicate the original Godzilla image and go to filter gallery and give the effect called fresco. You can adjust the amounts in the amount box that appears in the side. The final out put will be like this.
Step 03
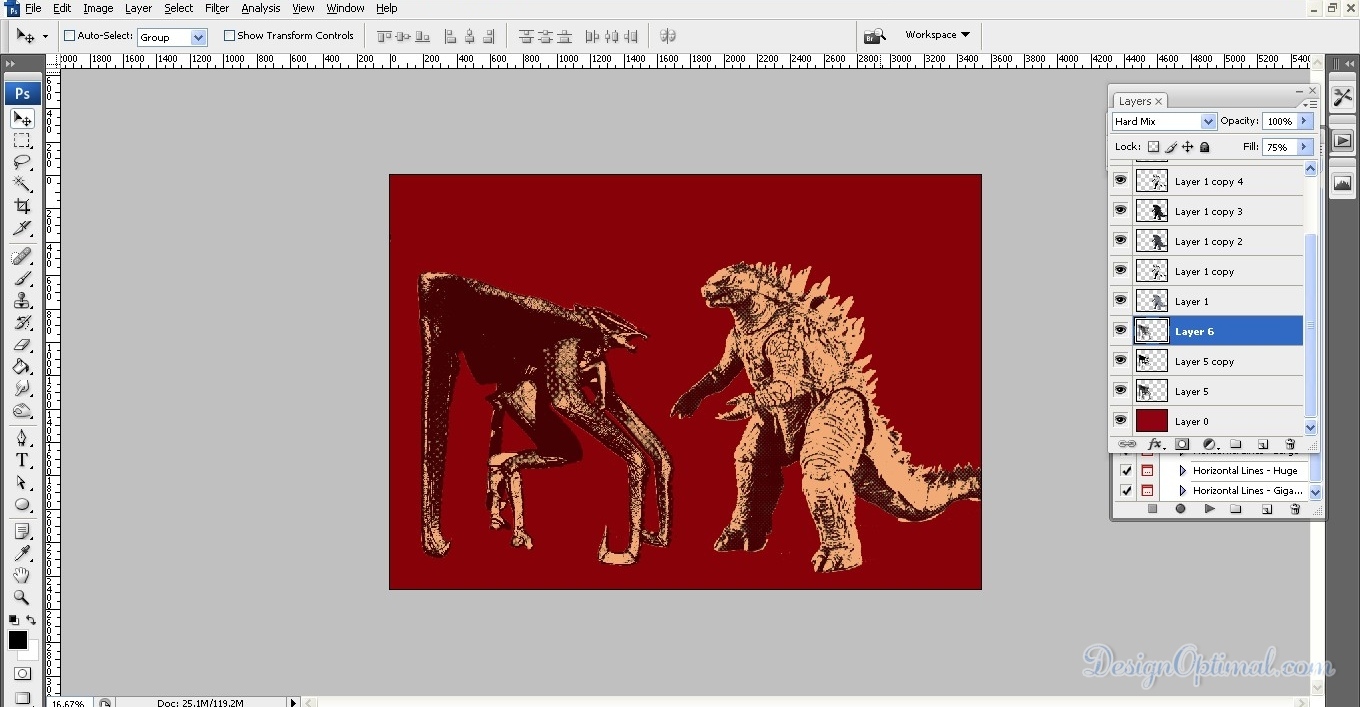
- After that, we used the halftone image Psd of the same Godzilla. Keep it top of all the layers that we created just now and make the blending mode in to Darken. Now make another layer top of it and fill it with the same background color we used when we stared this tut. Then reduce the opacity in to 50% and now again make a new layer on top of it. Fill it with #e7711a and reduced opacity in to 60% and blending mode in to Multiply. The final outcome will be like this.
Step 04
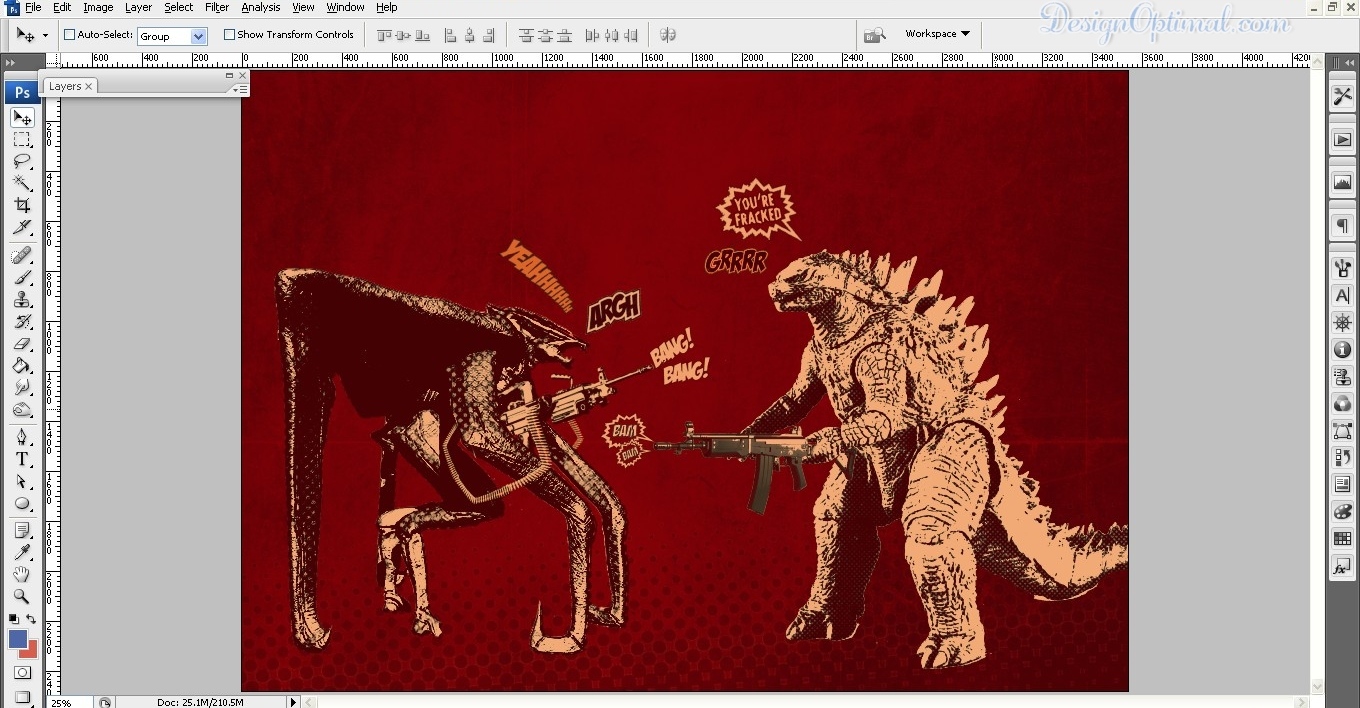
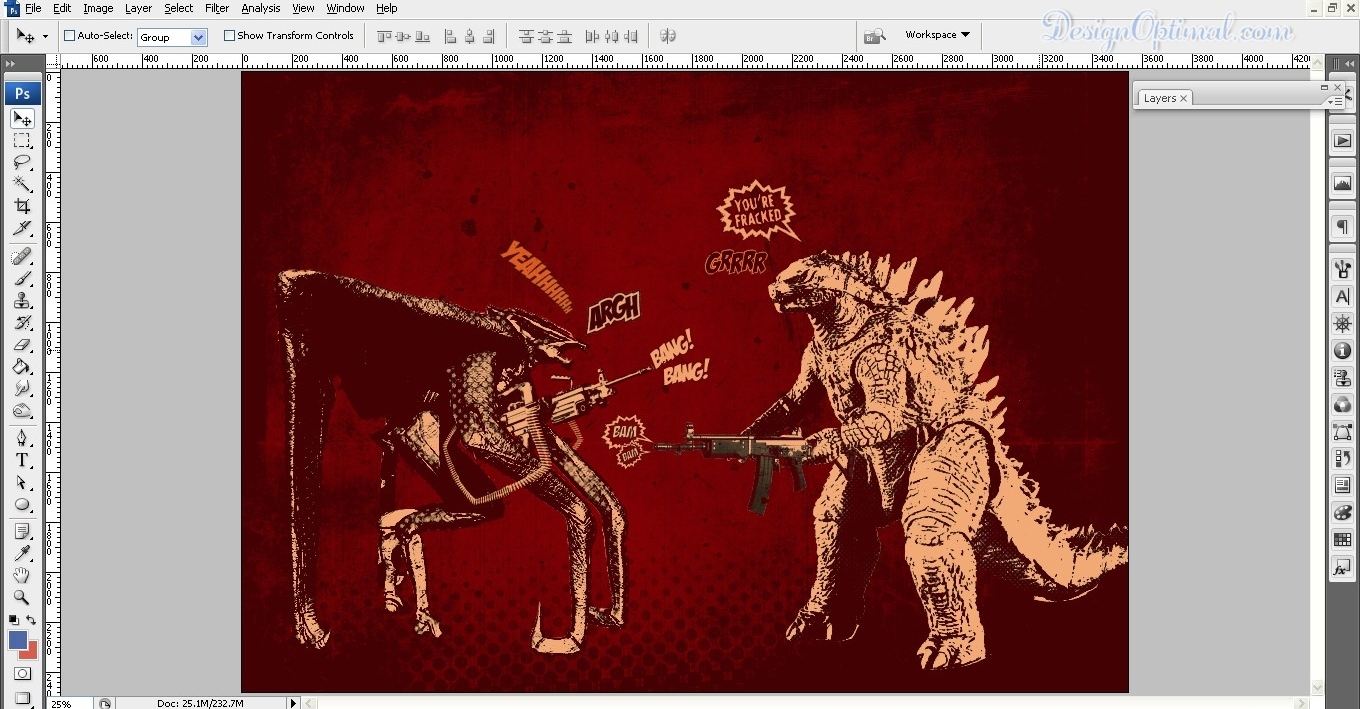
- After that, we used Muto.psd and place it in the bottom of Vintage poster that we did. And duplicate the layer, go to threshold and give the same amount that we gave to Godzilla. Now blend the layer in to overlay. Then we used the halftone muto image, keep it in the top of the current muto layer and blend it in to Hard Mix. The end result will be like this.
Step 05
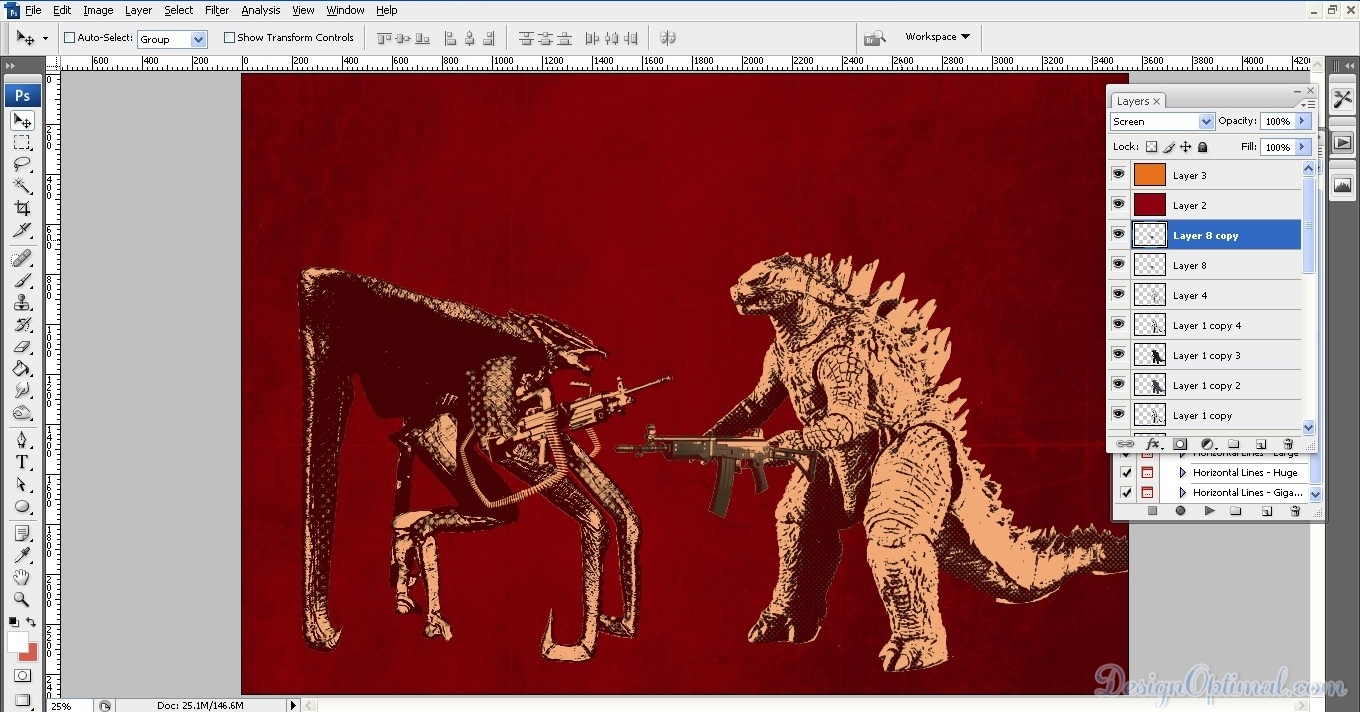
- Now to make the artwork bit funny than the realistic we used two different guns psds.
- And for the guns of Muto, duplicate the layer and run the threshold command and make the blending option in to Overlay. Then give a Gaussian Blur of 1.0 as we did before and place them as the next image.
- Note: we used the psd named gun two for the muto but I have duplicated some parts of the bullets pack that it’s have around to get bit detailed.
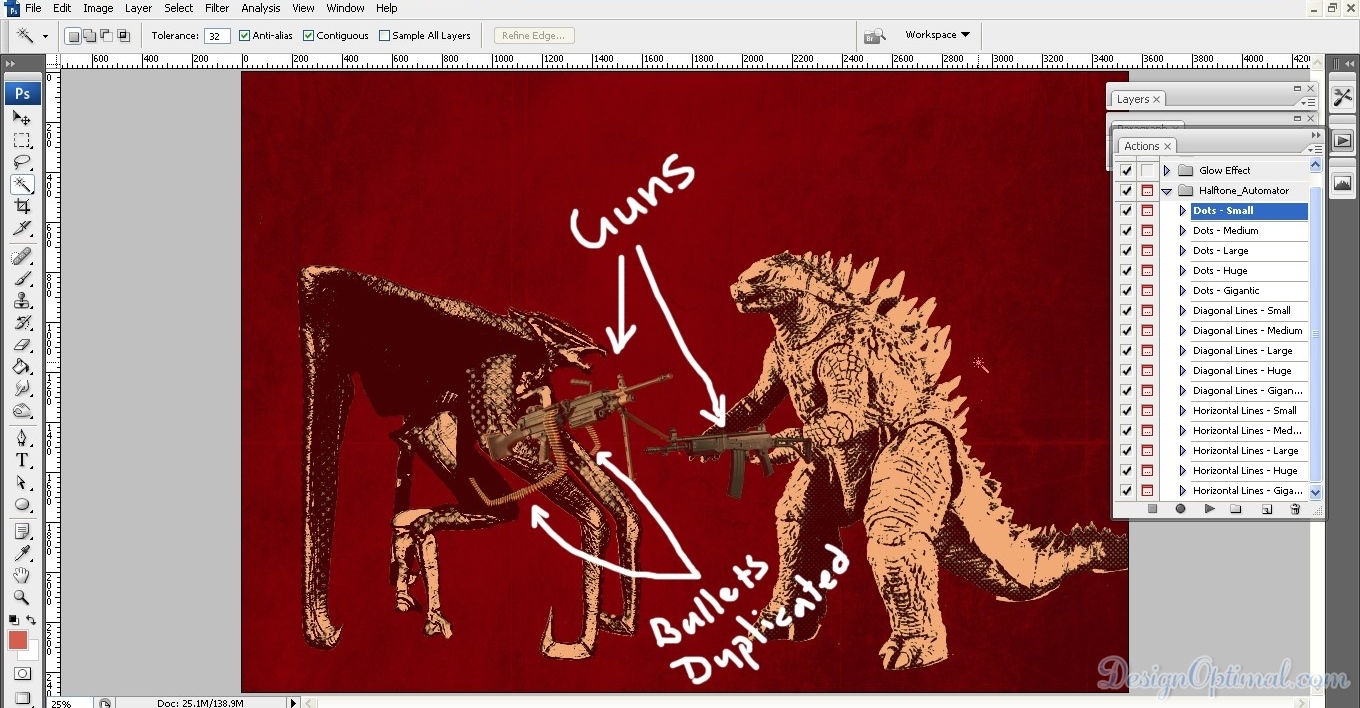
- For the gun of Godzilla we used the Gun 01 psd. Now duplicate the layer, run the threshold command and give the same Gaussian blur but make the blending mode in to Screen.
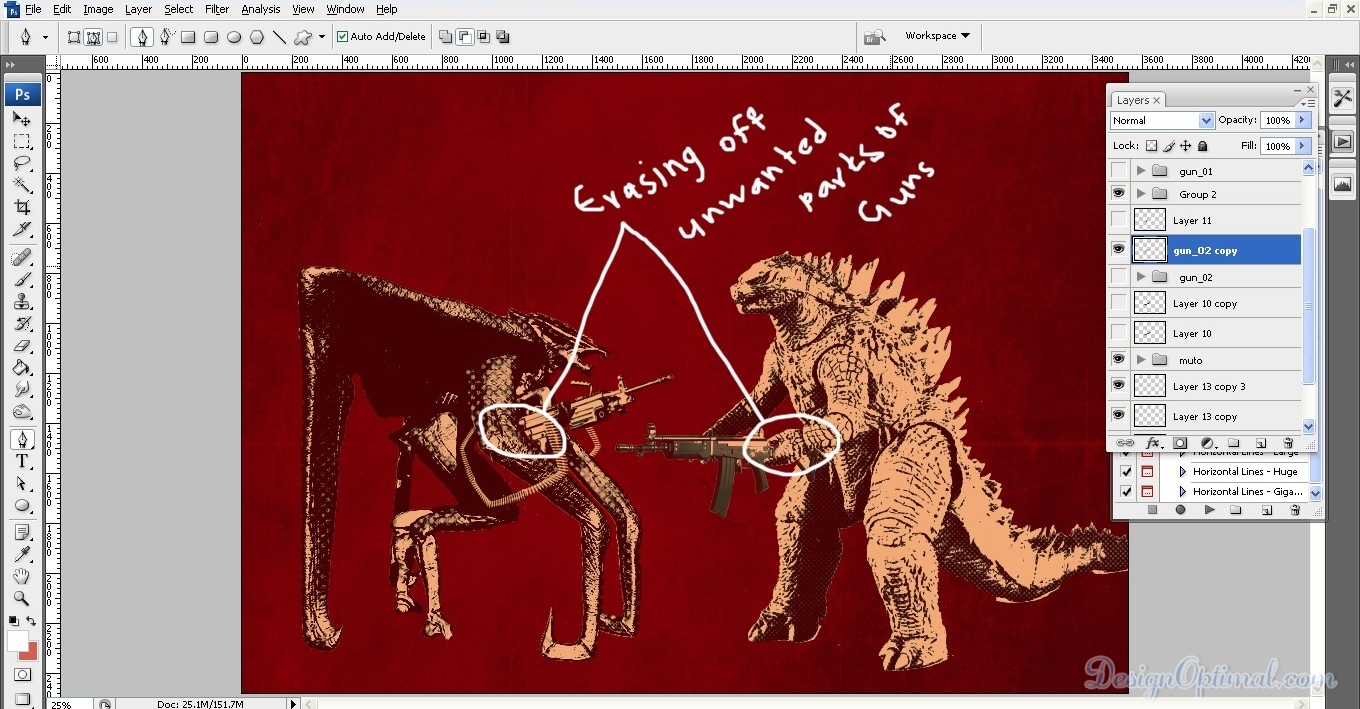
- After that erase away some unwanted parts of the guns as shown in the next image.
Step 06
- Now to add some comic sounds clouds for this. We used comic_sounds.psd for that.
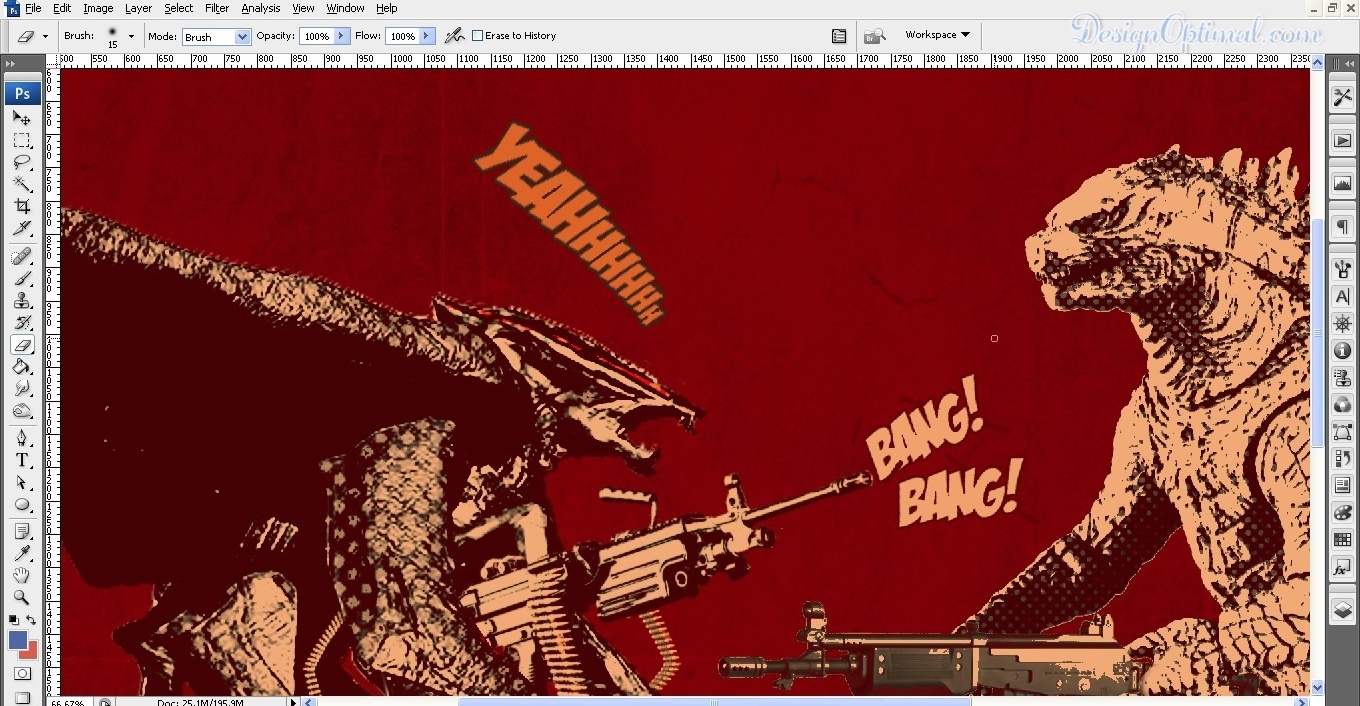
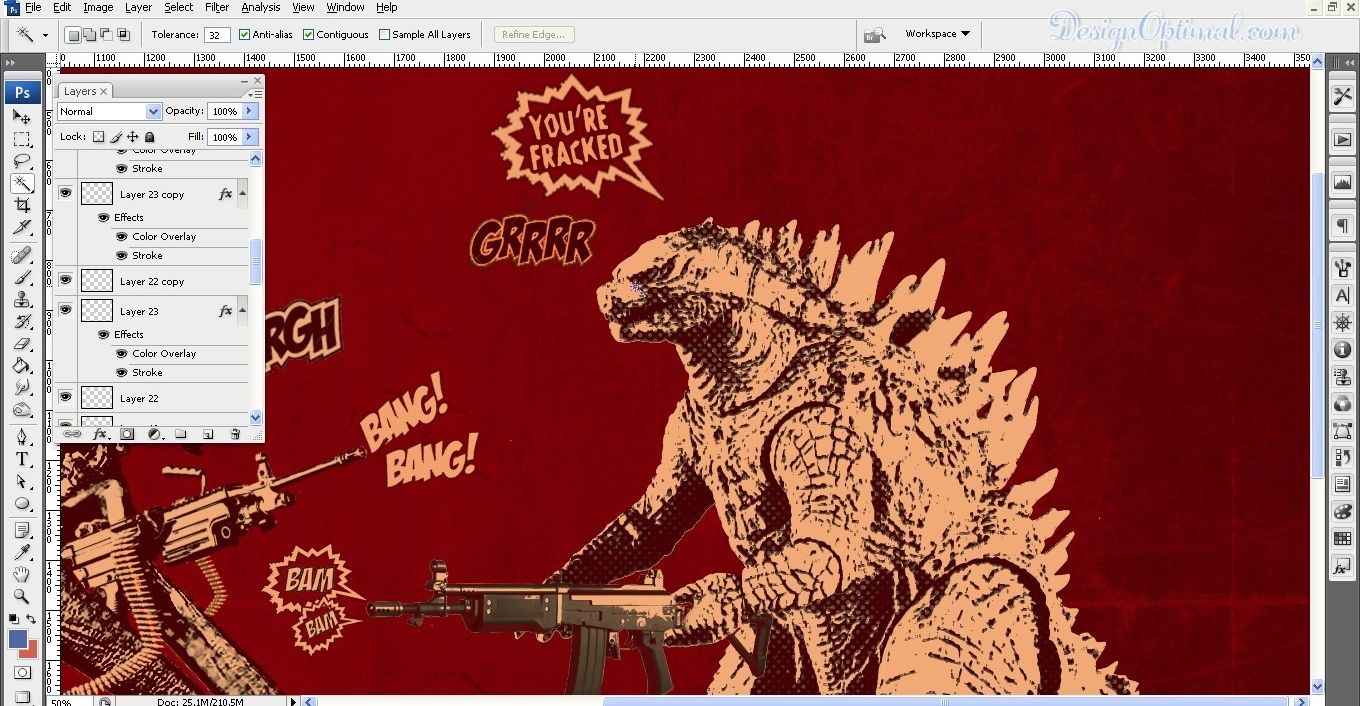
- For each comic sounds use the same colors and add same stroke effects that I have used or you can use some other colors or stroke effects as for your likeness.
- After that we will be using a halftone patterns and place it in the background as shown below (we used gradient2.psd for that).
Step 07
- After these steps, we will be adding a grungy texture patterns (15-High-Resolution-Grunge-Textures-14 .jpg and grunge-texture-powerpoint-backgrounds.jpg) to the project. Keep it on top of all the layers and blend it in to color burn mode and the outcome will be like this.
Step 08
- Now to add some text to the artwork I will be using the font named Geomancy for the Godzilla name & Muto and place it as shown in the next image.

Step 09
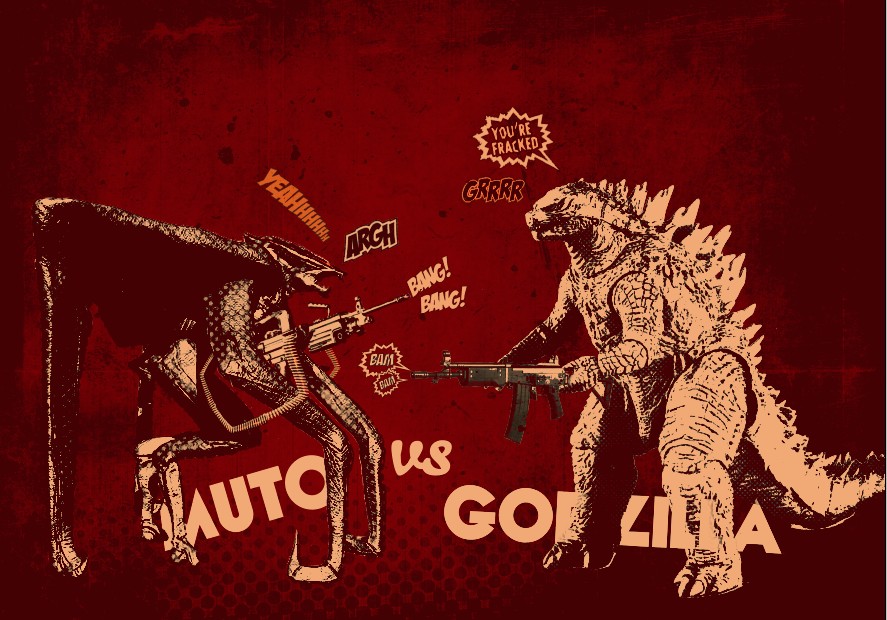
- Now this will be the final outcome of the Vintage poster that we created right now.