Hello Guys, today we are going to show you how to create a simple n cool 3D text using Adobe Illustrator. In addition, make a composition in Photoshop.
It’s yet simple but yet tricky because you have to balance the lighting and colors according to the real life environment that we are going to paste it into.
Step 01
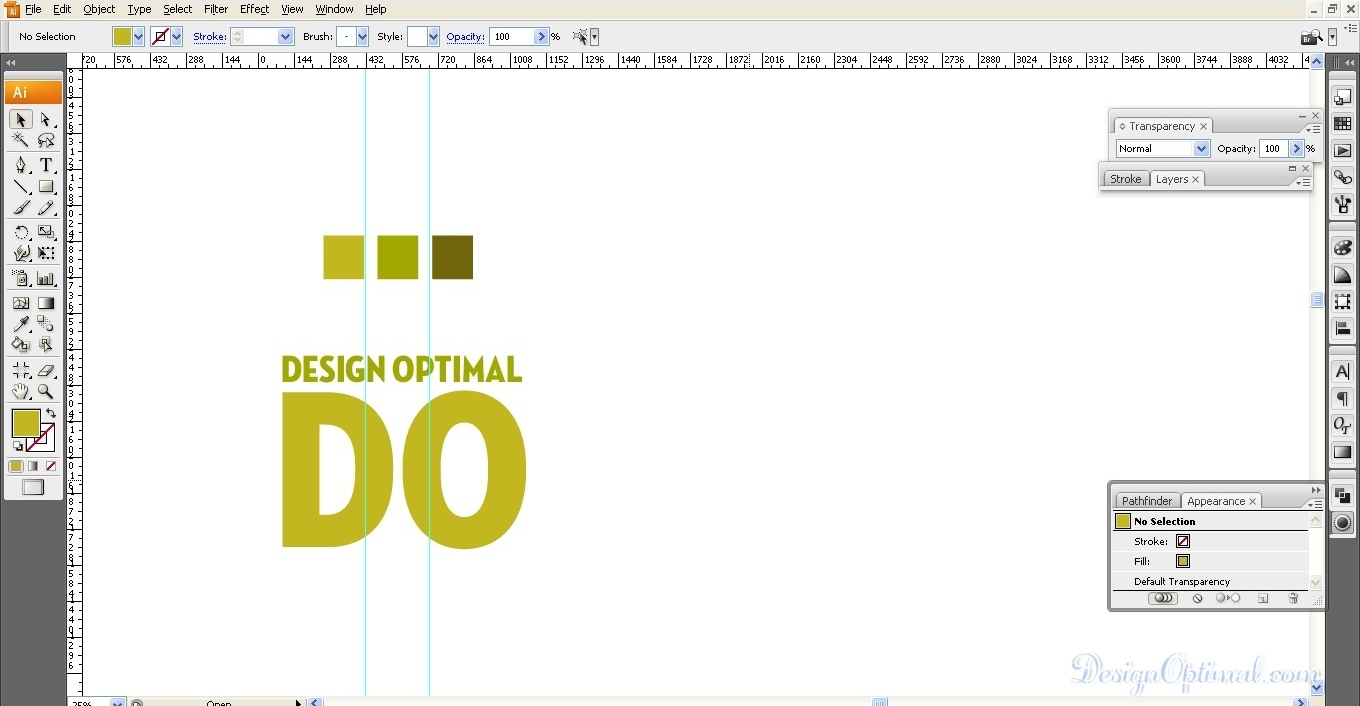
- Open Adobe Illustrator and create a new document of 1024px x768px, and make it a Landscape mode save it as logo.ai. In this scenario, I am using our site name as the logo Design Optimal or in Shorten form DO. I used Neutraface Condensed Titling font to the type the text saying design optimal and DO.
- To make the text colors more connected to the image that we are going to place the text, I have used the colors shown below as the text colors.
Step 02
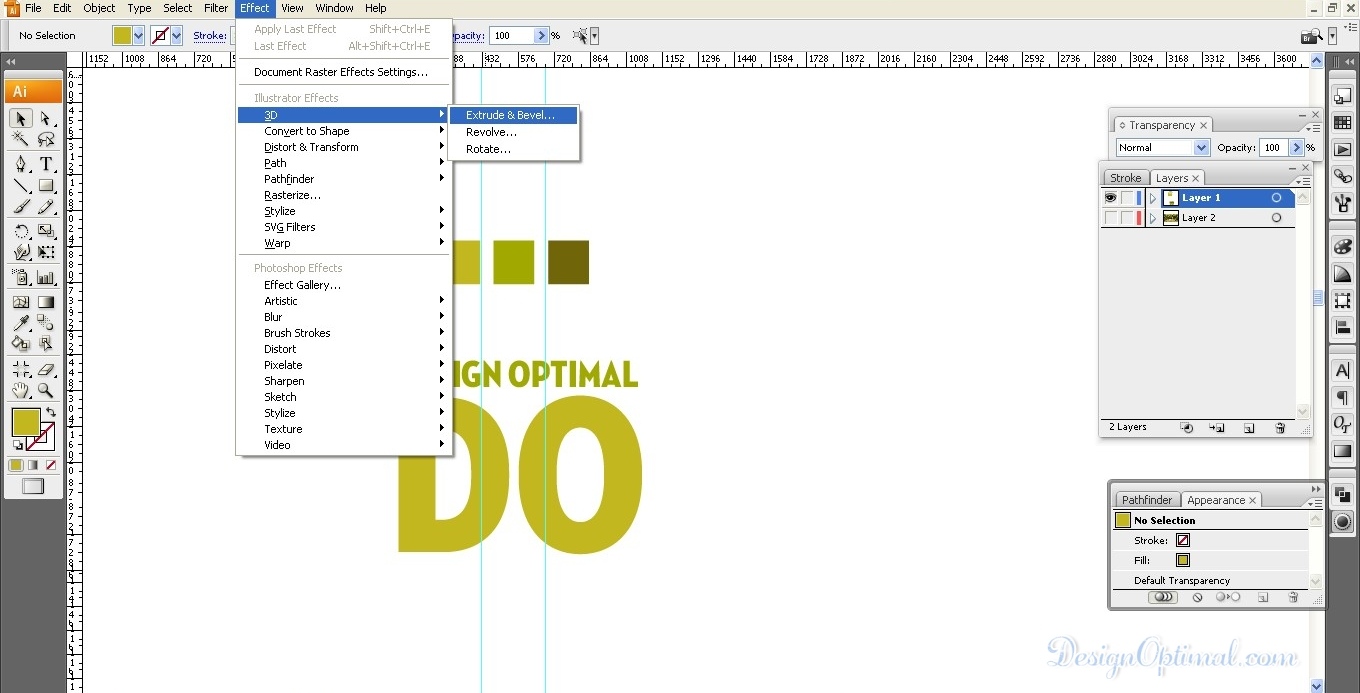
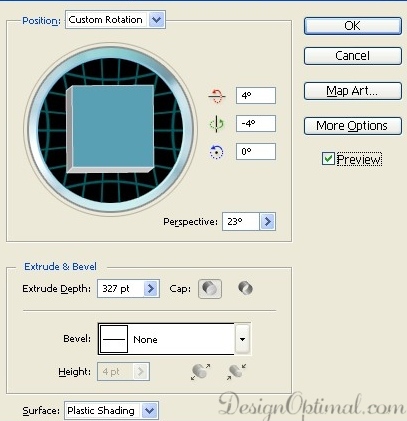
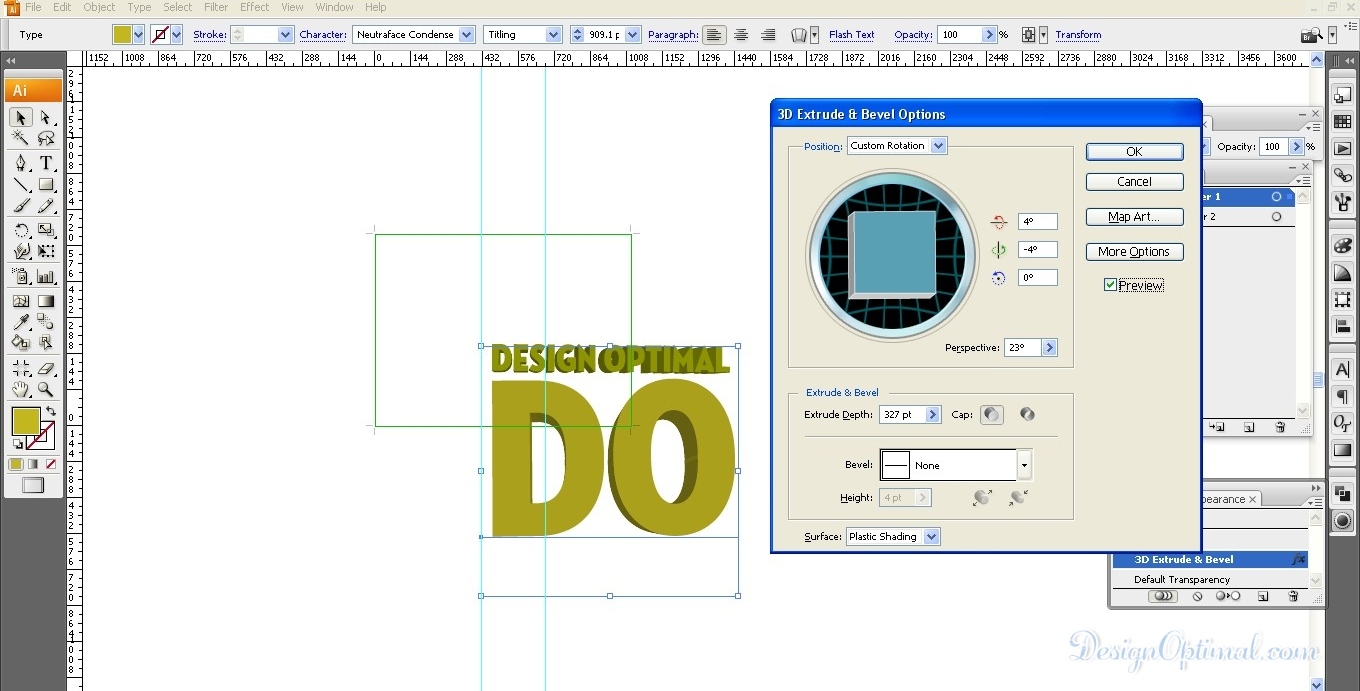
- Now got to Effect>3d>Extrude and Bevel and give the below mentioned sizes for the parameters of the extrude and bevel option.
Step 03
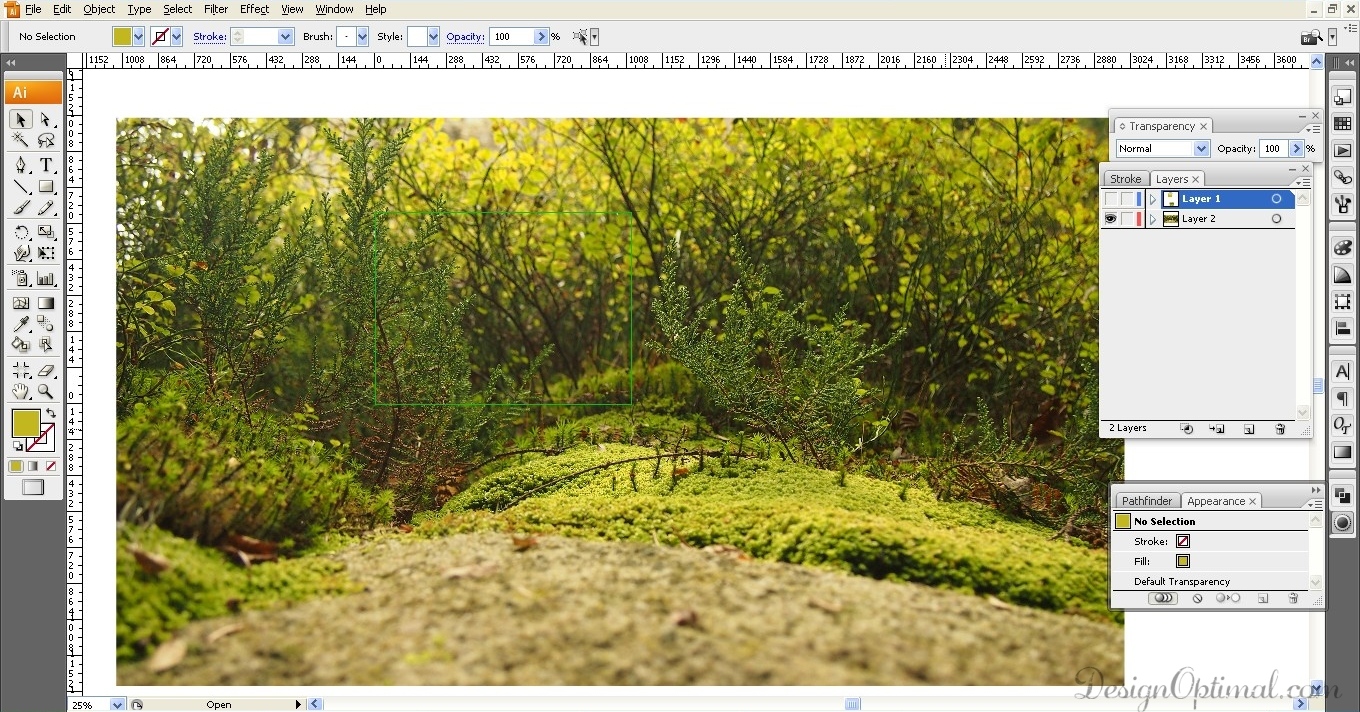
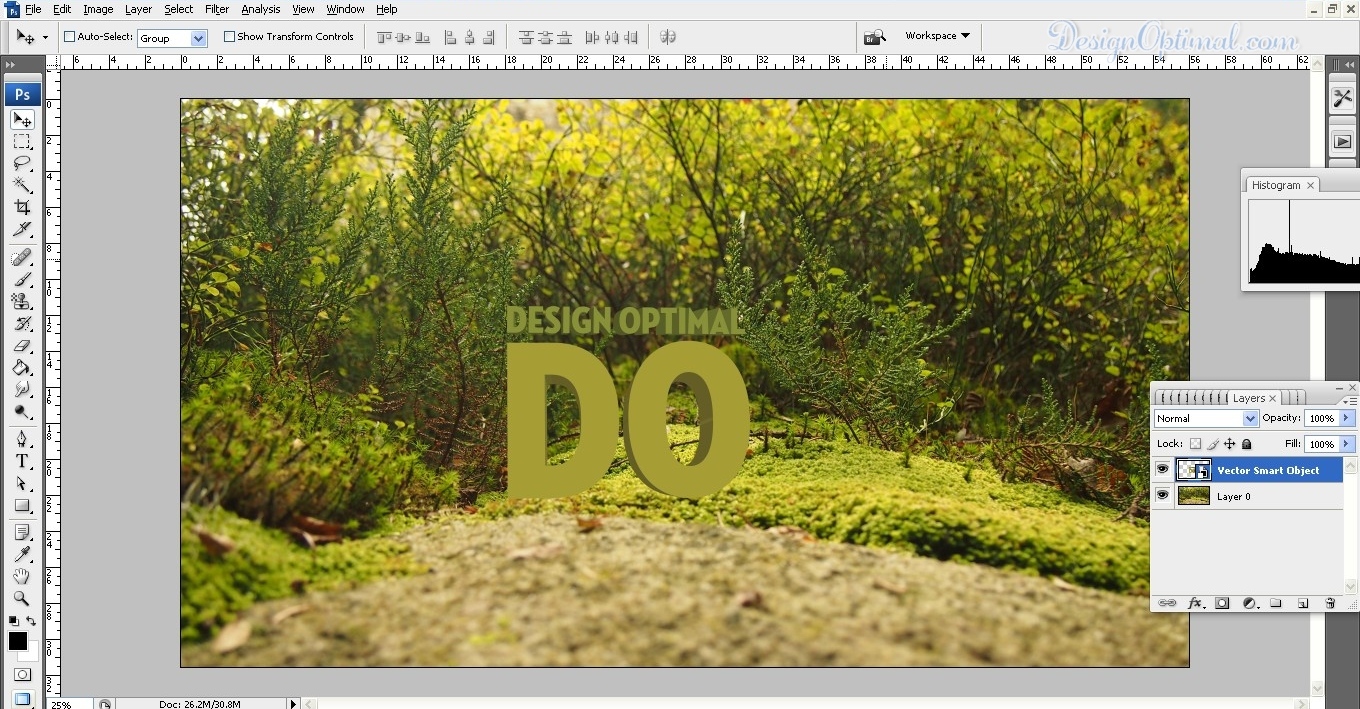
- Now to drag the 3D text in to Photoshop. First open the supplied image called Foliage.png. Now place the newly created 3D text on the top of that image as shown in the next image. Now save the Psd as Foliage .psd
Step 04
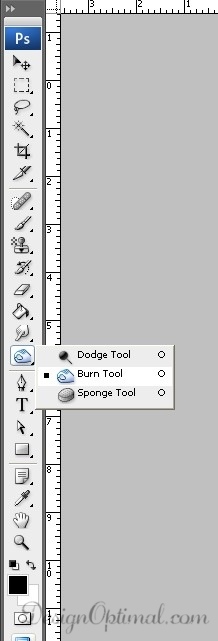
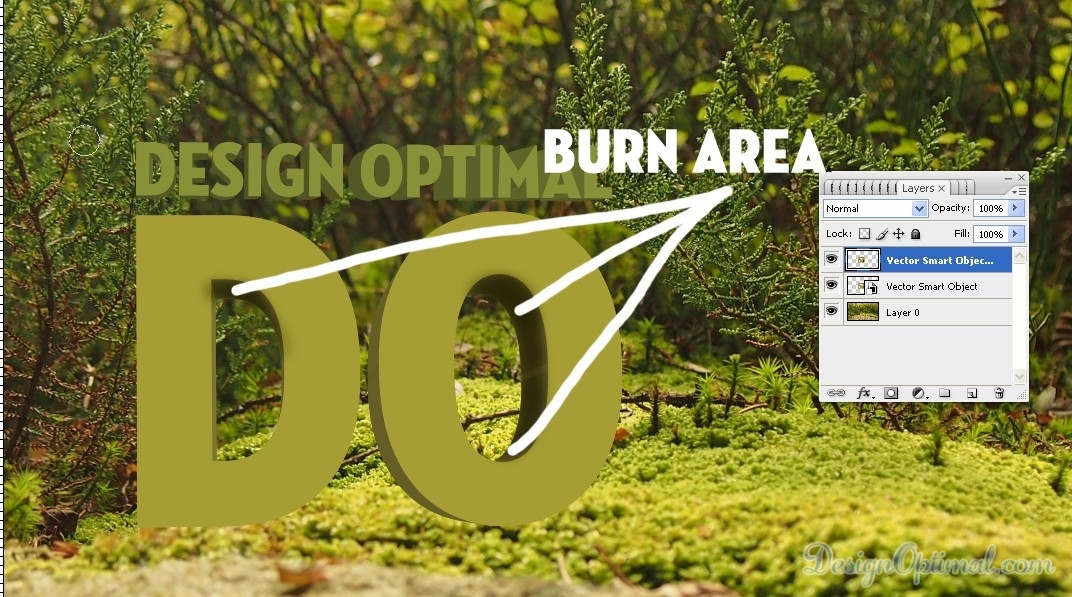
- Now duplicate the layer and keep it above the current text layer. We will use this to add more details and depth for the text. Now take the burn tool, make the size of the brush around 80px and start brushing dark areas inside the DO text as shown in the image.
Step 05
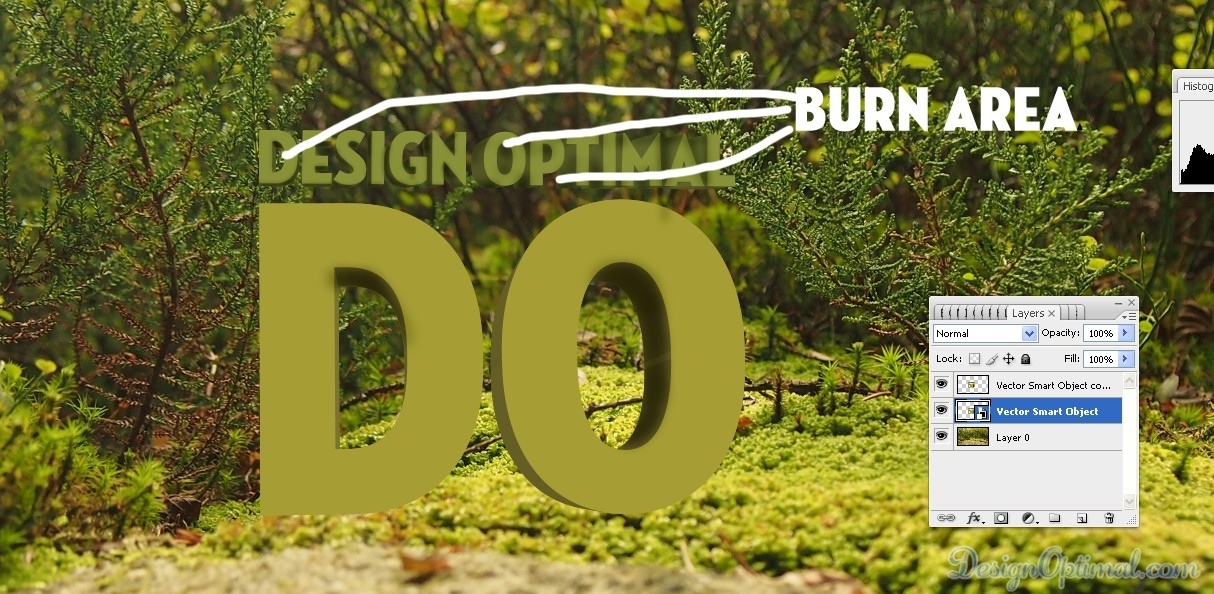
- Now to add same effect for the top text called Design Optimal this time. Make the burn brush around 20px and start brushing the dark areas of that text to add more depth for it as shown in the next image.
Step 06
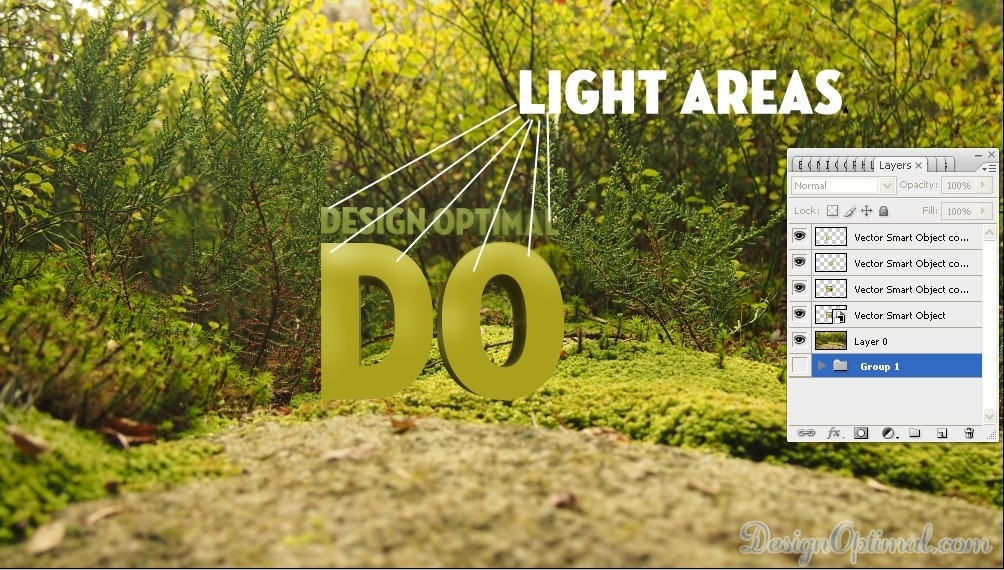
- Now to add light areas for the text. Select the dodge tool from the same pallet that you chose Burn tool and start adding light areas as shown in the next image.
Step 07
- Now to make the text more connect to the background image. Select the foliage part that is situated below the DO text and past in top of all the layers and erase the unnecessary parts as shown in the next images.
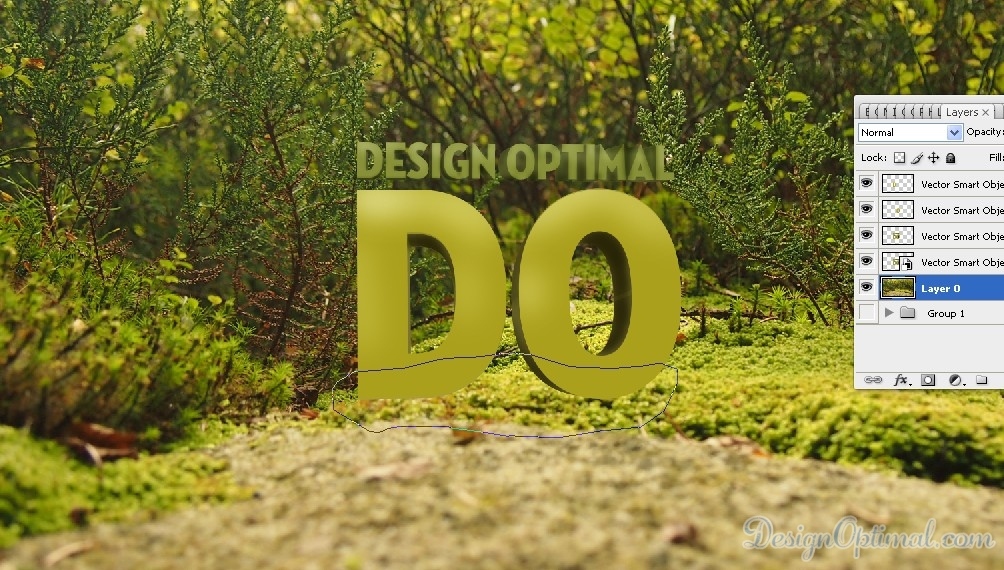
- To erase the unwanted parts of the foliage that covers the DO text, use the blur brush with around 35px, and the final result after erasing the foliage area the image would look like this.

Step 08
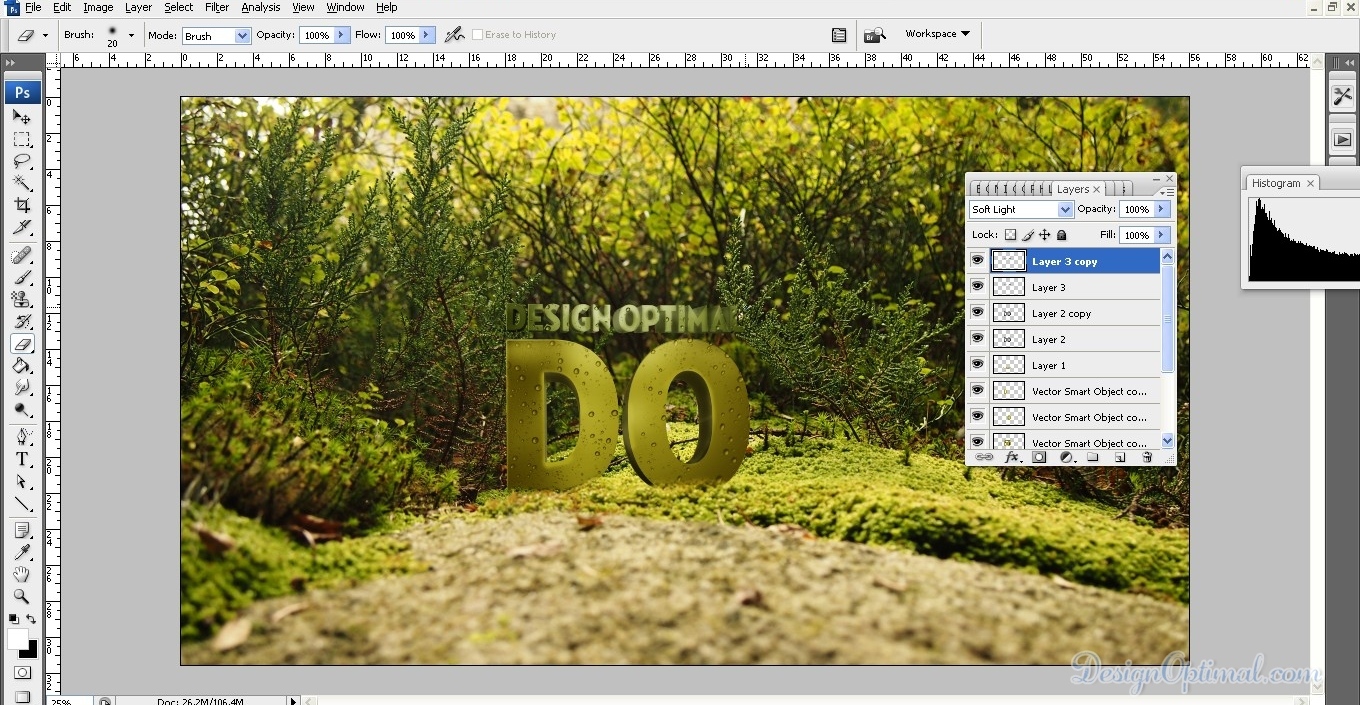
- Now to make the background image more attractive, duplicate the image with the foliage and change the color in to black and white. Then make the blending option into Soft light and change the opacity in to 70% percent.
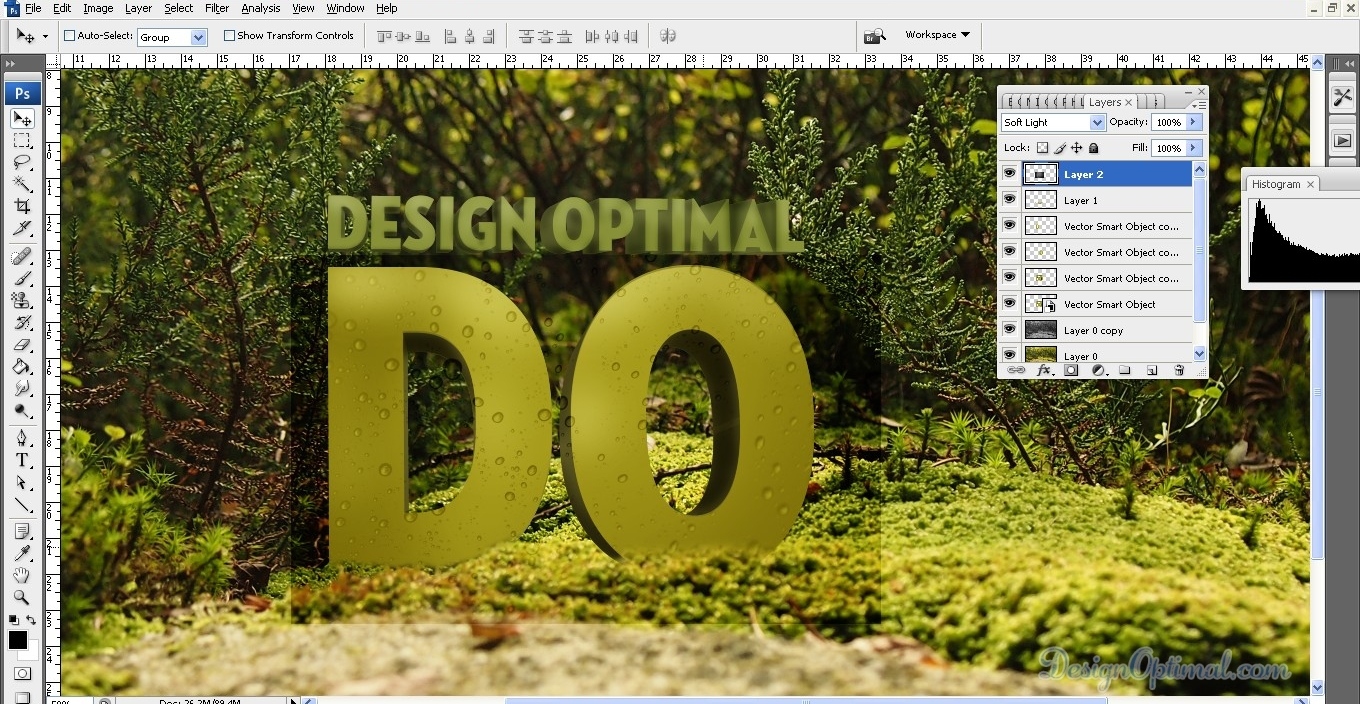
- After that, again we are going to add some more details to the text. This time we are going to add dew drops to it like the text were in the foliage all the night.
- So for this we are going to use the image with the water drops (image frozen_water-bubbels). Change the color of the image in to black and white, now drag and drop that image with the water drops on the top of the DO text and change the blending mode to Soft light image. Then it will be like the image shown below.
Step 09
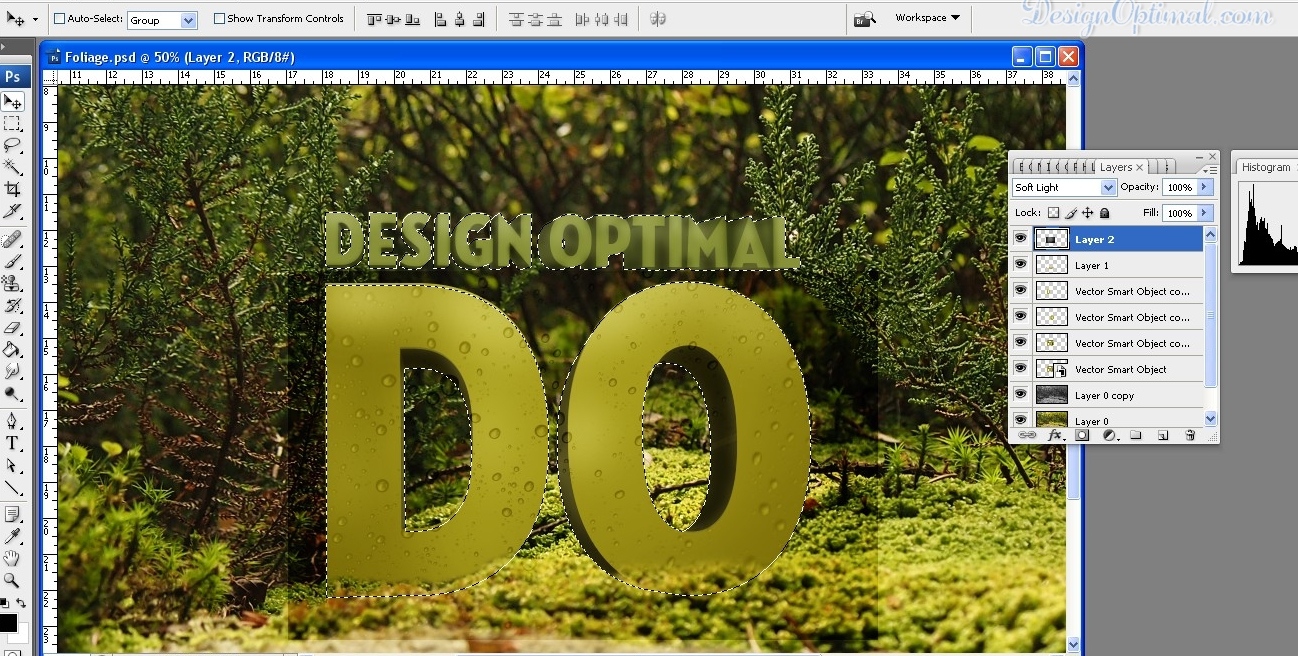
- Now Ctrl + click the first DO text below the water drop layer and go to select >Inverse or Ctrl+Shiftkey+I and delete the unwanted background.
Step 10
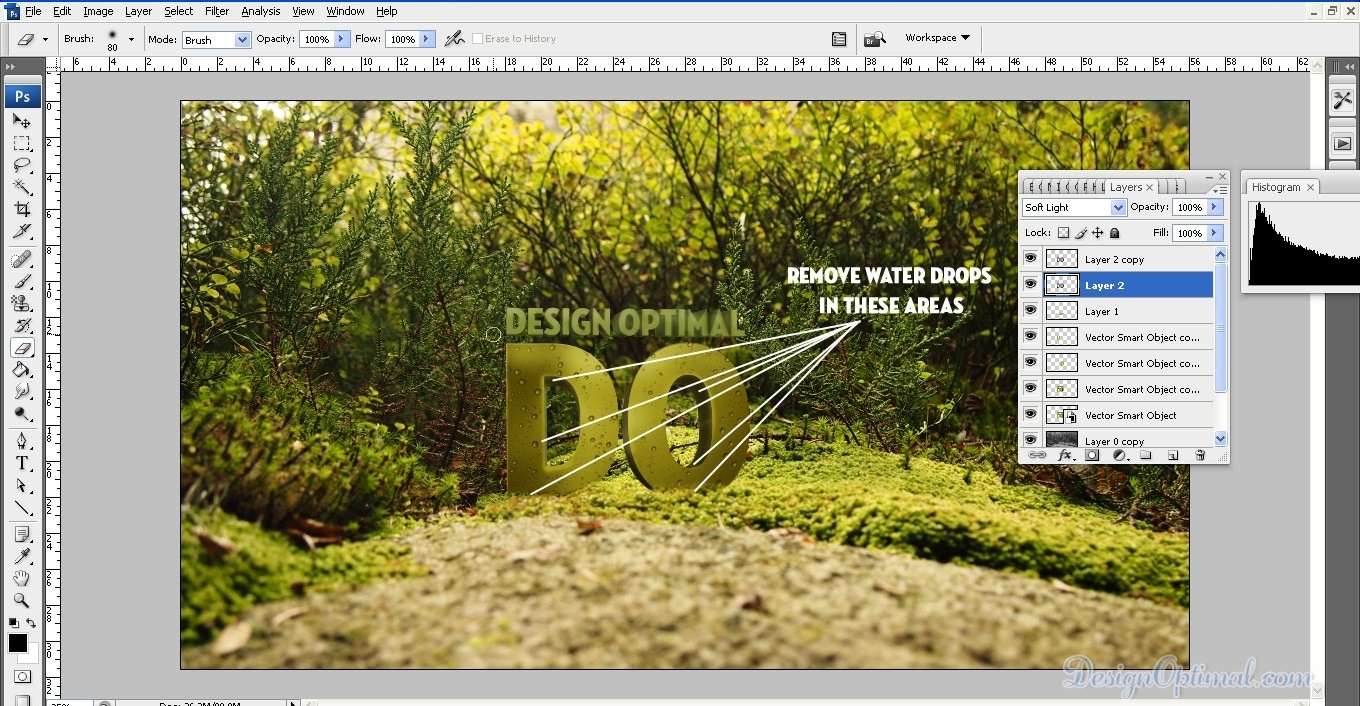
- Now to erase away the unwanted water drops in the text, for this use Blur brush around 45px radius and remove the water drops in the shadowed areas of the DO test because we only need water drops in the top light parts of the DO text. To make the water drops more visible on the text, duplicate the water drop layer with the soft light blending effect.
Step 11
- Now do the same steps for the top text saying Design Optimal and erase off the unwanted water drops, it will then look as the image shown below.
Step 12
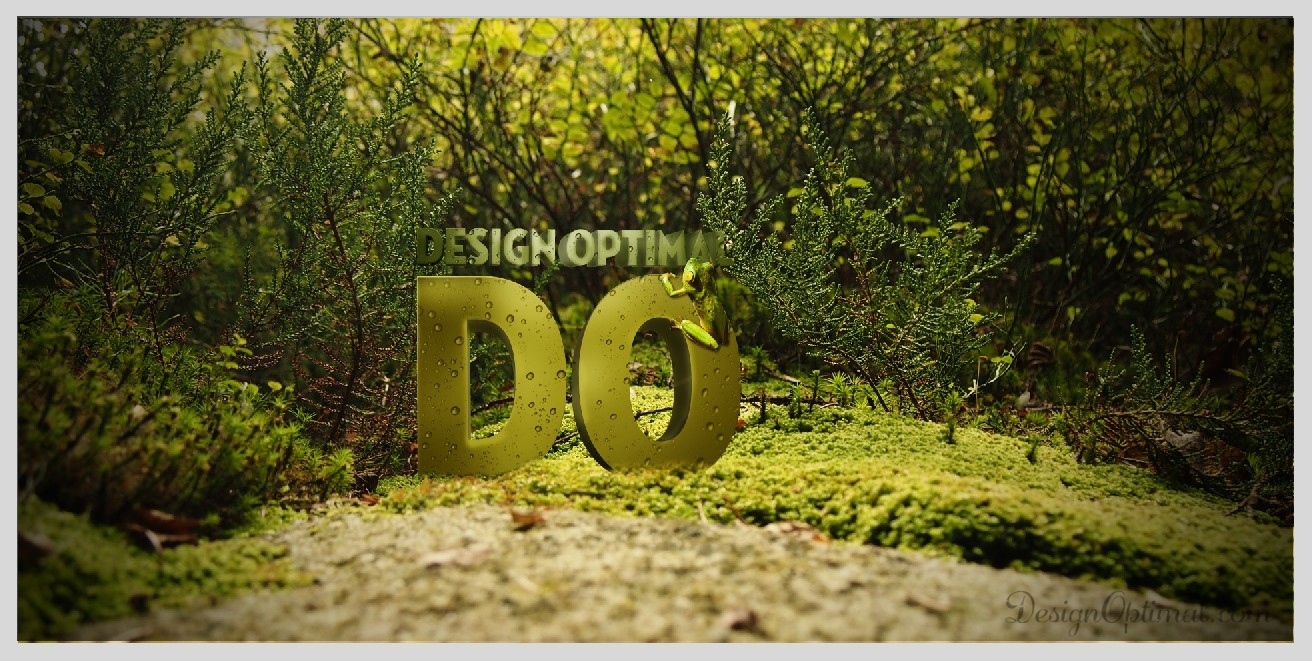
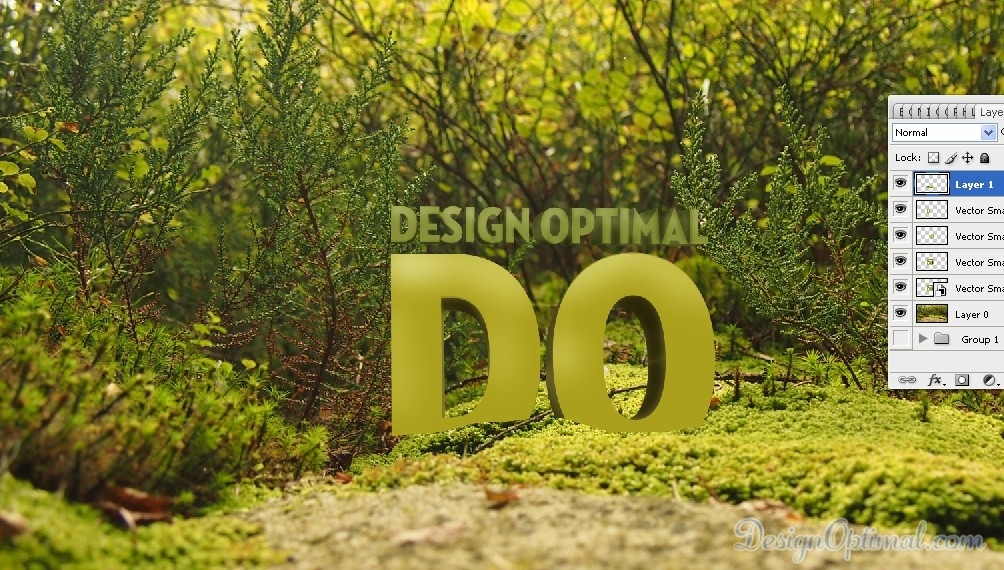
- Now it’s almost done. This will be the finalized logo with the effects now you have got yourself a nice 3D text blended with the Natural Environment.
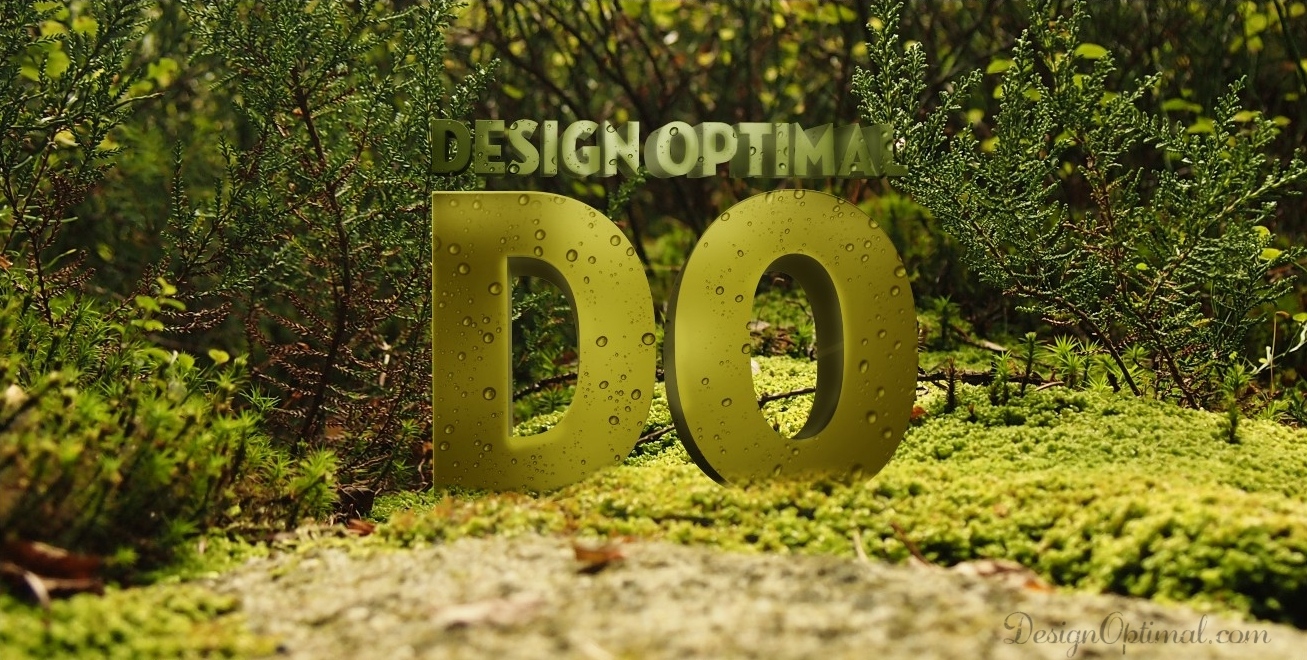
- If you need to make it more attractive you can add a small creature for the environment or on the top of the text, I found myself a cute little frog and this is how I used it.