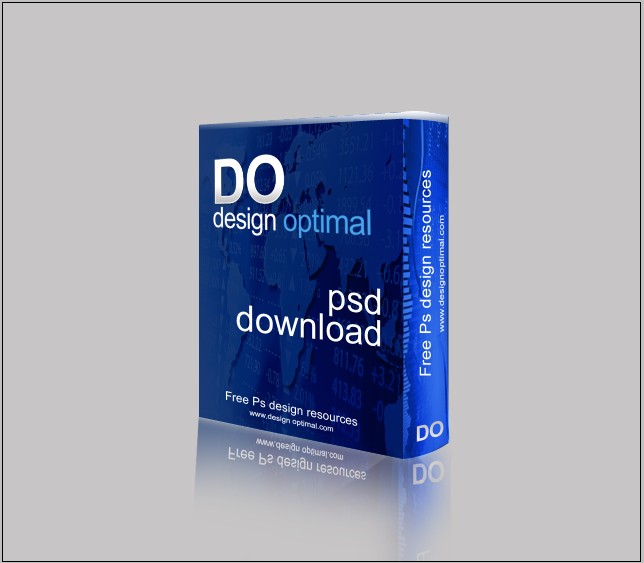
Hi lads, today we are going to show you how to create a simple n cool 3D Software Box using Adobe Photoshop.
It has a simple process but it looks like a real software box at the end result.
And you can access the project file that for this tutorial at the end of this page. However, we recommend following this Do-It-Yourself tutorial first and gaining some skills before using our project files below.
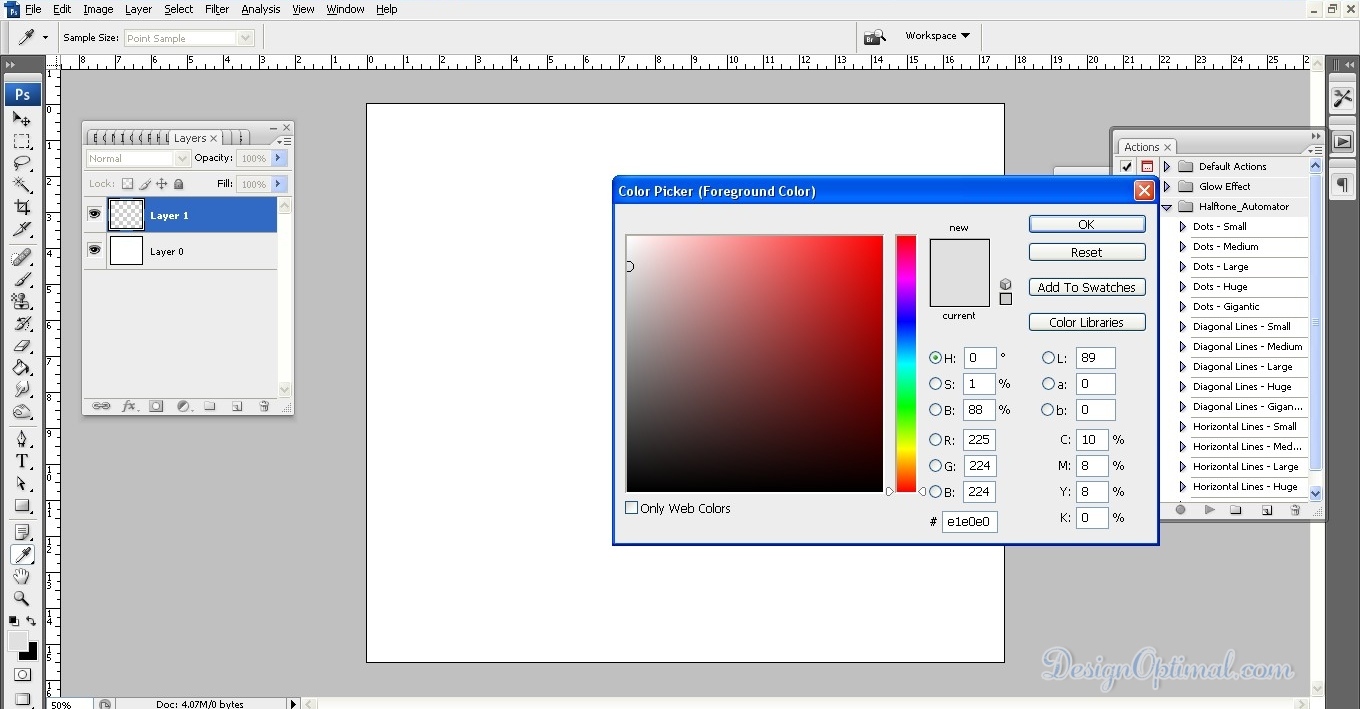
Step 01
- Open Adobe Photoshop and create a new document of 1274px x 1116px, and make it a Landscape mode save it as 3d Softwarebox.psd .now add a small gray shade to the back ground by adding a new layer on top of the bottom layer

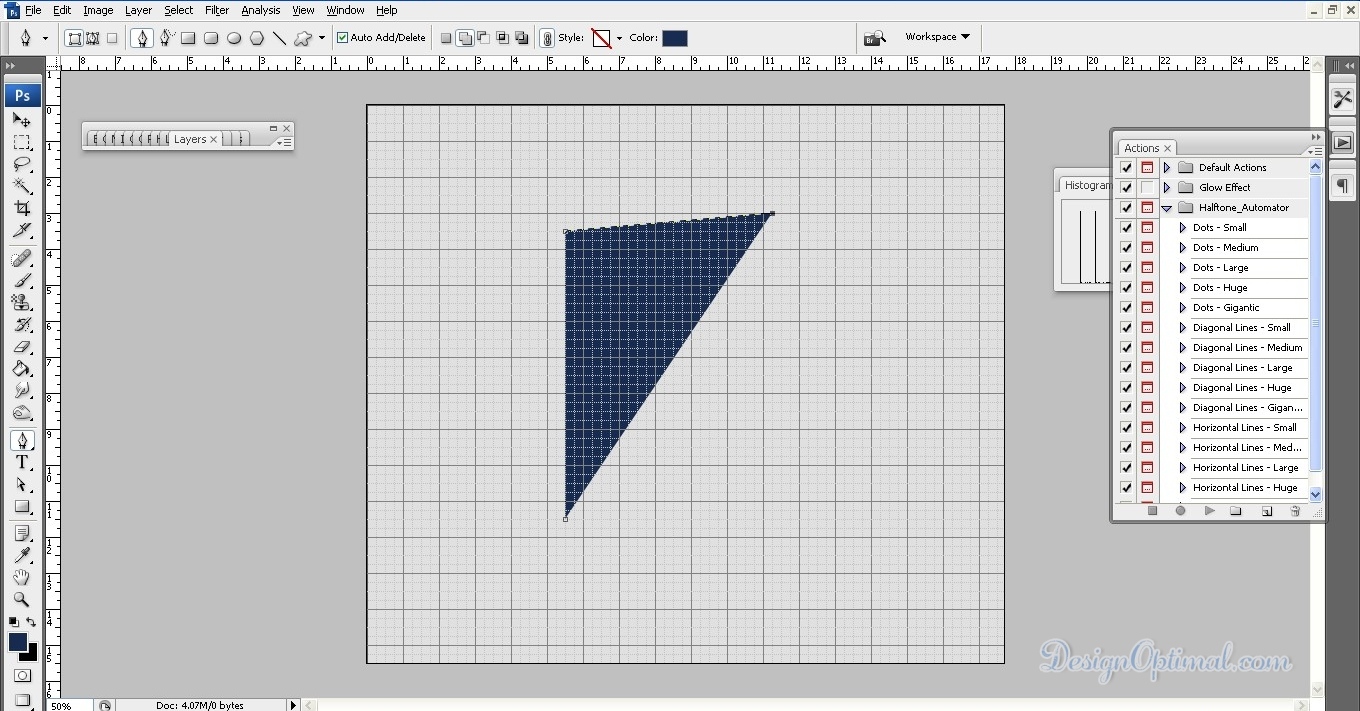
Step 02
- Now get the pen tool and start drawing a shape like shown in the below image this will be the front panel of the software box. Use #172b50 as the fill color.
Step 03
- Now draw the side panel of the software box as shown in the next image use the #1c3c76 as the fill color.
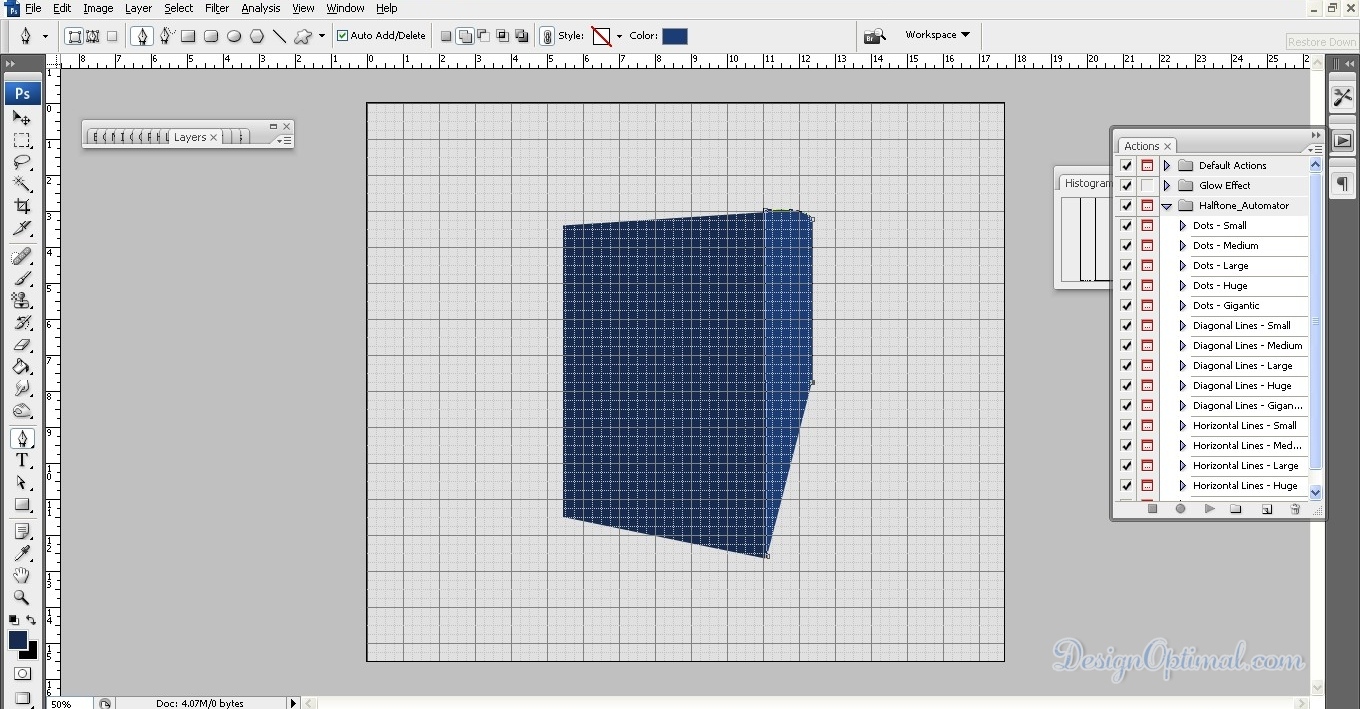
Step 04
- This will be the look of the software box up to this level.
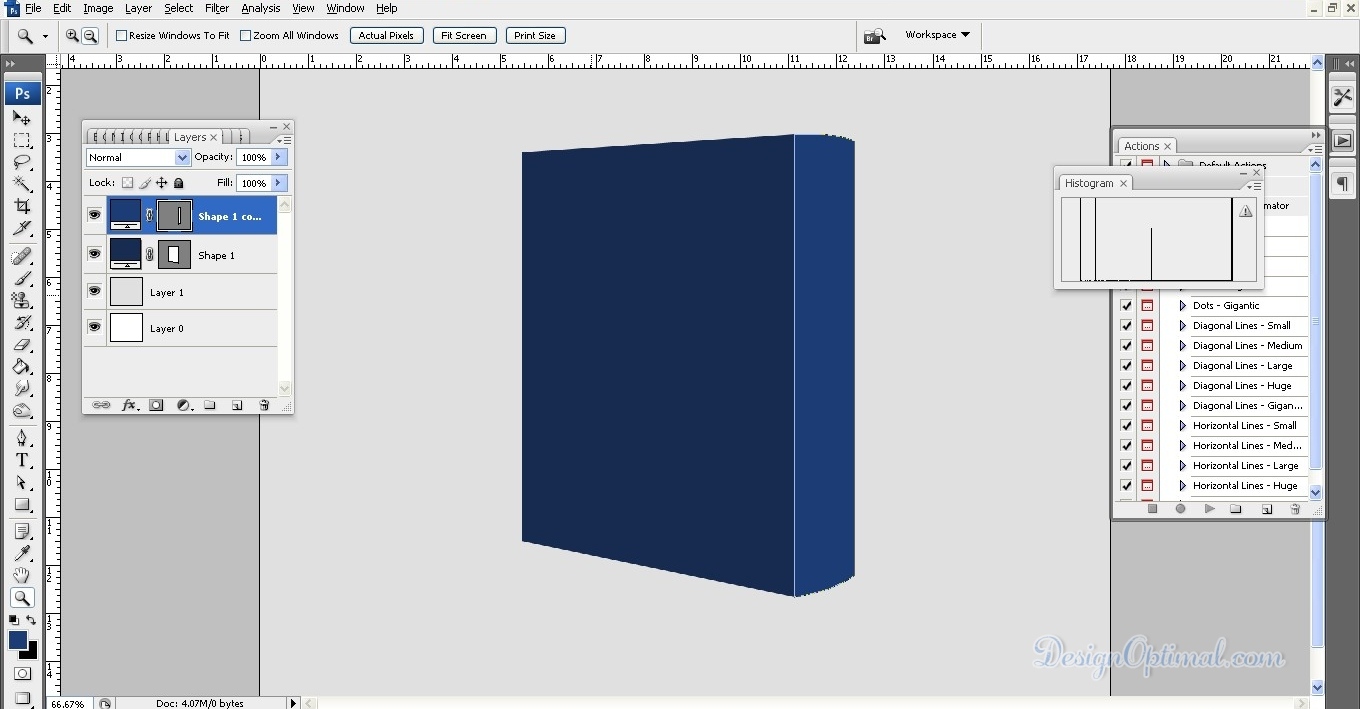
Step 05
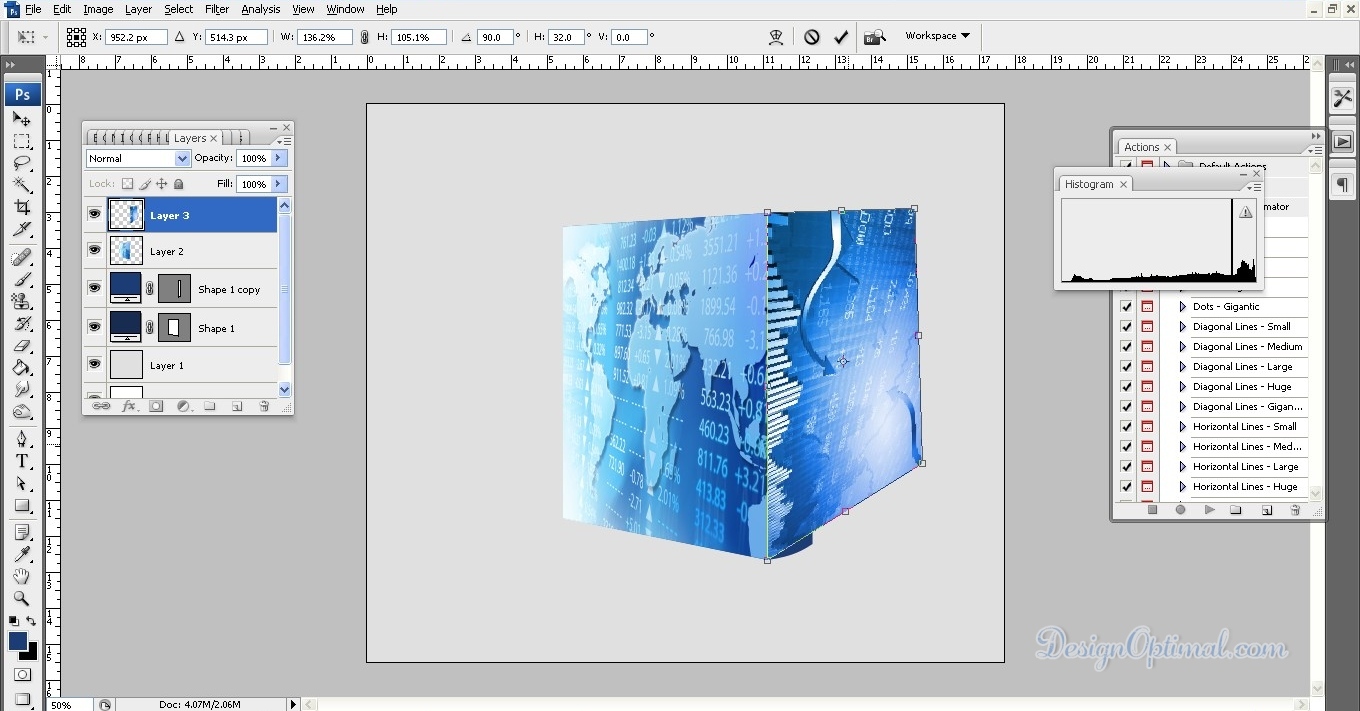
- Now it’s time to add details to the box. Use the images as we used or you can use images of your own preference. I used the shutterstock_57674311 as the background of the front panel. now right click the image and select distort and resize it as shown in the next images.
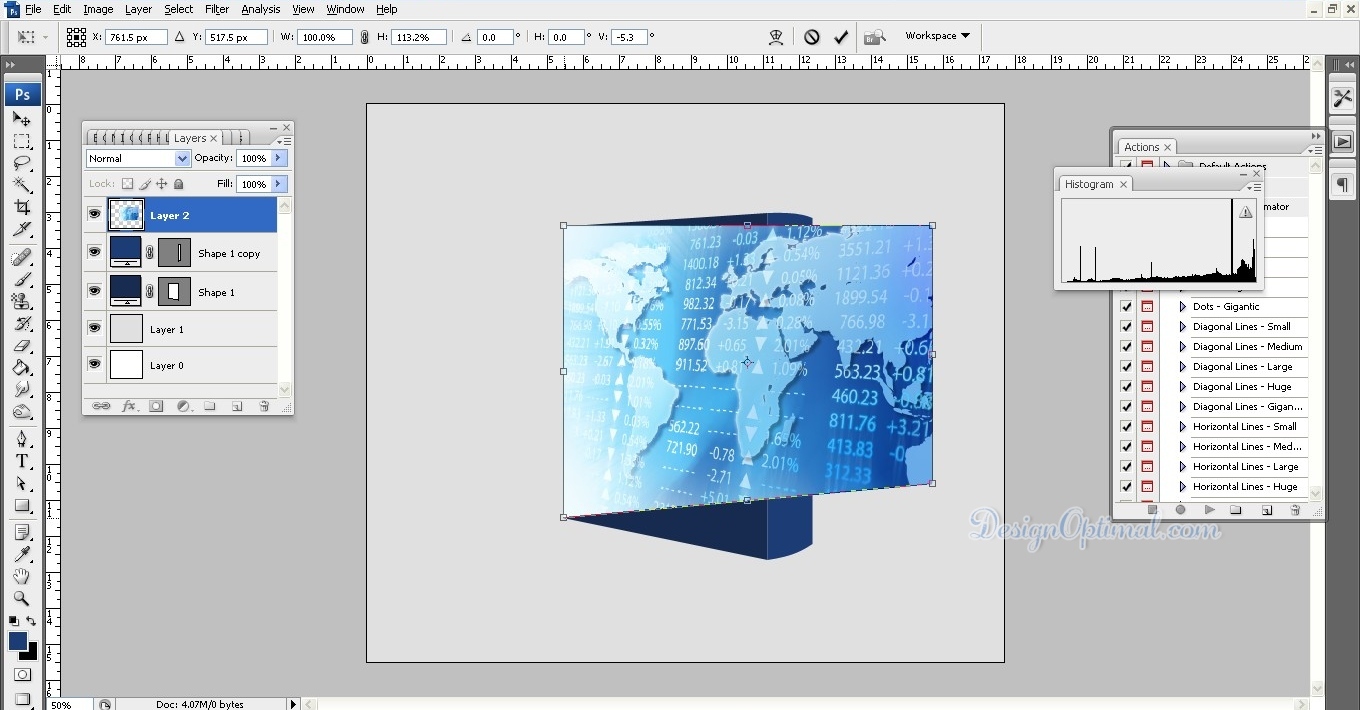

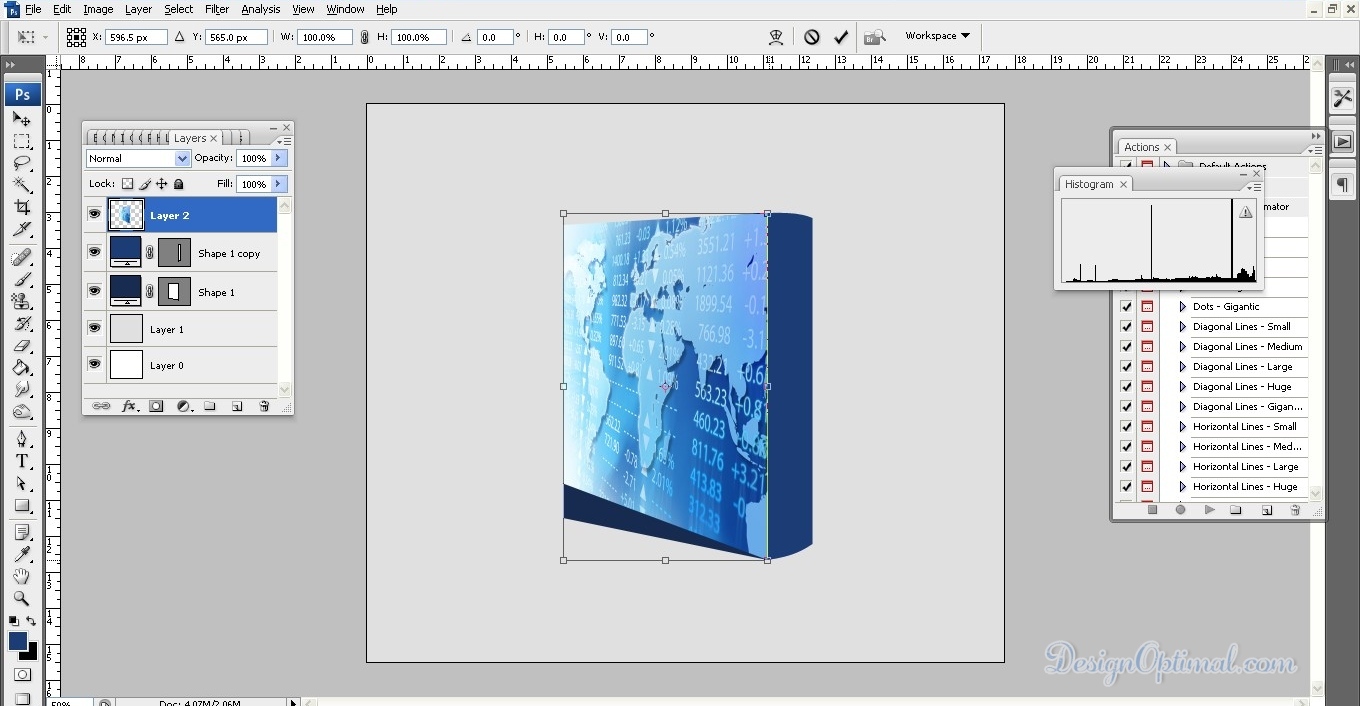
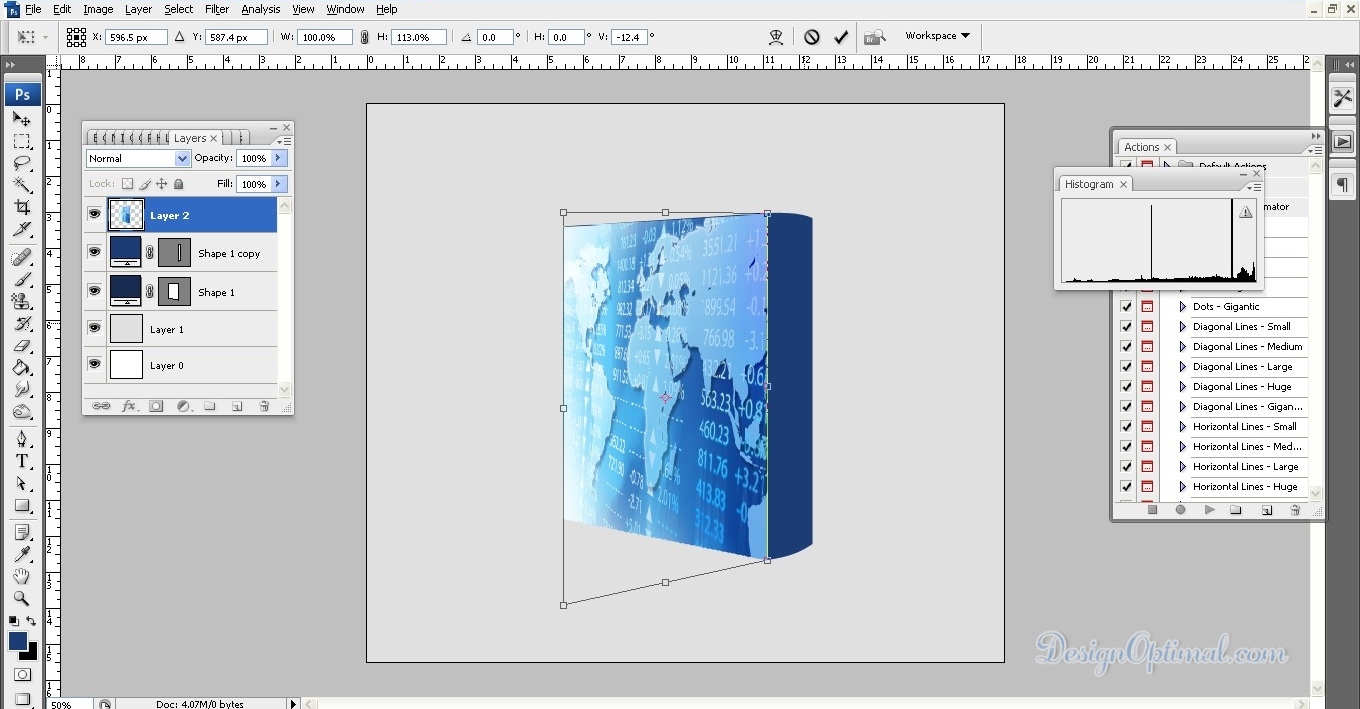
Step 06
- Now do the same with the side panel of the software box and this time I used the shutterstock_5767431110. The process is shown below.
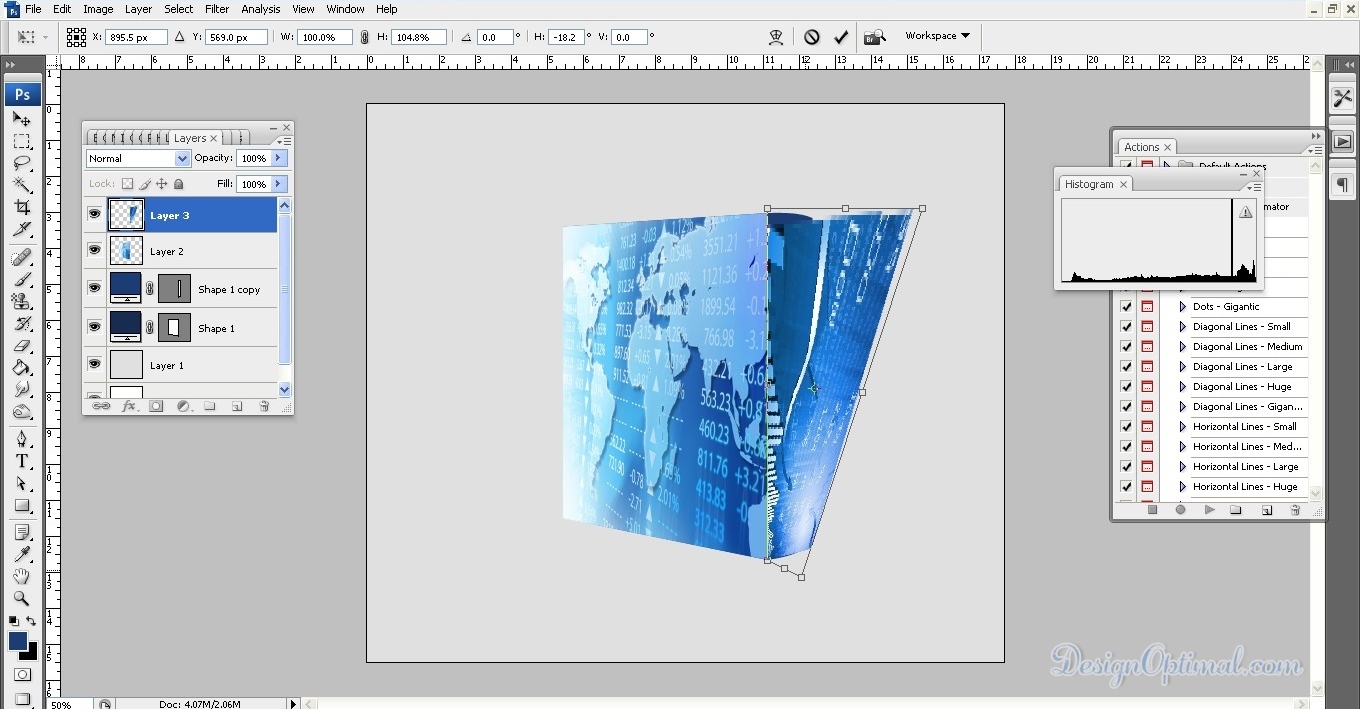
Step 07
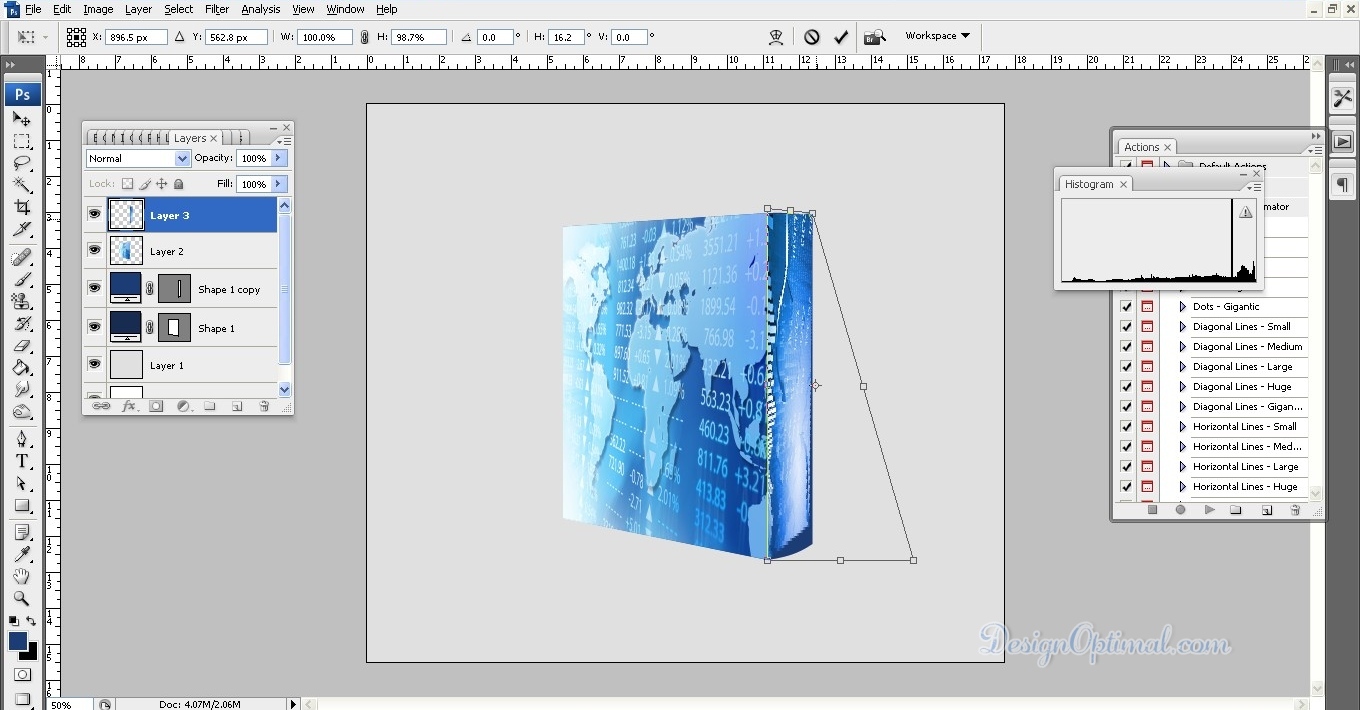
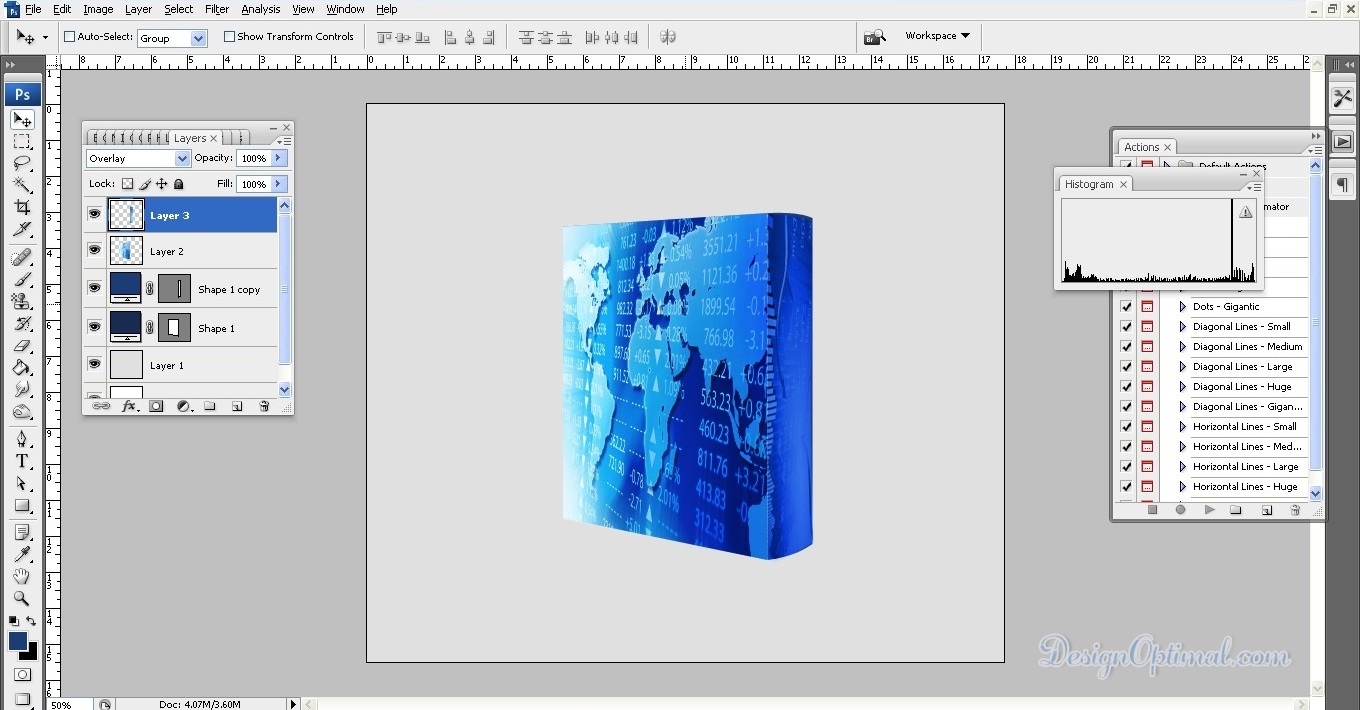
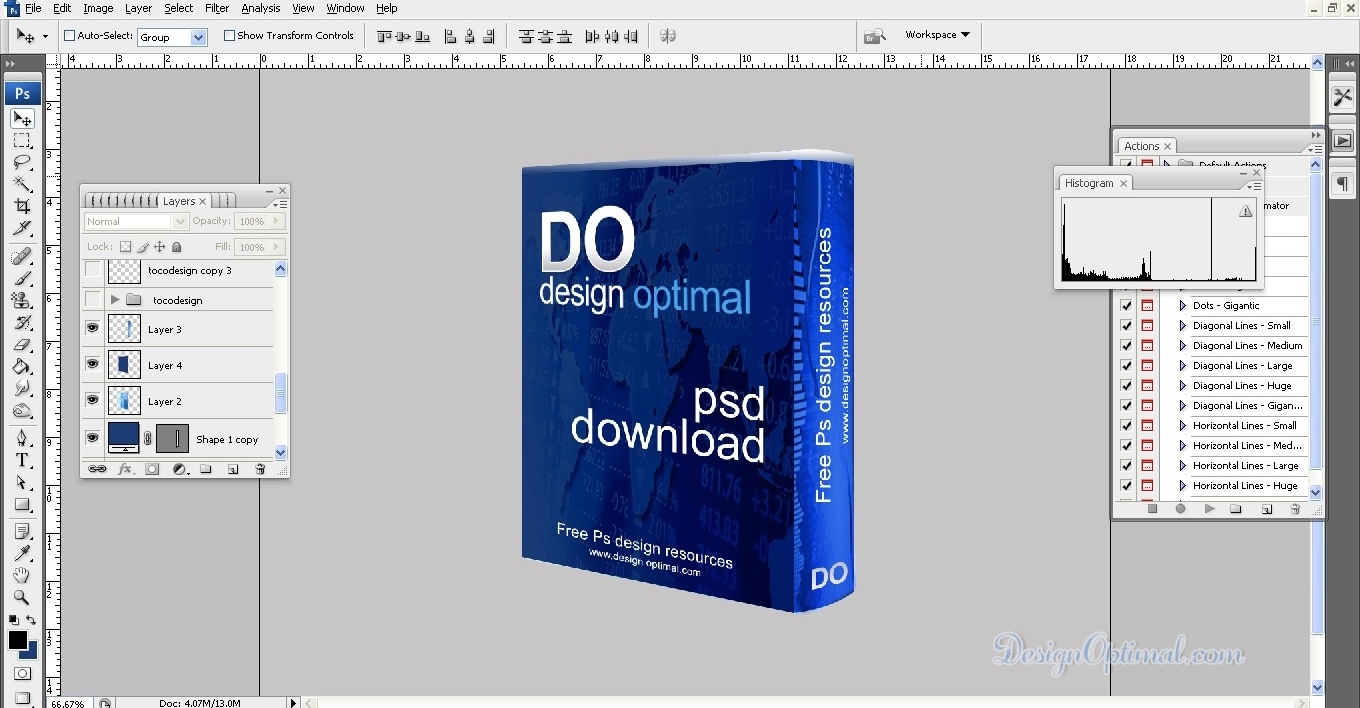
- Now change the front panel background blending option in to Hard Light and Side Panel background image in to Overlay then the result would be like this.
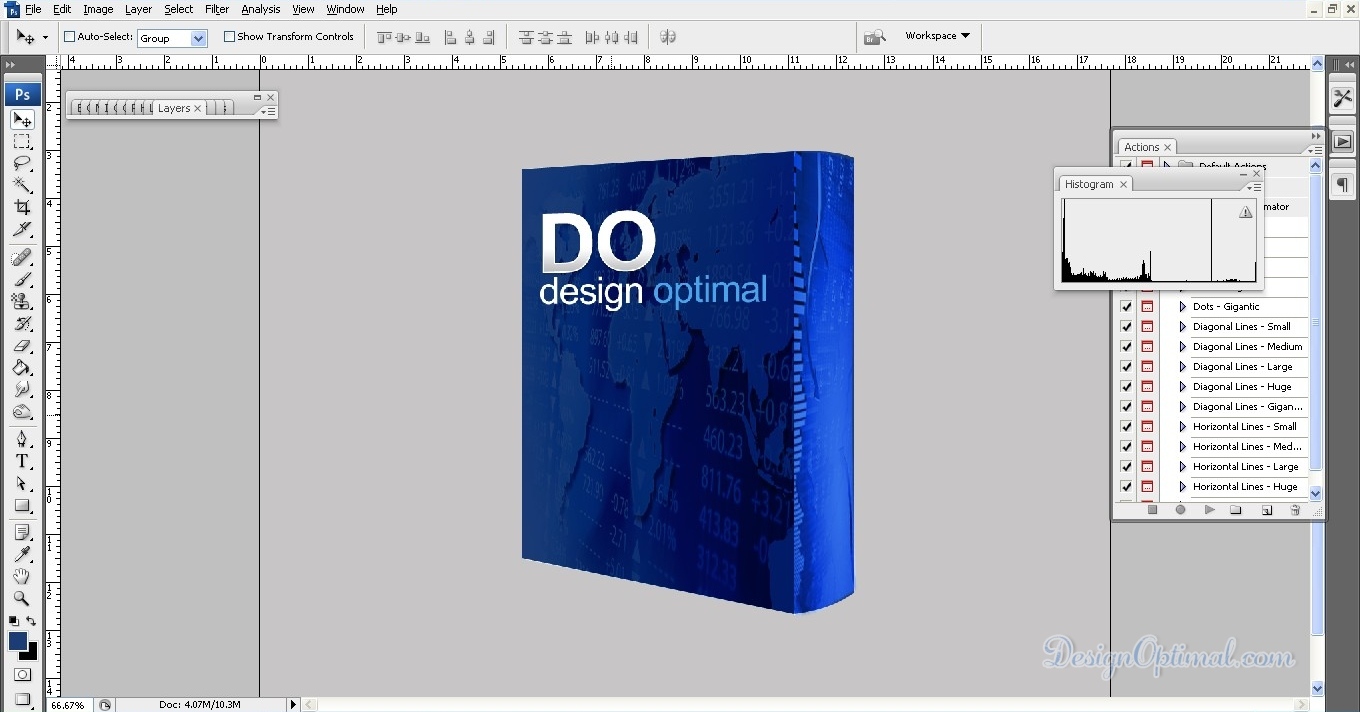
- Now add some text in order to make the box more attractive. We have added text “design optimal” as shown in the next images, the method I have used for this is the same technique I used for adding the background images. Type the text that you need and transform it using the distort command in to the shape angel that you need. I have shown in the next images how it has done.
- However, to make the front and side panels’ background images bit darker, I have duplicated the mapped images and changed the blending option in to multiply and reduced the transparency for around 50%.


Step 08
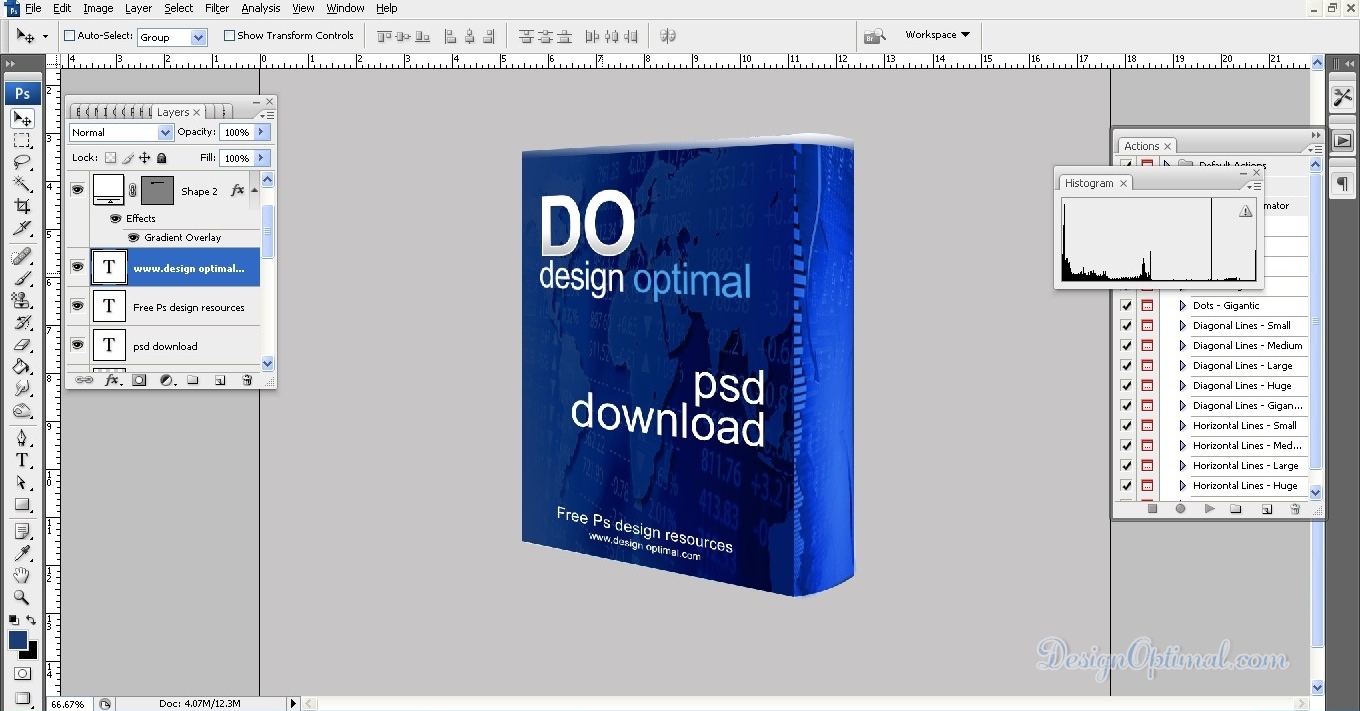
- Now do the same with the other text that I have used in this tutorial or any other text that you wish to use when you are doing this. I have used the psd download text and used the same technique in placing it. I have shown the completed image below.
Step 09
- Now to add some padding to the top part of the box. I have drawn a shape and added a gradient to it.
Step 10
- Now to add some text to the side panel. I used the “DO”, “Free PS Design Resources” texts and the web address for this. Type the text, rotate it, and place it in the places as shown in the next images.
Step 11
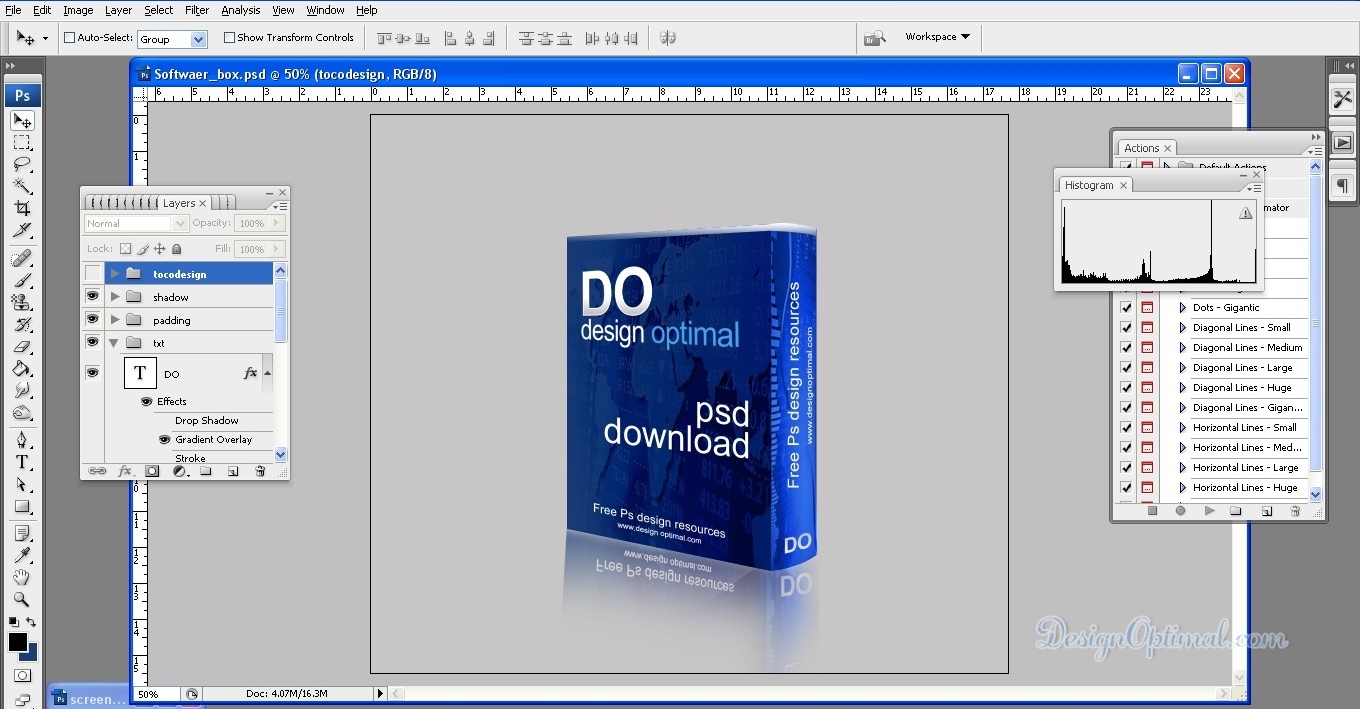
- Now you have got yourself a nice 3D Software box. If you still need to add bit more deal to the design, you can use to add a shadow to the bottom of the box as shown in the next image.
- To add this shadow, select only the layers with the designs. Now merge the all the layers. Then press Ctrl+T to transform it and again by giving the distort command, drag the merged artwork right down the original artwork. Then take the eraser tool and select a brush size bit bigger and erase away the unwanted parts keeping only the areas that has been shown in the below reference image.
- If you think, the shadow is not in proper position, resize it and use Distort effect or Skew effect by right clicking the image and adjust it to the proper position. Its bit tricky, but if you play around with the shadow for some minutes you will get an awesome shadow as if the box were on some solid object 😉
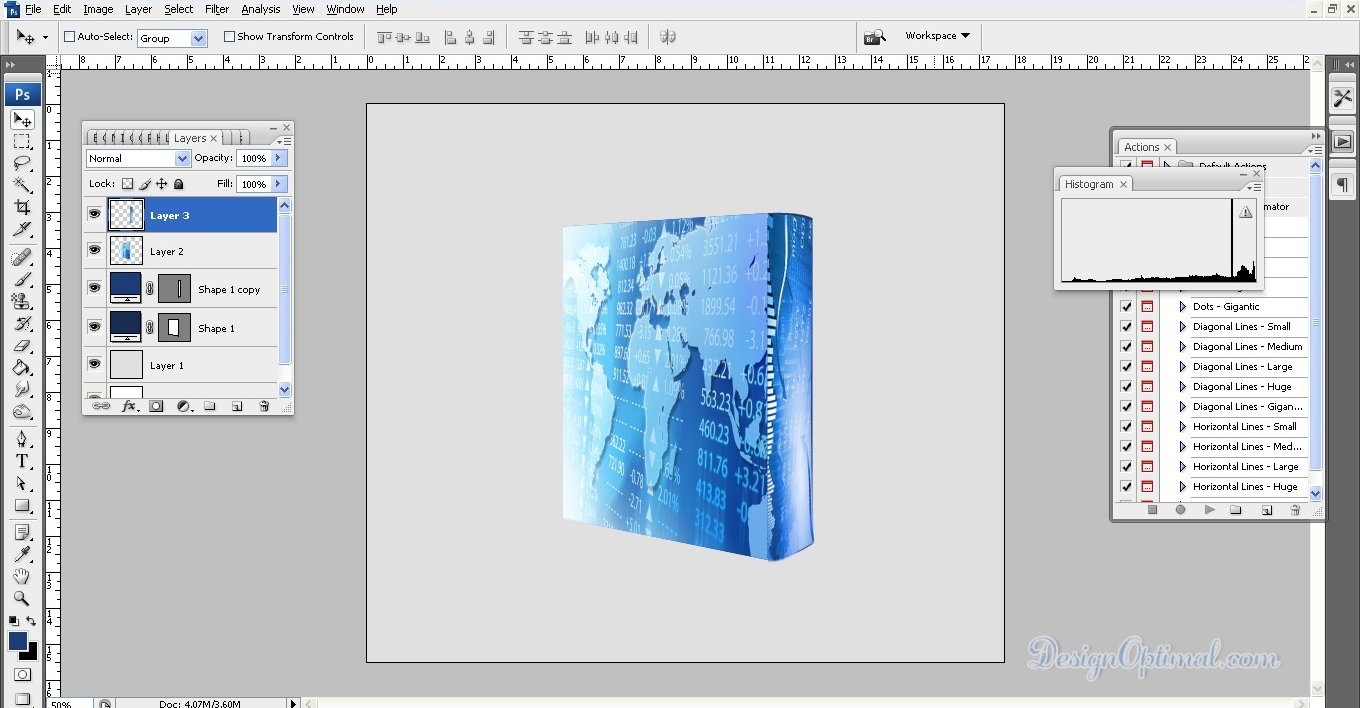
Step 12
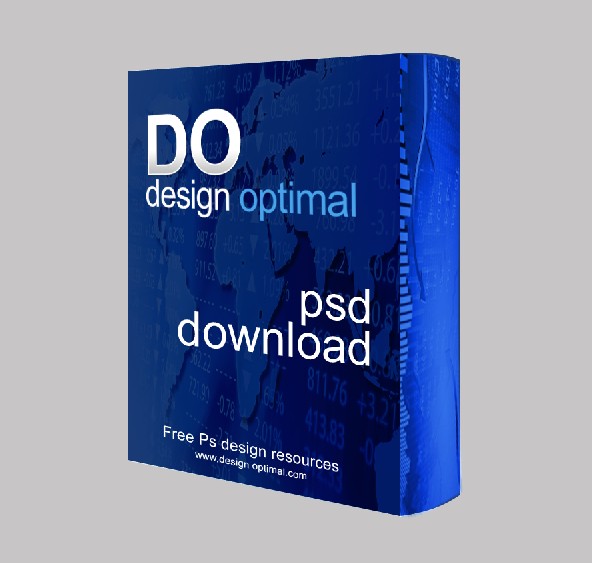
- Now this will be the final outcome of the Software box.