Hello Guys, nice to see you all again joined with our weekly tutorial. Today we are going to show you how to create an awesome Typography using Adobe illustrator & Adobe Photoshop.
The idea is very simple. We used some stock photos and a very blocky typeface. Instead of spending my time looking for the perfect font, I decided to create it in Illustrator. So the first steps, we will show you how to create the font, then we will show you how to mix that with the photos.
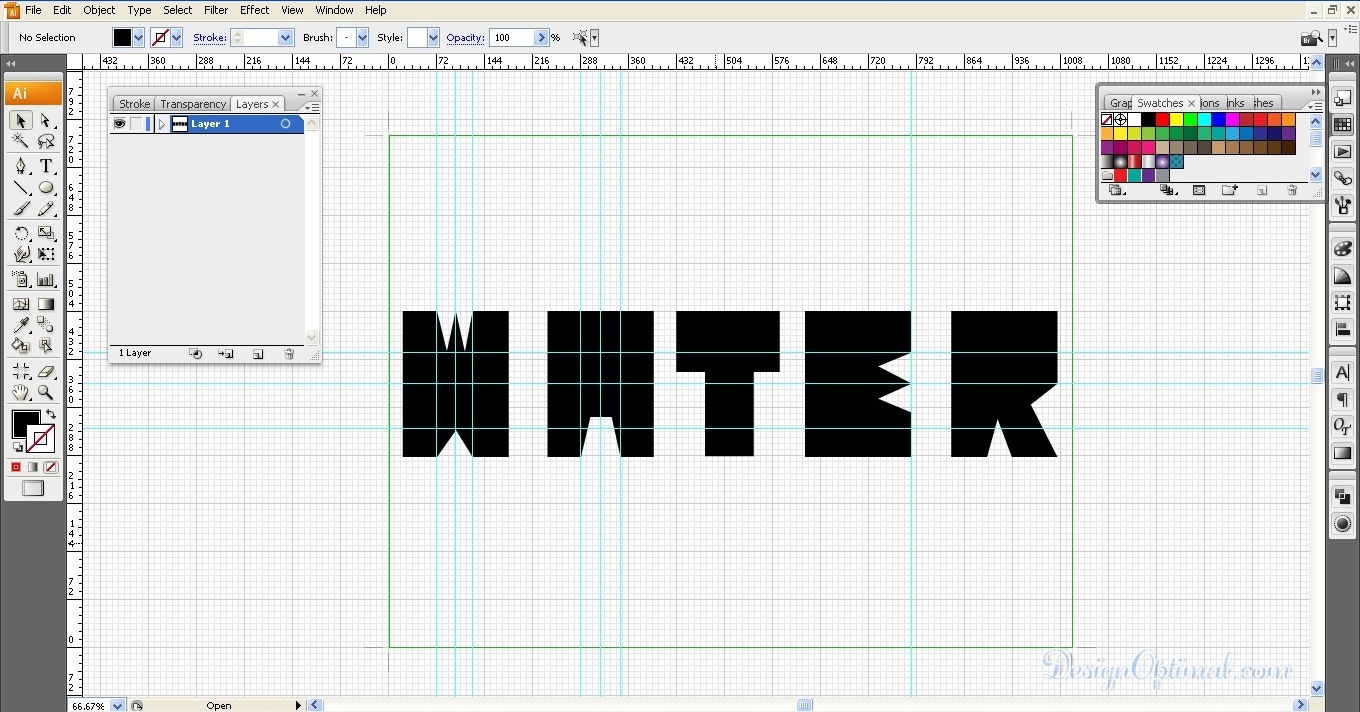
Step 01
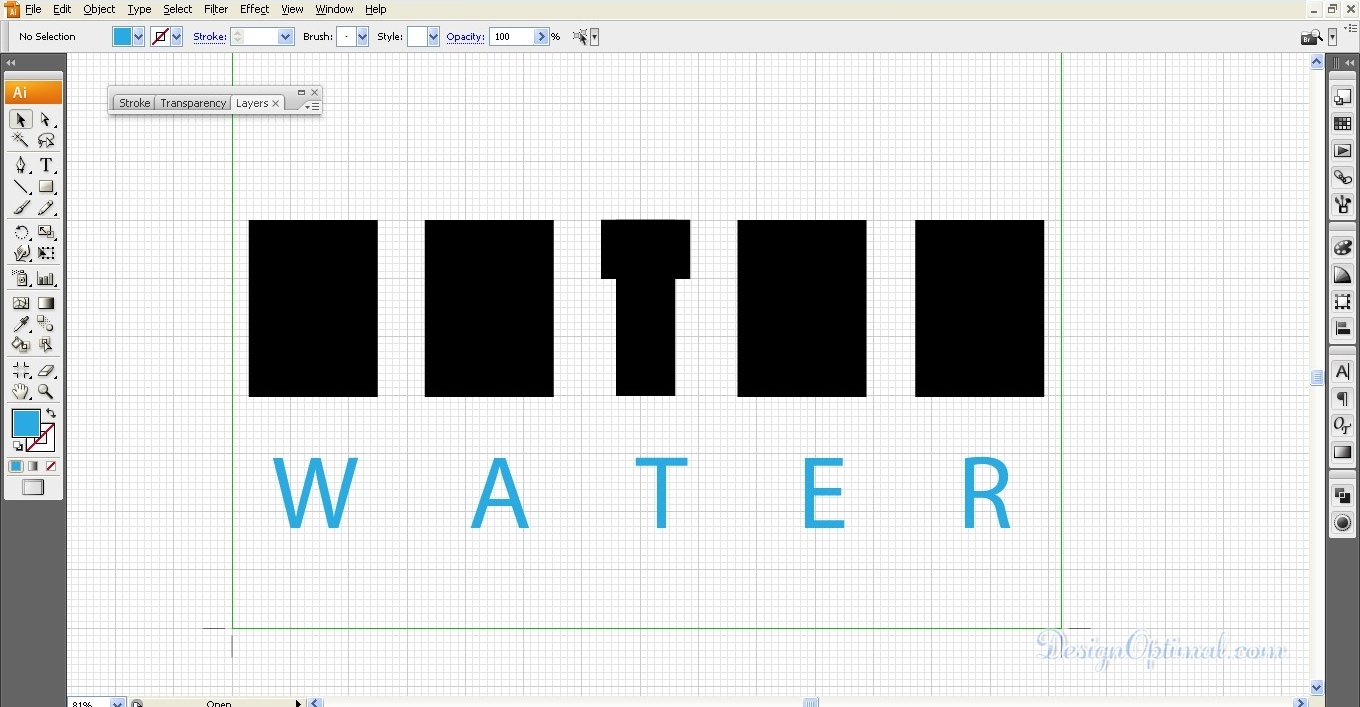
- Open Adobe Illustrator and create a new document of 1024px x768px, and make it a Landscape mode save it as Water typhography.ai. Now go to View>Show Grid. Then select the Rectangle Tool (M) and create squares like the image shown below. The idea is to create WATER word using rectangles.
Step 02
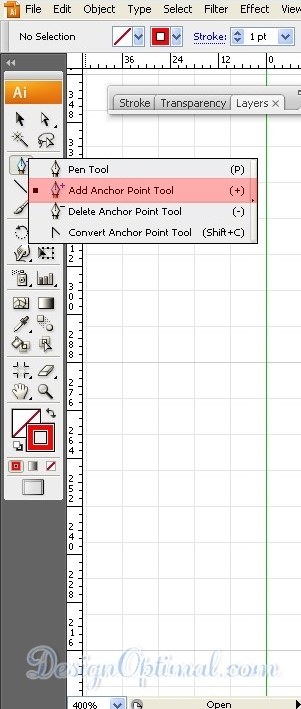
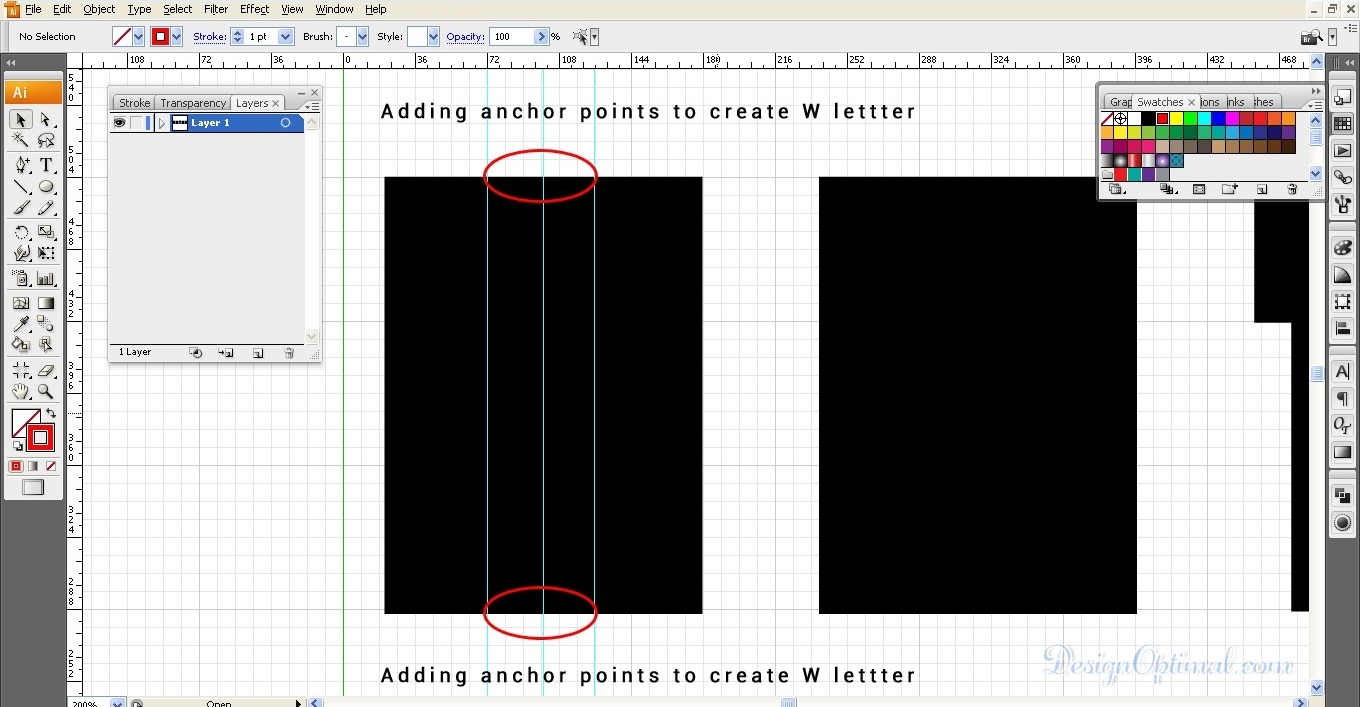
- To create the “W”, select the Pen Tool (P) and further select the add Anchor point options.
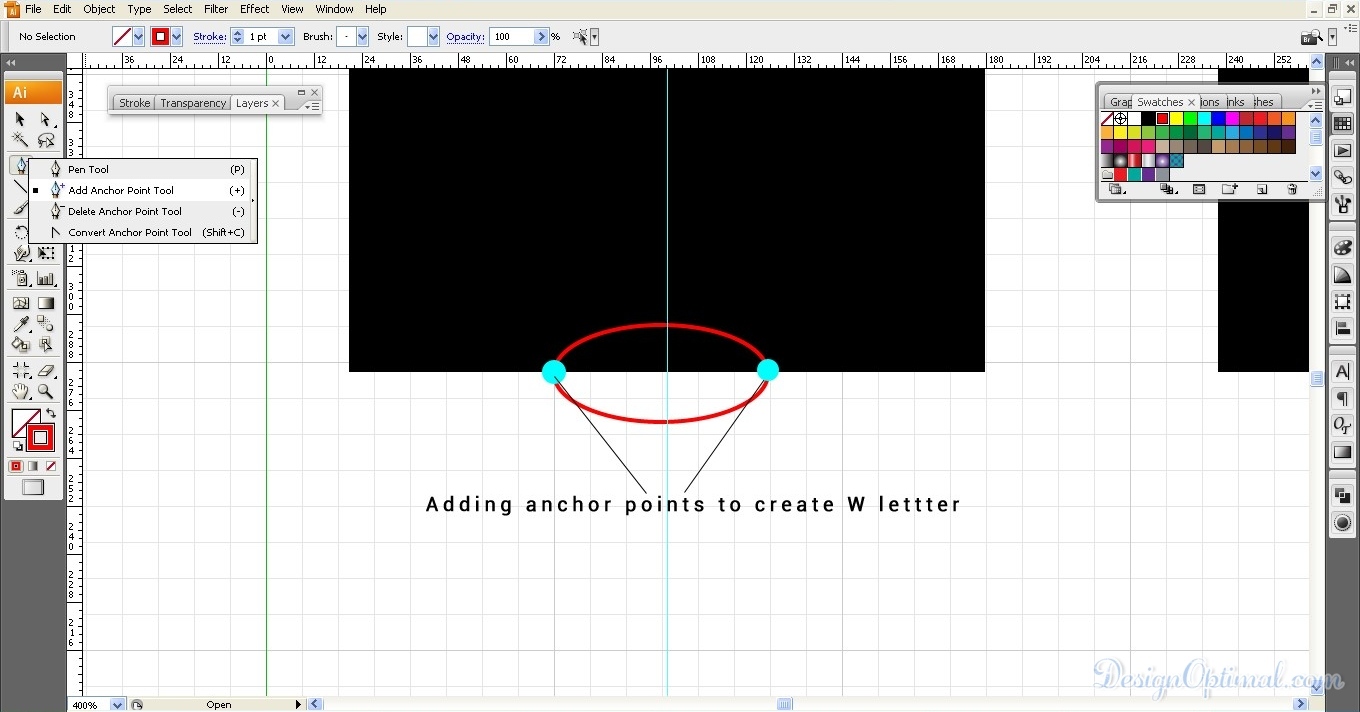
- Then add 2 points, 2 blocks away from the center, as shown in the below image. Do the same by adding new points to the top part of the rectangle that you’re using to make the “W” letter.
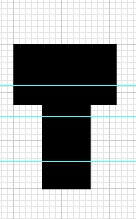
Step 03
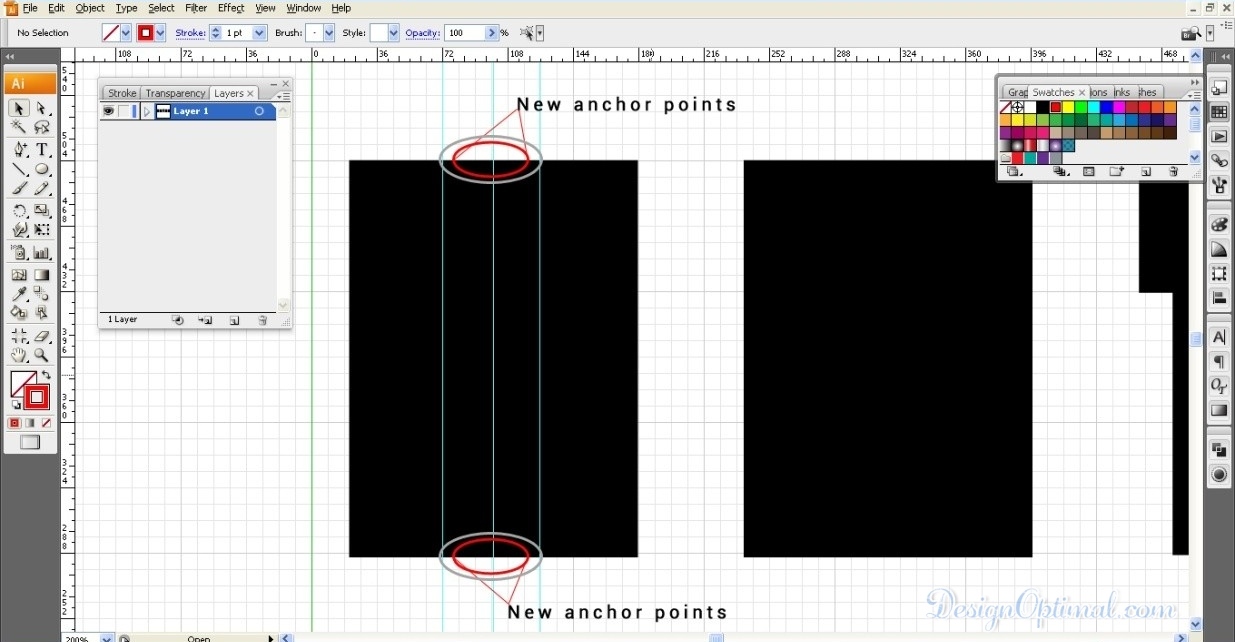
- Now make another two anchor points using the same tool in order to complete the “W” letter, as shown in the image below.
Step 04
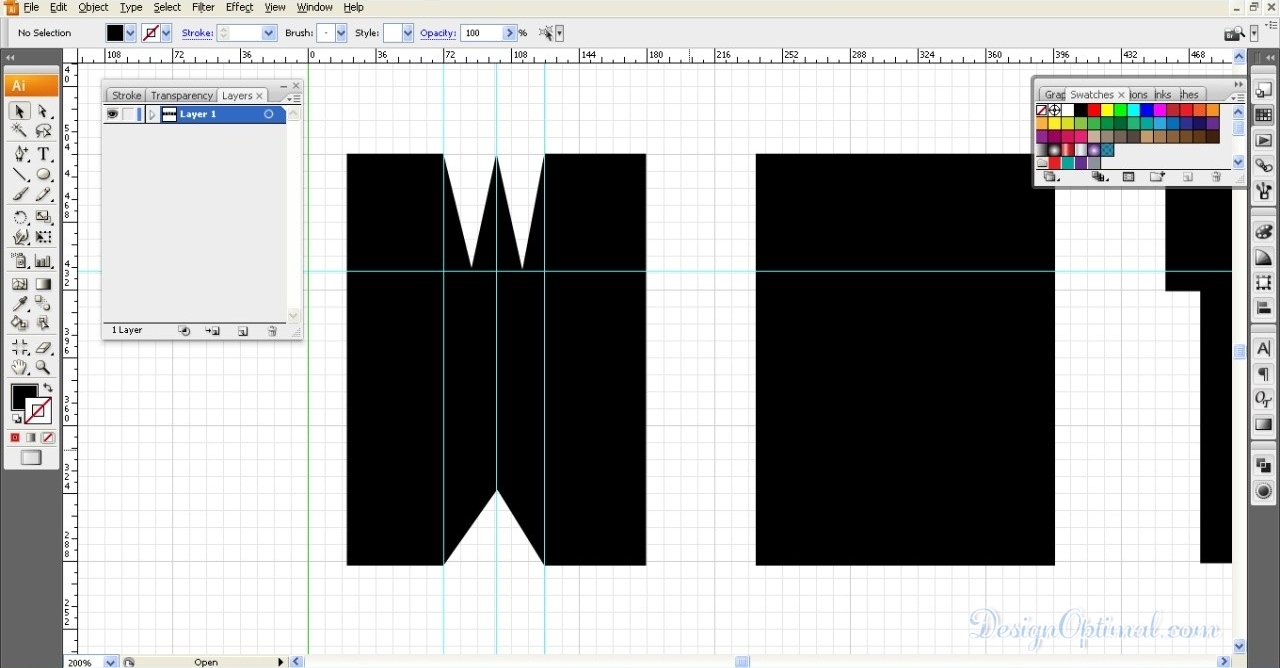
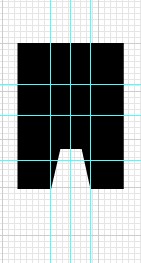
- Now move the anchor points to the correct positions in order to make the “W” letter. For this, use the direct selection tool as shown below, and position the anchor points as shown in the image.

Step 05
- For the other letters, it is pretty much the same. Use the Pen Tool (P) and use the same technique we used for the W. Use the images below for references.
Step 06
- Now open Adobe Photoshop make a new document. I used 1920×1200 pixels for the size. Then copy the letters from Illustrator and paste them in Photoshop. Each font has to be in one layer. The Background will be black and the word will be white.
Step 07
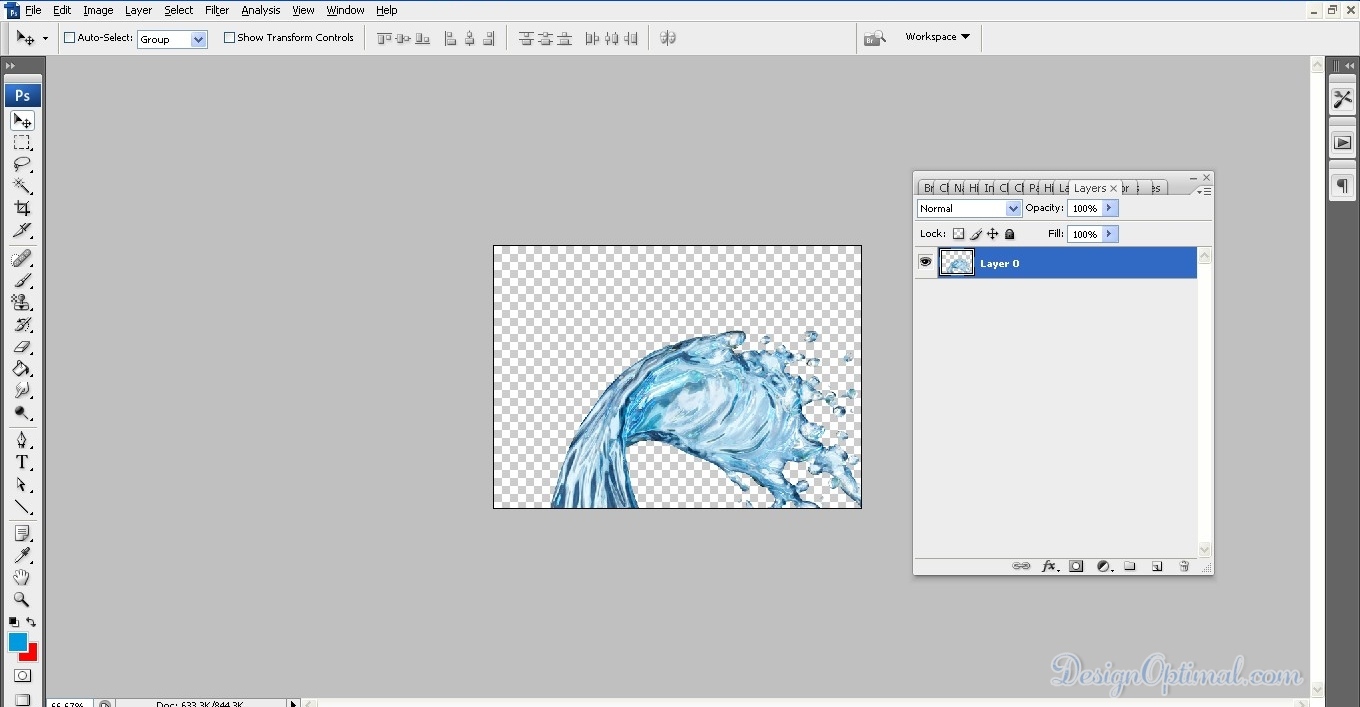
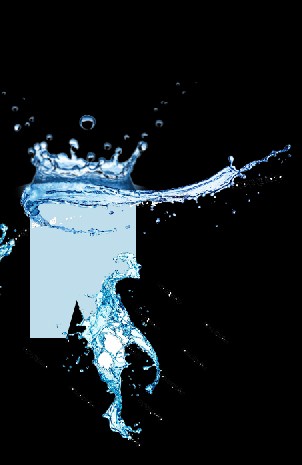
- To create the Water splashes we have used some stock photos (included in the project files at the end of the tutorial or else you can search for similar images on the internet). Now to use some of the creative juice that you have got. Now use the water splashes that has been supplied with the tutorial, remove all the backgrounds of them and place them as shown below .for the letter “W” its going to be like this.
Step 08
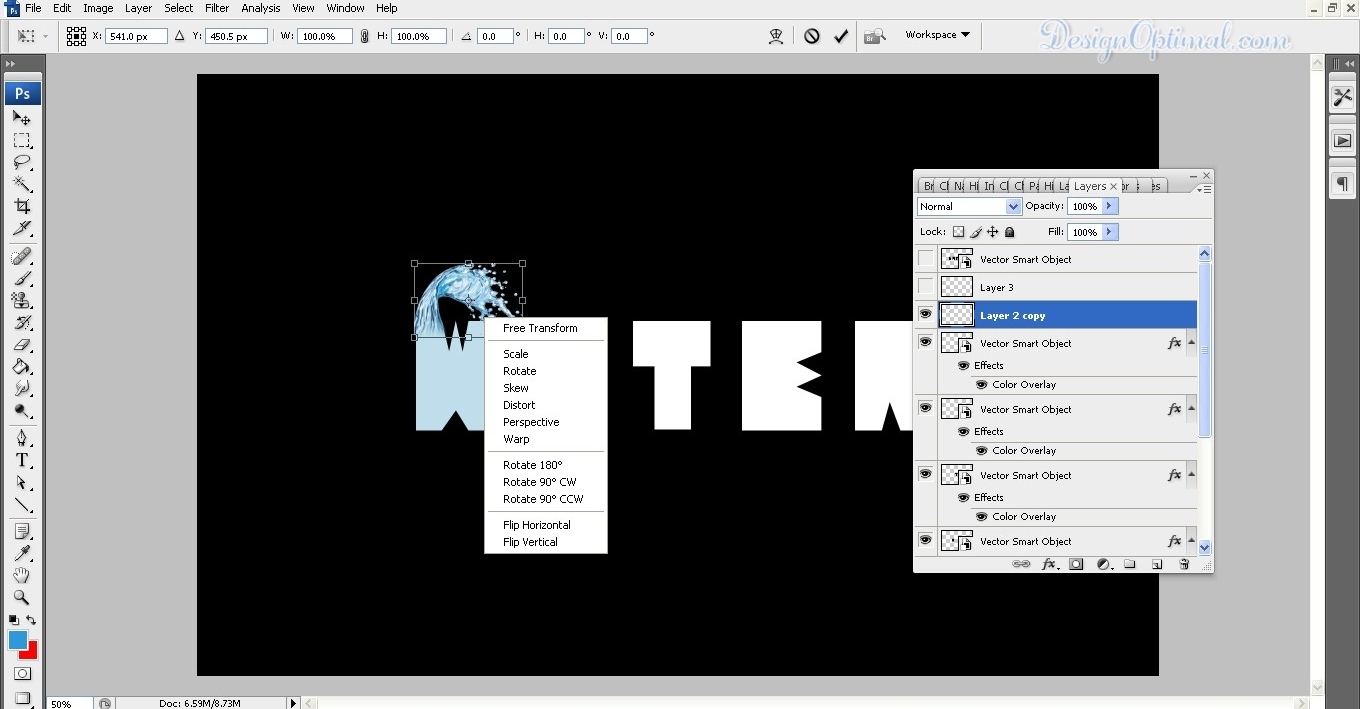
- Change the “W” letter color in to light blue color and place the water splash as shown in the image below. To make the water splashes more connected to the shape of the letter, you will have to use the distort and wrap commands by right clicking on the images.

Step 09
- Now to create the letter “A”, it’s going to be like this as shown in the below image. For this, use a different kind of a splash from the resource images that has been given in the project files.

Step 10
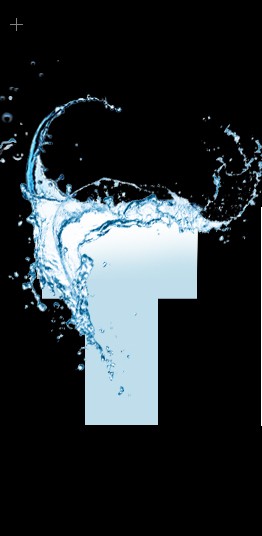
- Now to create the letter “T” use same technique that we used for the previous letters, make sure to use different kind of splash for each letter in order to make the graphic more eye catchy and each time use the distort and wrap commands to make the splashes more connected to the text.
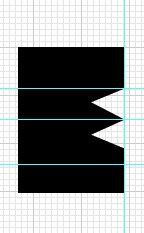
Step 11
- Now to create the letter “E” uses same technique that we used for the previous letters and make sure to use different kind of splash as the image shown below.

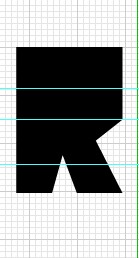
Step 12
- Now to create the final letter “R” uses same technique that we used for the previous letters and make sure to use different kind of splash as the image shown below.
Step 13
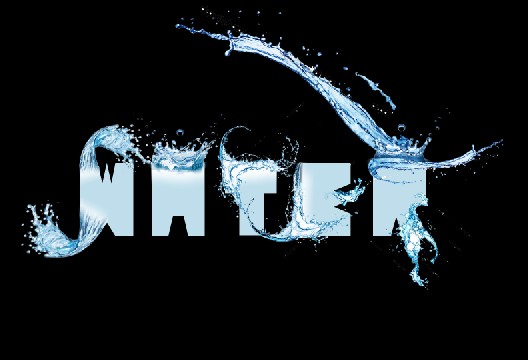
- Now to do some final touch ups for the text with the splashes, see the image below.
Step 14
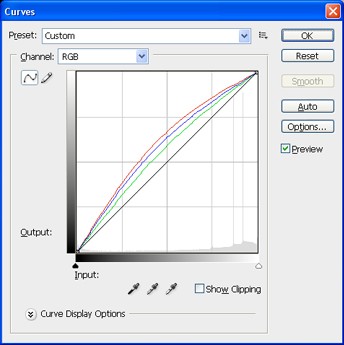
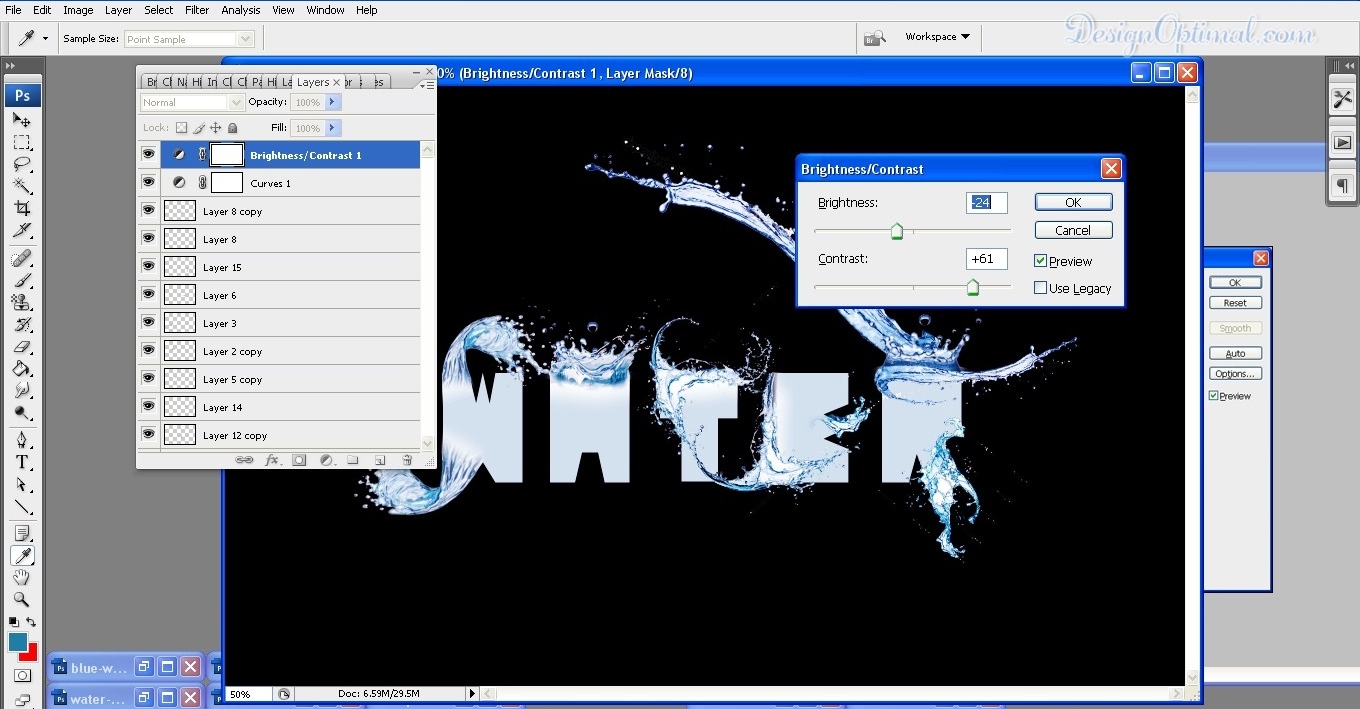
- Now to finalize the text with splash effect, we will try to use some color enhancements. For this, add edit curves option and the brightness contrast option from the layer pallet effects. Refer the settings as shown on the images given below.
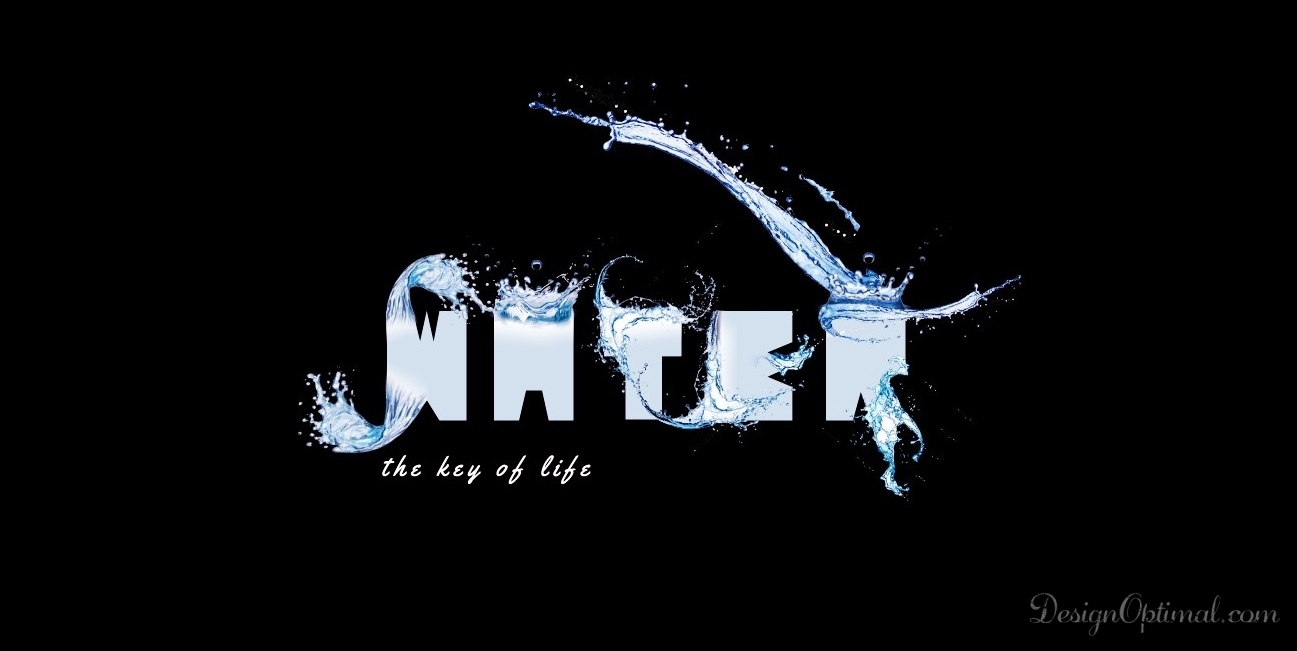
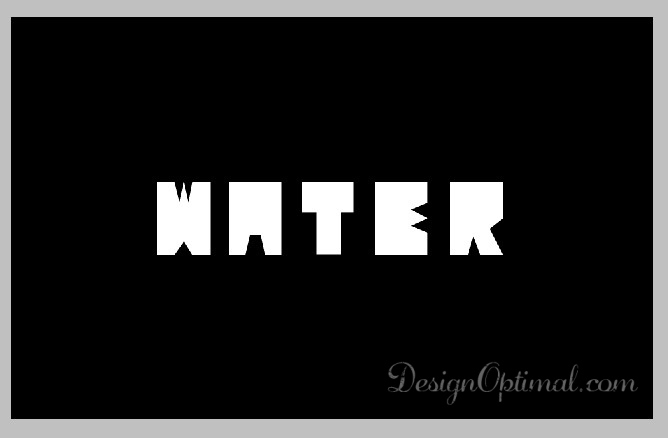
- Here, below image will be the final outcome of the typography effect adding to the text. You can add more splashes or try different colors. Basically, the idea is to learn here, how to mix the splashes with the vector text and make them look real.