Hello!! Thanks for joining with us again, here today we will show you how to make a creative flowery photo manipulation that you can be using these kind of effects and concepts in advertising area. Mainly you can use these kind of sceneries in jewelry advertising, perfumes and luxury items.
So in this tutorial I will show you how to create a hand that been created with a bunch of flower petals and how to make the hand look like that it’s made out of petals.
Resources (all credits goes to original authors)
- Fonts Used :
- Images used :
Step 01
- Open Adobe Photoshop create a new document.
- The document size will be 1600 x 1200 for the size resolution 300dpi.
- Save it as larger than life .psd.
Step 02
- Now we will be using the stock image named request___hands___by_mariix_stock.
- Duplicate the layer make it hidden this will be needed if any of the selections that we make went wrong.
- Select the brown background only and remove it.
- Use the magic wand for the quick selection and remove the most of the background.
- Now as for the remaining areas select them from the pen tool and step by step remove those.
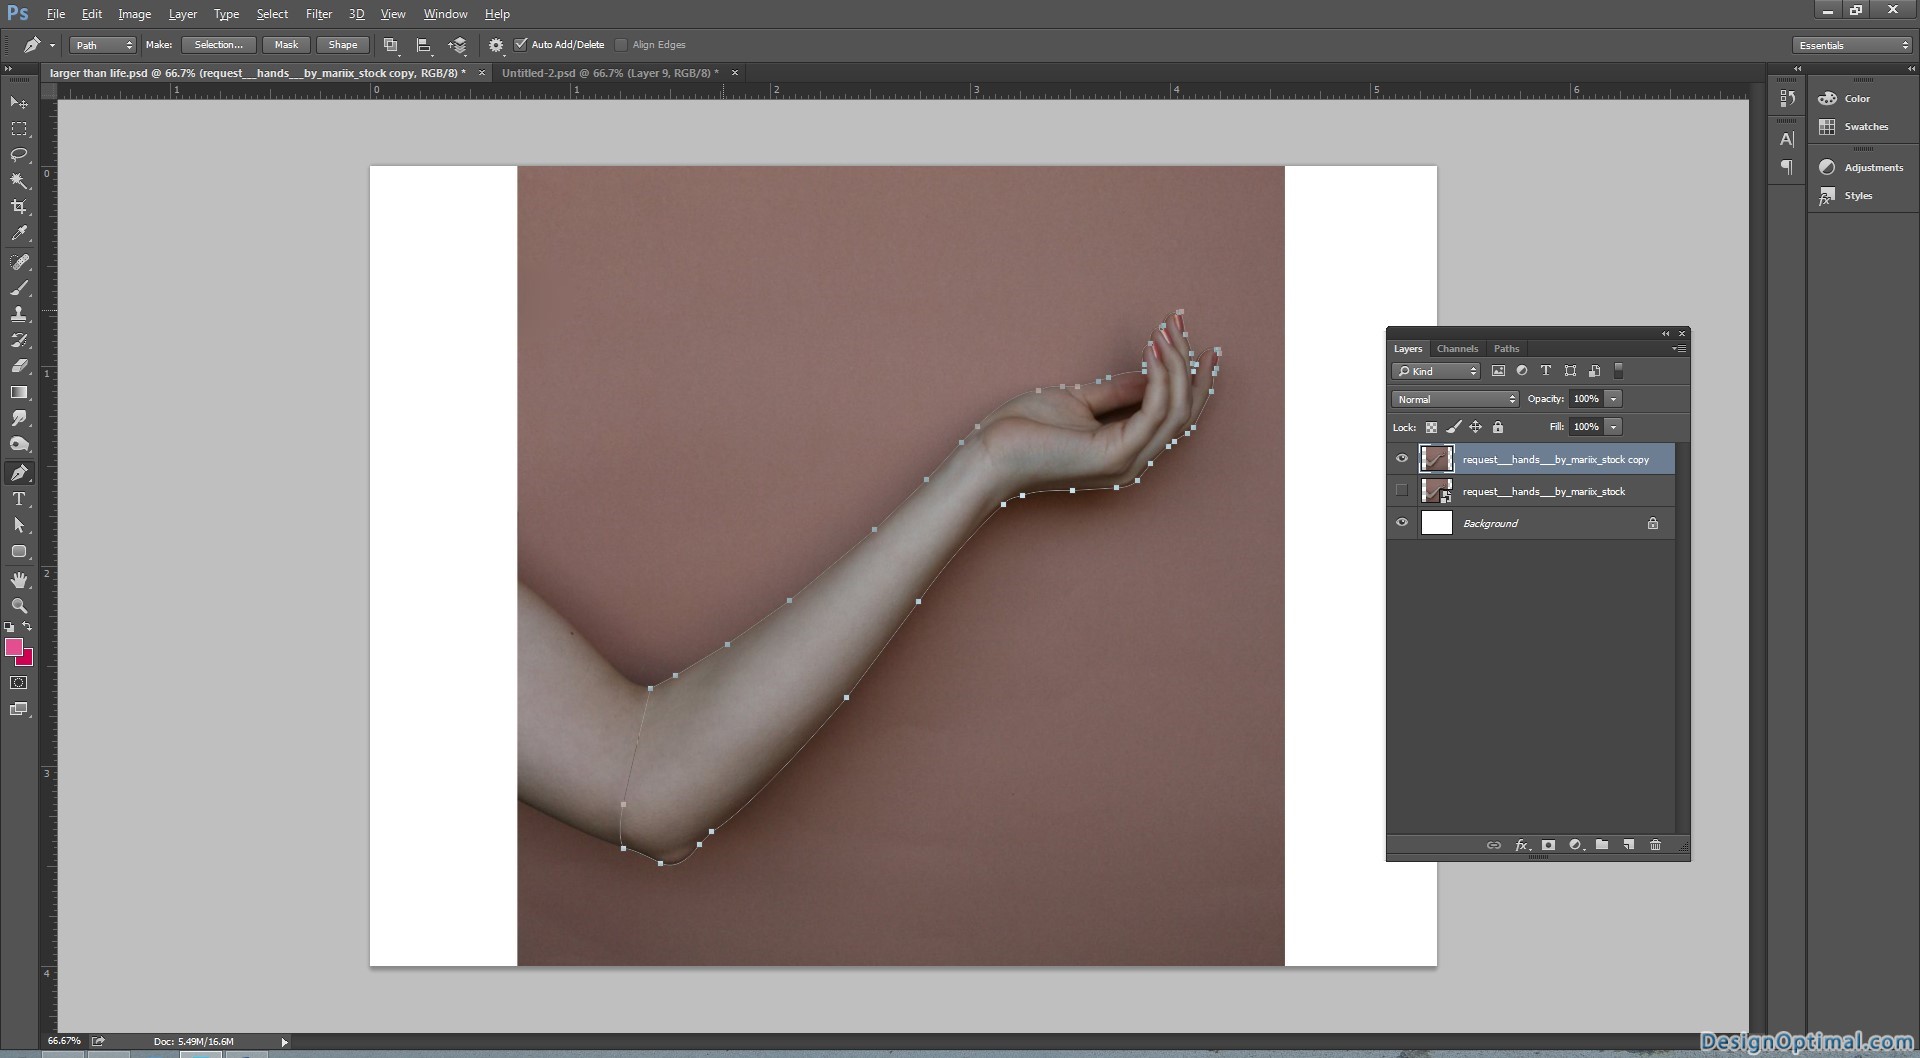
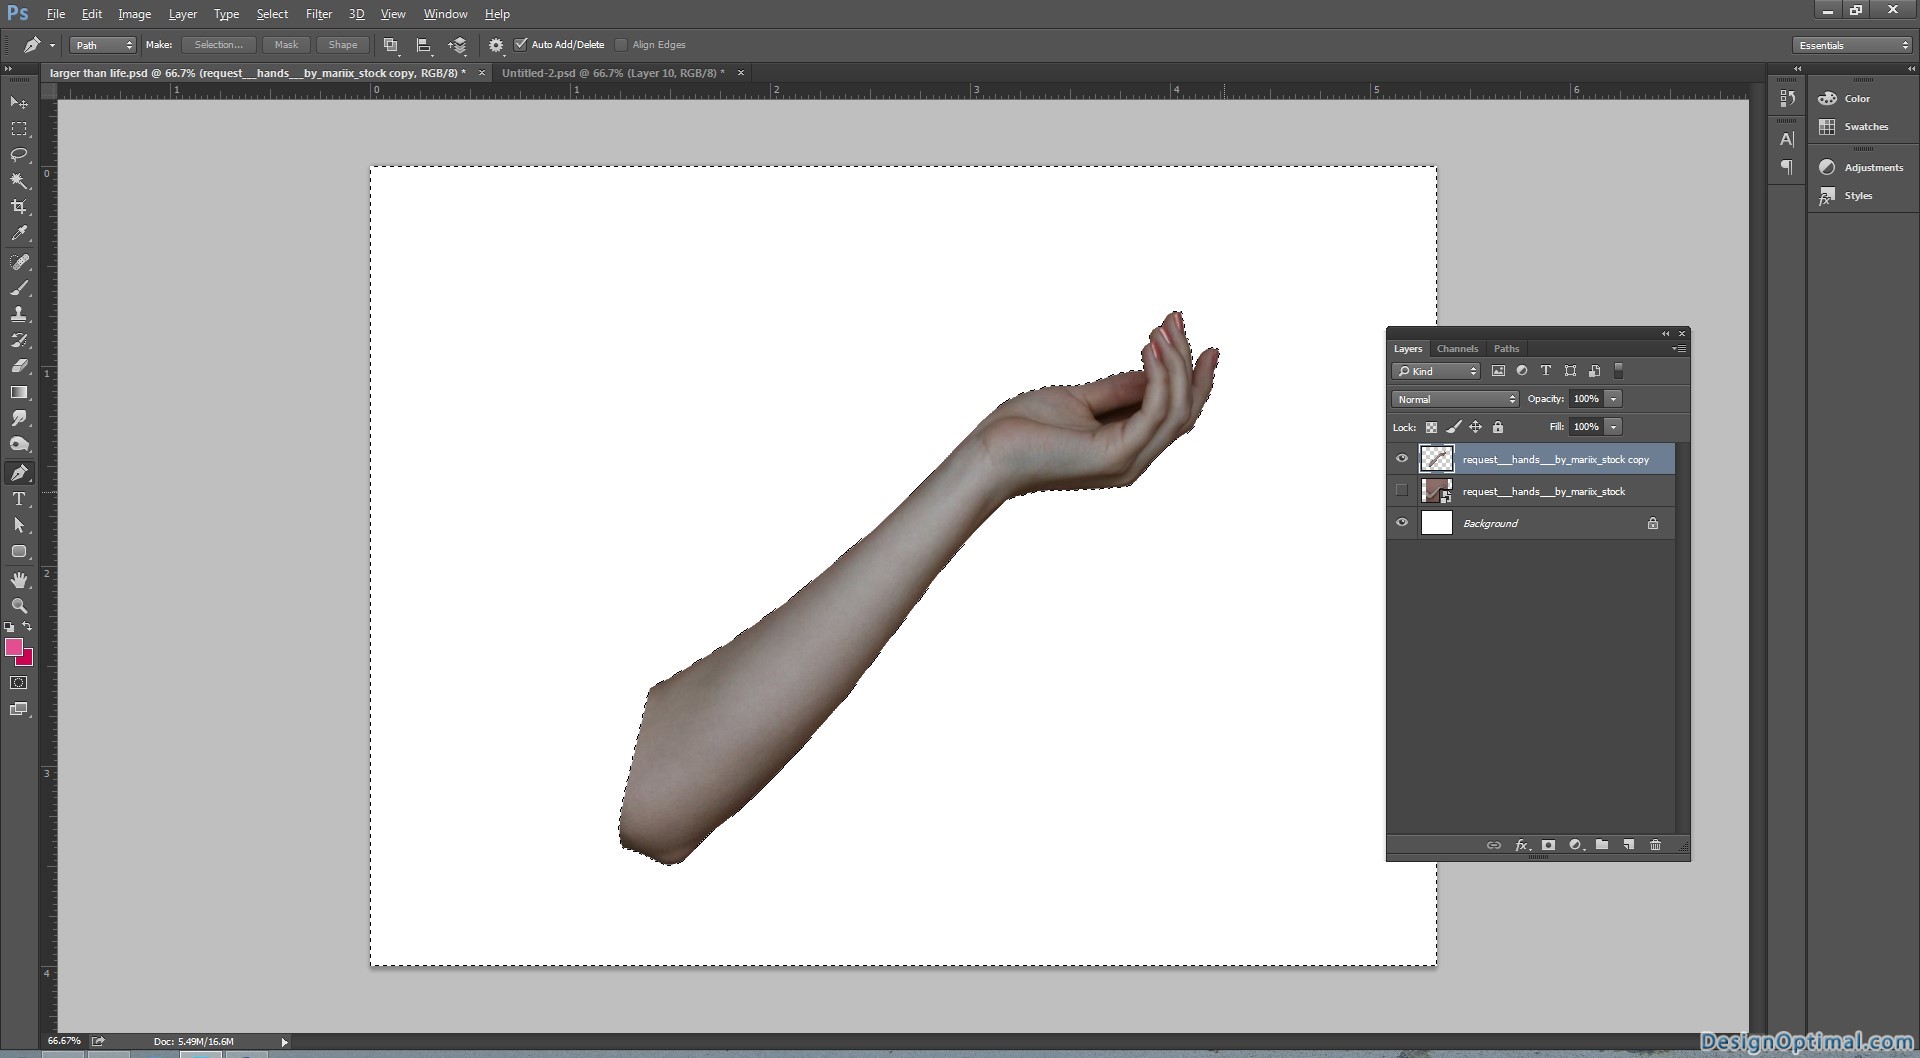
- After that use select > refine edges command and use the below mentioned values for that.

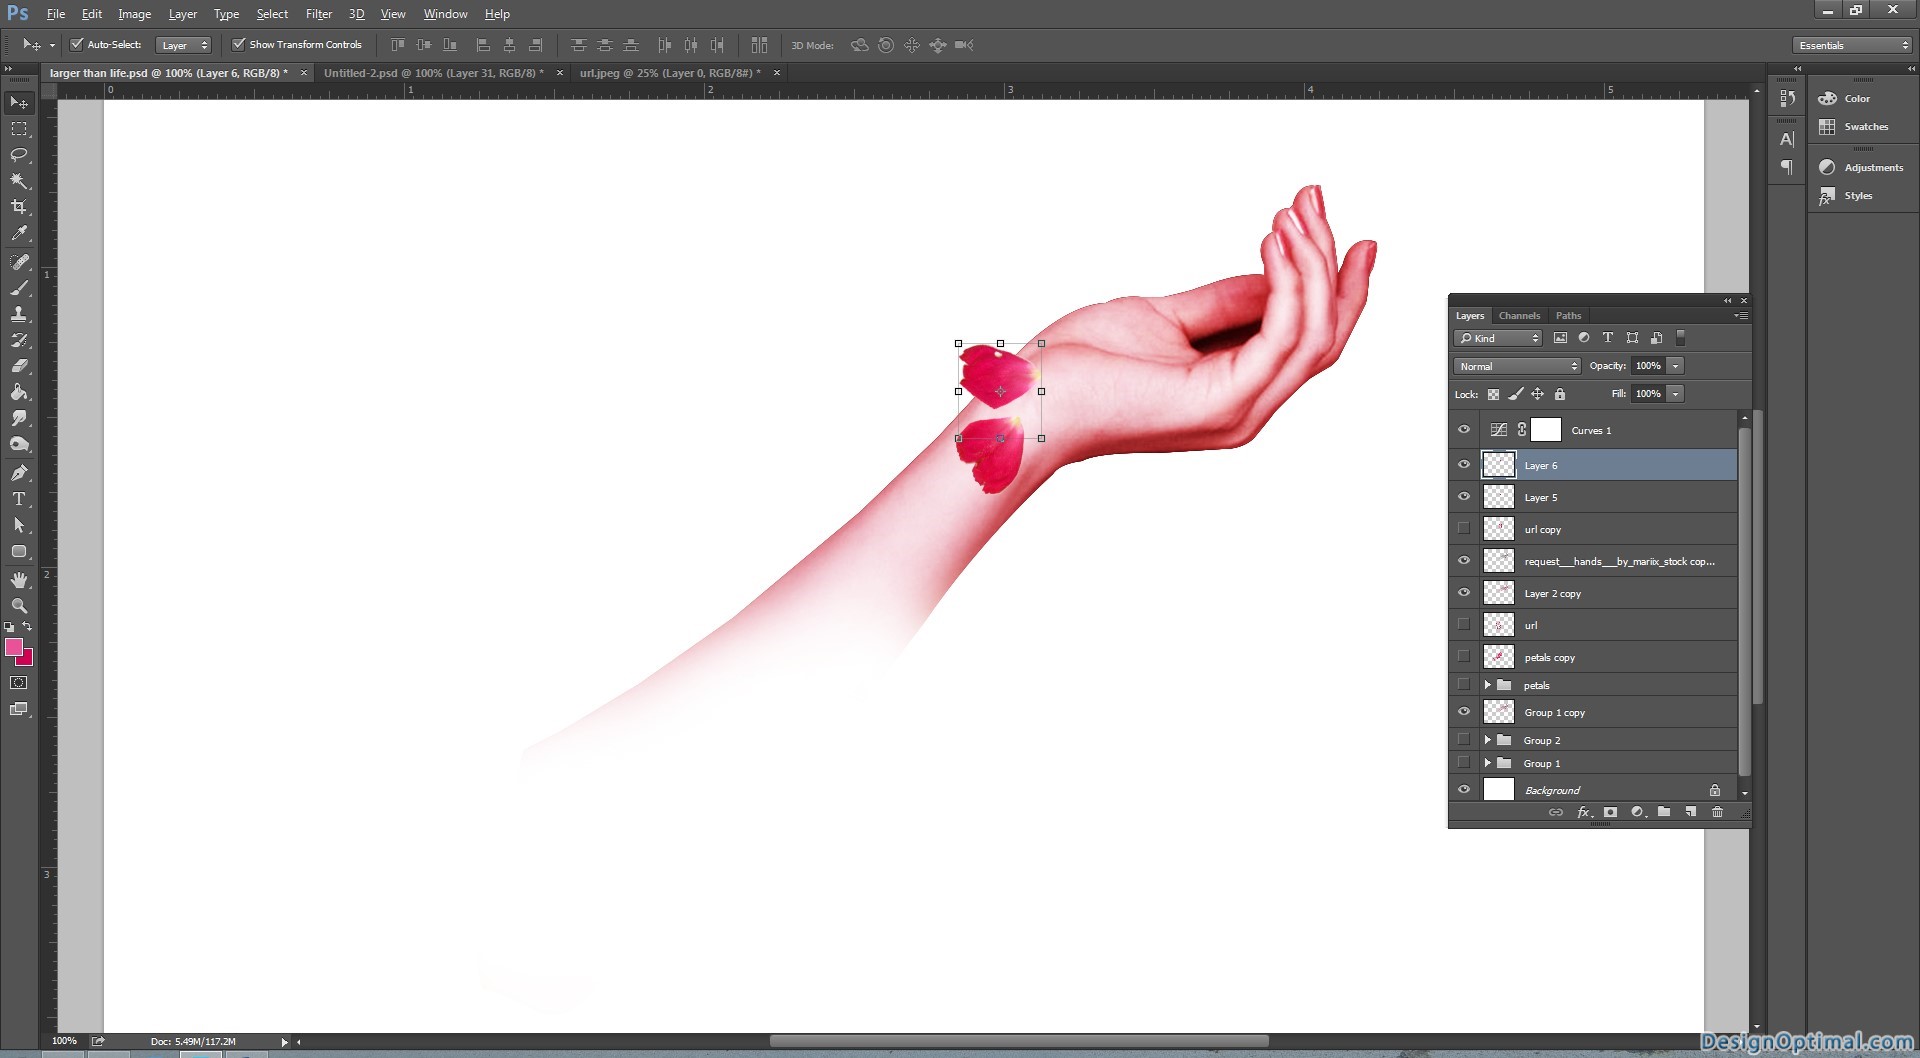
Step 03
- Now change the position of the hand as the next images shown below.
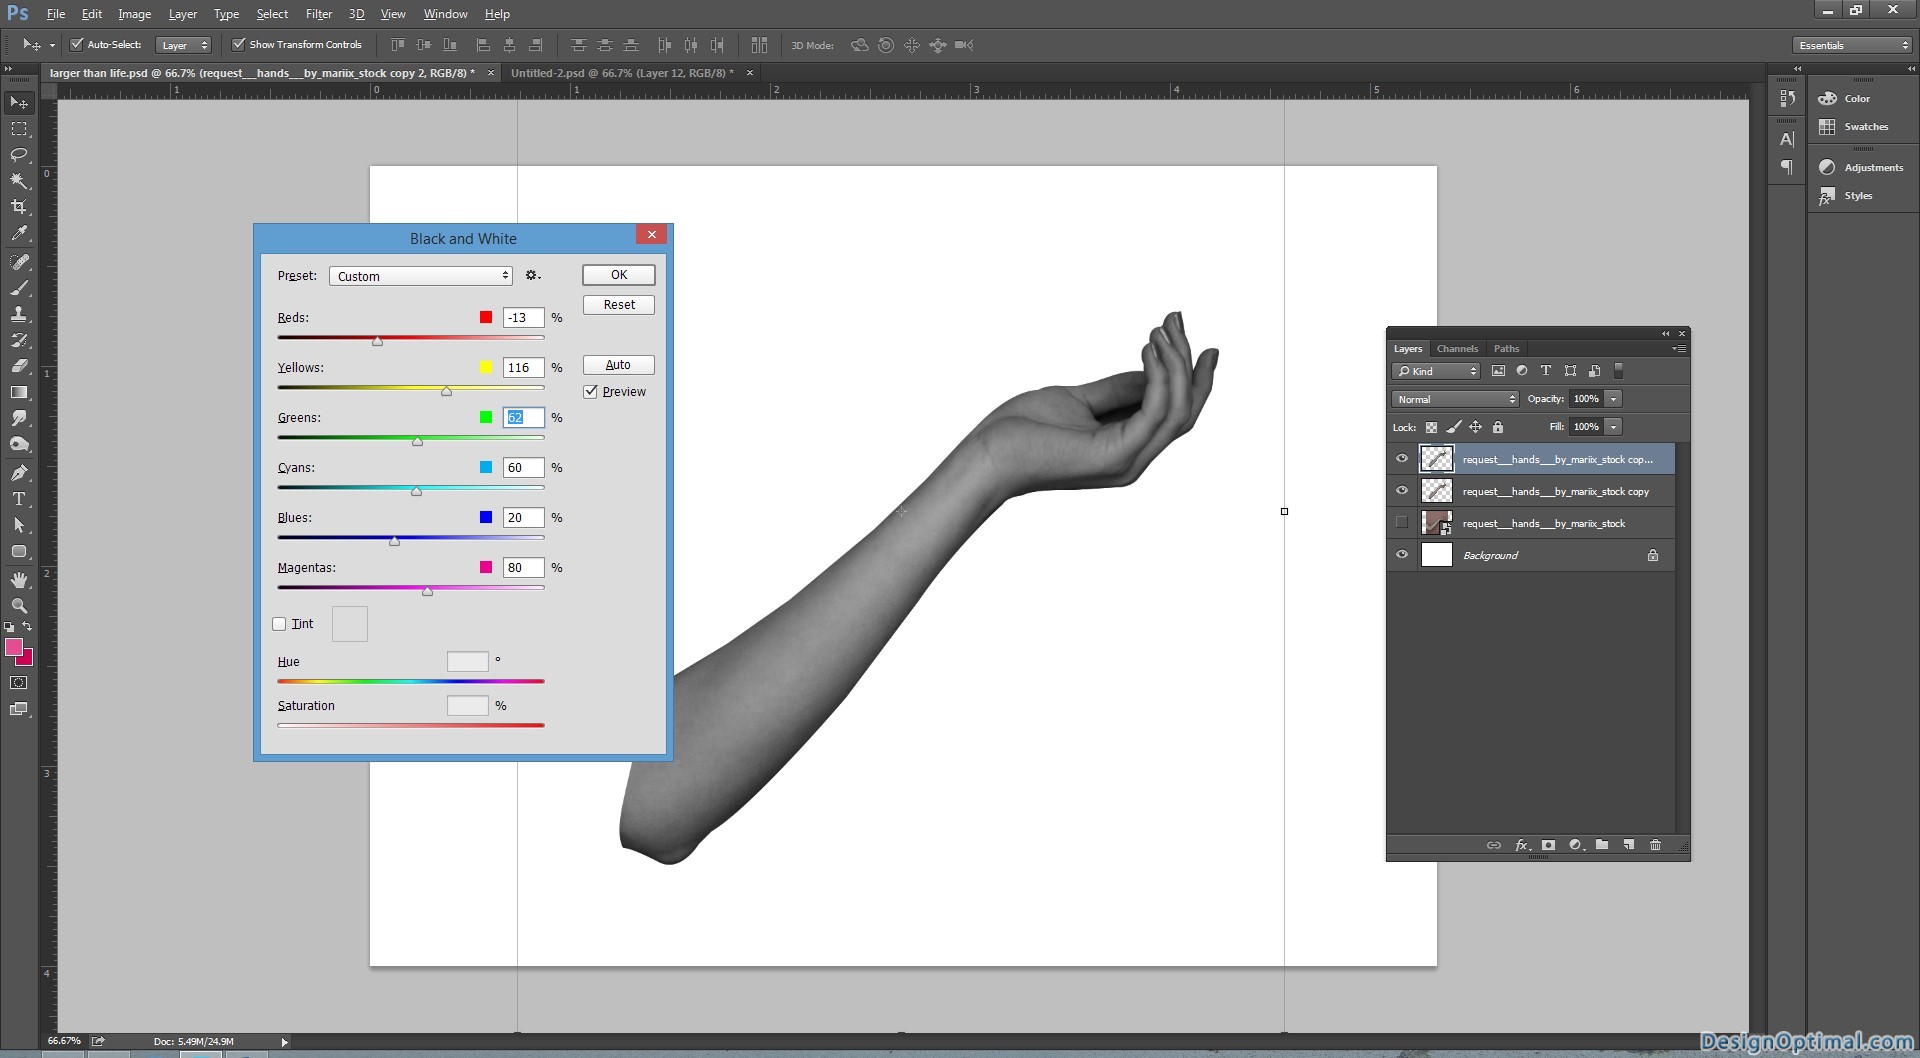
- Now for the next step we will duplicate the hand layer and change the color in to black and white.
- Then change the blending mode in to screen.
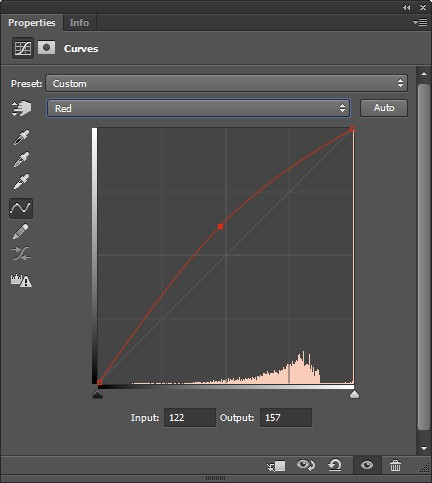
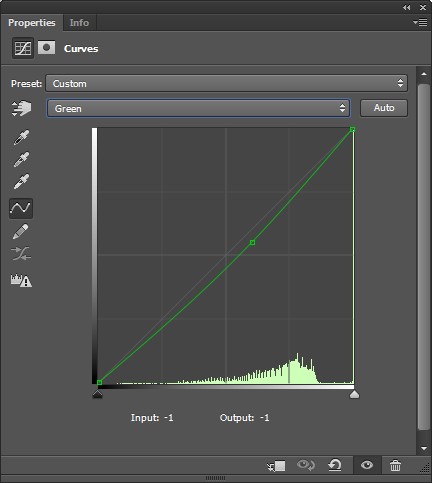
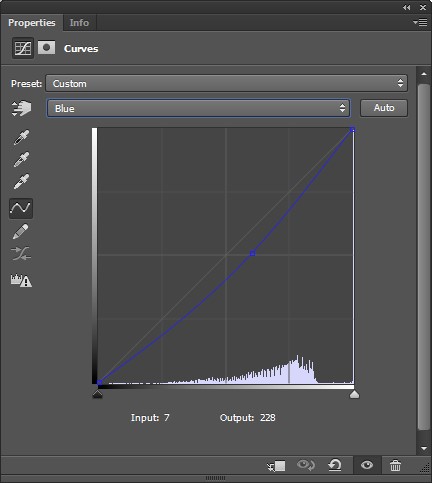
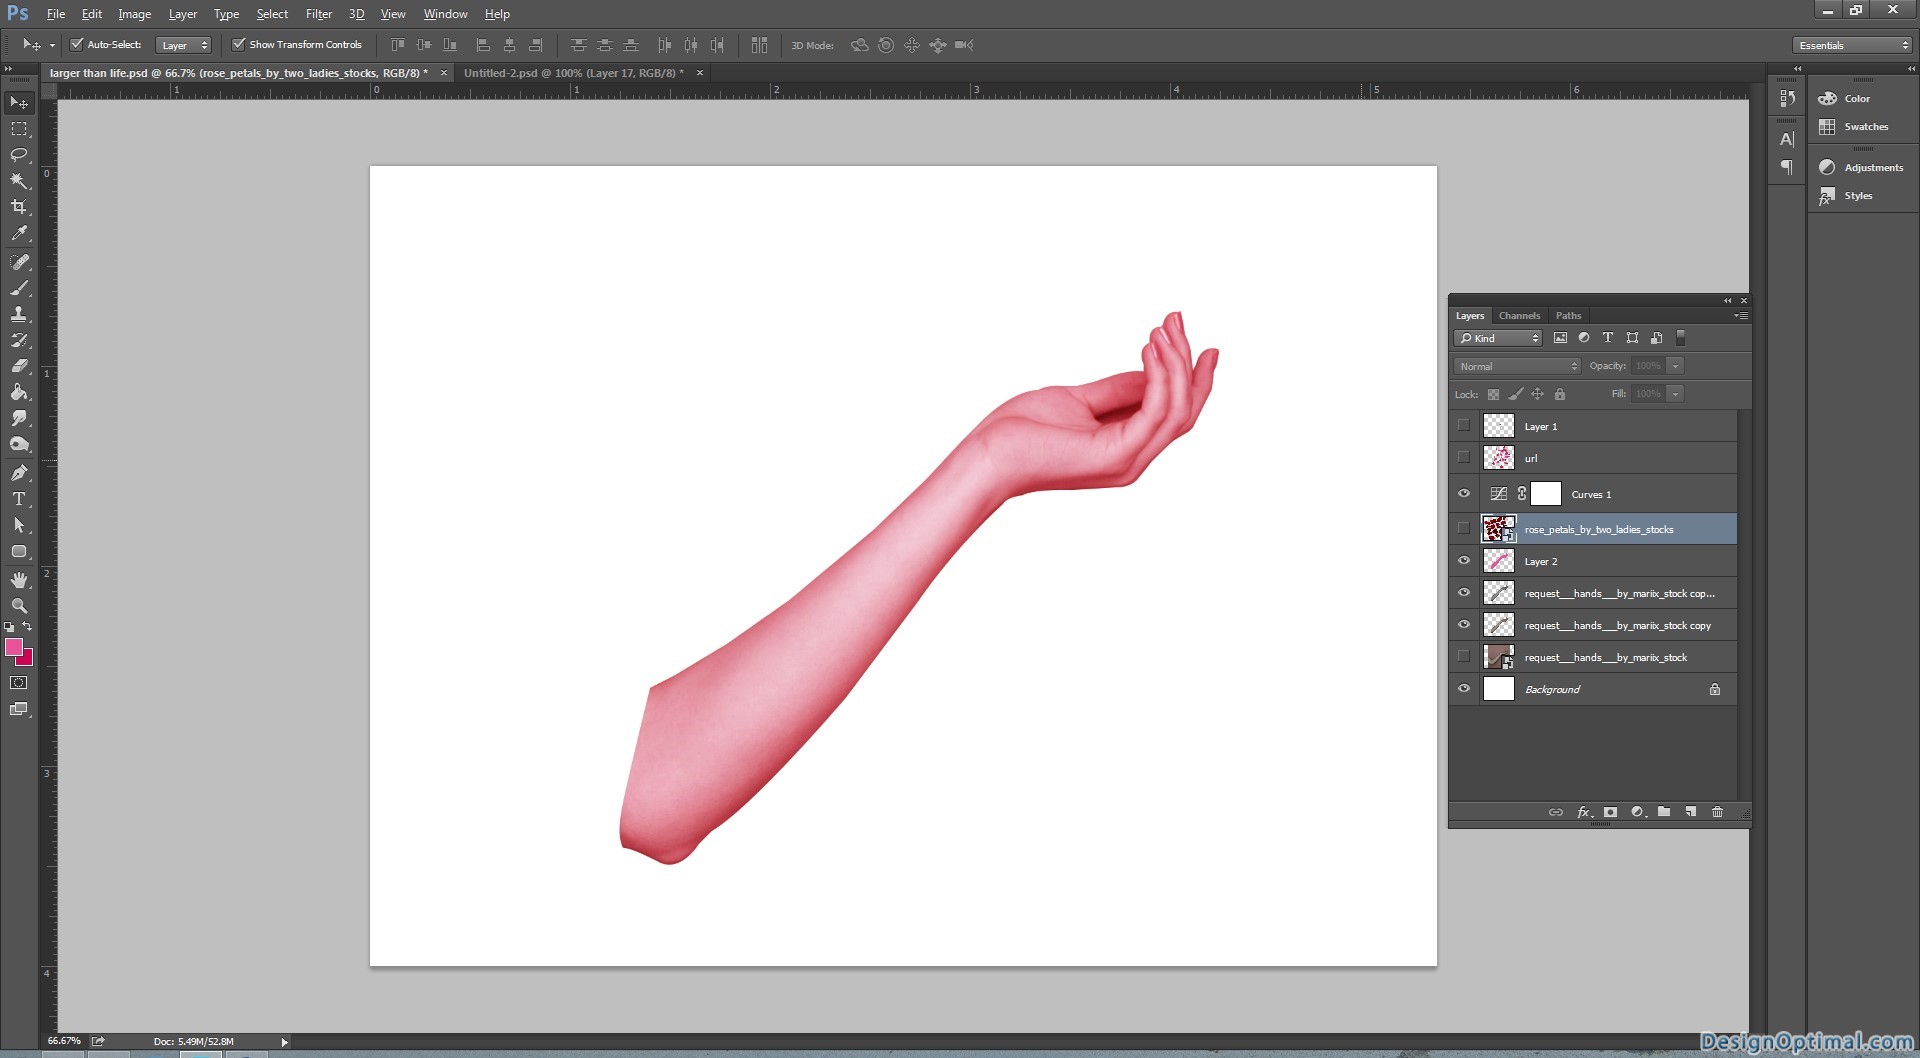
Step 04
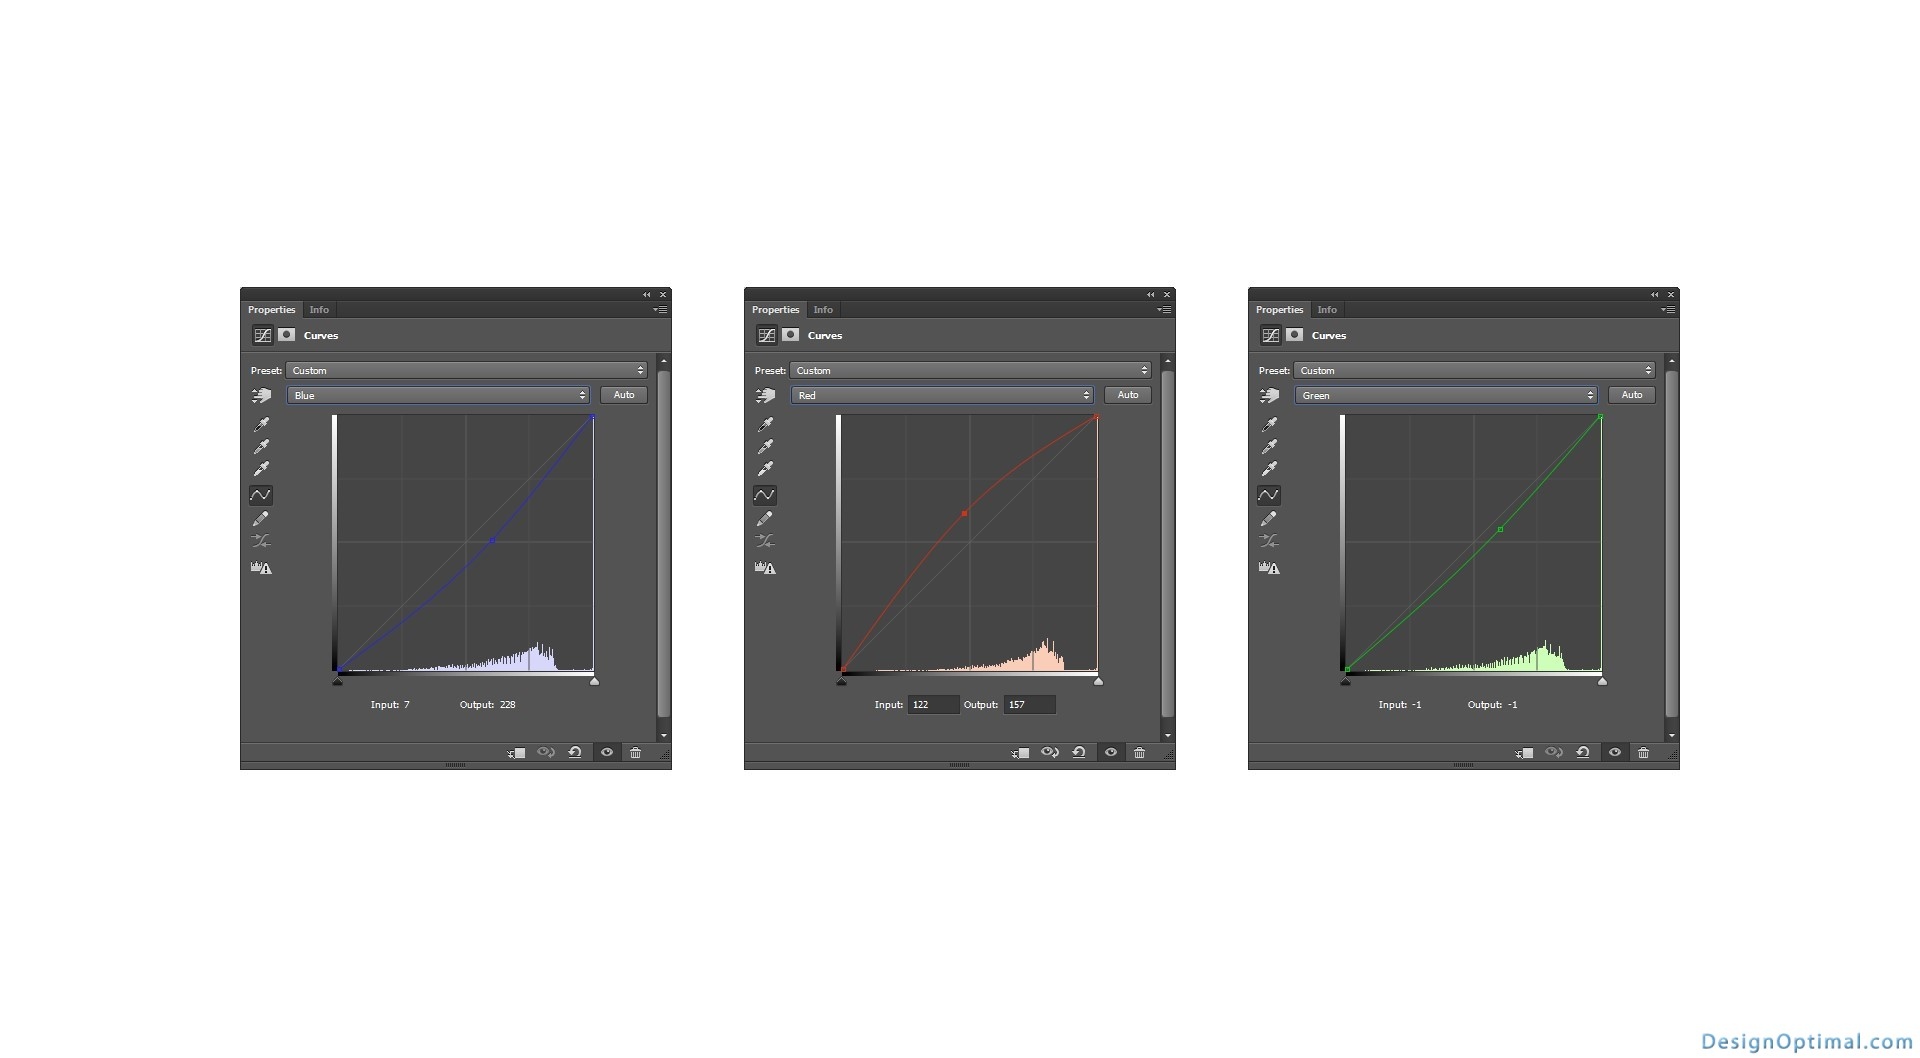
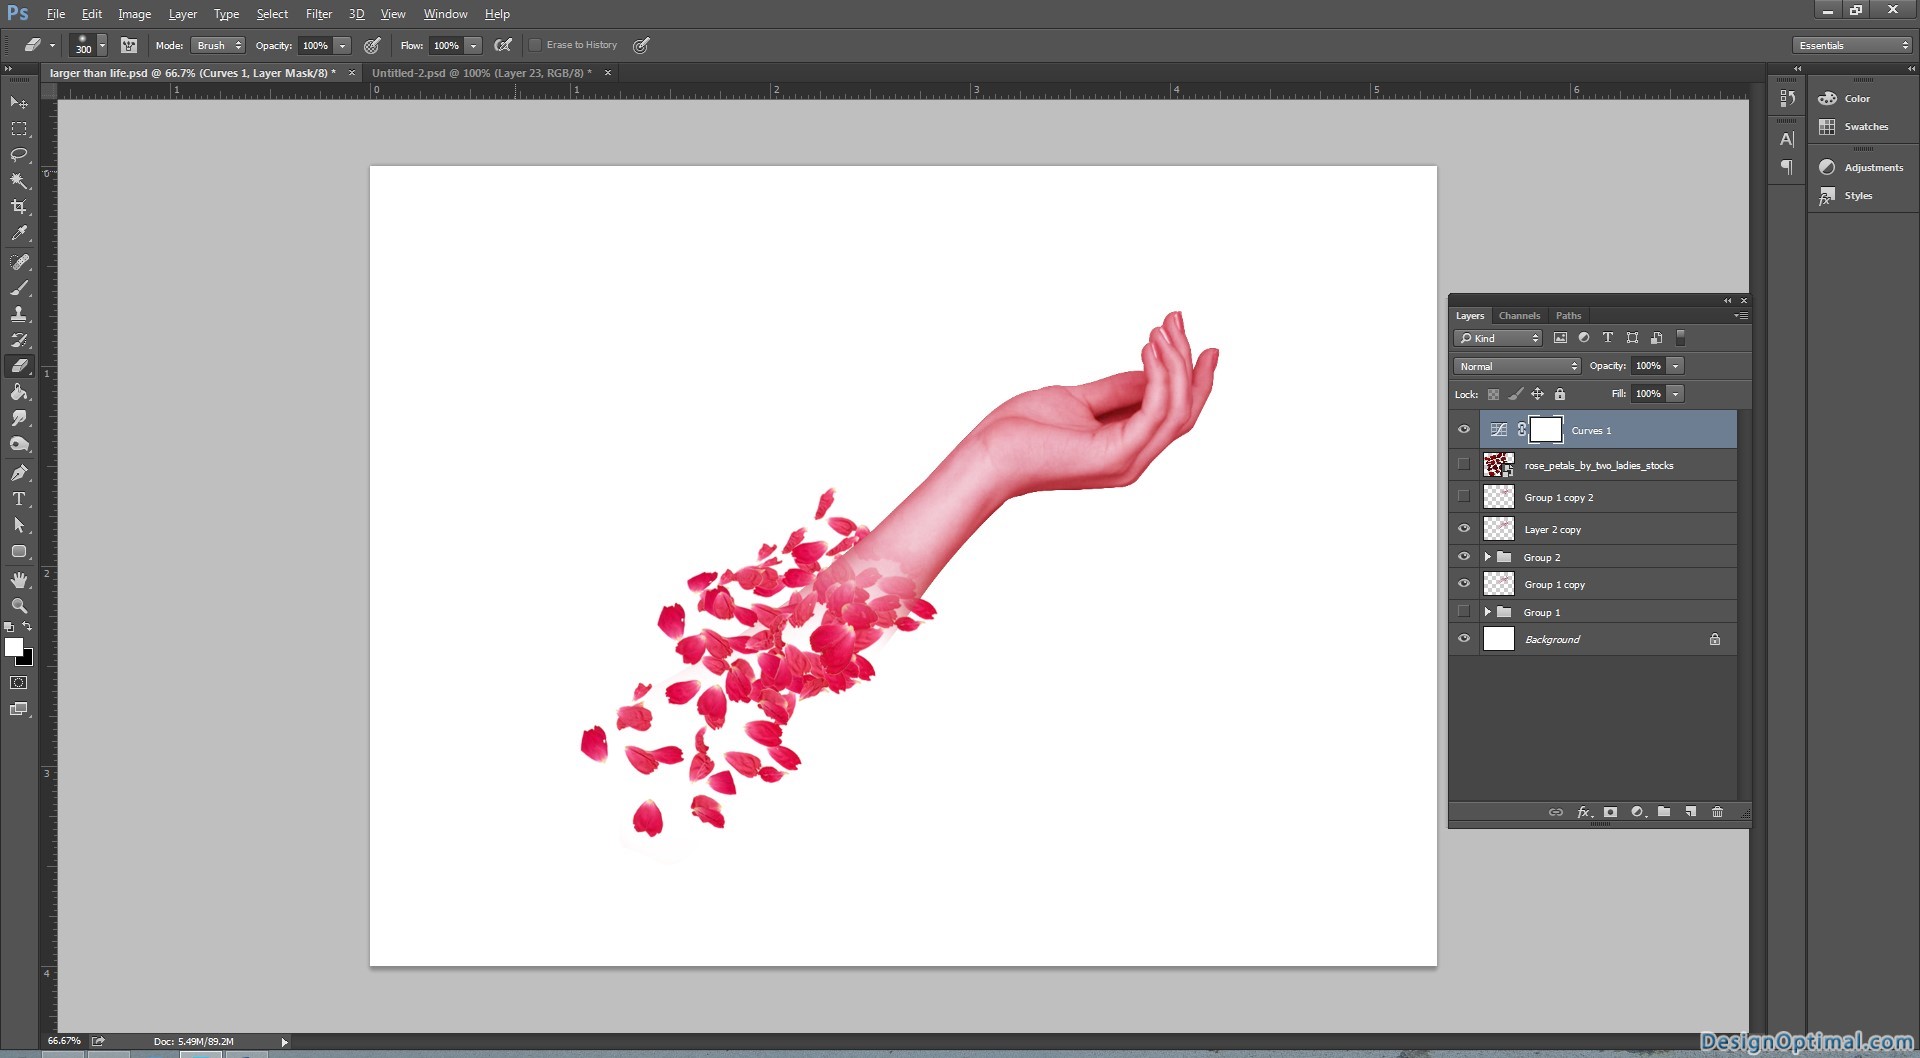
- Now add some layer adjustment curves, this will make the color of the hand closer to the petals that we use in further steps.
- Now after that we will import the rose petal images and starts using them as the next couple of images shown below.
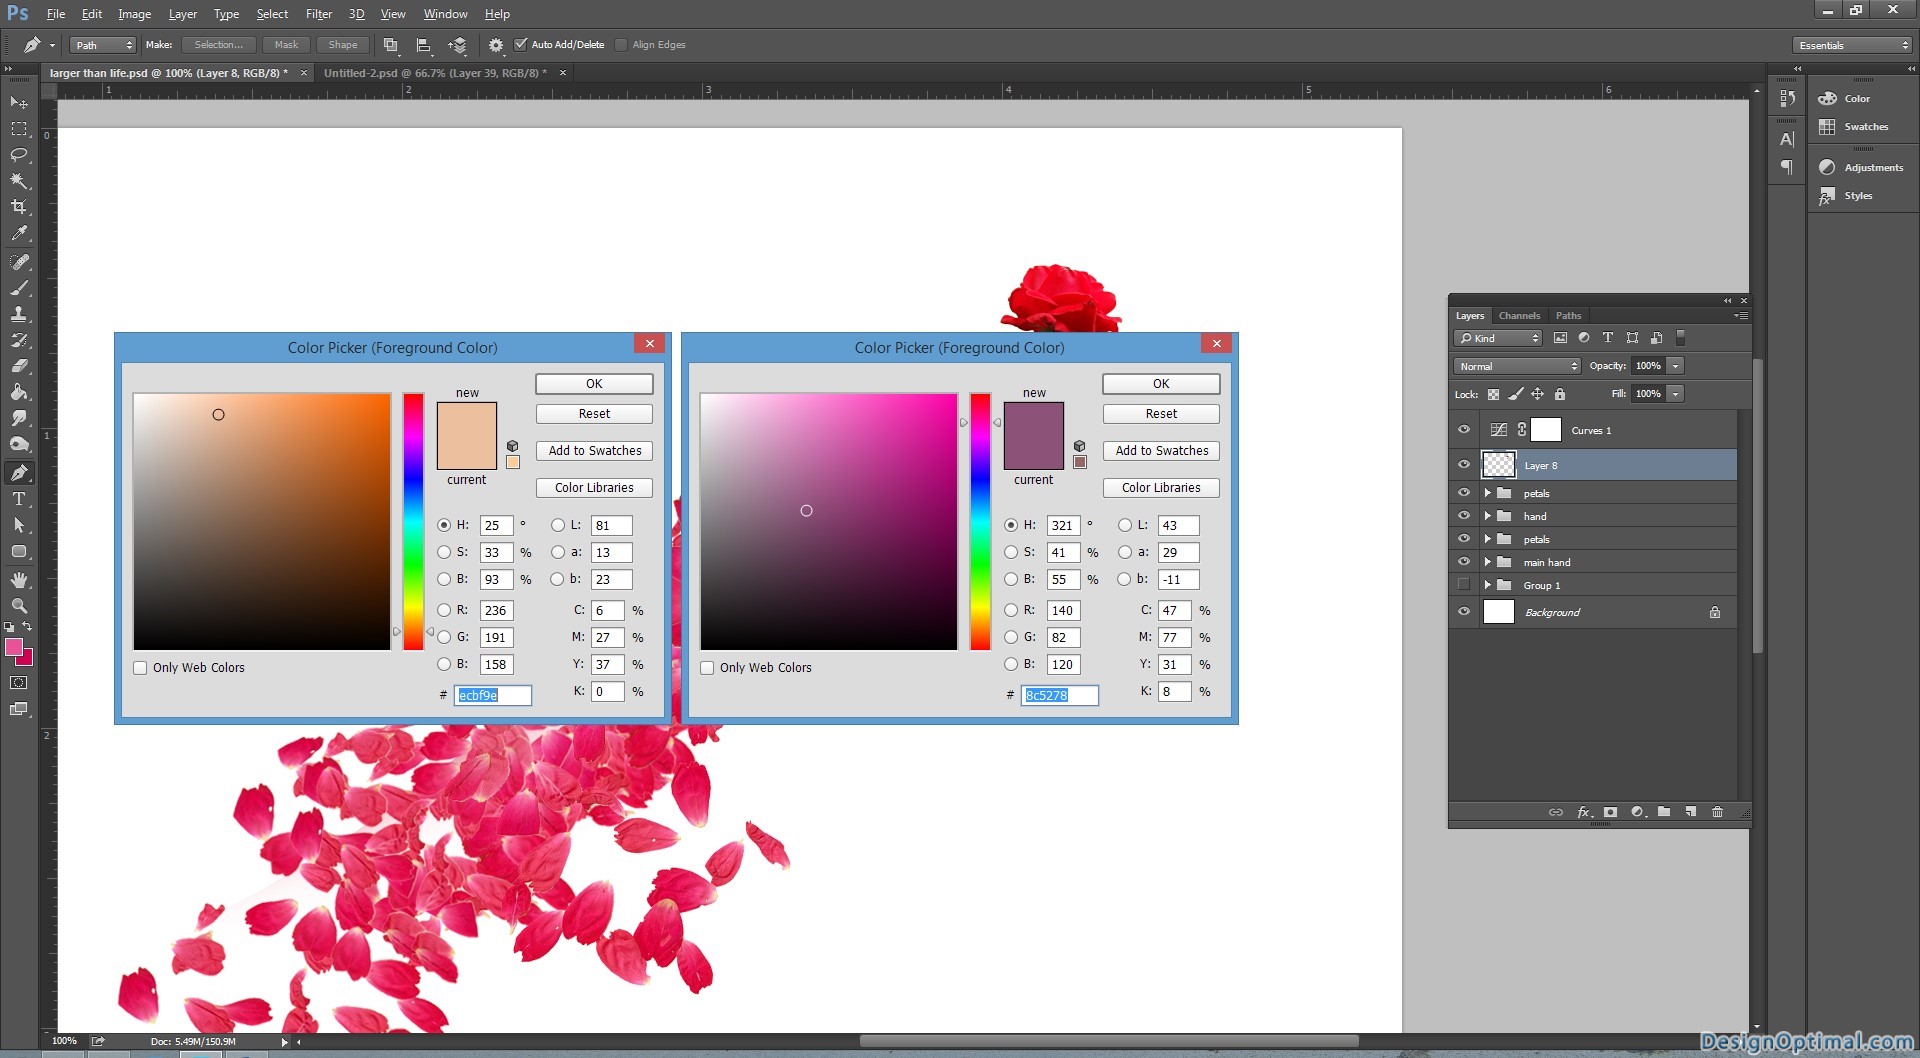
- Now get the light pink colored rose petal background with the white color background.
- Now start placing the petals as shown in the blow images.
- Before that we will add a pink color overlay layer the color code is #ea5298 now blend it in to soft light.
- Now group all the hand layers and the pink color overly layer and group it now duplicate the group and rasterize the group.
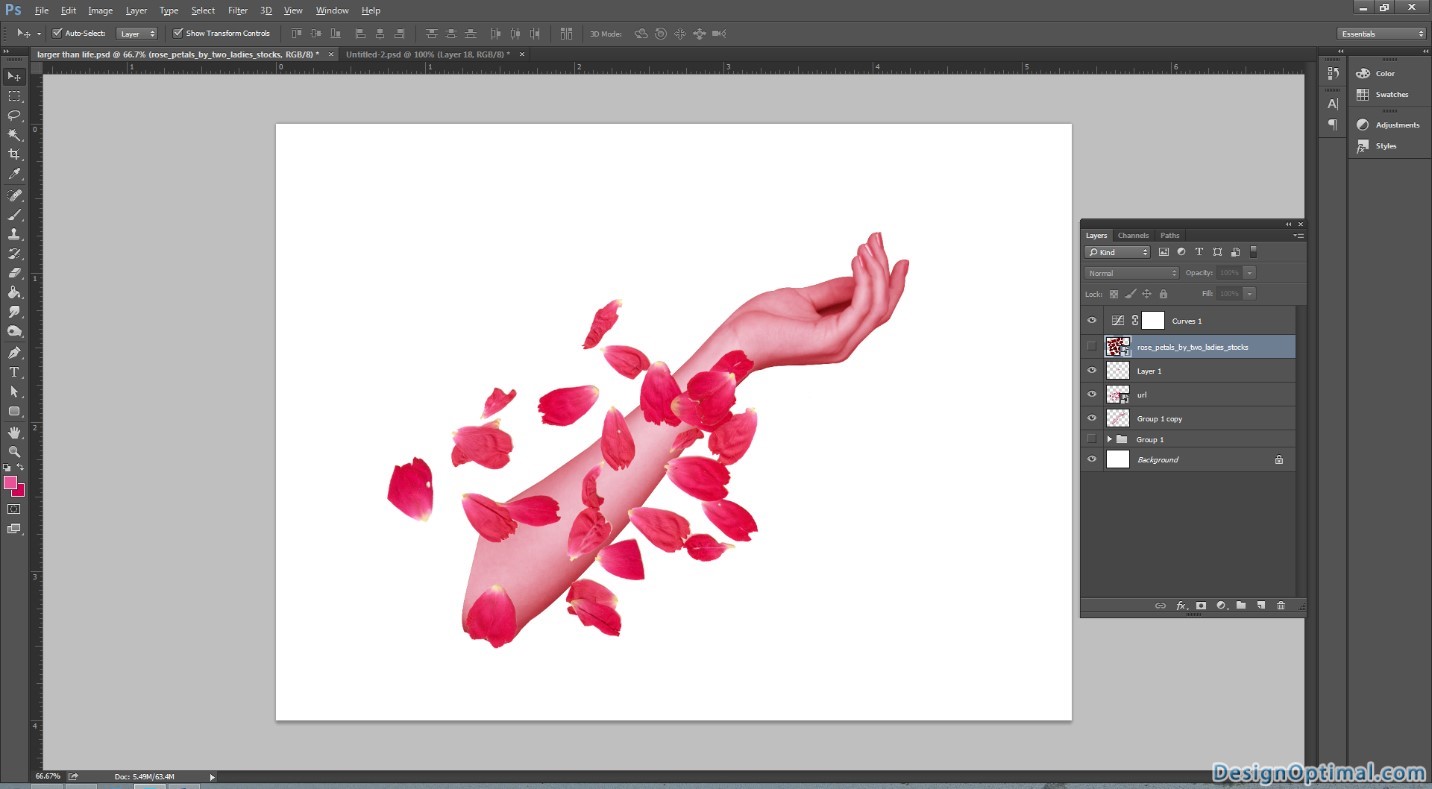
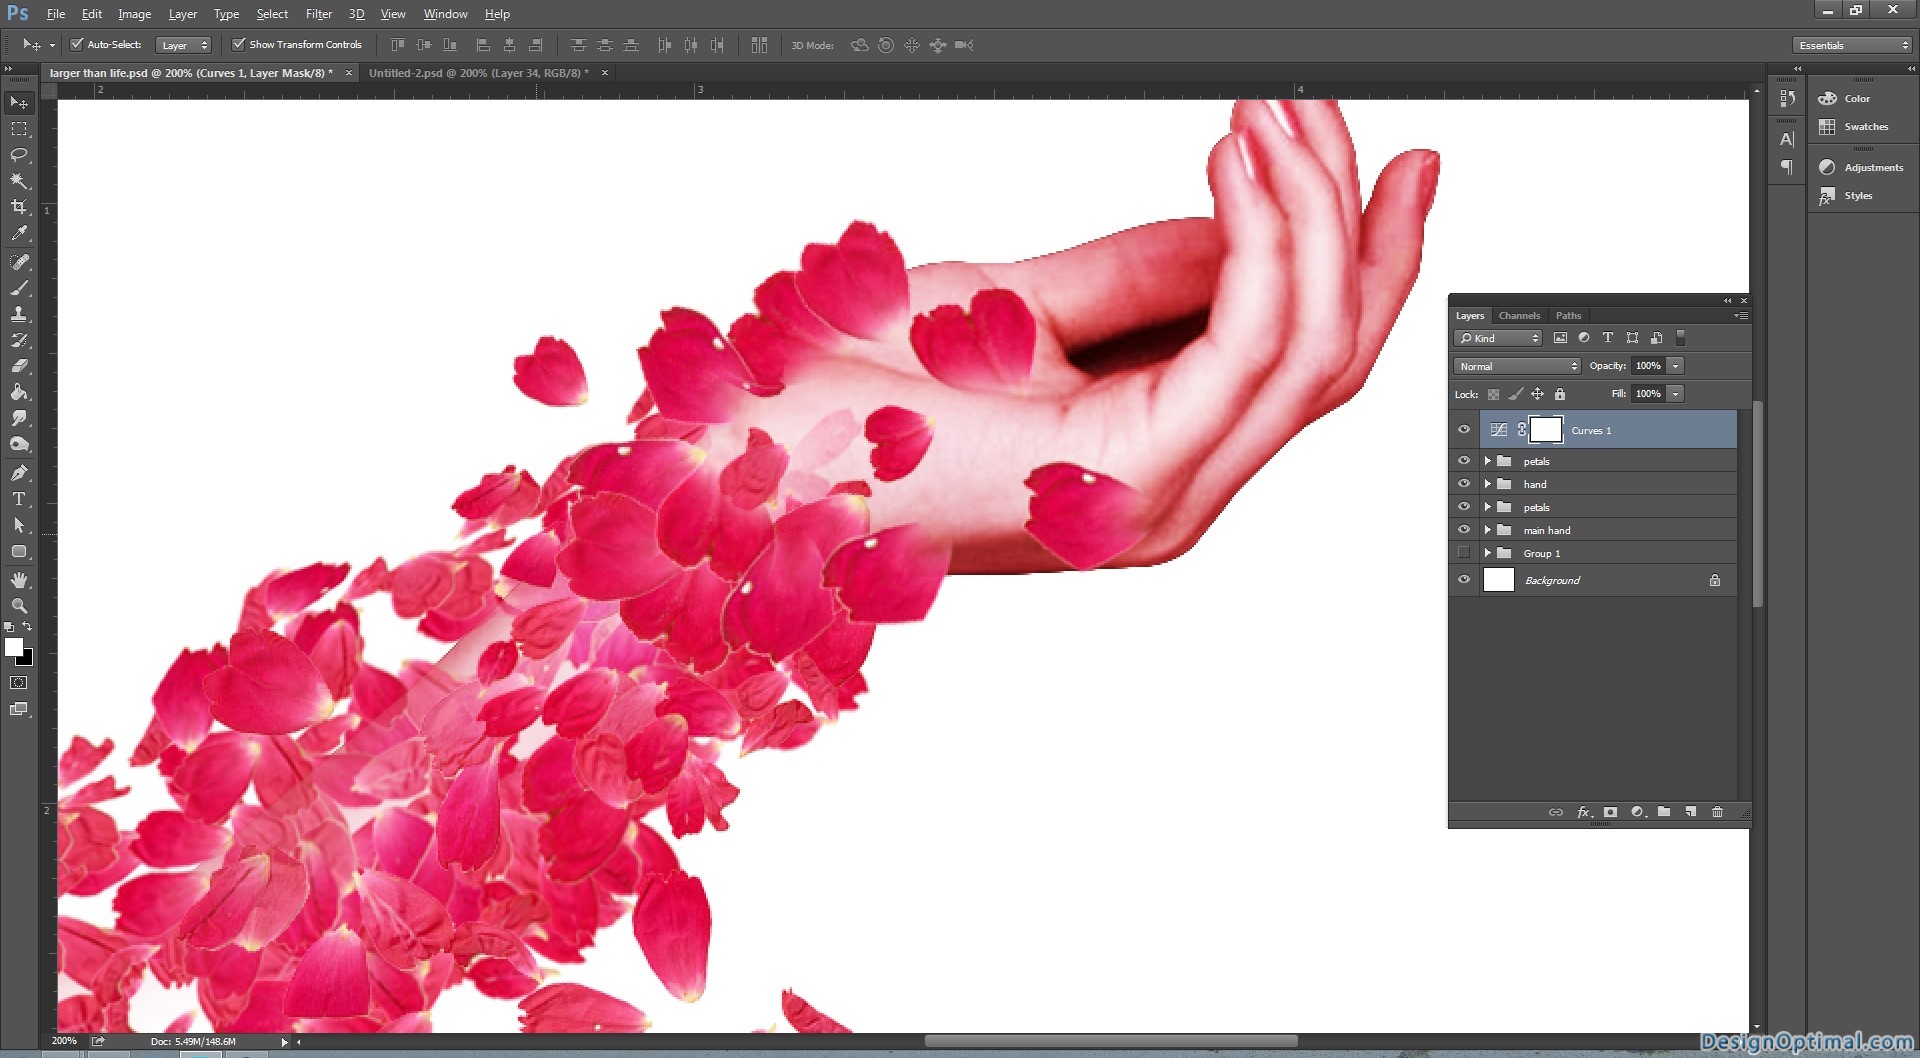
Step 05
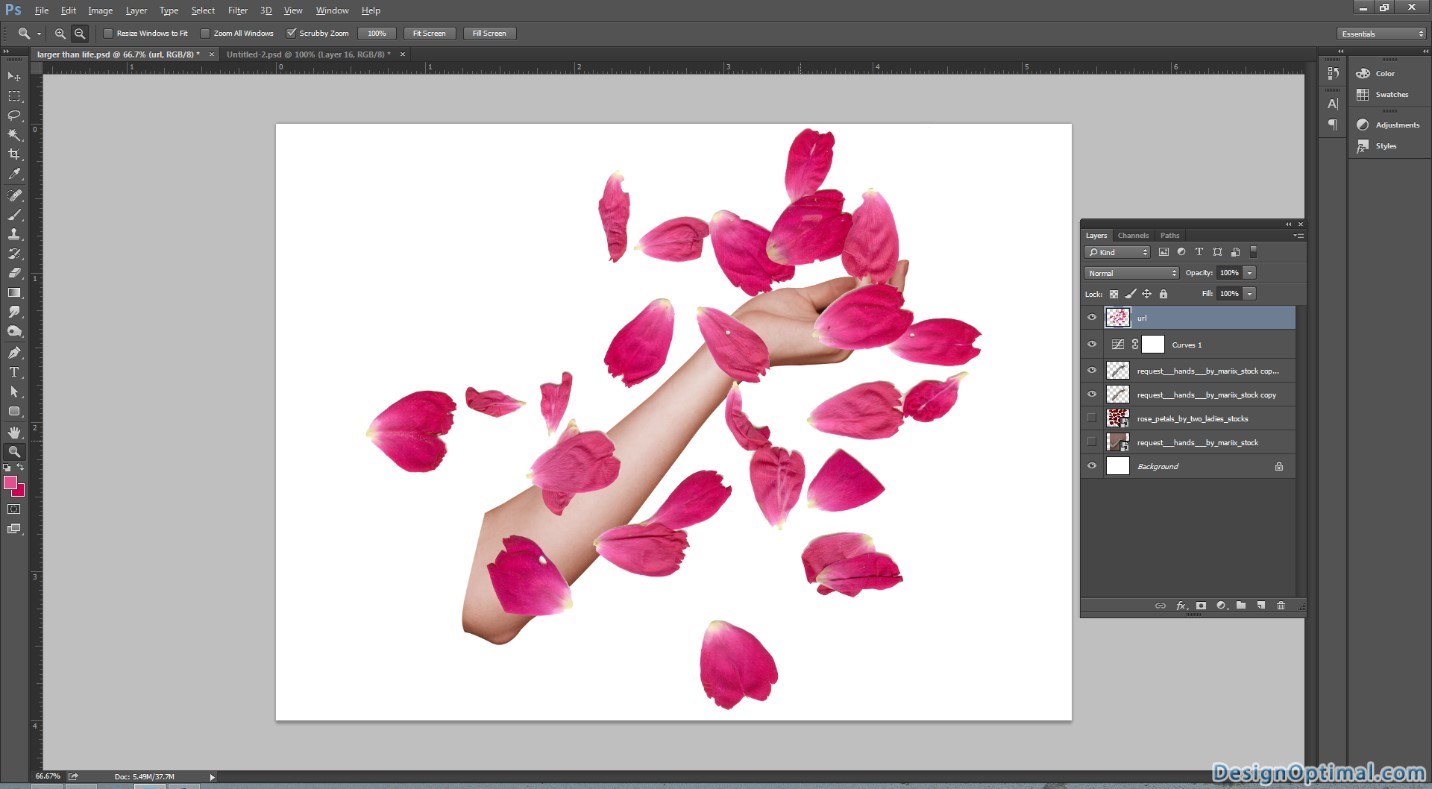
- Now resize the rose petals and place it as shown below.
- Next get a small blur eraser and start erasing the bottom area of the hand.
- Now use the petals as shown in the below images.
- Now after placing the petals duplicate the main hand layer group again and marge the layers and place it on the top of all the layers.
- Now again take the eraser tool and erase the elbow part of the hand.
- The final result will be as the below image.
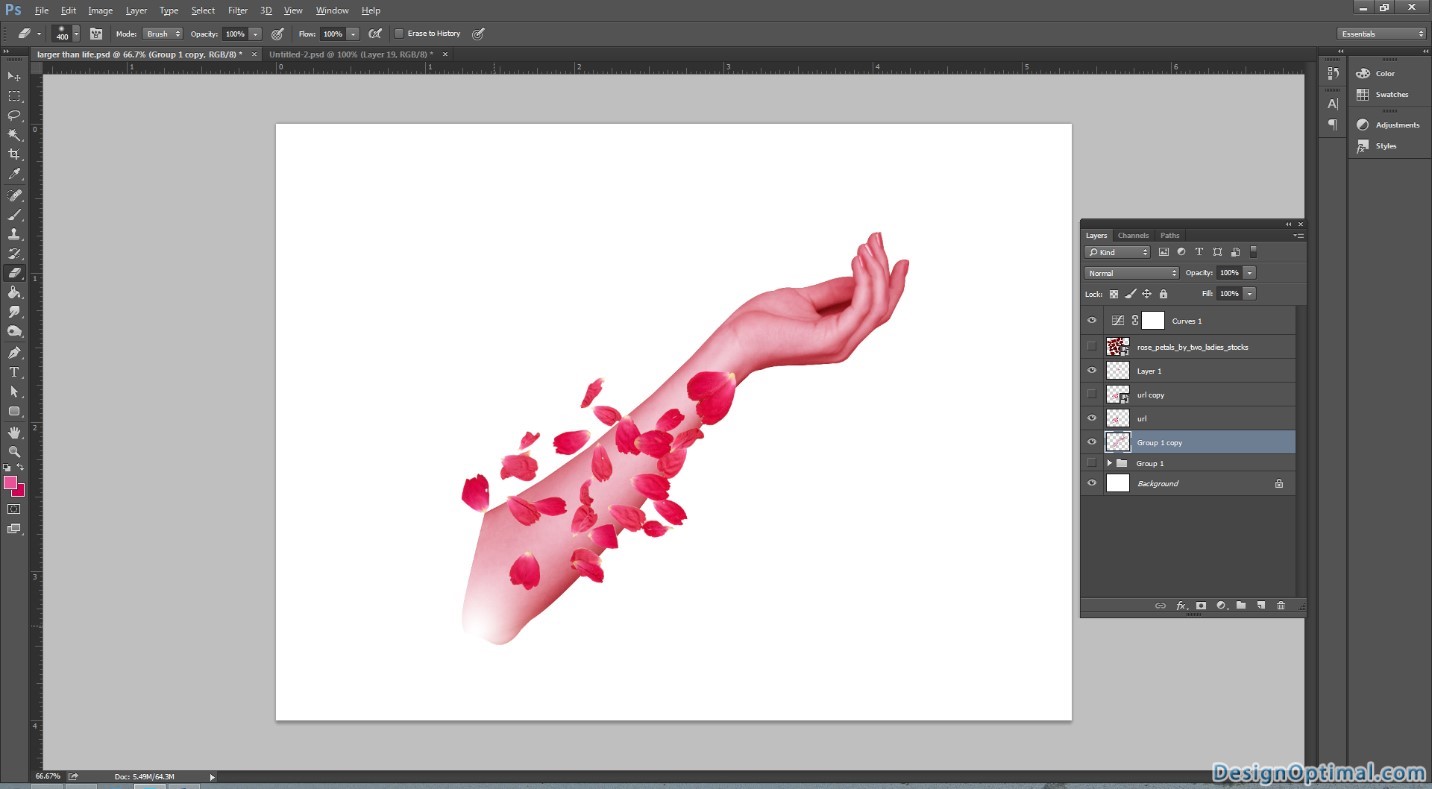
Step 06
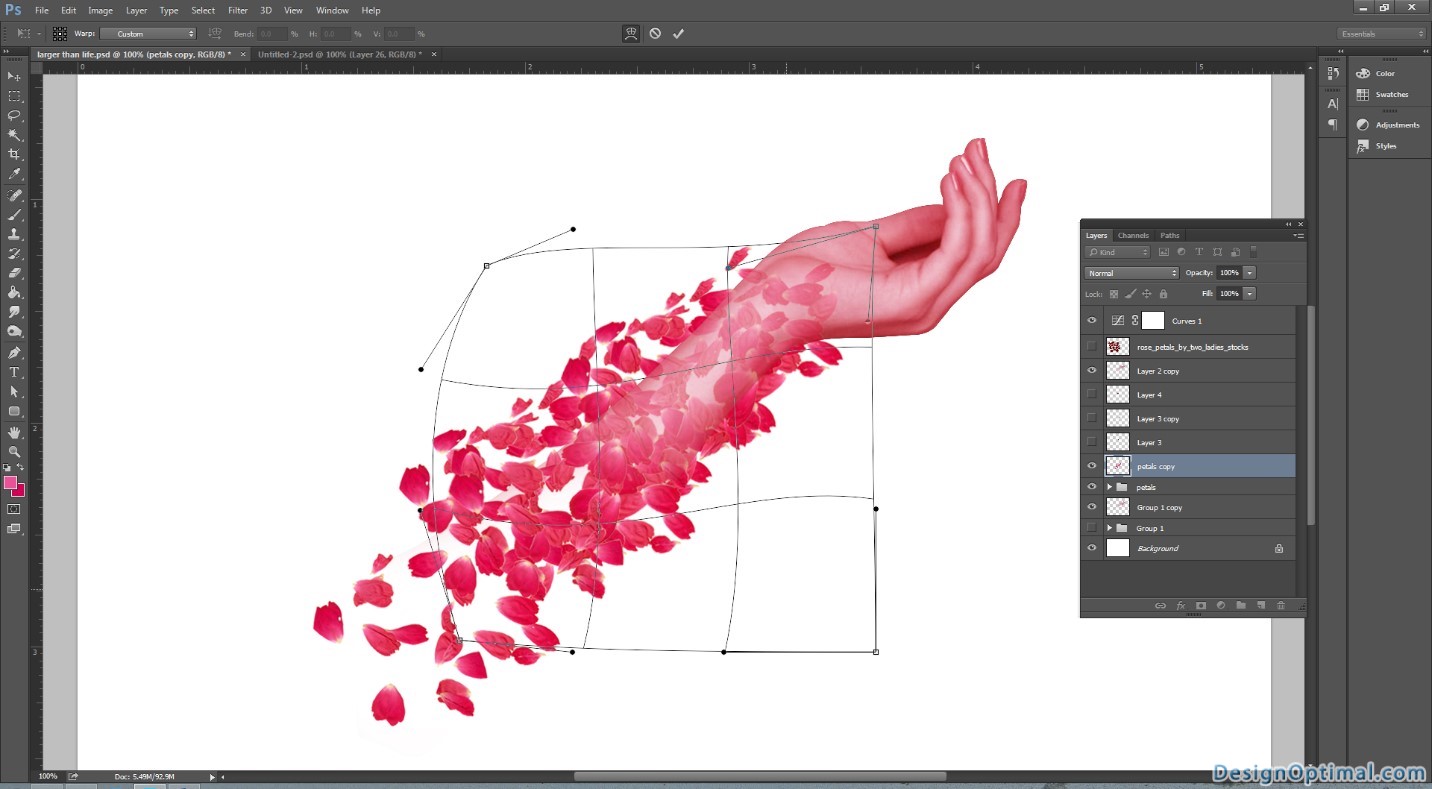
- Next we will duplicate the petal group and rasterize it and place it as shown below.
- Right click the layer and use transform and warp to make the petals shape according to the hand shape.
- Keep doing this till we get most of the petals flocked around wrist area.
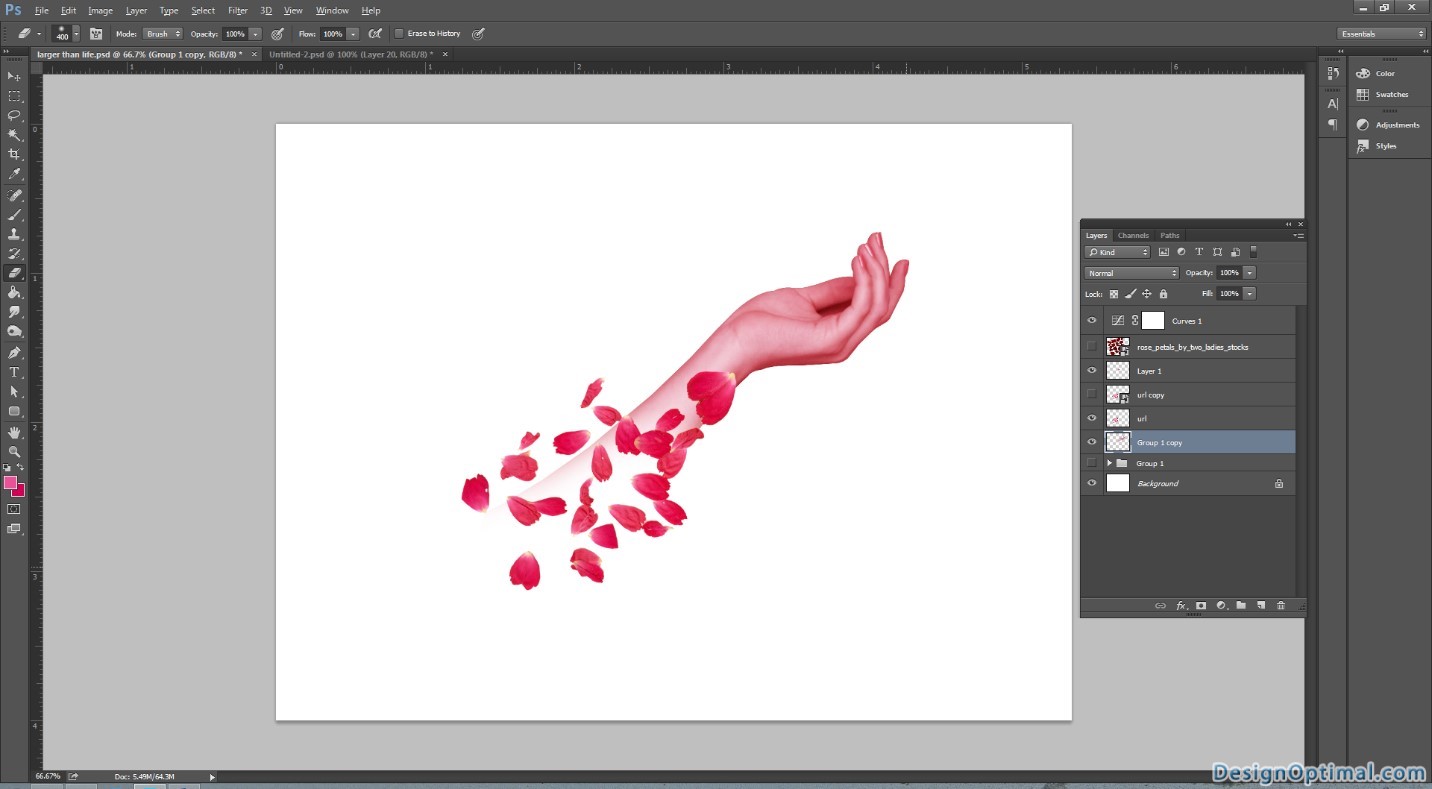
Step 07
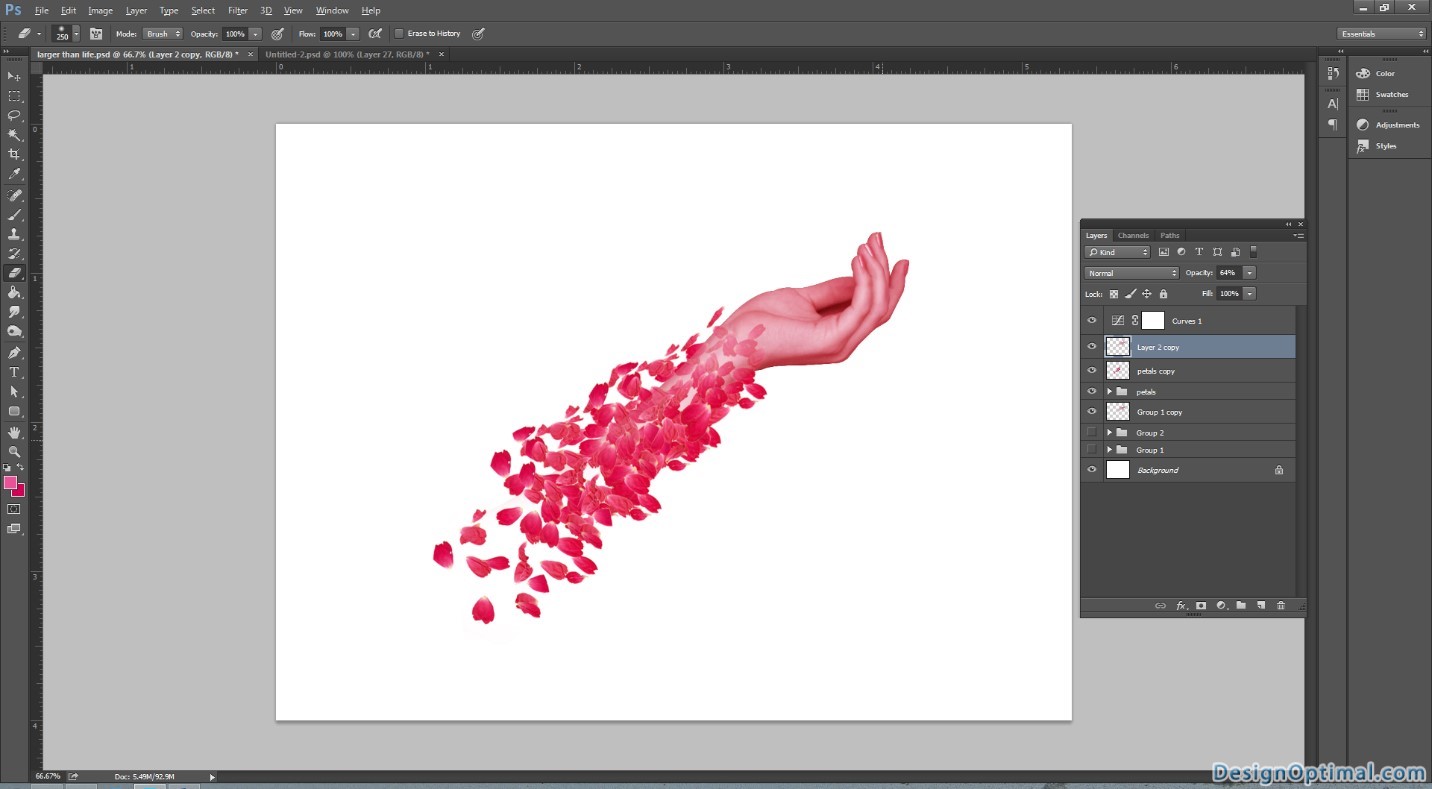
- Again duplicate the petal layer and place it as showing below.

Step 08
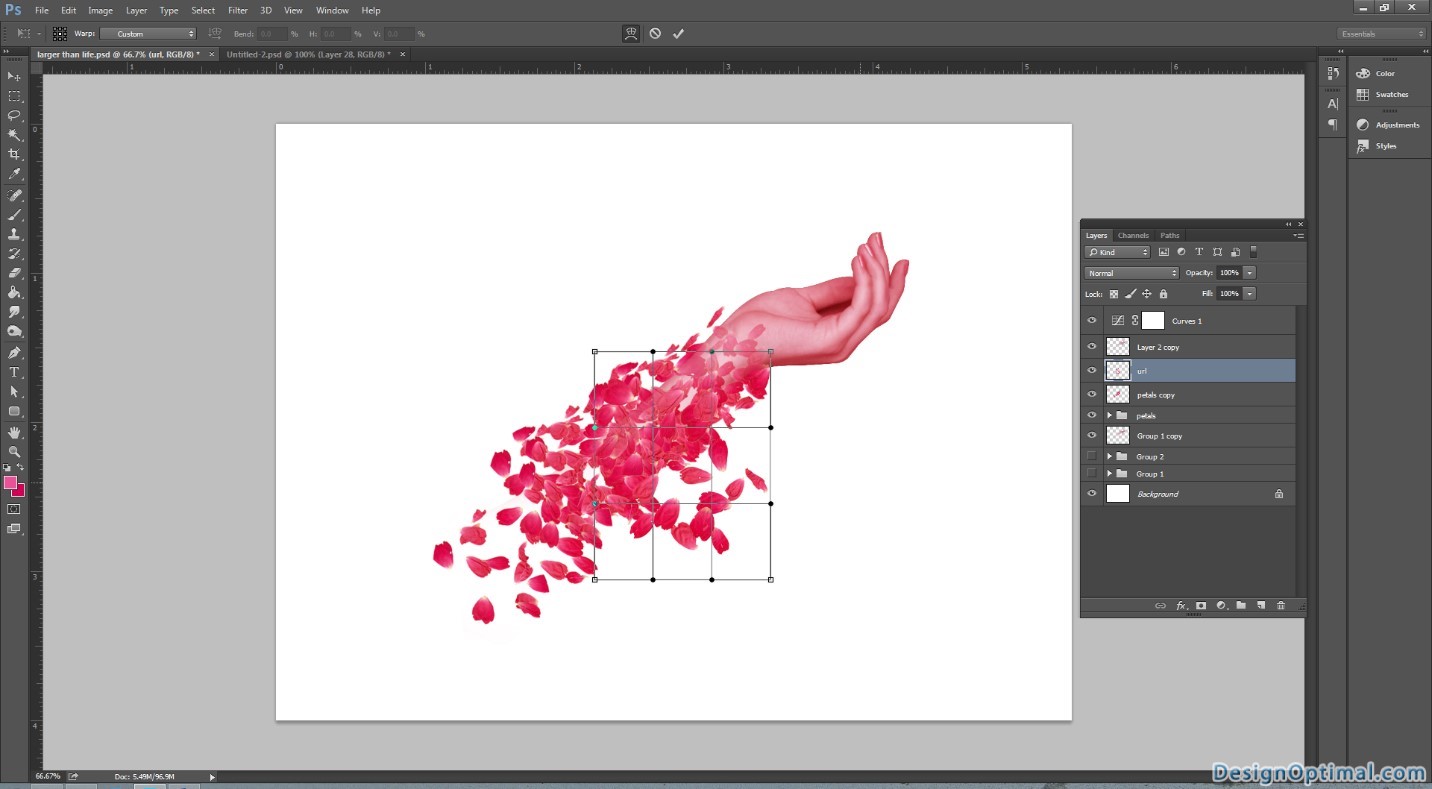
- Next open other petals images separately (as suitable) in Photoshop and remove the background.
- Then pick some petals from it and place it step by step as shown below in next images.
- After placing them duplicate the petals layers and place tie in near palm area but make sure to erase the narrow parts of the petals that connecting to the main stream of the flower petals. This will make as if the petals are growing out of the palm.

Step 09
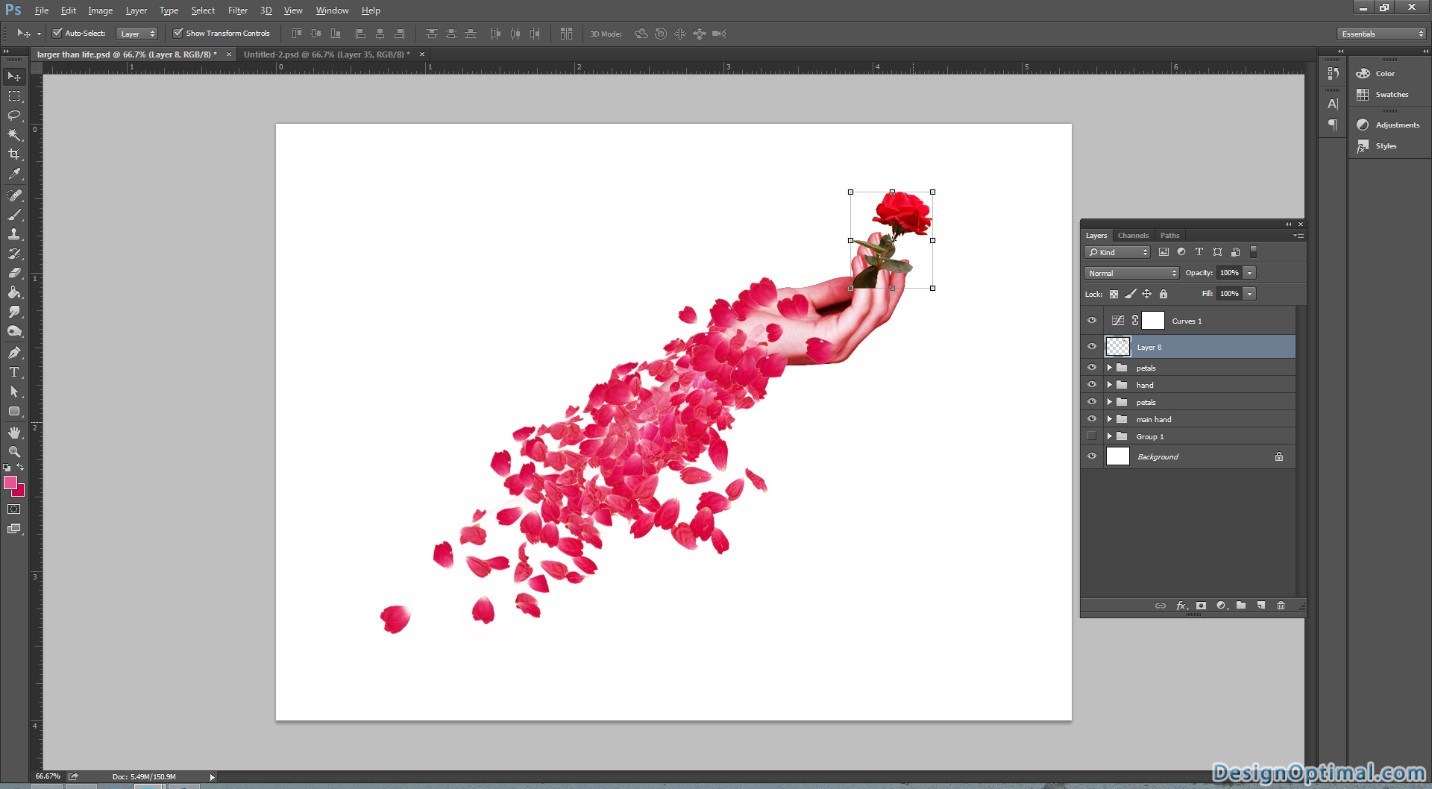
- Next we will add a flower in to the hand of the female hand as if the hand Is offering a flower.
- In this, we will use the supplied image called red_rose_stock_by_bvandenberg-d42bu2r.
- Remove the white background and place it as shown below near the hand where the two fingers are touching each other.
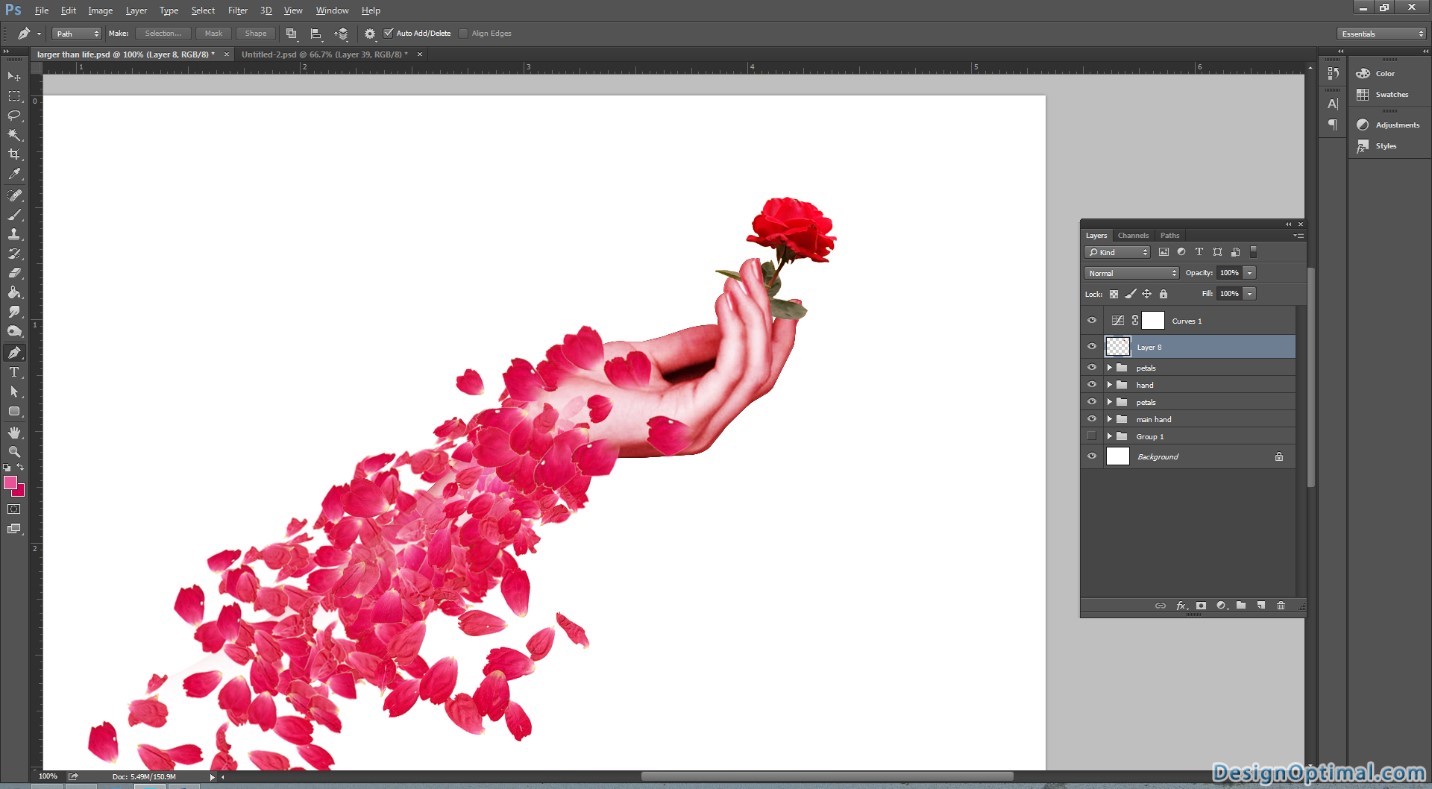
- Now take the erase tool and erase off some parts of the rose that covers the finger tips. Make sure to erase them as if the fingers are holding the rose.


Step 10
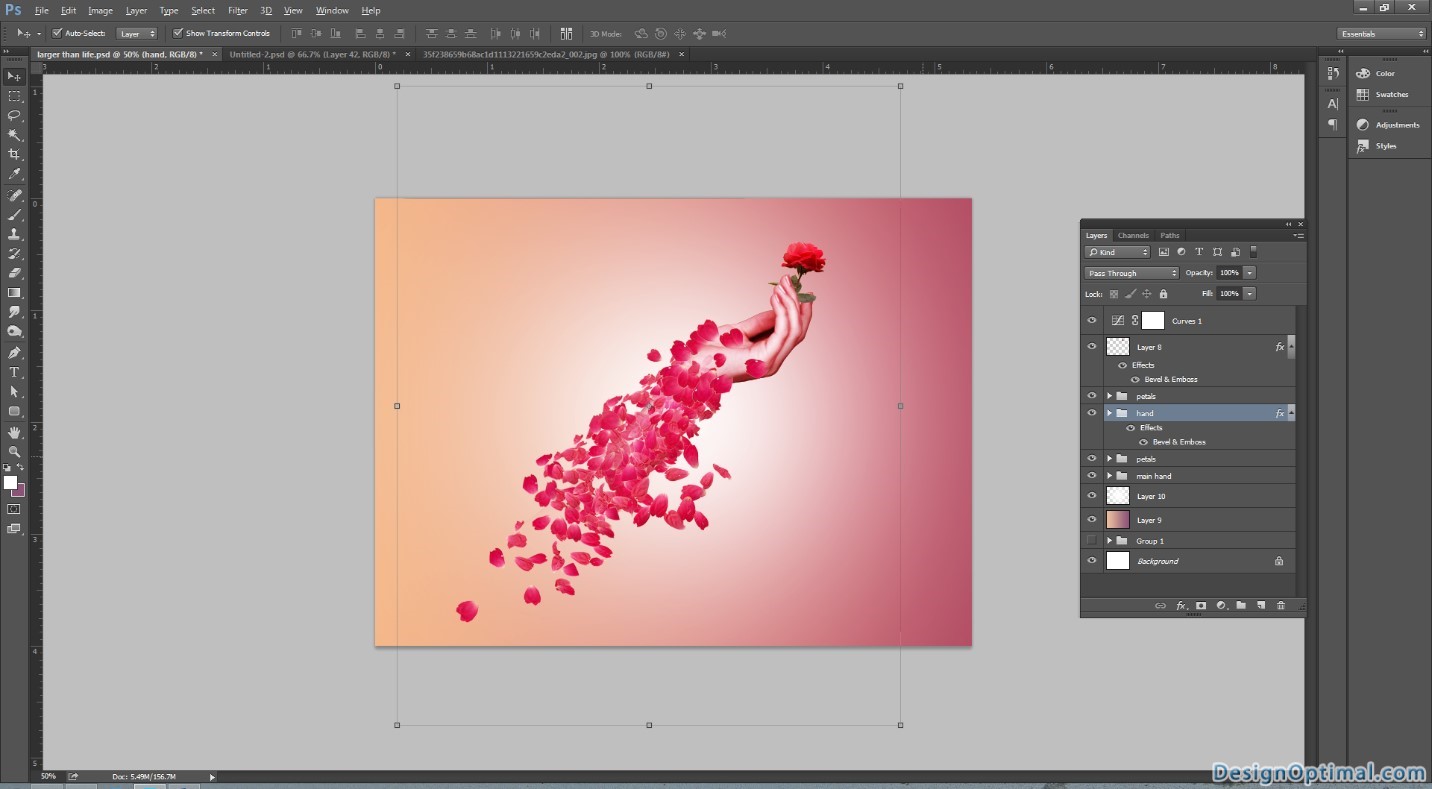
- As for the final steps we will add a gradient to the background.
- The background colors will be as the screen shown blow.
- After adding the gradient map we will add a white patch over the gradient layer.
- And reduce the opacity in to 95%.
- And we will add a small bevel and emboss to the both hand layer and the rose layer to add some depth to it.
Step 11
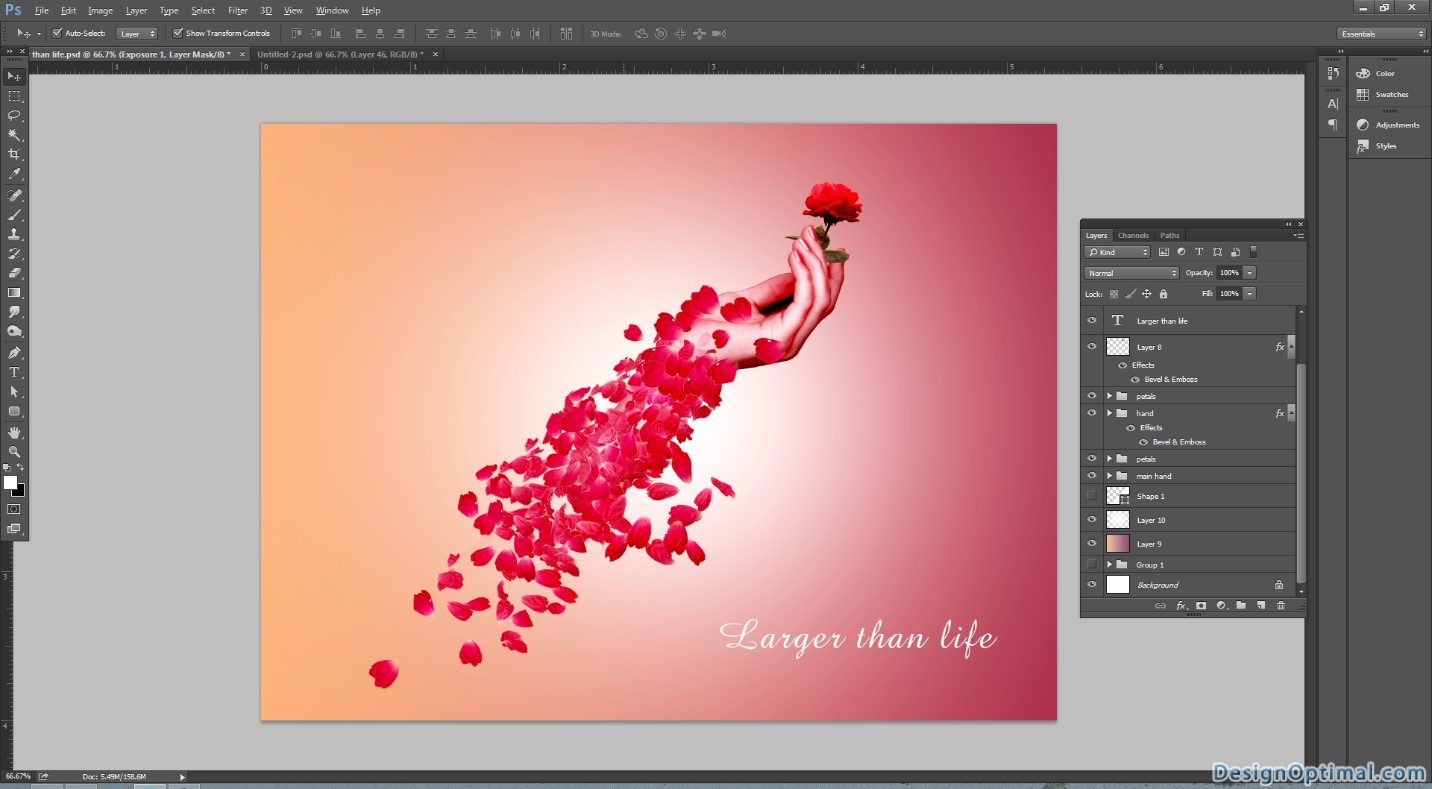
- Now for the final touch we will use a swirly font and type the word called larger than life.
- The font will be Amaze Normal and the size is
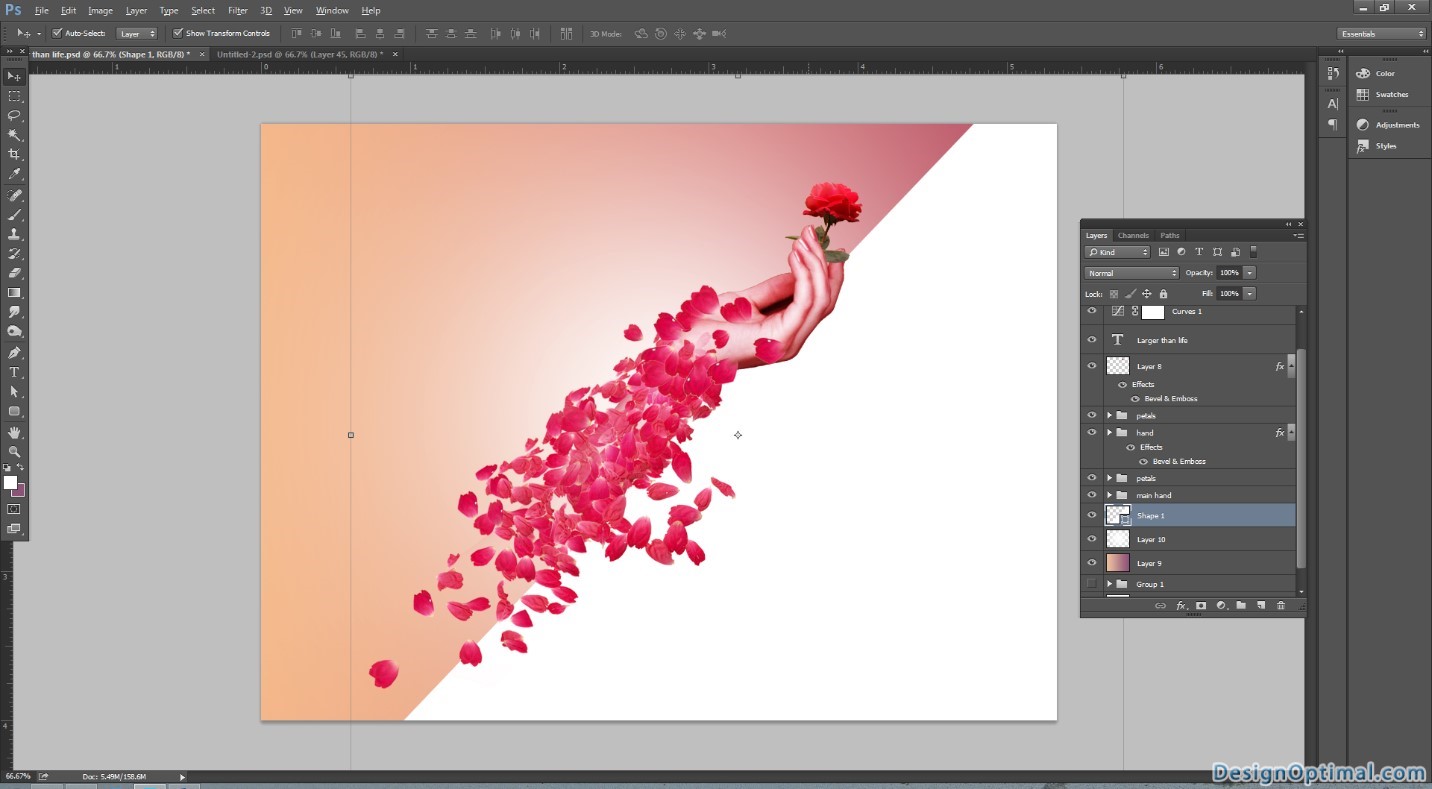
- Now again take the pen tool select shape from the drop down on the top of the menu and draw a triangle shape covering half of the art work reduced the opacity in to 20%.
- Finally to add some elegant look to the art work, we will add exposure layer on the top.
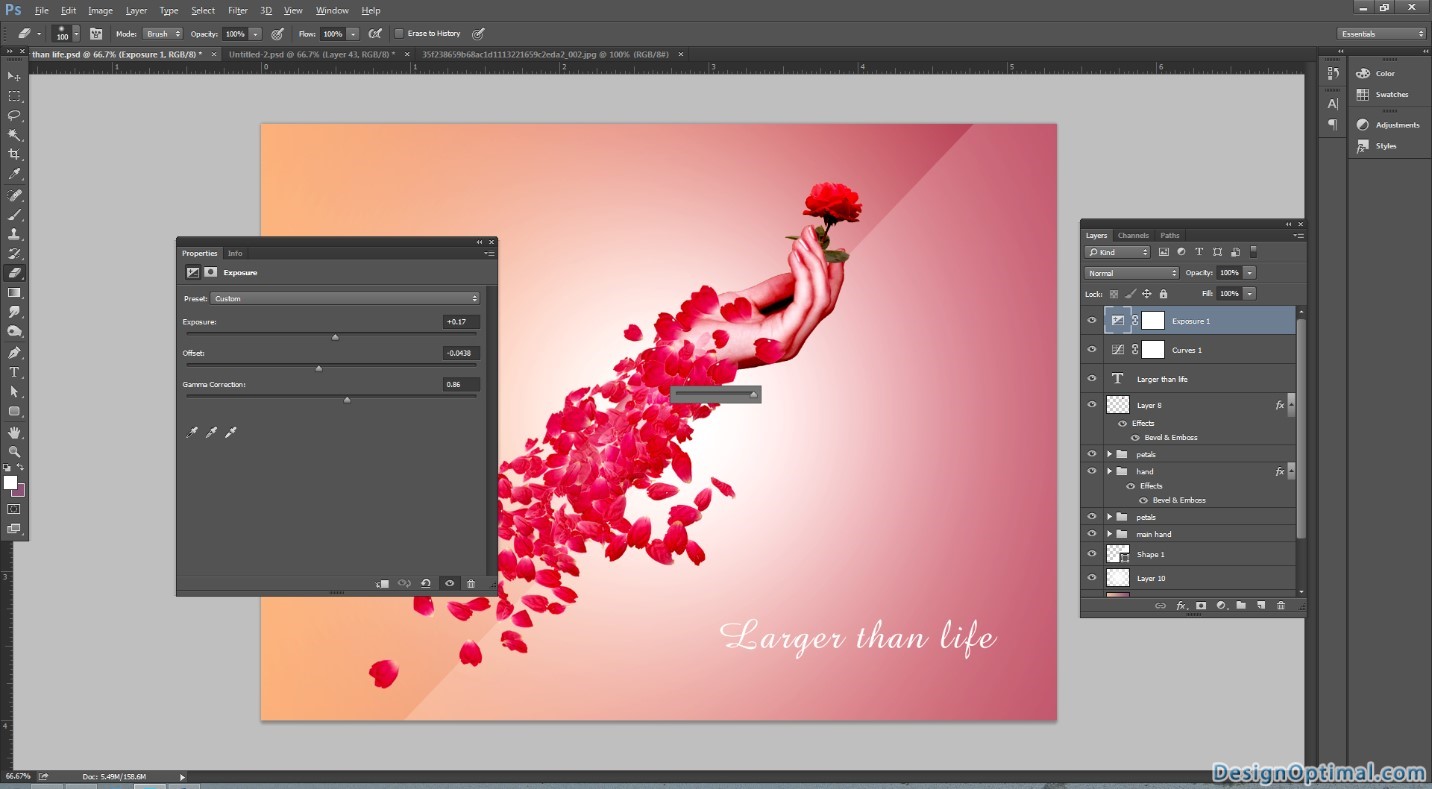

Now it’s up to you, you can try different images and see the result, the most important thing is that you practice and have fun with Photoshop.
