Hello, guys today we are going to show you “How to Design 3D Infographic Template in Adobe Illustrator”. In this tutorial, you will learn how to design the infographic template very easily. Don’t worry if you are new this is a step by step tutorial also have a screenshot of each step so you can practice it by your self by downloading the project PSD file.
Resources
Fonts used:
- Calibri Regular
Step 01
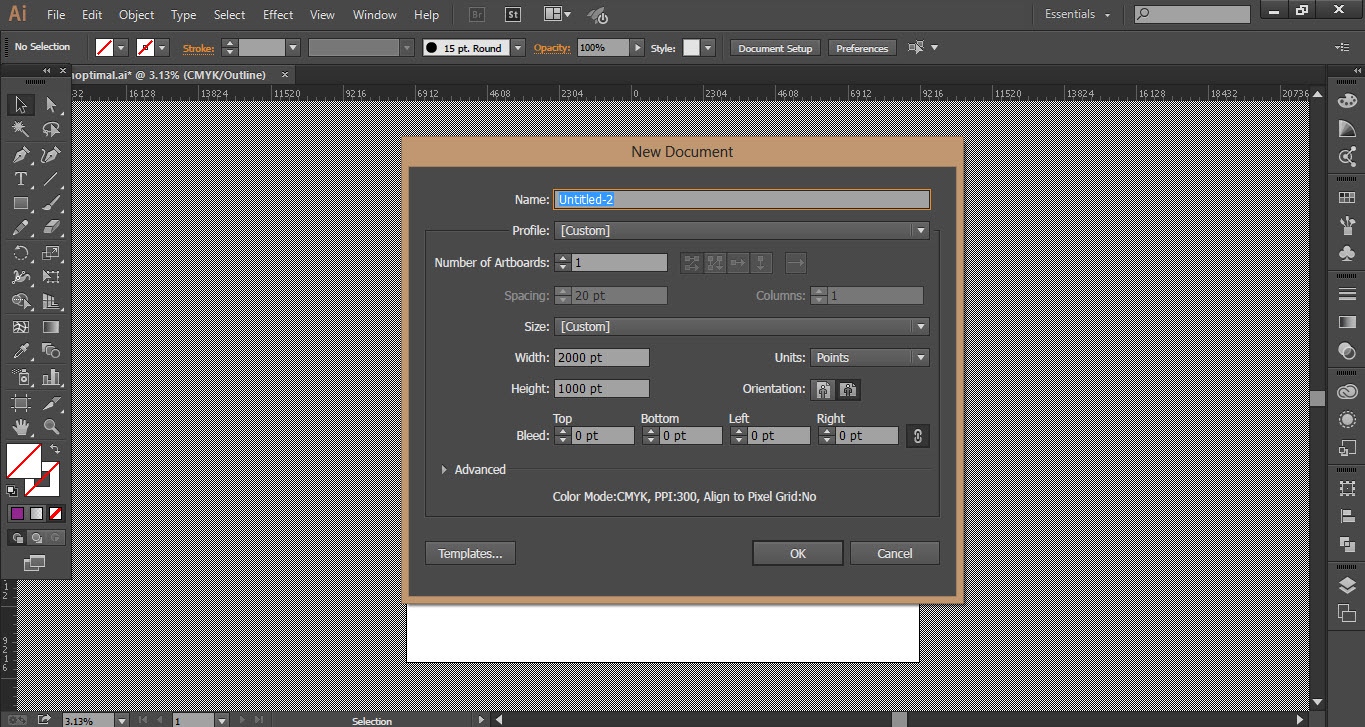
- Open the Adobe Illustrator software.
- Go to the “File” menu and click on the new option.
- Select the size of the file.
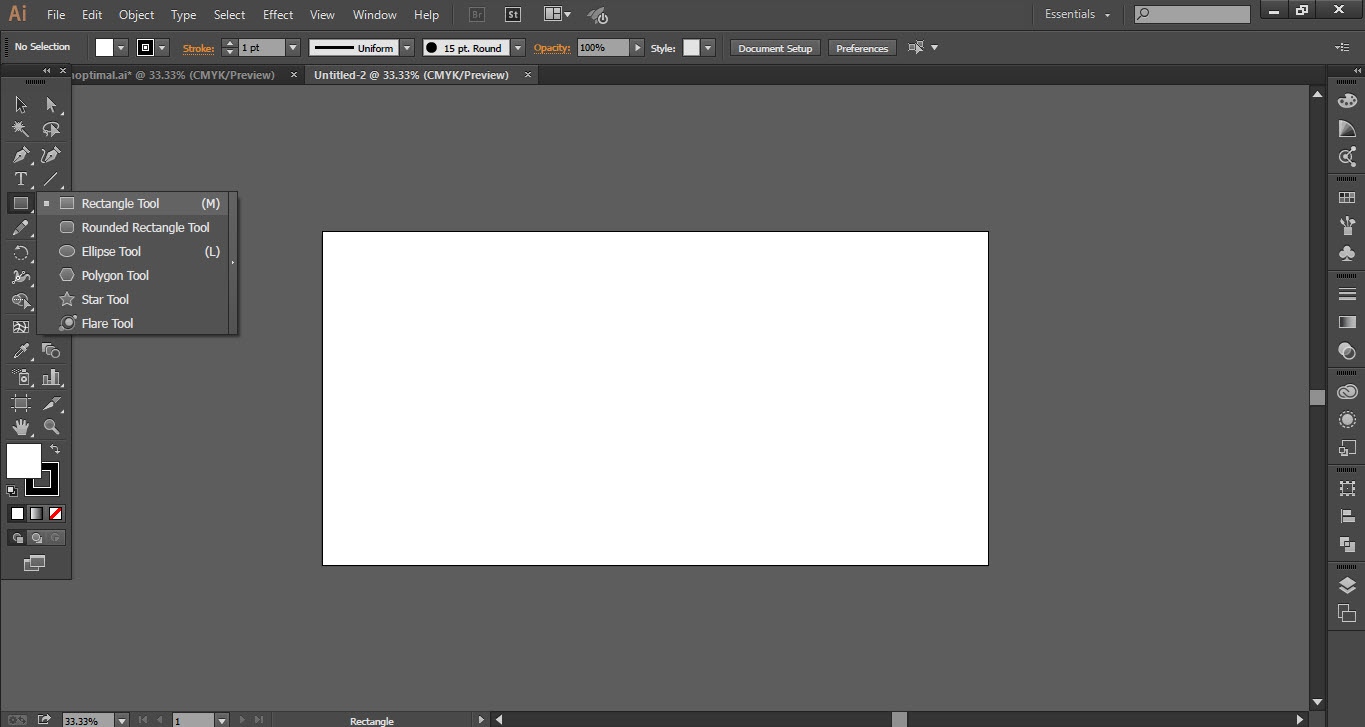
- Go to the “Bar Menu” and select the “Rectangle Tool”.
- Apply the gradient to the background.
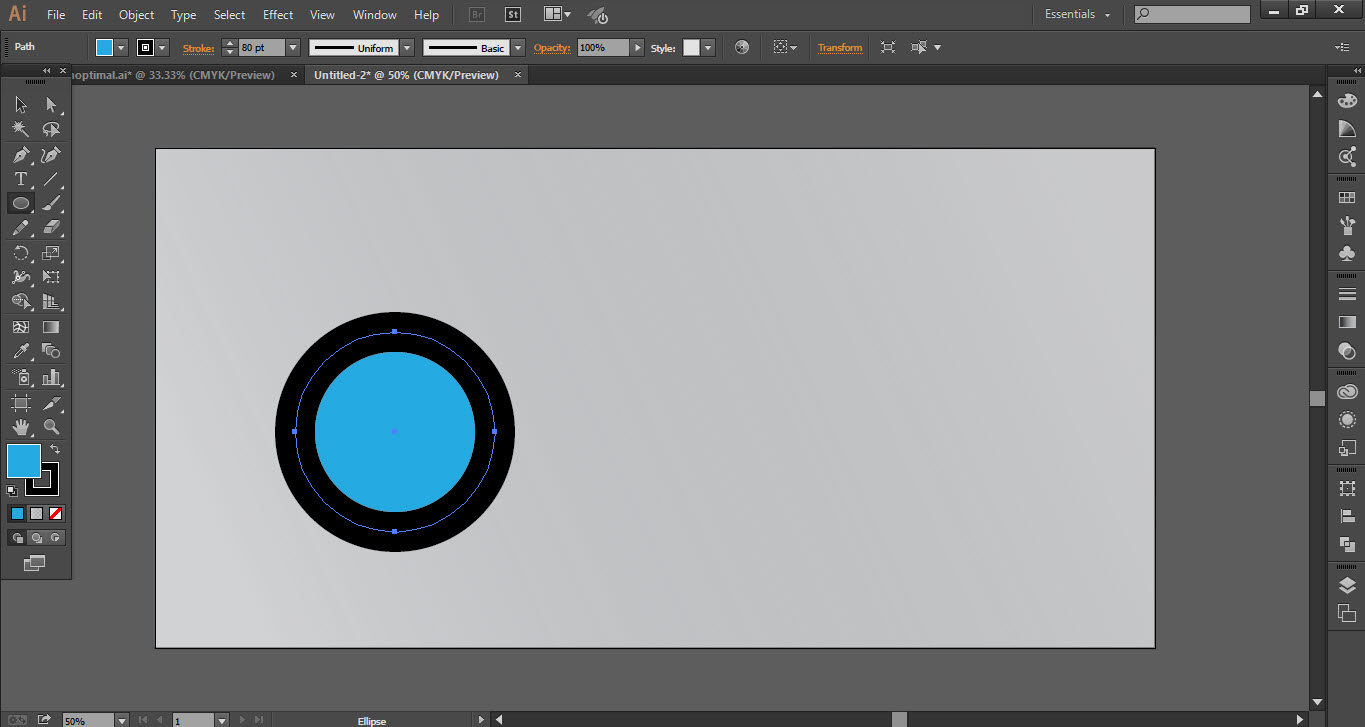
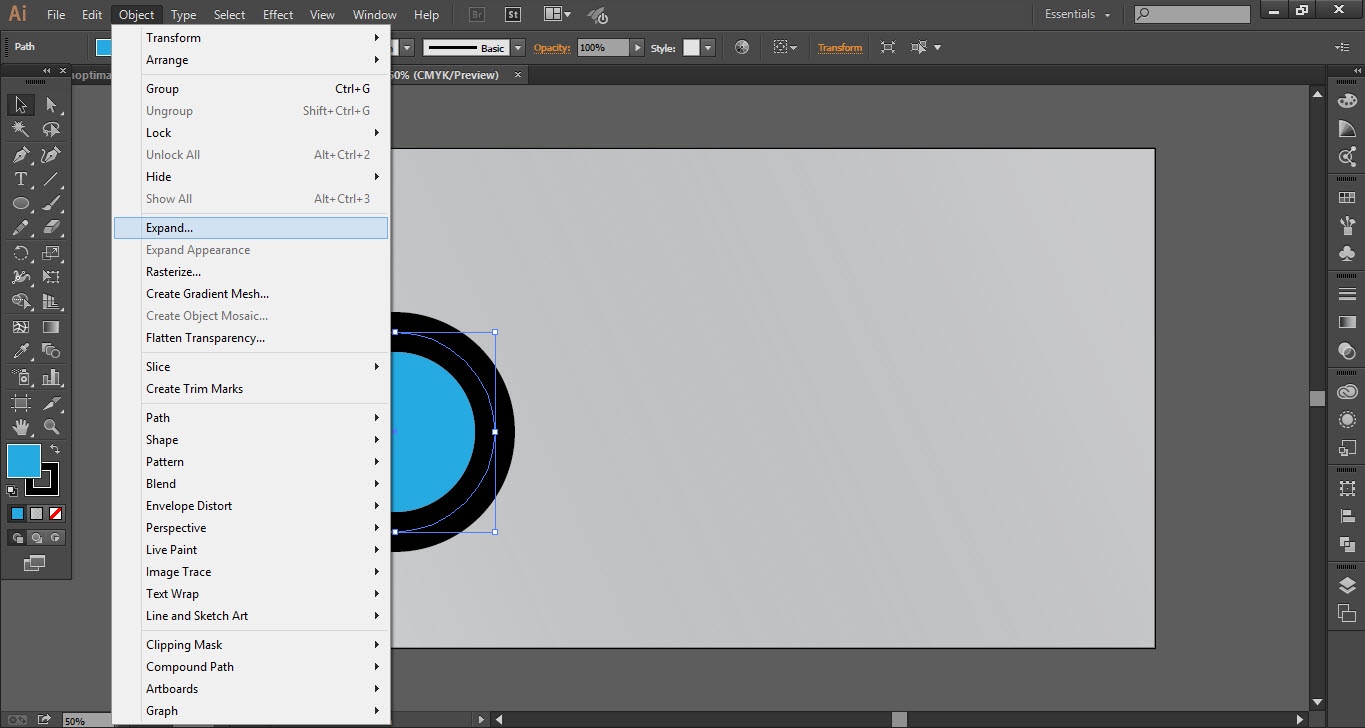
- Again go to the “Tools Bar” and select the “Ellipse Tool”.
- Draw a circle and make the stock up to “80%”.
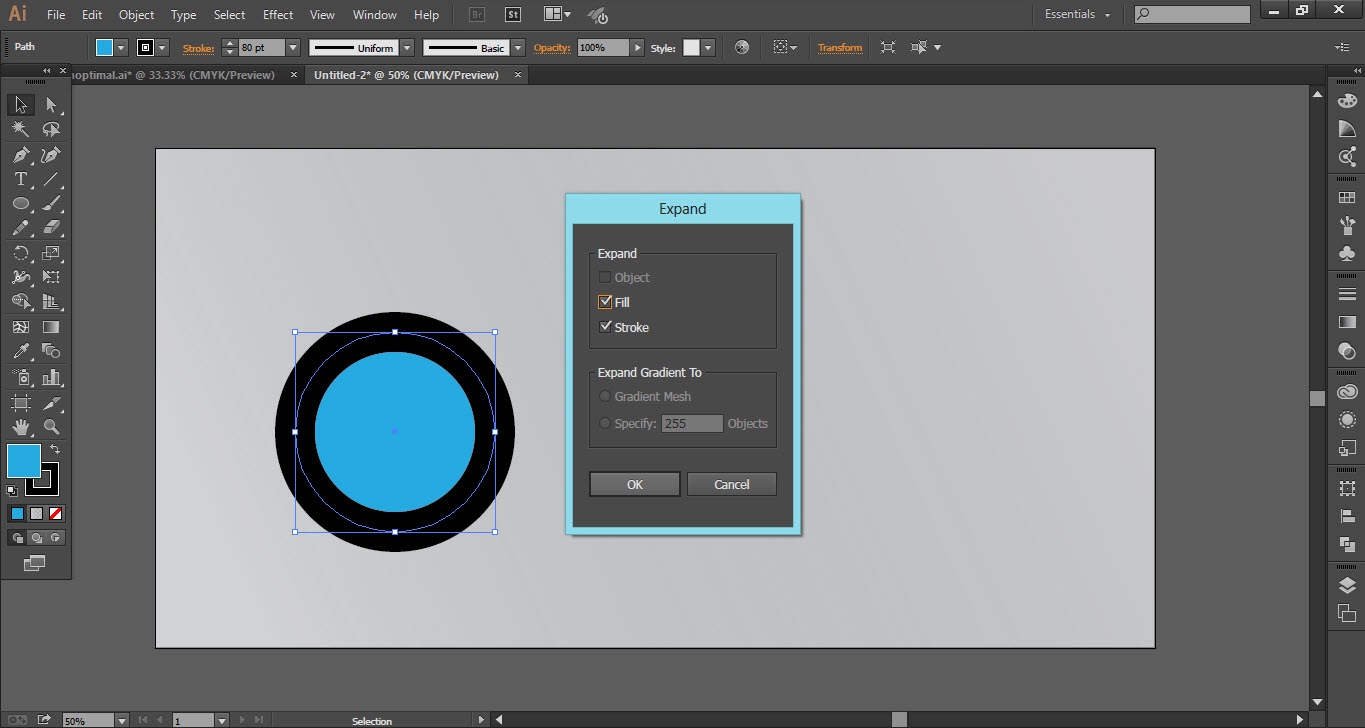
- Go to the “Object Menu” and click on the “Expand” option.
- A new window will be opened click ok.
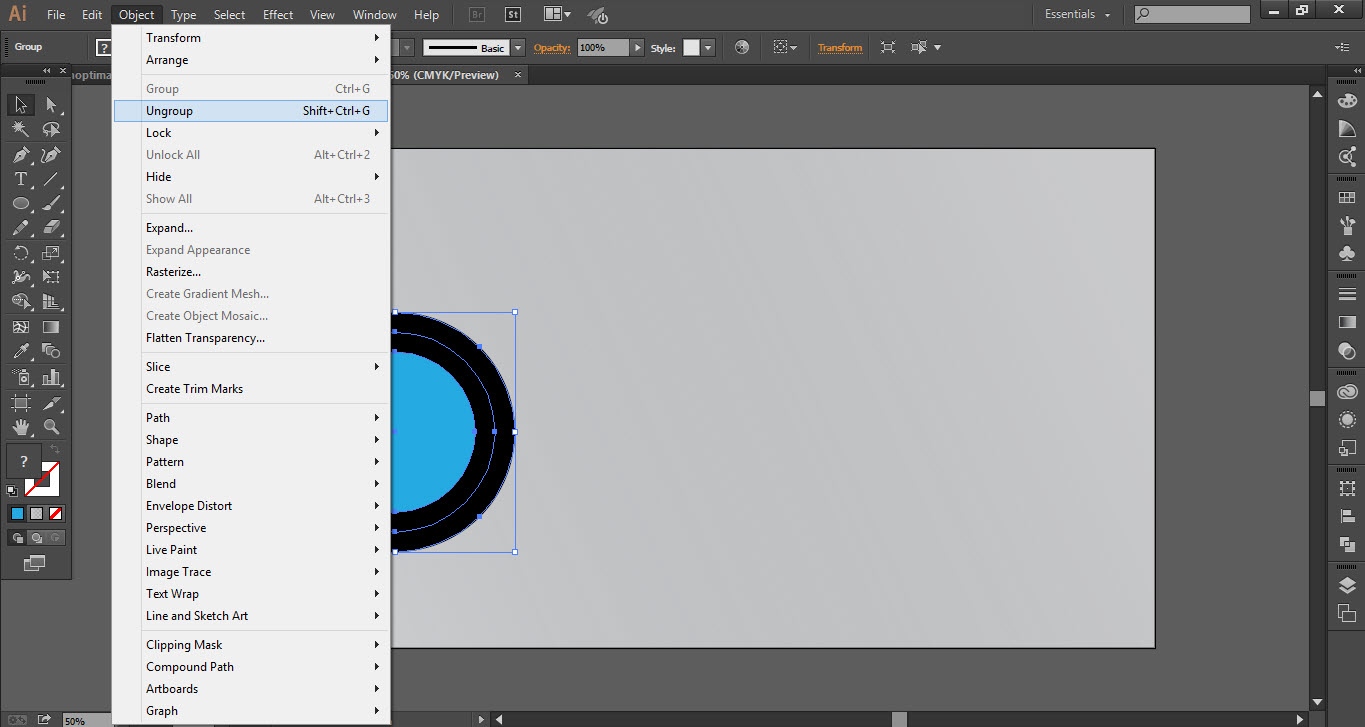
- Again go to the object menu and click on the “Ungroup” option.
- Resize the circle according to your requirement.
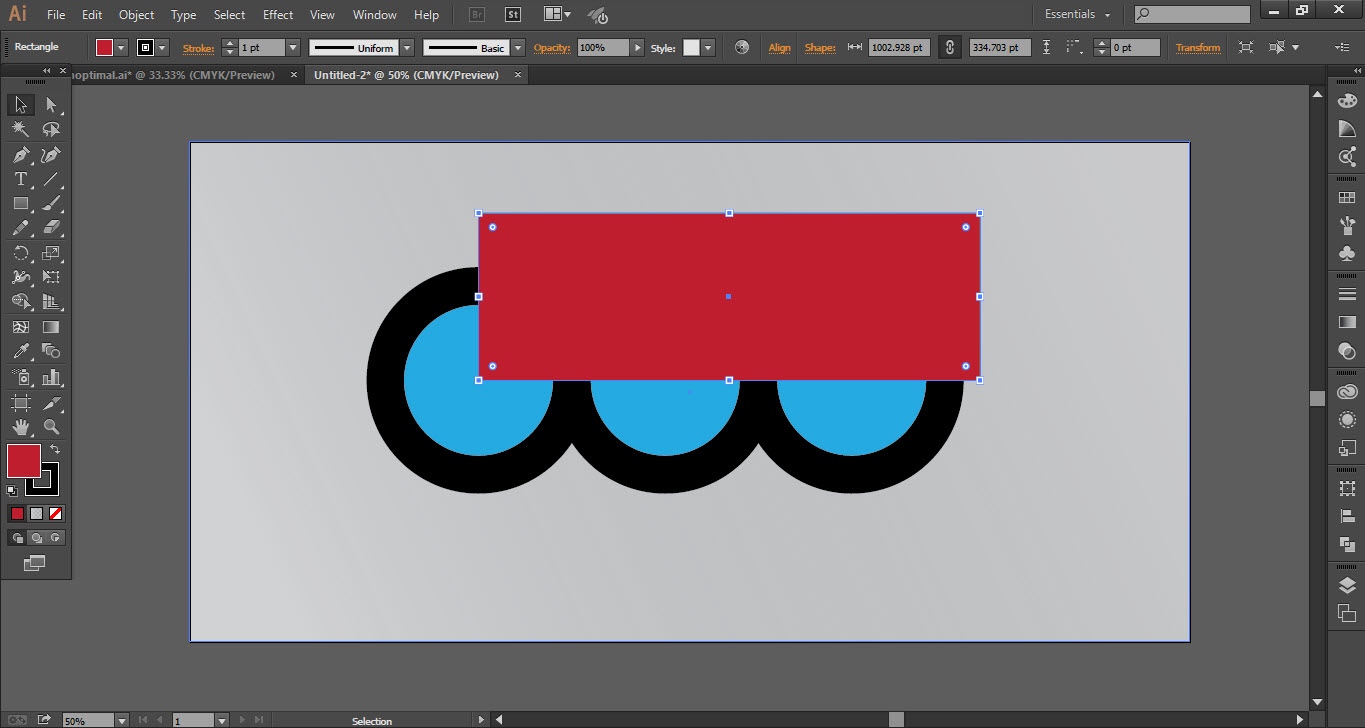
- Make the copy of the circle hold “Alt+Window” key and drag the curser.


Step 02
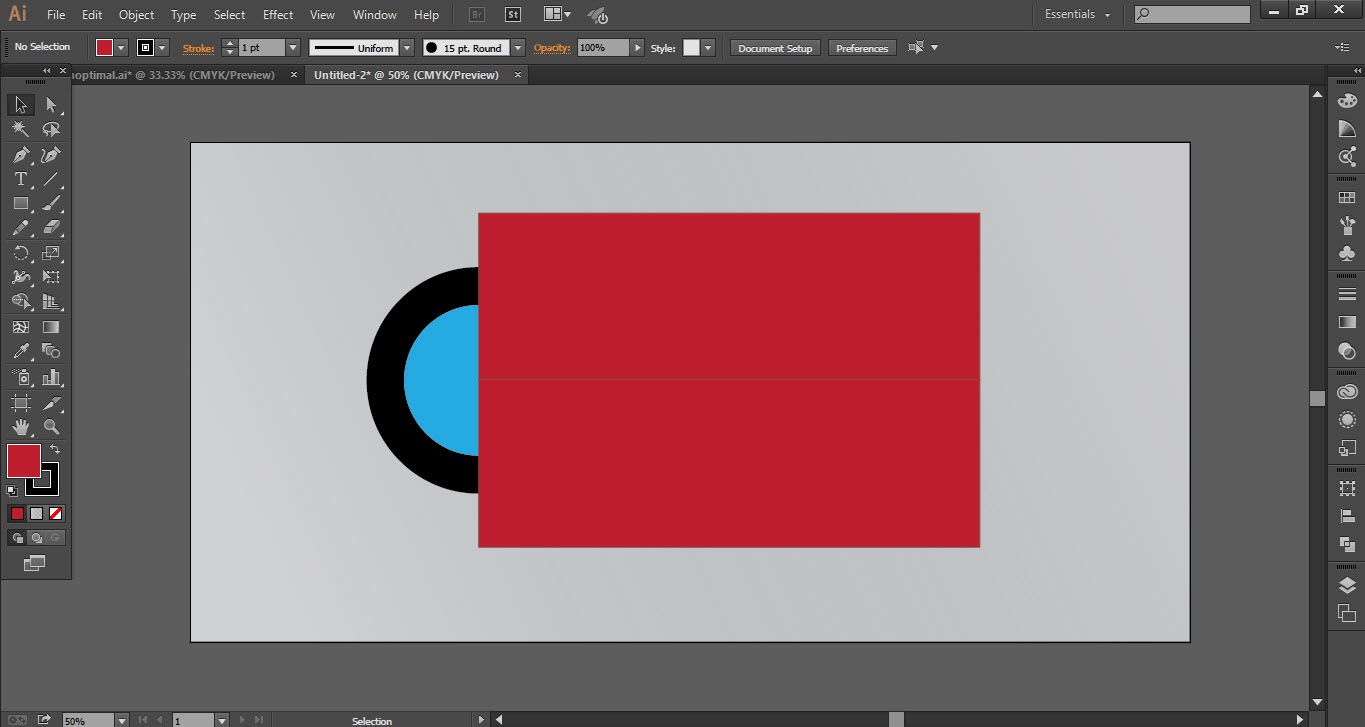
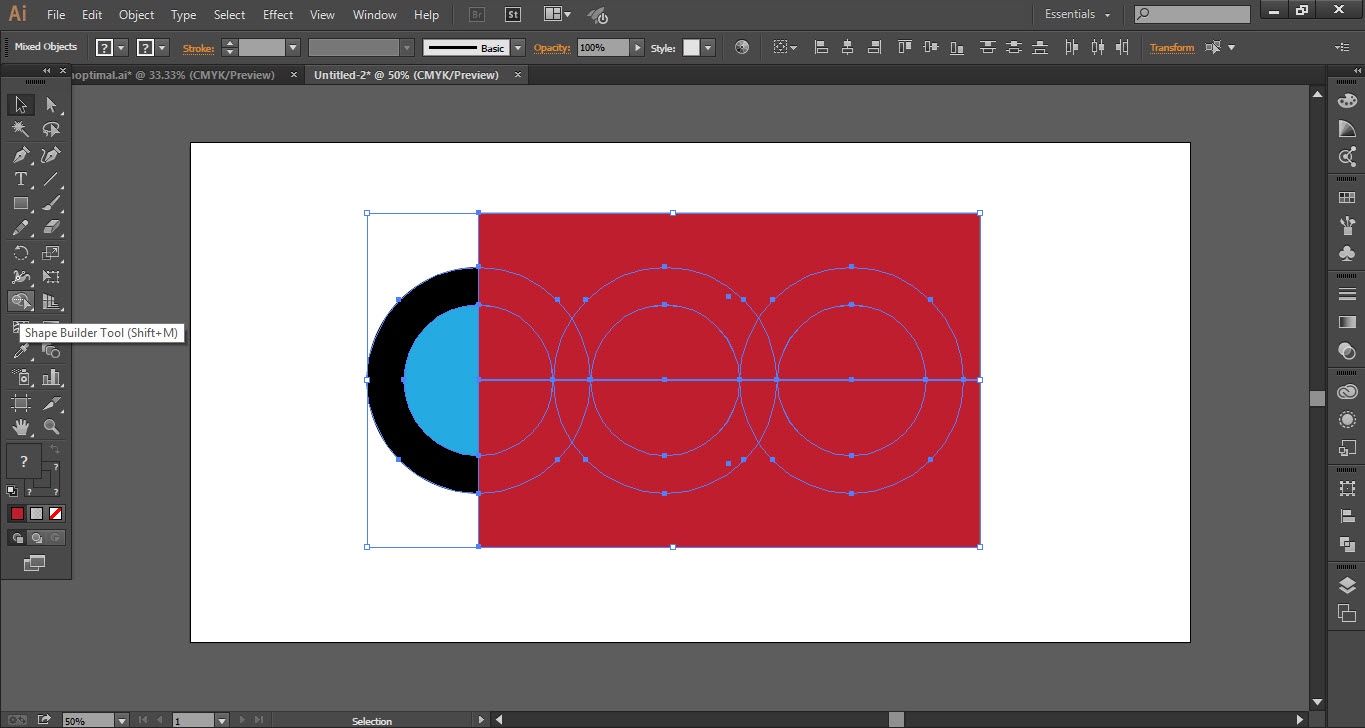
- Again the “Rectangle Tool” and draw a rectangle as shown in the screenshot.
- Change the color of the rectangle.
- Make the same copy of the rectangle and place it’s the same as shown(2.2).
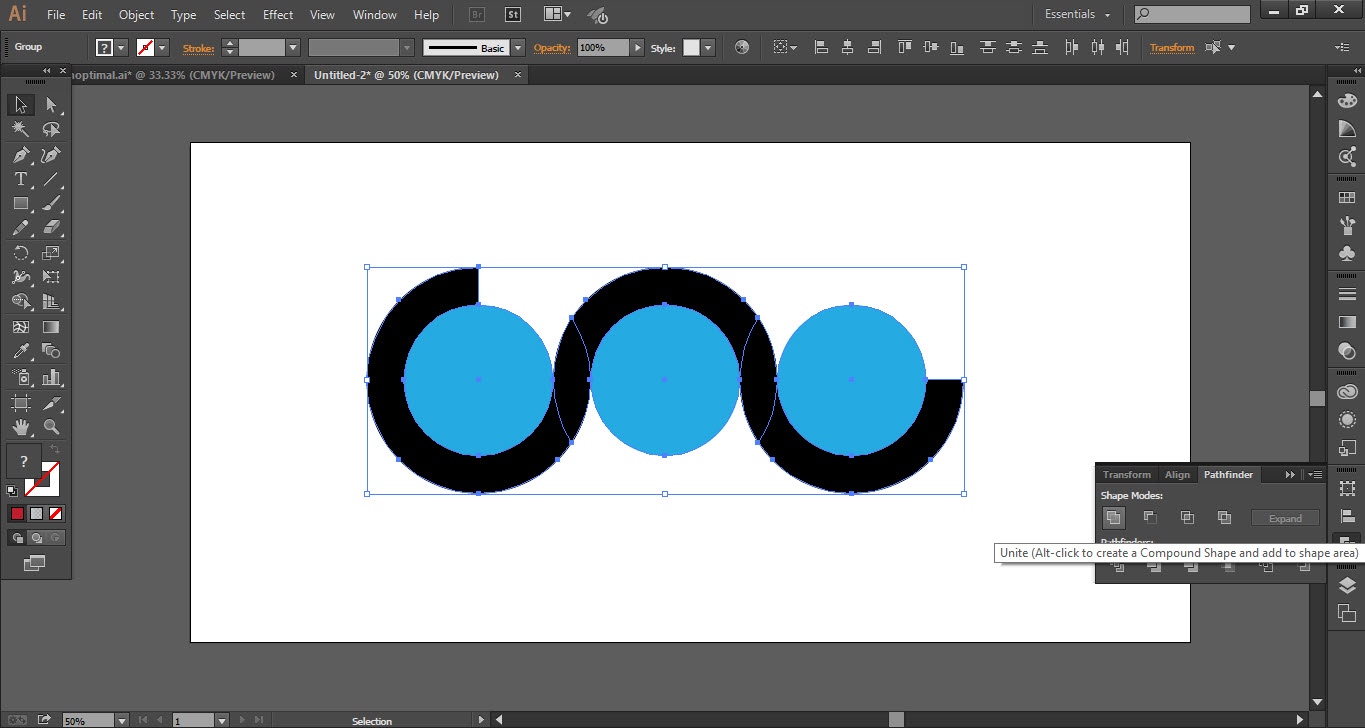
- Select the circle and the rectangle.
- Take the “Shape Builder Tool” and cut off the unwanted areas.
- Delate the pieces of the rectangle.
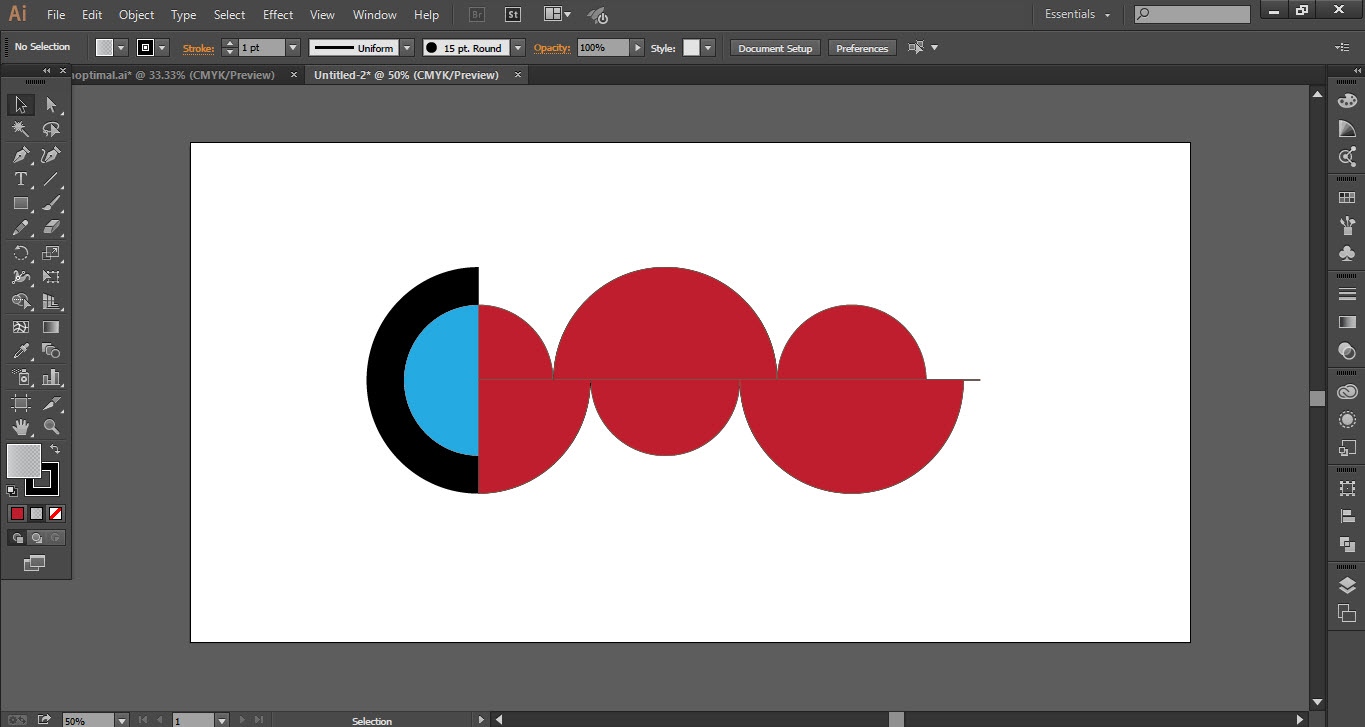
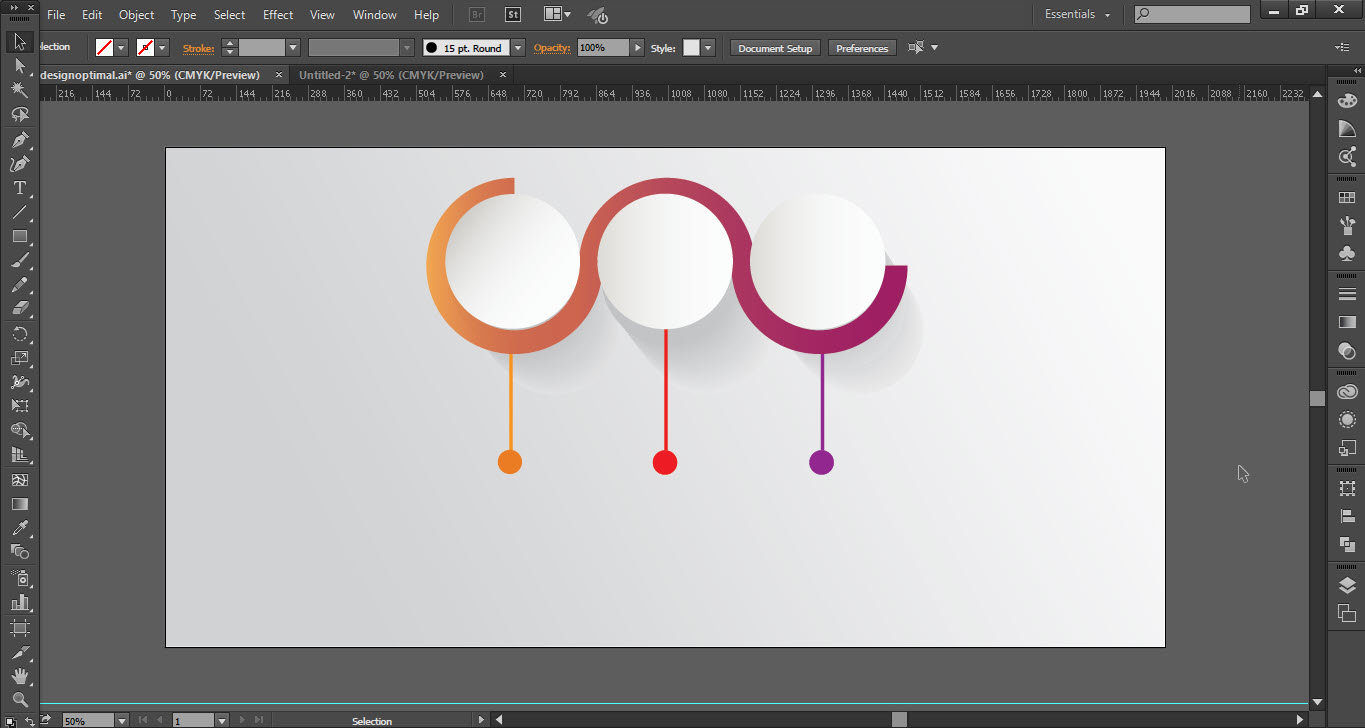
Step ”03″
 3.1- (Click to Zoom)[/caption]
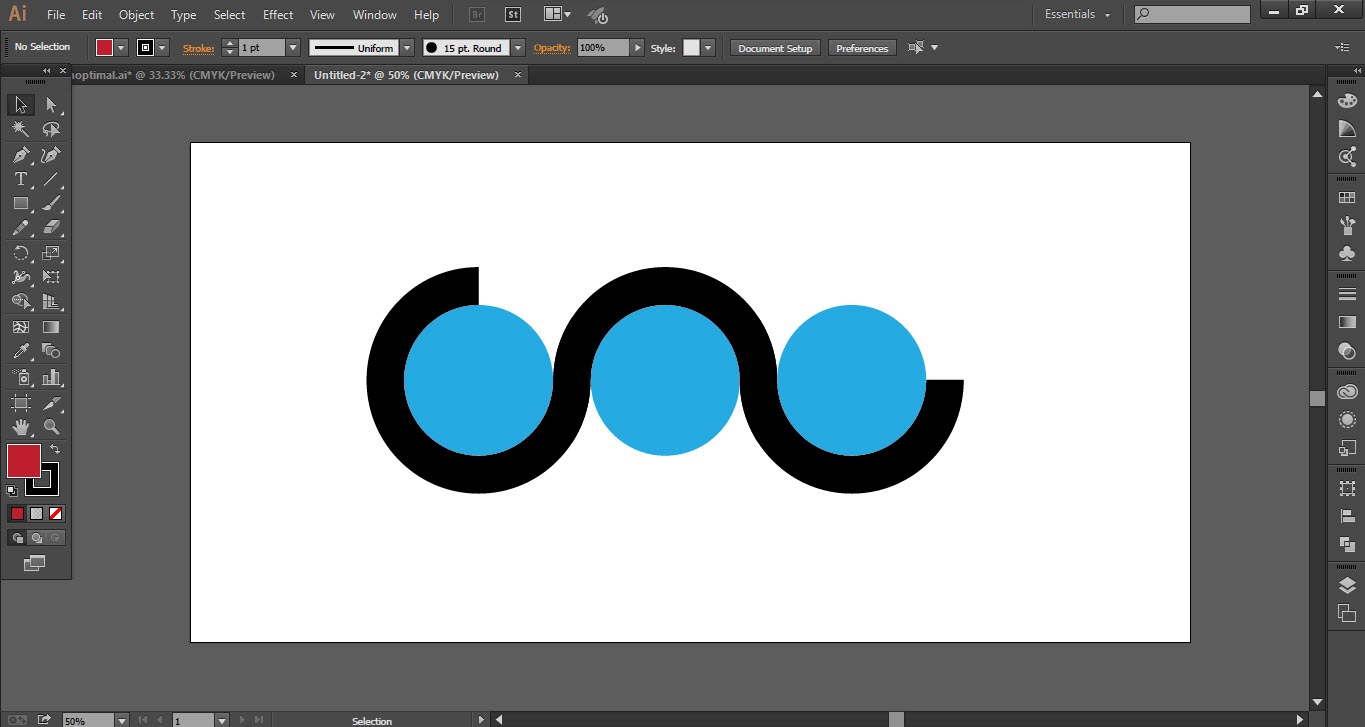
Step 04
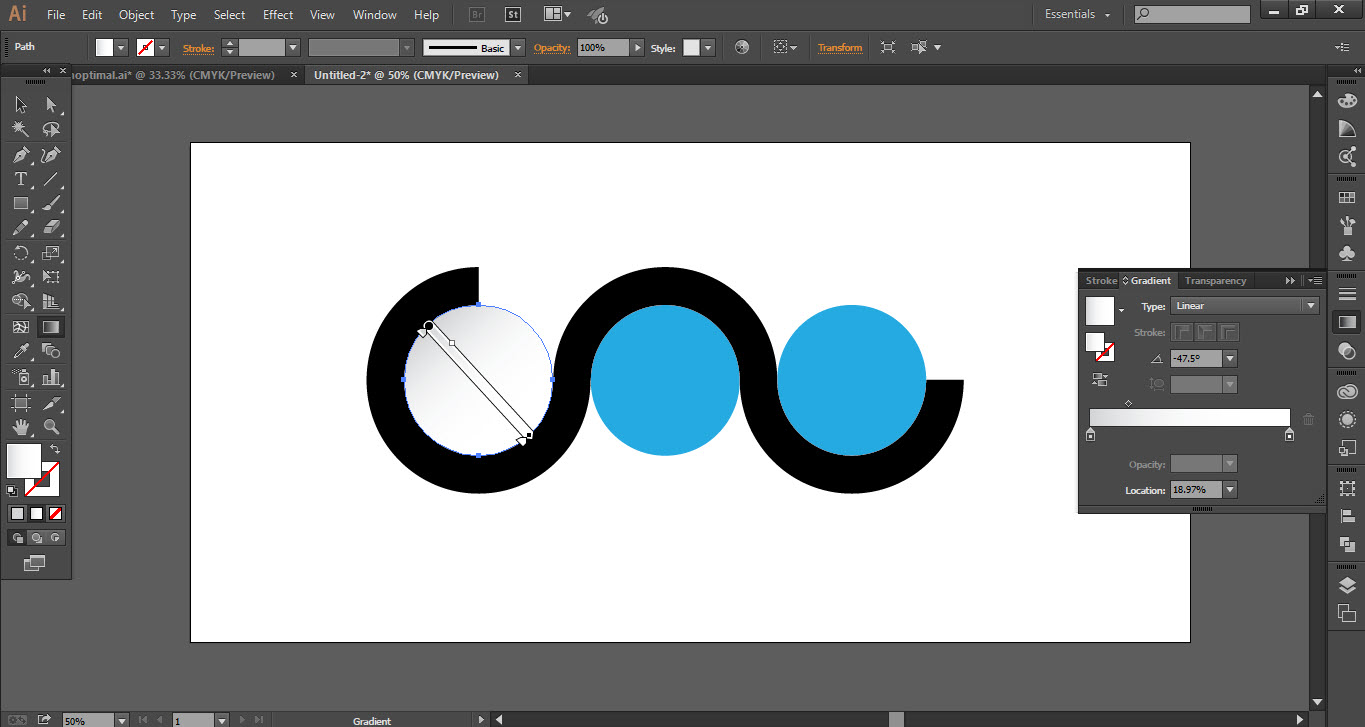
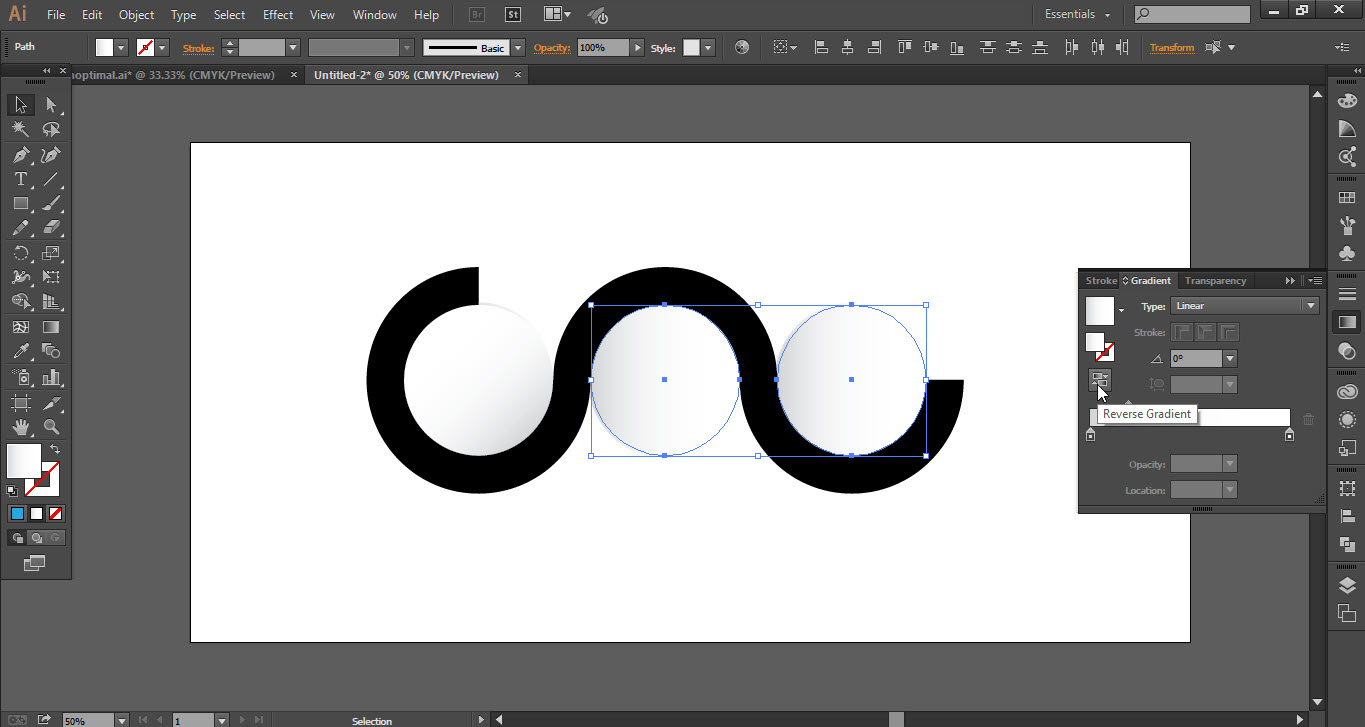
- Select the “Stroke” and apply the gradient.
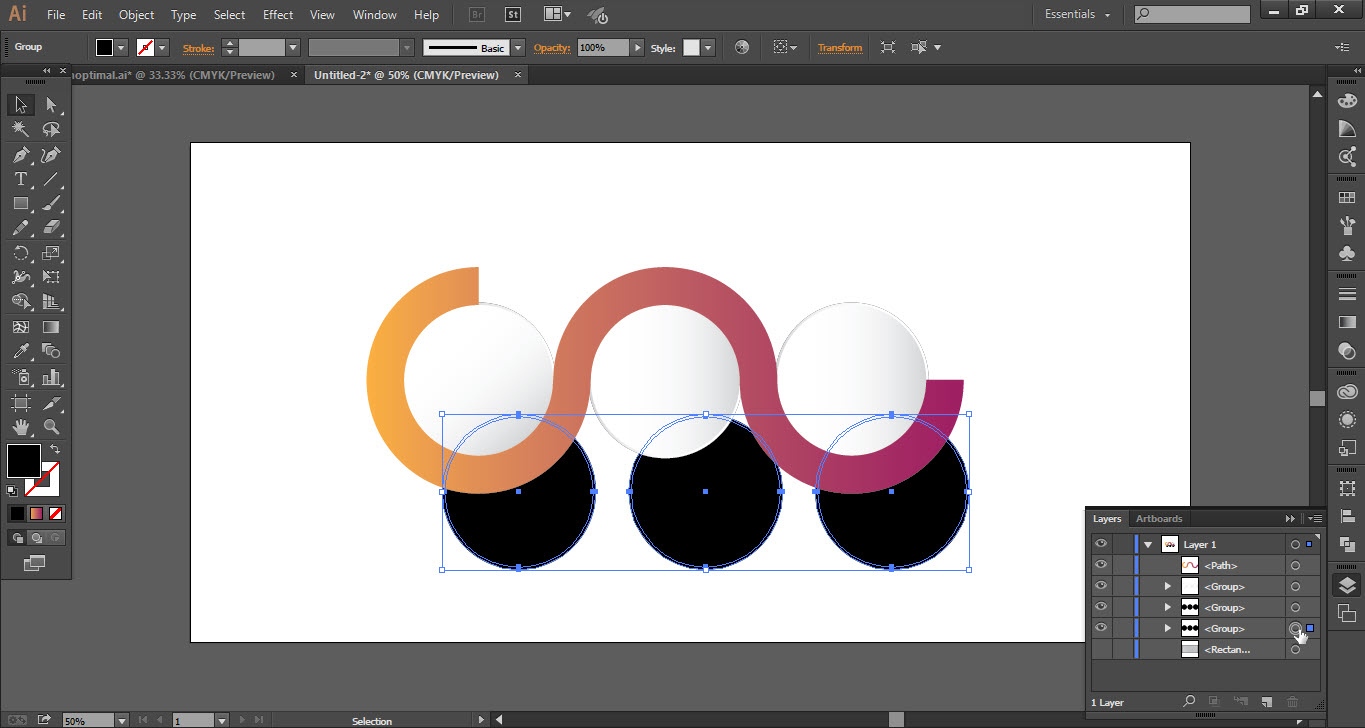
- Select the circles and make two copies of the circles and make the color black.
- Drag one copy of the circle and place as shown.
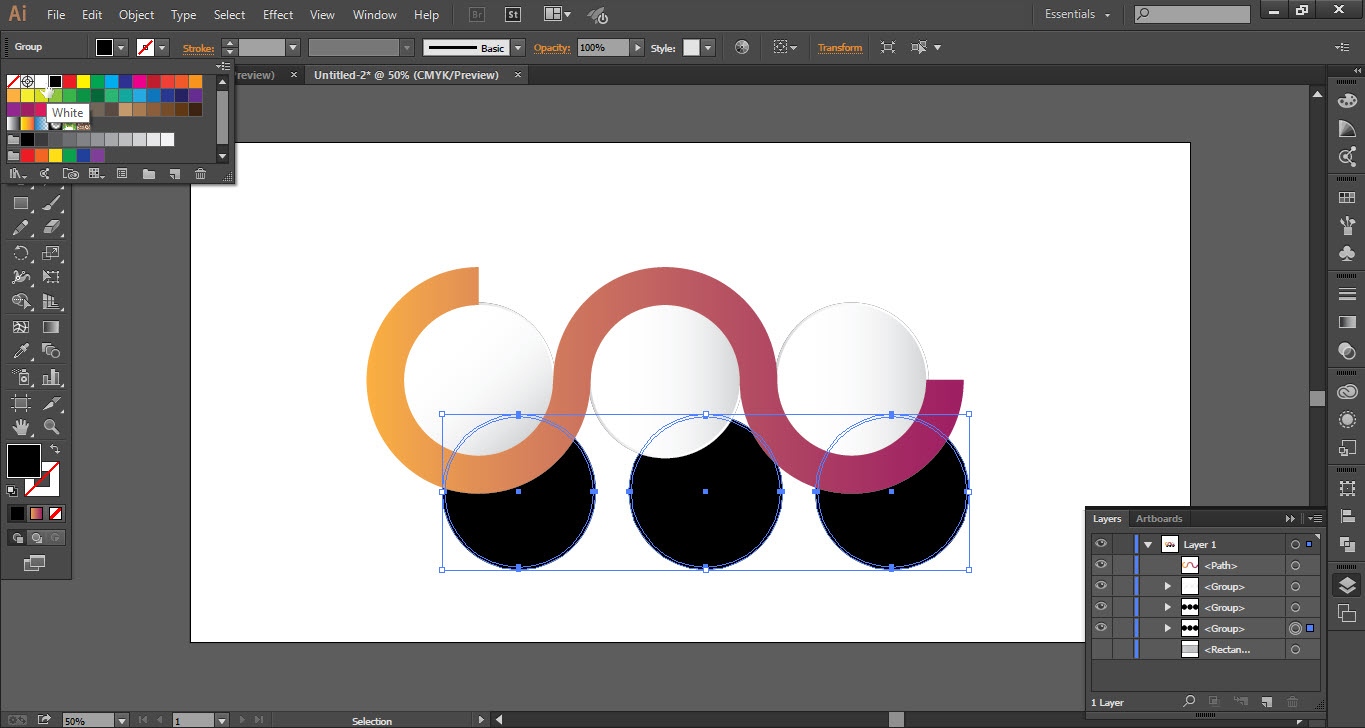
- Make the color of the circle “White”.
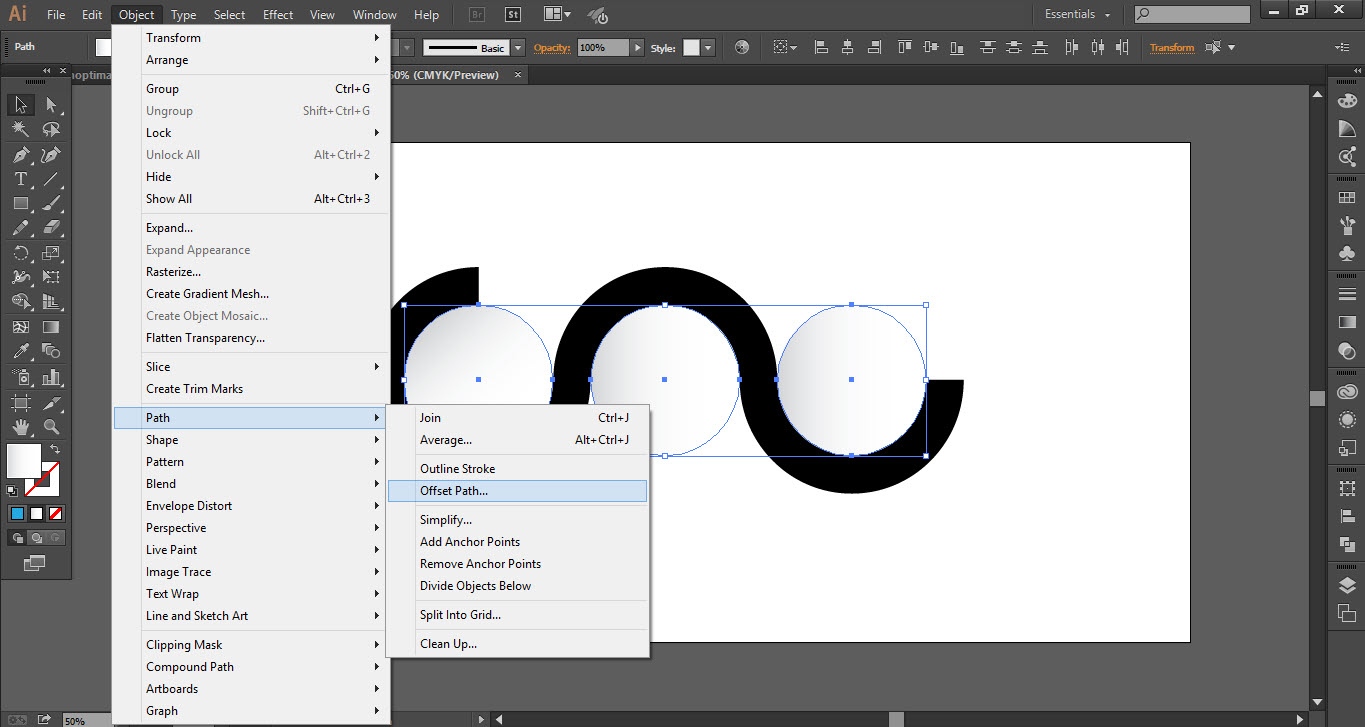
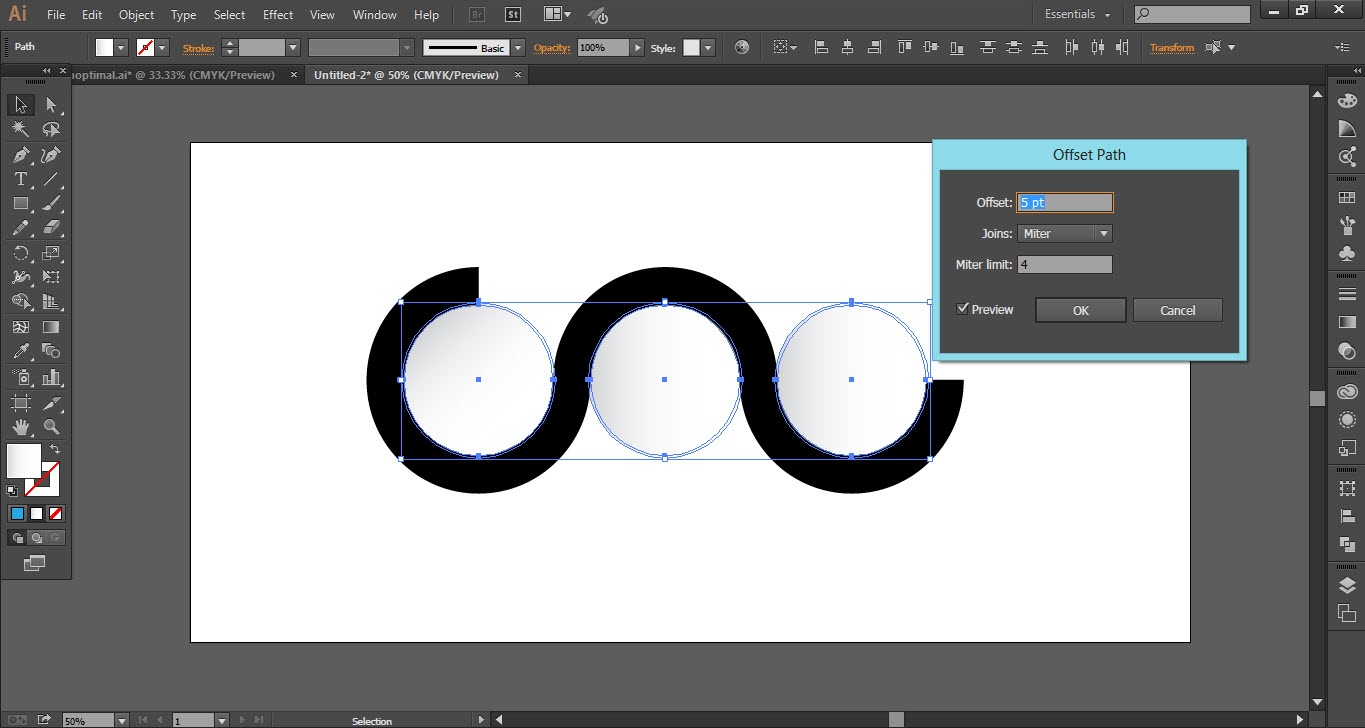
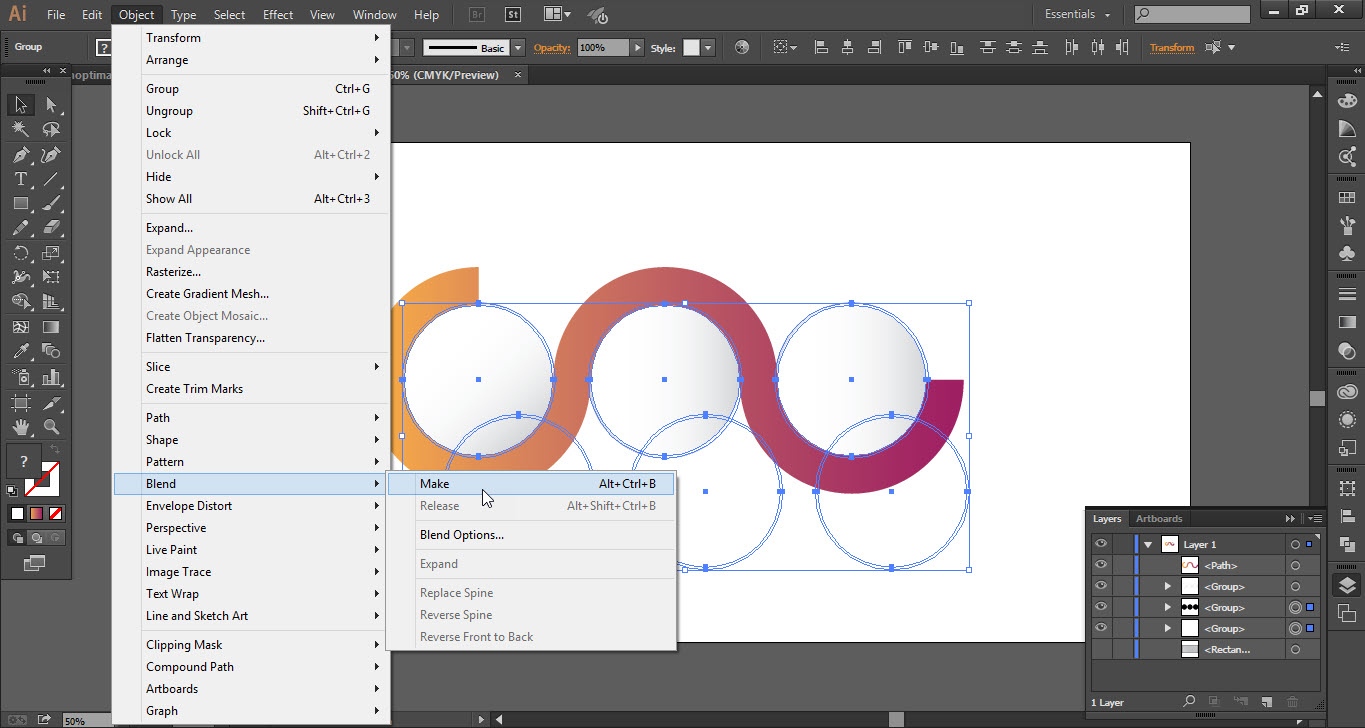
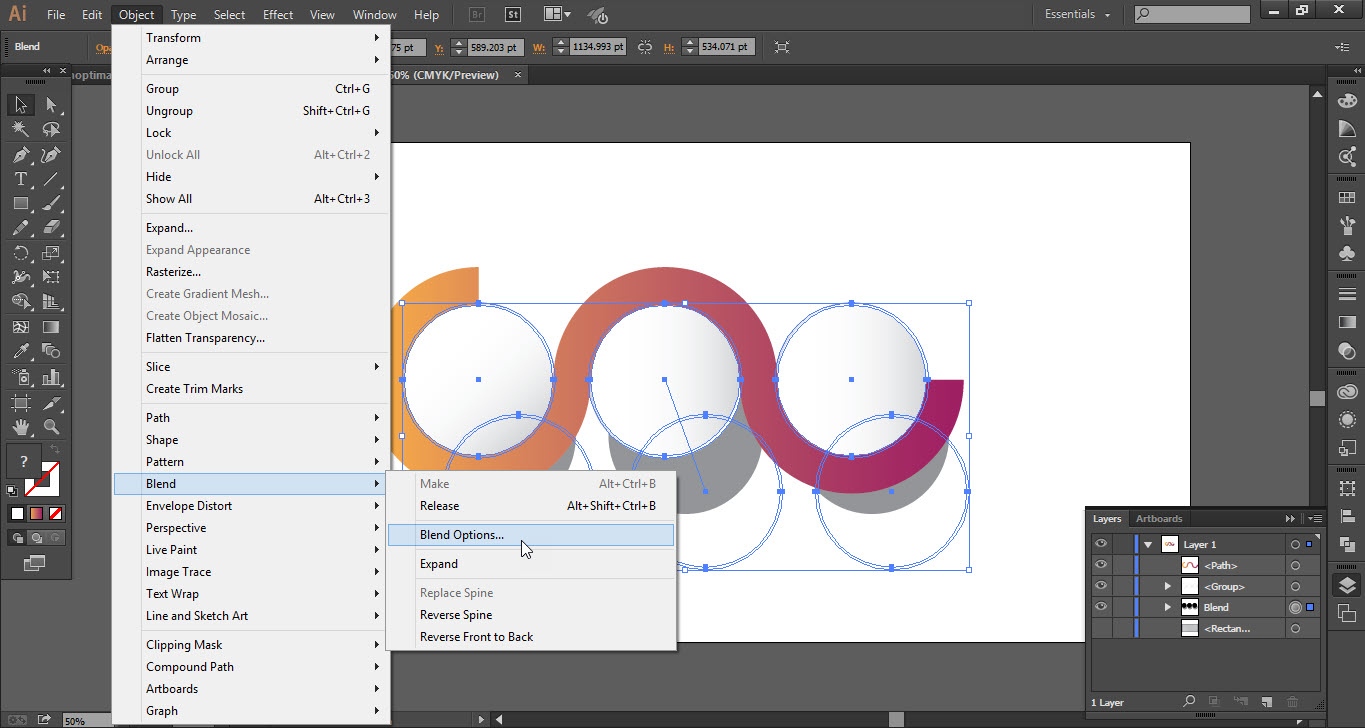
- Open the “Object” menu and go to the “Blend” option and click on the “Make” option.
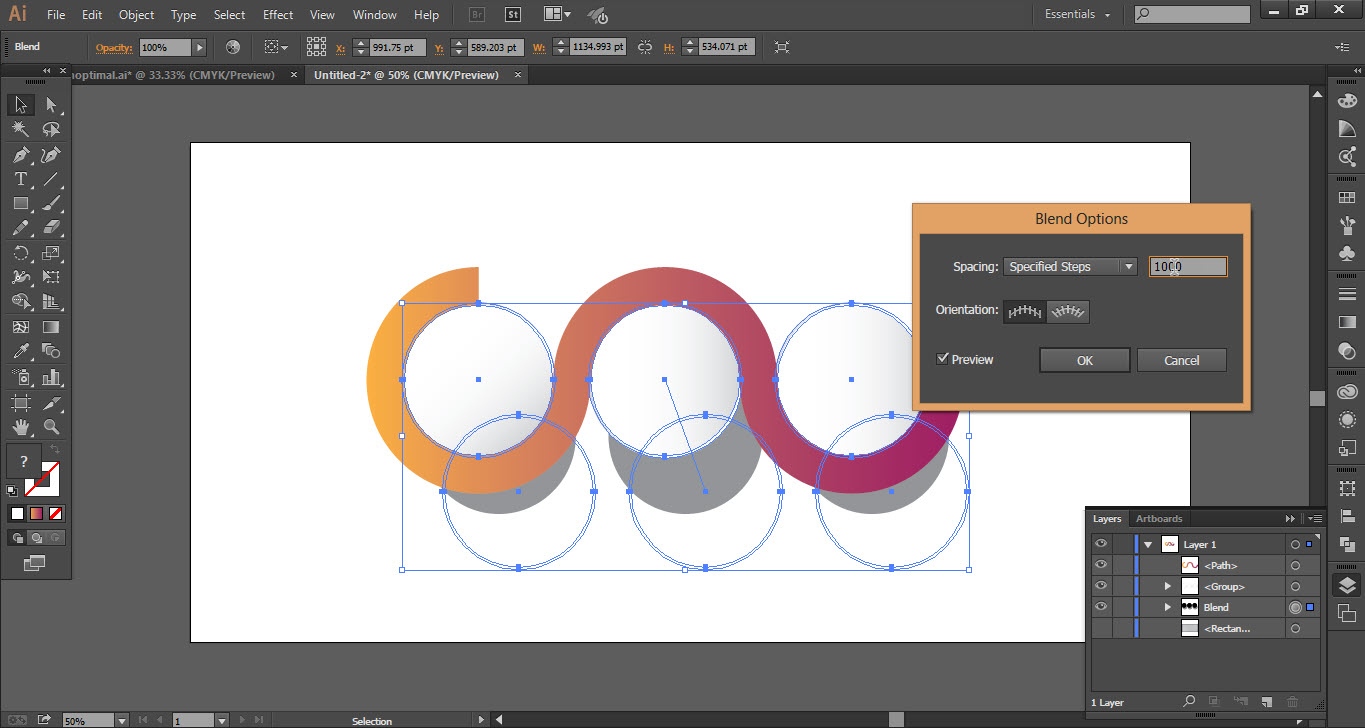
- Again open the object menu, go to the “Blend” option and click on “Blend Options”.
- change the “Spacing Mode” to “Specified Steps” and also change the value up to “100%”.


Step 05
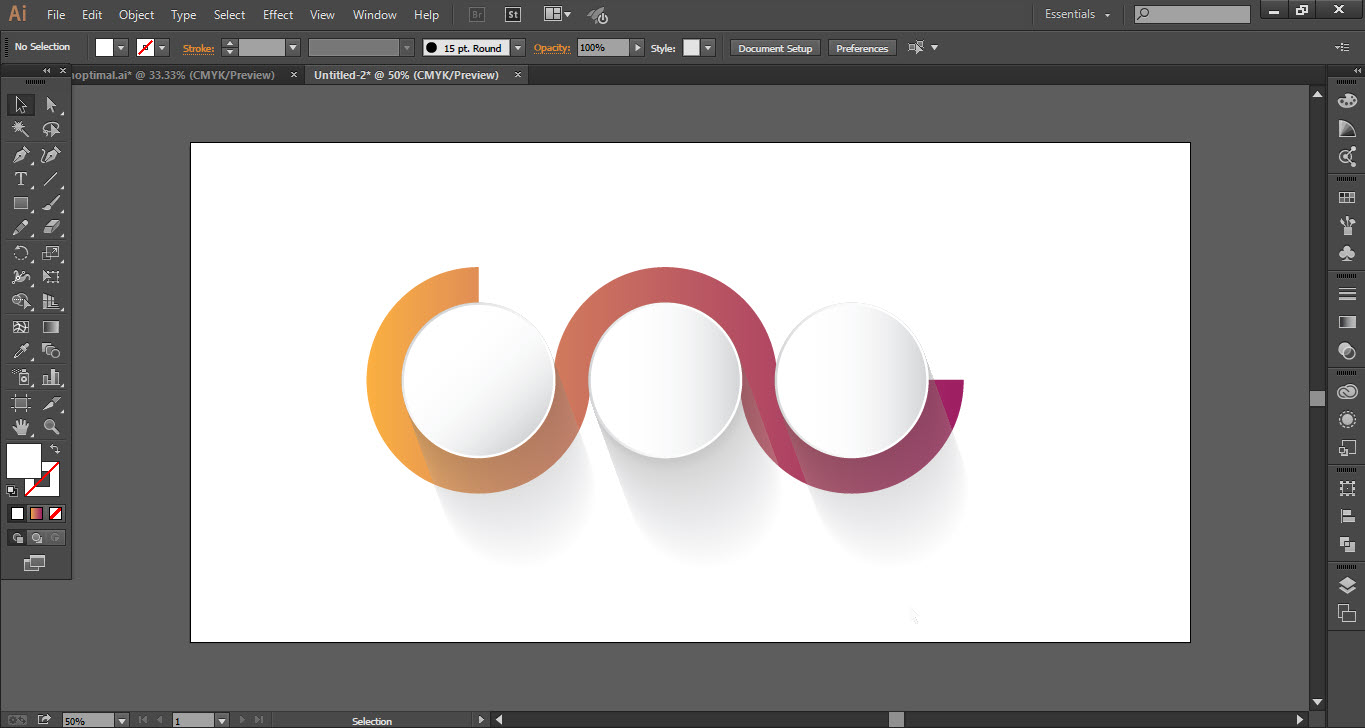
- our basic design is ready now add some text.
- Make a handle type as shown.
- Add the “Text” according to your requirement.

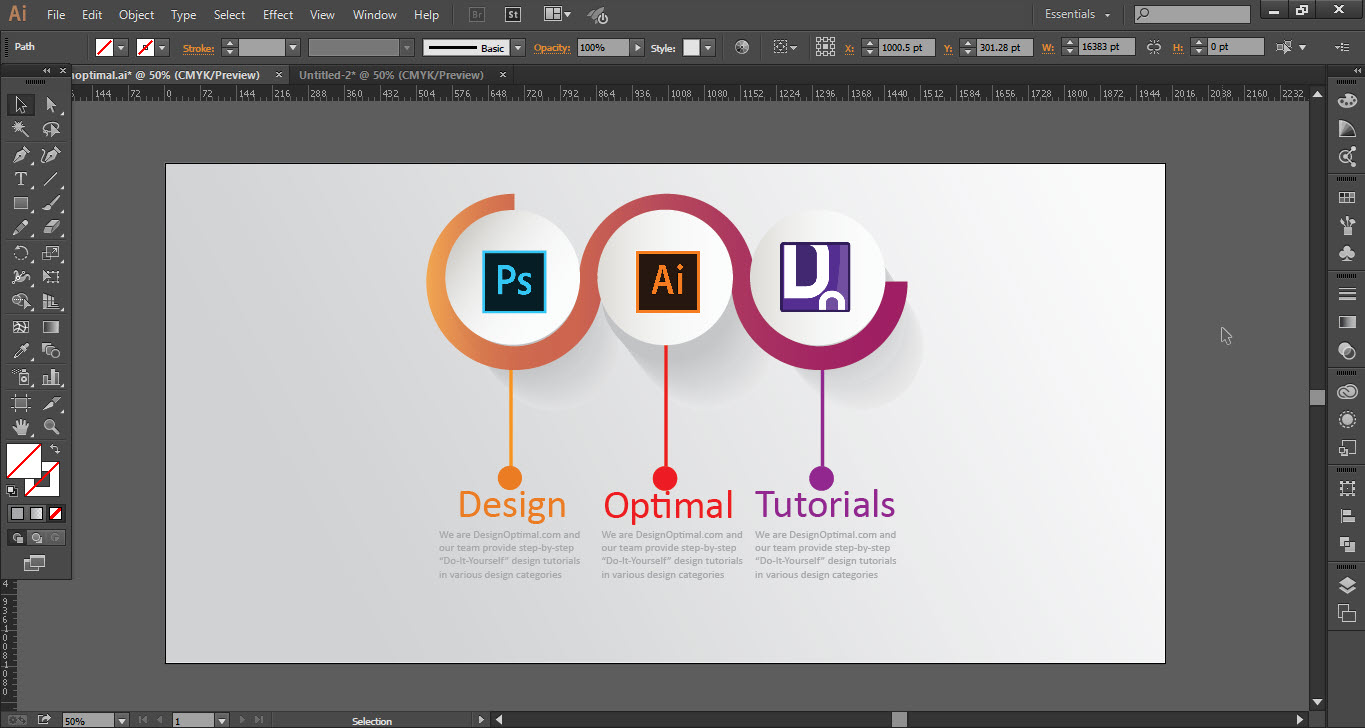
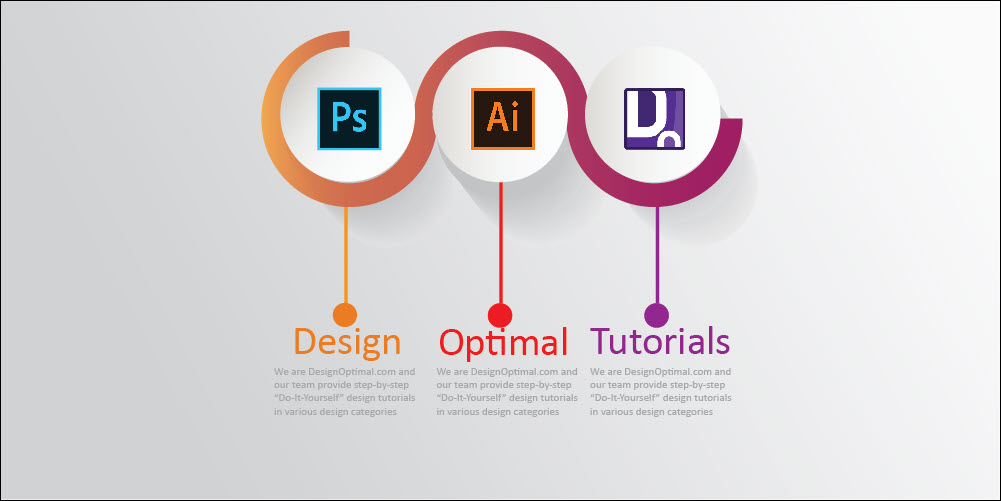
This is how the final result looks like